14_07

Retiring Jubilee Layout 1 of 3 with Cute Cricut Ant Paper Piecings

Happy Monday crafty friends!
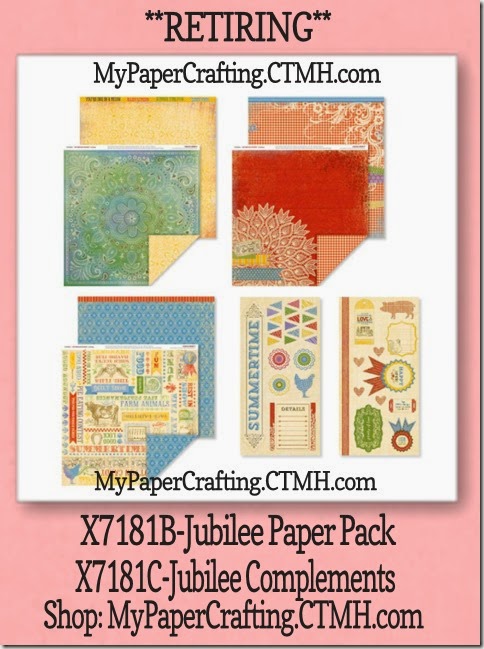
Hope you are beating the heat and enjoying your summer days! Today I am sharing a layout I created with the super fun Jubilee Paper Pack and coordinating Complements chipboard set from Close To My Heart. As this month winds down, this will be the last chance you have to purchase this fun set. The new Close To My Heart Annual Inspirations catalog is set to debut in August. So that means there are a lot of great products going away. You can see the retiring products HEREOkay here is my layout.


Here’s a look at my entire layout. It is a two page layout featuring papers from the Jubilee paper pack, Chipboard accents from the Complements set and some super cute little Ant paper piecings I created using my Art Philosophy cartridge and Artiste Cartridge along with my Expression. Along with the papers in the Jubilee set, I did use some white cardstock for the photo mats and some kraft cardstock to create the ants. I also used a piece of red for the little watermelon slices and a piece of bamboo cardstock for the “basket”.

jubileepprcomp-480

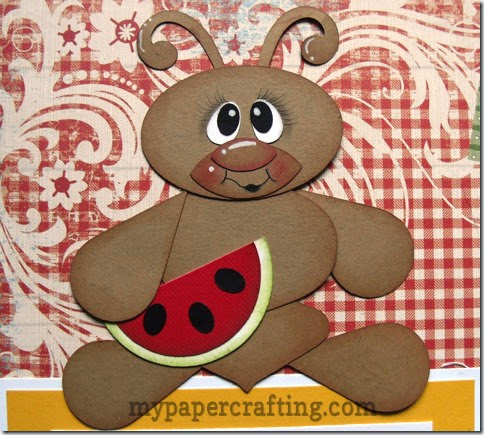
ant=sitting-480
Here’s a closer look at the little ant sitting down and ready to enjoy his slice of melon.

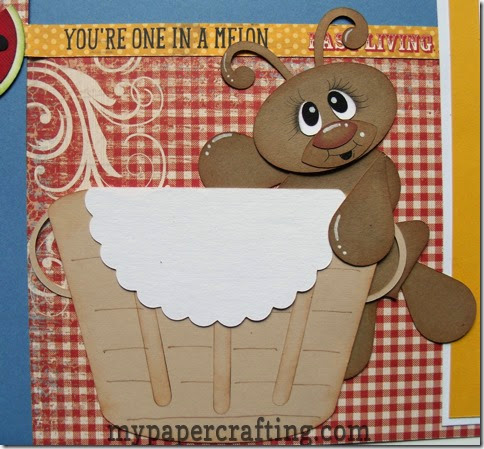
ants w basket-480
Here’s a closer look at the cute little ant hanging off the picnic basket. Again, all of the cuts are from the Art Philosophy cartridge , Artiste Cartridge and my Cricut Expression.

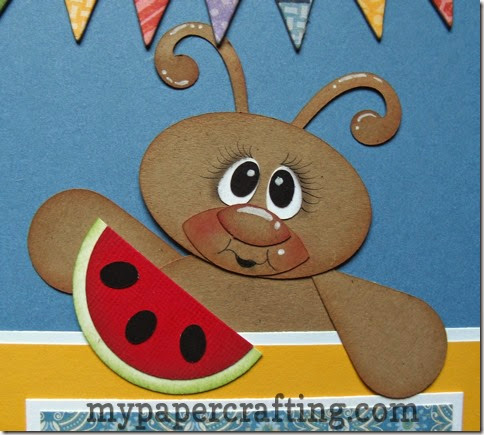
ant-topper-480
Here is a look at the cute little ant paper piecing mat topper. If you need to learn how to do faces, you can check out my tutorial HERE.


Make any purchase from my Close To My Heart link and I will send you the instructions to create these adorable little ant piecings from your Art Philosophy cartridge and your Cricut Expression. No CCR, Design Studio or SVG files used. Just your Cricut Expression and your Art Philosophy cartridge and your Artiste Cartridge.

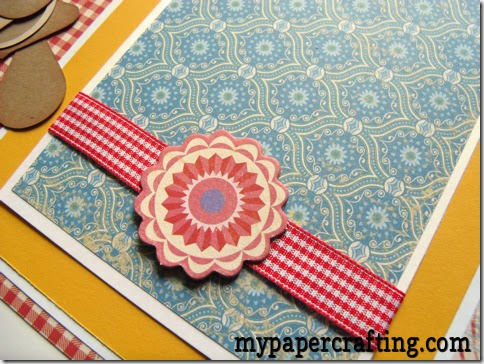
mat wrap-480
I used some cute red and white gingham ribbon and wrapped the two larger mats. I used one of the chipboard elements from the complements set. Photos will slide easily underneath.

plentyoflove-480
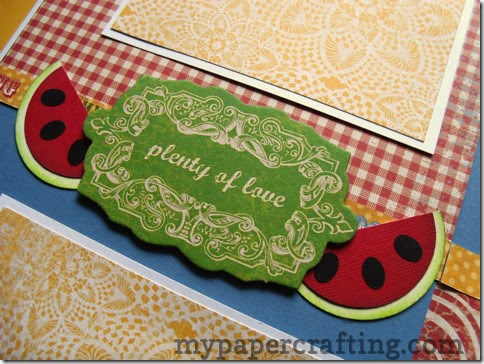
The plenty of love chipboard element was another perfect embellishment for this page. I used some foam tape to give it a little lift.

rooster note-480
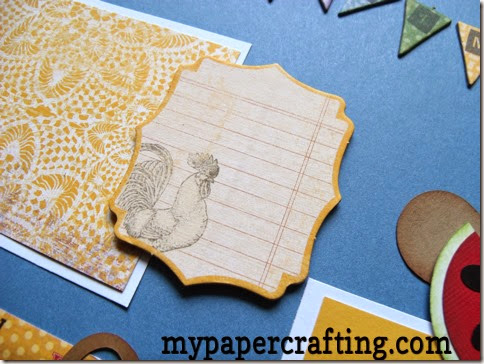
Here is a little chipboard journaling spot I added as well. Enough room to write down a few special details.

stamped banner-480
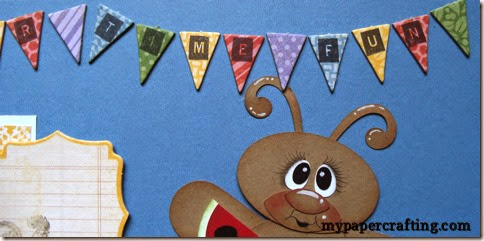
Here’s a closer look at the little banner. I stamped the Summer Time Fun using the Keyboard Alpha Stamp set onto the little chipboard banners from the Complements set.


One last look at the entire layout.

Products Used For This Project
art philosophy-200
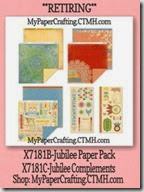
jubileepprcomp-200
**RETIRING**

white cardstock-200
kraft cardstock-200
basic cardstock pack-200
Bamboo Cardstock from Basic Cardstock Pack

foam tape-200
tape runner-200
**RETIRING**
memory book glue dots-200


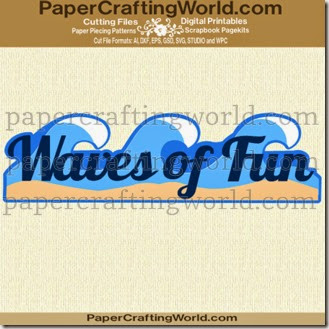
This week’s free SVG File for Newsletter and Email Update Subscribers.
waves of fun title ppr cf-325
Link will be available to newsletter and email update subscribers. CLICK HERE to subscribe now. Formats Available: AI, DXF, EPS, GSD, KNK, MTC, SCAL, STUDIO, SVG and WPC.

Well, that about covers it for today! As always, thank you so much for sharing your crafty time with me. Be sure to come back tomorrow as I share layout number two of my Jubilee Paper Pack and Jubilee Chipboard Complements projects. You will love it! Until then,
2013 fall winter melsig-450

Daisy Shaped Card w Skylark Paper


Hello crafty friends!
WHEW…. It’s been a while since my last post. I am so sorry. It has been a crazy busy summer thus far! So many behind the scenes things to take care of. I appreciate you sticking with me and checking in though! My grandson is here, my husband is off work, my son has been off work and my daughter has been in and out, so it has been a full and busy household this last week. Next week we shall get back to our regularly scheduled program. PLUS…. I have been working on a project that has taken quite a bit of time. I will be sharing this with you very soon! But for today, I have a really quick and easy card to share.

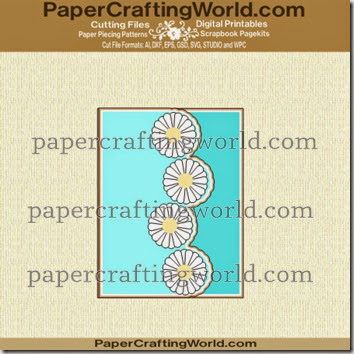
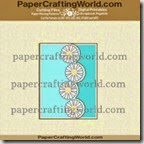
Here’s a look at my completed card. The shape came from the PCW SVG cut file set Daisy Shaped Card. The patterned paper is from the Skylark Paper set. This is one of the sets that will be retiring at the end of this month. The new Close To My Heart catalog is set to debut at the beginning of next month. While that is wonderful, there are still hundreds of fabulous products in the current catalog that will be "retiring”, so be sure to get them while you still can!


card daisy shaped ppr cf-350

sentiment cu-490
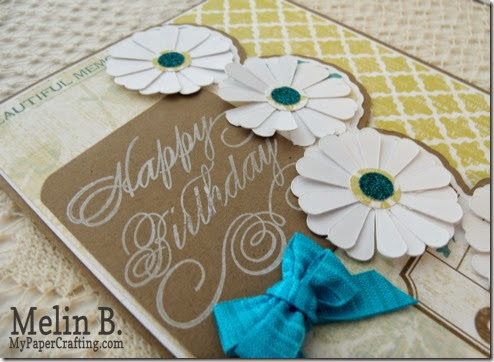
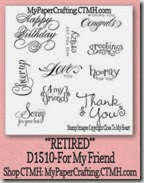
I used a stamp from the RETIRED For My Friend Stamp Set. I used my White Daisy Ink Pad and stamped onto some kraft paper.

flowers cu-490
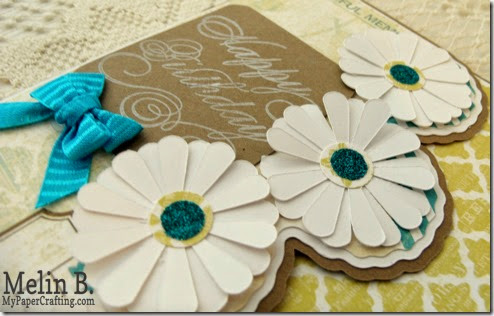
For the centers of my daisies, I cut a circle layer in some more of the Skylark paper and then used a 5/8 circle punch and punched some circles out of the teal shimmer trim. The trim is self adhesive so it was a simple peel and stick. I then added a little bow to the bottom and done. Very simple to make. Love the clean look of the card.


I made this card for this month’s I FEEL The LOVE Project! Be sure to head over and check out the details and share your creative works of h(art). I can’t believe it is now going on 4 years since Madison and her mom Cindy began this amazing venture. Please, consider joining in and sharing your handmade creations with others. This month they are looking for general handmade blank cards that a wonderful outreach program can use to encourage participants as well as general unsigned birthday cards, etc. CLICK HERE to read the details!


Products Used For This Project

pazzles-cutter-200
Pazzles Inspiration
card daisy shaped ppr cf-200
skylark paper pack-200

teal shimmer trim
kraft cardstock-200
white cardstock-200

white daisy-200
for my friend-200
Retired Stamp Set
tape runner-200

Misc. Ribbon
5/8 EK Success Circle Punch
Well, this about covers it for today! Don’t forget to take a moment to peruse the current ctmh catalog! You may find some wonderful products you could use this summer for your paper crafting and scrapbooking projects!  Don’t forget to stop back by tomorrow as I will be sharing a new fun Friday post with you! Until then,
2013 fall winter melsig-450

Pazzles and Spellbinders Digital Die Beach Baby Layout

Good morning crafty friends,
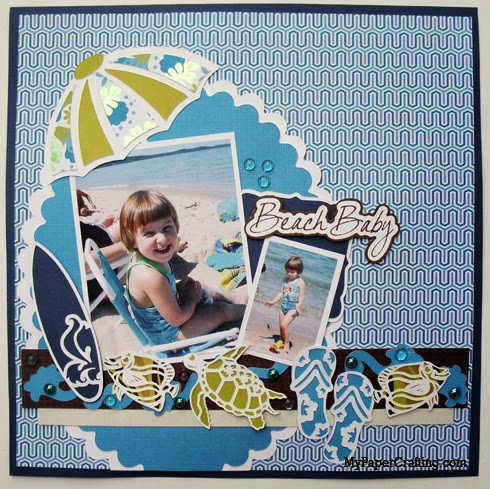
Today I am sharing on the Pazzles Craft Room a project I created with some of the wonderful Spellbinders Digital Dies, exclusive to the Pazzles Craft Room. Here is what I came up with.

GEDSC DIGITAL CAMERA

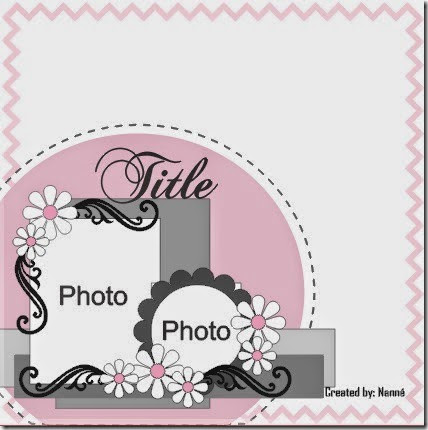
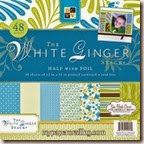
All of the nice patterned papers are from the DCWV White Ginger stack. I also followed the sketch from Stuck On U Sketches challenge. The large scalloped oval mat is also a Spellbinders Digital Die.

Sketch June20-14


surf board-490
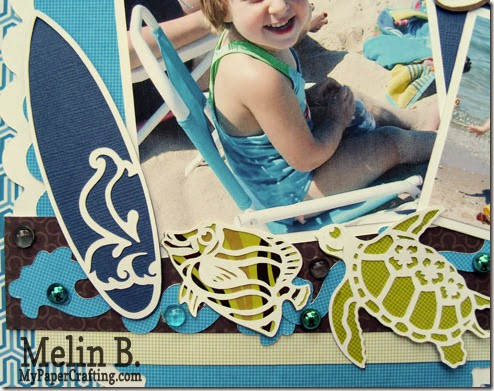
Here is a closer look at the cute die cuts I used. The surfboard is from the Surf’s Up Die Cut Collection. The fish and the turtle are from the From The Sea Collection. All of these collections can be found on the Pazzles Craft Room site.


turtle fish flops-490
The flip flops are from the Surf’s Up collection. You can see under the fish turtle and flip flops, there are some flourishes. Those are from the Floral Accents collection. I also added some fun Robin’s Nest Dew drops to give a little extra visual interest.

umbrella-490
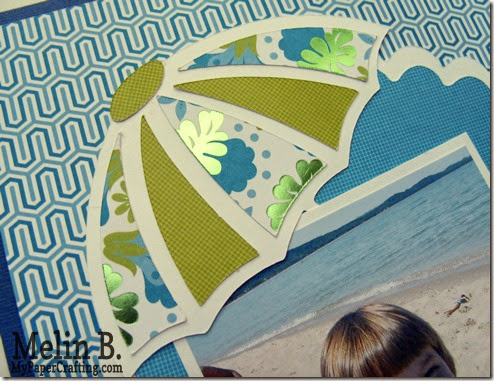
The Umbrella is from the Surf’s Up collection. Again the patterned papers are from the DCWV White Ginger Stack.

title closeup-490
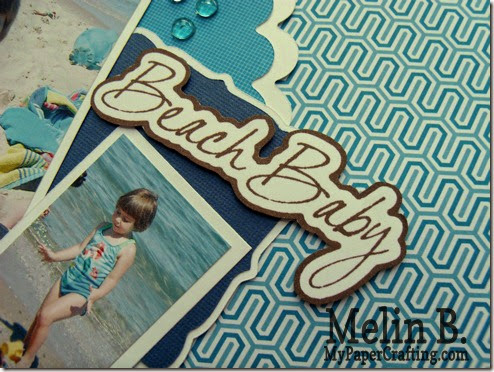
Lastly, I created the title in my Pazzles software and then print and then cut it out. The decorative label behind the title and smaller picture is the Labels 15 collection.

Products Used For This Project


pazzles-cutter-200 dcwv white ginger stack-200

Labels 15-S4-291
Labels 15
S4-139 Petite Scalloped Oval Large.cdr
Petite Scallop Ovals
Floral-Accents-S4-199
Floral Accents Collection
From-The-Sea-S4-273
From The Sea Collection

Surfs Up S4-272
Surf’s Up Collection
white cardstock-200 tape runner-200

foam tape-200 beaches
Robin’s Nest 
Beaches Tear Drops
cowboy dew drops
Robin’s Nest 
Cowboy Dewdrops


Now head over to the Pazzles Craft Room and check out the rest of the wonderful projects and inspiration!

Also, check out the Stuck On U Sketches Challenge.  They also have a bi-weekly die cut challenge as well as a project life challenge you can join too!

Well that about covers it for today. As always, I thank you so much for stopping by and sharing some of your crafty time with me. I appreciate your comments and support so very much. Be sure to come back again as I will be sharing another fun and hopefully inspiring project! Until then,
2013 fall winter melsig-450