14_06

Pazzles Craft Room Monthly Challenge Project BBQ Layout

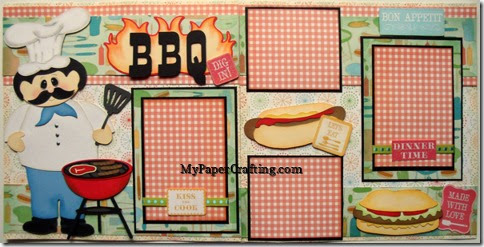
Hello crafty friends, Today I am sharing a super fun layout I created with Pazzles Craft Room Files. The theme for this month’s challenge is….The Heat Is On. So any way you want to interpret that. Here is what I came up with.

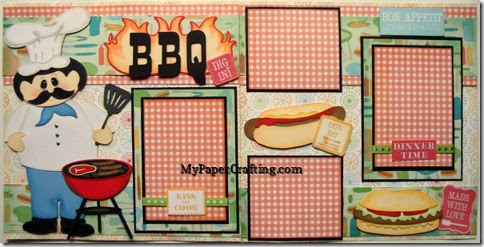
bbq layout-w logo-480

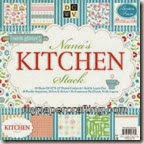
YEP…When I think about the heat I think of summertime BBQ’s. So here is a look at the layout I created. All of the files are from the Pazzles Craft Room library. If you don’t own a Pazzles, you can still take advantage of the craft room as all of their files are in SVG format. All the designer papers are from the DCWV Nana’s Kitchen stack.


chef-480

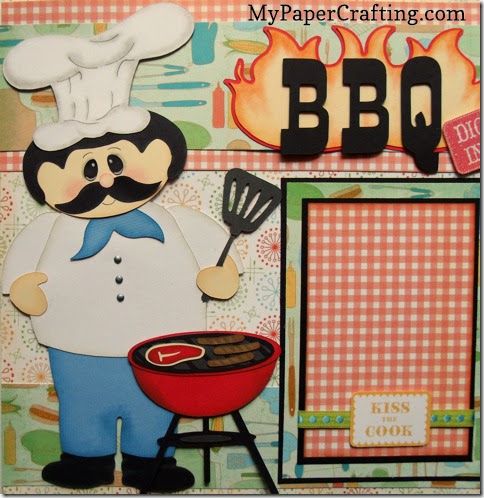
Here’s a closer look at my little chef. In order to create him, I took a combination of files from the craft room. I used the Leprechaun file along with the Chef file to create him. 


bbq title-480

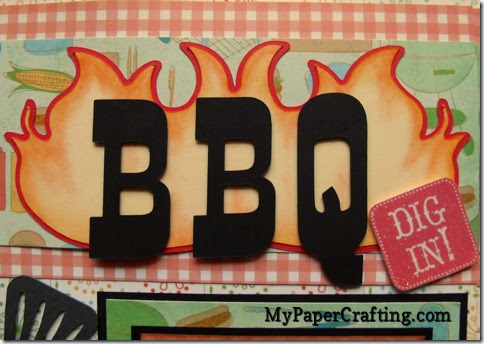
For the BBQ Title, I simply welded the flame together after mirroring the one in the file.  I inked and chalked the edges of the top layer to give the flames a little extra dimension. The little dig in sign is from the Nana’s Kitchen stack as well. I just cut it out of one of the sheets of paper in the stack.


burger cu-480
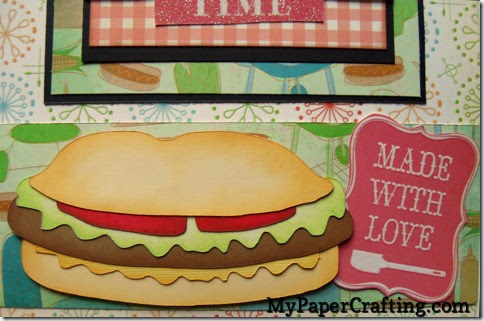
Here’s a closer look at my hamburger. Another great craft room file. I inked the edges of the bun as well as the beef, tomato, lettuce and mustard. The made with love sign is also from the DCWV stack. Again I just cut it out of one of the sheets of paper in the stack.

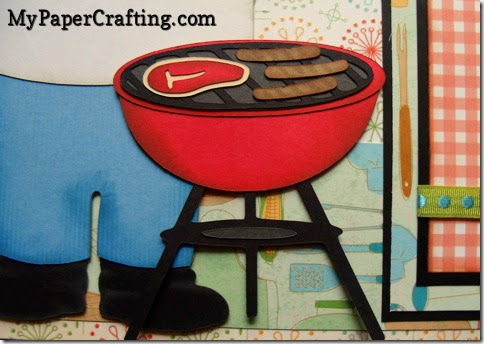
grillcu-480
Here’s a closer look at the good food cooking on the grill. I added little char marks to my hot dogs using a Versamarker pen. An old tip I have been using for years in my paper piecing projects.

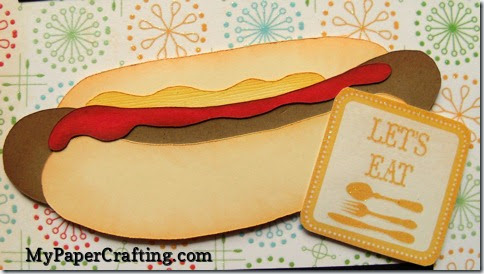
hotdog-480
And here is my hot dog. Again, I inked the edges of the pieces for a little extra dimension. The let’s eat sign is also from the Nana’s Kitchen stack.

bbq layout-w logo-480
Again, here is one last look at the entire layout. Hurry and get your creative thinking caps on. There is still a couple of days left to enter this month’s challenge. You could win a nice prize. Just CLICK HERE to head over to the craft room!

Products Used for this project

pazzles-cutter-200
Pazzles Inspiration
dcwv nana's kitchen stack-200

menu chef-200


leprechaunfront-back-200 hamburger-200 hot dog-200

grill-200 grilling utensils-200 bbq title-200

whimsy ink pad

Z2501-adventure
enchantment ink-140


Z2503-basics
basic brights
tape runner-200

foam tape-200
memory book glue dots-200
basic cardstock pack-200

white cardstock-200
whimsy cardstock pack-200
adventure cardstock pack-200


chalk marker 140
Chalk Marker
micron black pen 001
Black Fine Tip Pen
Additional Supplies
Misc. Mini Brads

Well that about covers it for today. Be sure to check out the Pazzles Craft Room Challenge and join the fun! As always, thank you so much for sharing your crafty time with me! Be sure to come back tomorrow as I share another fun card I created. Until then,
2013 fall winter melsig-450

Stinkin’ Cute Card

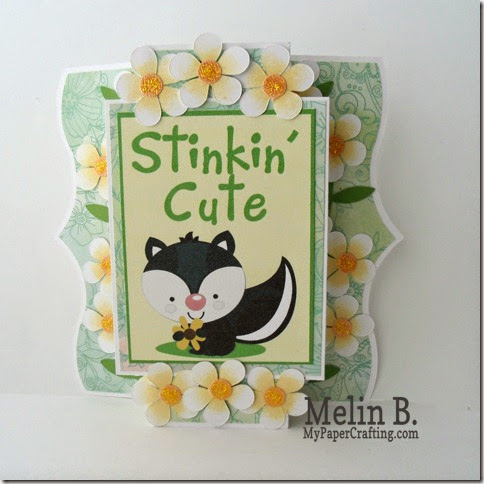
stinkin cute card by melinw logo-480
Hello crafty friends,
Hope you’re having a wonderful Wednesday!

Today I am sharing a cute card I created for my Pazzles Design Team. A while back I had created some cute “pocket cards” for one of my DT projects. You can see the entire post HERE.
pocket scrapping cards by melin-480
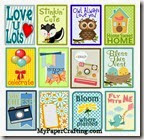
While pocket scrapping is a fun way to get some scrapping done However, you can also use these cute little cards for traditional scrapbook pages, as tags for gifts or even as sentiments for a card. So here is what I came up with using one of the pocket scrap cards.


stinkin cute card by melinw logo-480
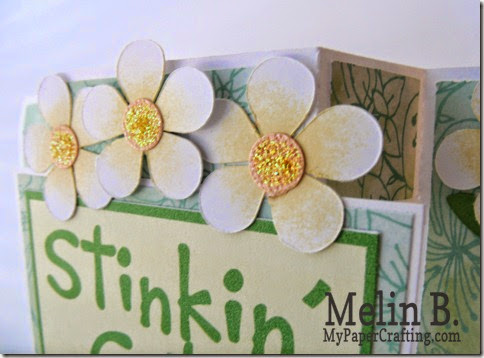
I started by using the Fun Folds 2 shutter card base. I cut that in plain white cardstock. I then cut the “panels in some DCWV Floral Fair patterned paper.

melin flower closeup-480
I cut several of the Creamy Flower file in plain white cardstock. I also cut several of the centers in some Bazzil Tangerine Bling. I then used the stem from the Long Stemmed Swirly Flower file for my stems and leaves. I used some Buttercup Ink from Close To My Heart and sponged the ink in the center and worked my way out. I left the tips of the flowers white so they would have some character and depth. I then added the circles to the centers and then added some Yellow Stickles to the centers.

stinkin cute card by melin2-480
Instead of using the Oval frame that came with the Fun Folds Shutter card base, I took that off and then printed and cut the Stinkin’ Cute print n' cut pocket card for the center sentiment. I adhered the panels to each of the sections of the card base and then all the pretty little flowers and stems to the two sides of the cards. I also added some flowers to the top and bottom of the center panel and then I was done! Very quick and easy.

Products Used For This Project

pazzles-cutter-200 dcwv floral fair stack-200
DCWV Floral 
Fair Stack
fun folds2 shutter card-200

creamy flower 200 pocket scrapping cards by melin-480
buttercup ink-200

tape runner-200
memory book glue dots-200

foam tape-200
yellow-stickles
white cardstock-200

If you are a craft room member, then all of these files can be yours! CLICK HERE to check out the craft room. Remember, even if you don’t own a Pazzles, you can still sign up for membership. All of the files come in SVG format too!

Well, this about covers it for today! Be sure to come back as I share another fun, Pazzlelicious project with you! Until then,
2013 fall winter melsig-450

Little Lady Paper Piecing Set

Hello crafty friends,
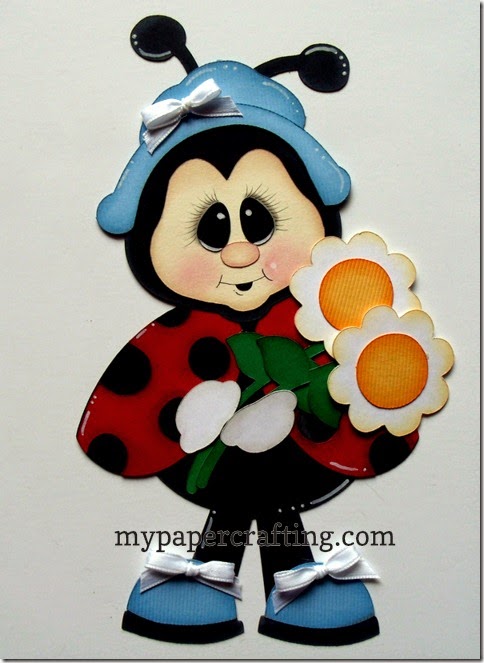
Hope your Tuesday is a crafty one. I have been trying to get back into the crafty mode after having so much going on the last couple of months. Here is a cute little Ladybug paper piecing set I recently created. I was in a ladybug kinda mood…so here is what I came up with.
GEDSC DIGITAL CAMERA
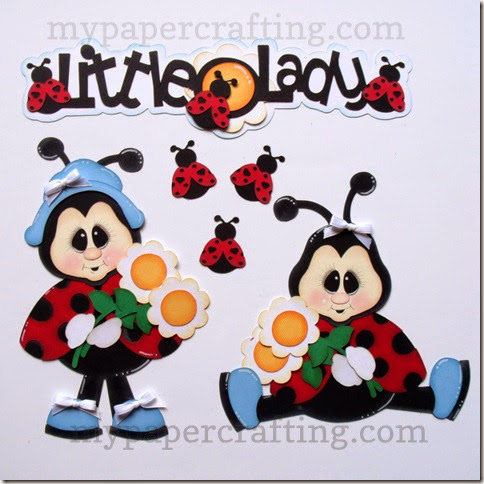
Here are all the pieces to the set. Two paper pieced ladybugs a title and three small ladybug die cuts.


ladybug sitting-480
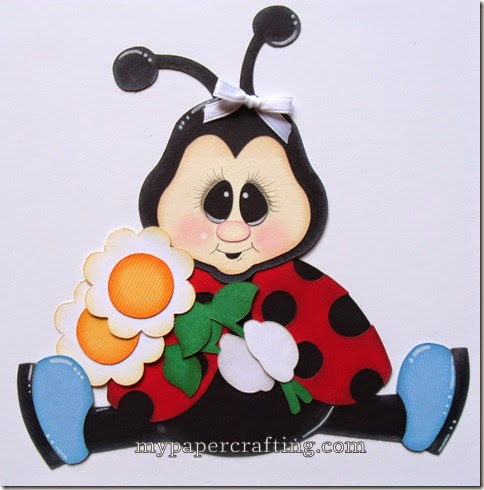
Here’s a closer look at the cutie sitting.


ladybug standing-480b
Here’s a closer look at the sweet ladybug standing.


little lady bugs-480
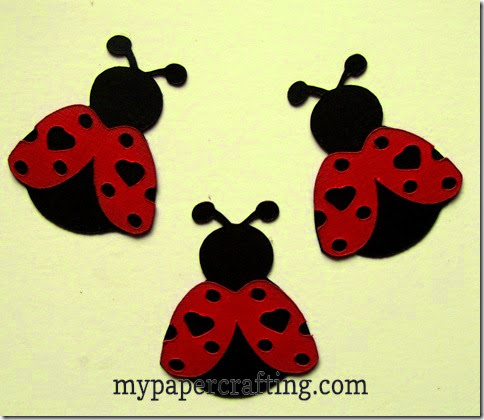
Here is a closer look at the three little mini ladybugs.


little lady title-480
Here’s a closer look at the title. It is hard to see, but the lettering layer is layered onto another white outline layer.

For those who may be interested, I have this finished set available on EBay: HERE

If you would like to complete a set of your own, you can purchase the cutting files from PaperCraftingWorld.com: HERE
or if you don’t have a cutter and just want to assemble your own, I have a few pre-cut, ready to assemble sets available on Page-Kits.com: HERE

As always, thank you so much for dropping by and thank you to all who visit and have patiently been waiting for some new free files. I will be making some very soon. Be sure to stop back by tomorrow as I share another fun, crafty project. Until then…
2013 fall winter melsig-450

Pazzles-Spellbinders Digital Die Sea Horse Card

Hello crafty friends, 
Happy Sabbath! I hope you are enjoying your day. It is my turn to share over on the Pazzles Craft Room Blog today. For those that don’t know, I love, love, love my Pazzles Inspiration

Pazzles also has a wonderful resource called the Pazzles Craft Room. For a small monthly subscription, you can have access to hundreds and hundreds of cut files. The best part, if you don't have a Pazzles Inspiration, but have a machine that can cut SVG type cutting files, then you can still join and take advantage of all they have to offer...just sayin' :-)


Today I am sharing a cute card I created with some of the latest Spellbinders digital die collections. Spellbinders and Pazzles have teamed up to bring you some of the fabulous Spellbinders dies in digital format. This means you can now have access to some of the Spellbinders collection for your cutting machines!


Here’s my finished card. I used the Labels 13 S4-248 set to create my card base. I simply created a duplicate of the largest layer and welded them together at the top. I then cut one of the smaller layers using some of the very pretty paper in the DCWV Linen Closet cardstock stack. I then proceeded to cut out another smaller layer and then used that same sized layer and my lattice tool to create a latticed layer. I glued that on top of the bottom layer that was cut with some pretty glitter paper from the same stack.


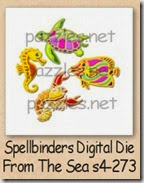
Next, I moved on to the pretty Sea horse from the From the Sea collection. I cut out several layers using a combination of papers from the same DCWV stack and also some plain white cardstock. With the plain white cardstock layer, I proceeded to ink the horse in varying shades of blues, purples and pinks. I then layered that on top of the other layers and then added some star dust stickles to dress it up.


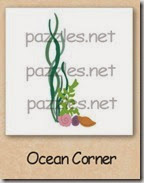
I then used the Ocean corner cut file and cut out the seaweed and the sea shells all in white cardstock. Once again I used my various colored inks to color the various pieces. I love the look of inking them when they are a white base. It gives the die cuts a softer, watercolor type look and you get more "depth" to the look of your die cuts. I added some blue liquid pearls around the seaweed and horse to simulate smaller water bubbles.


I dressed up my shells with just a touch more of the Star dust stickles. Because it is iridescent, it takes on the color of each shell.


Finally I created the sentiment in my software by simply using a font and typing it into a circle. I printed and cut that out and inked the edges. I then cut several smaller circles and inked them to simulate bubbles. Lastly, I just love that we have access to the Spellbinders collection with our Pazzles. Truly a match made in crafty heaven!

Supplies Used

pazzles-cutter-200

dcwv linen closet stack-200
dcwv linen closet cardstock stack-200
from the seas4-273 spellbinders-200
Spellbinders
From The Sea

labels13s4-248 spellbinders-200
Spellbinders
Labels 13
ocean corner-200
Ocean Corner
Z2501-adventure
whimsy ink pad
tape runner-200

foam tape-200
stardust stickles
baby blue liquid pearls

Don't forget to pop over and check out the Pazzles Craft Room. They have some wonderful projects by the rest of the design team, great crafty inspiration and even some freebies too!

Well, that about covers it for today crafty friends. Be sure to come back tomorrow as I share another crafty project! As always thank you so much for sharing your crafty time with me. Until the next time,
2013 fall winter melsig-450