14_07

Jubilee 3 of 3 Layout

Hello crafty friends,
Hope your Thursday is a good one so far. Here is my third project of three that I made with the Jubilee Paper Pack and Jubilee Chipboard Complements.


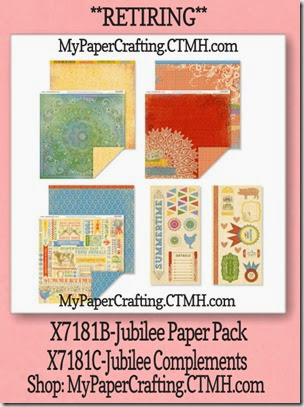
For this layout, I used the remaining pieces of paper left from the paper pack. I did also include some regular white cardstock and some kraft cardstock. I also included a piece of buttercup from the basic cardstock set for the honeycomb overlay. Sadly, the Jubilee paper pack as well as the matching chipboard complements will be retiring at the end of the month. So don’t miss your chance to snag it while it is still available.


jubileepprcomp-480

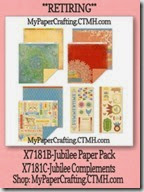
Please note: The Jubilee Paper Pack comes with the 6 designer papers pictured above as well as six sheets of coordinating cardstock. That is twelve pieces of 12x12 paper for less than $10! Jubilee Paper Pack  Jubilee Complements


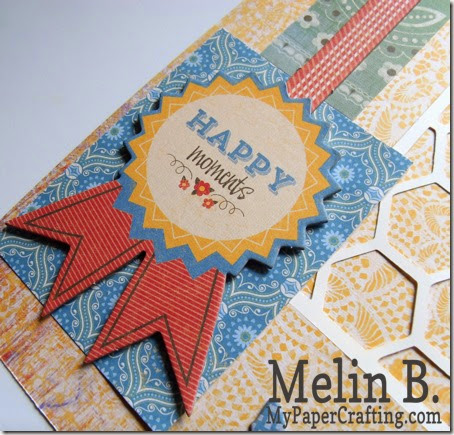
Here’s a closer look at the nice chipboard element. I used one of the “zip strips” and wrapped it around my photo mat. I then used a glue dot to adhere the element to the zip strip so that a photo will slide easily underneath and yet allow the chipboard element to be secure.


happy moments chipboard-450

Here’s a look at one of the other chipboard elements. I used some foam tape to give it just the slightest lift off the page for a little extra dimension. Note: the red and white gingham strip at the top is also a chipboard element. It isn't a piece of ribbon although it certainly looks like it.


For the lined journaling note card, I simply used the lined note stamp included in the Cricut Artbooking bundle. I stamped it with my Saddle Ink Pad and then trimmed it down so that it looked like simple lines. The chipboard element came as a tag element. I chose to trim it down so that it looked like a sentiment only.


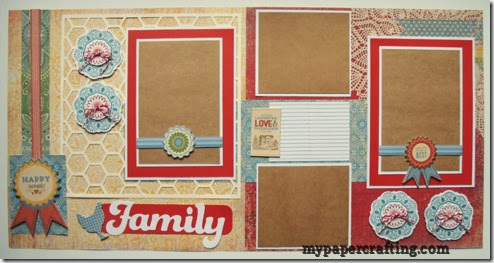
Here’s a closer look at the Family title. The red strip underneath was again a piece of left over paper. I used some white cardstock and my Artbooking cartridge to cut out the letters. I cut them out at 1.75”. The cute Chicken element is also one of the chipboard elements in the set.


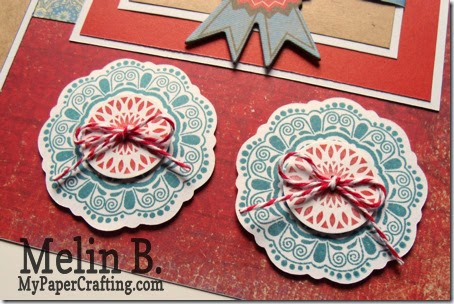
stamp medallions-450


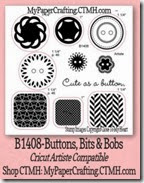
For these medallions, I used the Beautiful Friendship stamp set and the Cricut Art Philosophy cartridge to cut out the shapes. I then stamped it using my Twilight ink pad. For the centers I used a couple of the stamps from the buttons, bits & bobs set. I used my Artiste cartridge to cut out the circles and then placed the smaller stamp into the larger one. I inked them both up with my Cranberry Ink pad and stamped them. I finished them up with a bit of the Cranberry Twine from the Harvest Assortment Twine


Note: The Twilight Ink Pad, Harvest Assortment Twine are both retiring products.

family layout-490


Products Used For This Project

cricut expression-200
Cricut Expression
artbooking-200
art philosophy-200

artiste-200
jubileepprcomp-200

kraft cardstock-200
white cardstock-200

twilight-200
** RETIRING**
b1400-beautiful friendship-AP-200

paradies-200
Harvest Twine Asst.
** RETIRING**

foam tape-200
b1408-buttons-bits-200
Buttons, Bits & Bobs
tape runner-200
** RETIRING**
cranberry ink-200
saddle-200


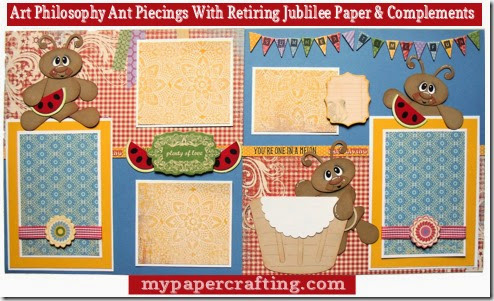
Don’t forget, place any amount order through my Close To My Heart Link and I will send you either the cute little Ant Piecing Recipe or the Little Piggy Piecing Recipe. These little guys were featured on the first two Jubilee projects

summer time fun ap ants jubilee-490


summer time bbq w piggies490nadb


Well, I think this about covers it for today. As always, thank you so much for sharing your crafty time with me. I truly appreciate it. Be sure to come back by tomorrow as I share another fun and hopefully inspiring project! Until then my dear crafty friends, 


Daisy Card With My Pazzles, DCWV Paper & Fun Flock

Happy Hump day crafty friends,
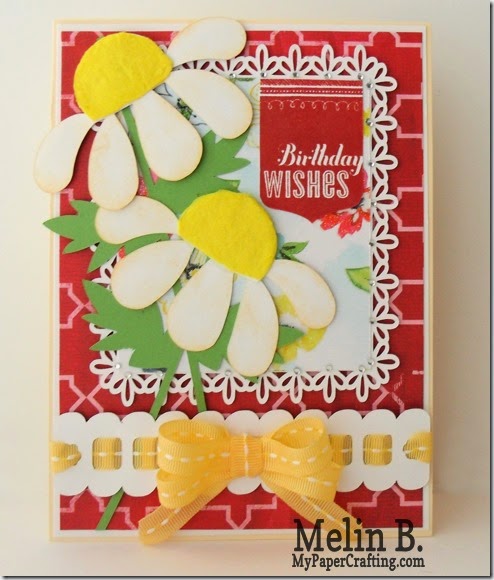
Hope your week is going well. Today I am switching gears and sharing a card I created with my beloved Pazzles Inspiration for my Pazzles Design Team. Here’s what I came up with.


daisy birthday card by melin-490
Love this super fun card. I chose the DCWV Solstice paper stack for all the patterned papers along with white, cream and green Bazzil cardstock.

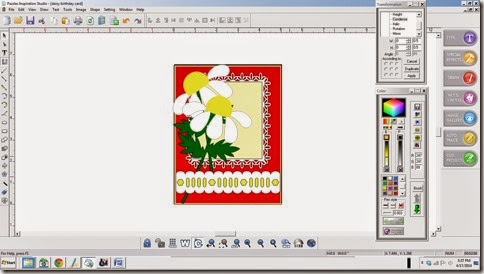
card in pazzle software-480
I started by using my software to create my card's layout. One of the fantastic features of using the Pazzles Inspiration! Creating your project on your “virtual mat” in the software first allows you to get all your pieces sized correctly.  I then used my software to cut out the Daisies, the borders and the square doily all from the craft room library. I did edit the ribbon border to remove some of the extra dash lines and then thread some ribbon through the ribbon border.

flocked daisy cu1-490
I added some yellow fun flock to the centers of the flowers to give them some dimension. I used some liquid glass as my adhesive for the fun flock. I applied a small amount and used my finger to spread the liquid evenly across the center of the flower. I sprinkled the fun flock onto the liquid and tapped it gently so it would set into the liquid and be even. I gently brushed off the excess and that was it!  I also inked the edges of the flowers with my Crème Brulee ink pad.

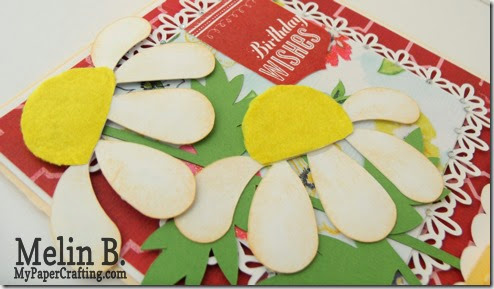
daisy closeup2-490
Here’s a shot of how I layered them onto the card. I used some foam tape under the square doily to give it just a slight bit of dimension.

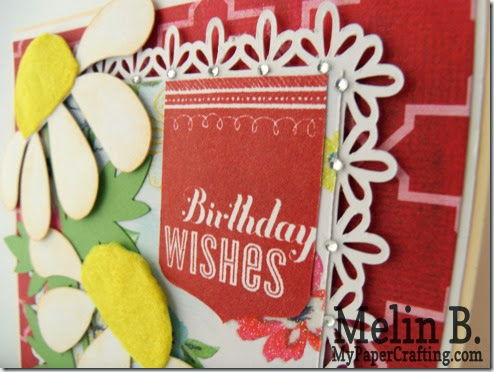
birthday cu-490
I added some bitty sparkles to the outer edges of the doily. The birthday sentiment is from Close To My Heart. I stamped it with my matching Cranberry ink pad.

Products Used For This Project

pazzles-cutter-200
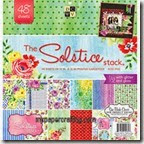
dcwv solstice stack-200
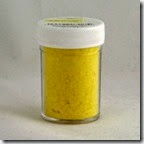
ducky yellow
Ducky Yellow Fun Flock by Stampendous

ladybug flower-200
Craft Room File
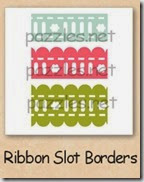
ribbonslotborders-200
Craft Room File
square doilie-200
Craft Room File

cranberry ink-200
artiste-200
Artiste Birthday Stamp

tape runner-200
foam tape-200
liquid glass-200

bitty sparkles-200
basic cardstock pack-200
white cardstock-200

I decided to enter this card into the...
Through The Craft Room Door Anything Goes Challenge


Well crafty friends, that about covers it for today! As always, thank you so much for stopping by and sharing your crafty time with me. I hope you have enjoyed your visit. Be sure to stop back by tomorrow as I share another super fun and hopefully inspiring project! Until then,

BBQ Layout With Jubilee Paper, Complements & Little Piggy Cricut Paper Piecing 2 of 3

Happy Tuesday Crafty friends,
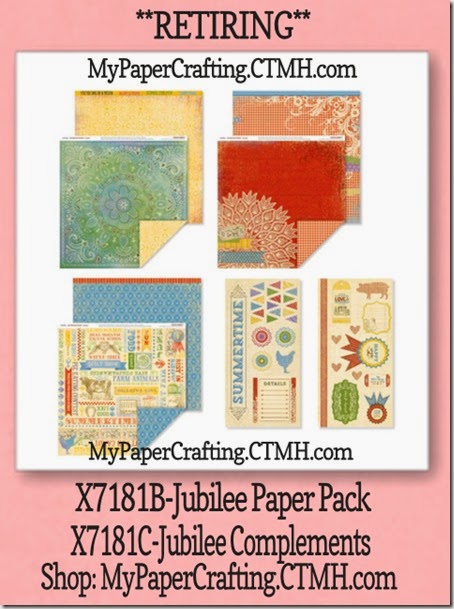
Hope you’re having a terrific day! Today I wanted to share another layout I created with the awesome summer Jubilee paper pack and matching chipboard complements elements from Close To My Heart. Sadly this fantastic set will be going away at the end of the month. So here’s what I came up with.

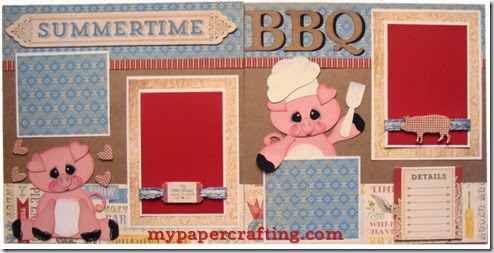
summer time bbq w piggies-490
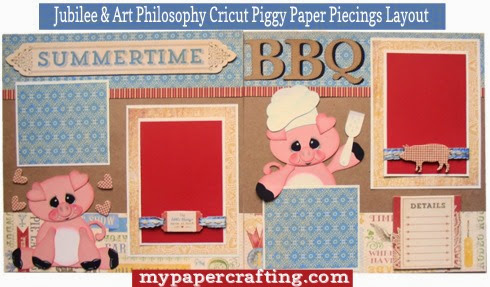
Here’s a look at my complete layout. I once again used papers from the Jubilee Paper Pack. I did add some white cardstock as well as some kraft cardstock and black cardstock. I also used a piece of pink paper for the piggy piecings. But other than that, the kraft background and all other papers are still from the one pack of Jubilee. Of course the Jubilee complements on this layout are from the same pack that I used with yesterday’s layout. You really do get a lot of “bang for your buck” with these sets.

summertimechipboard-490
Here’s a closer look at the summertime chipboard element. I love these elements. They are a nice firm chipboard.

piggy-sitting-cricut-paper-piecing-490
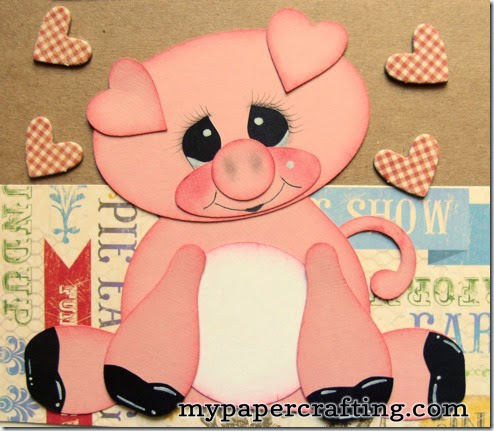
Here’s a closer look at the sweet little piggy paper piecing I created. He is made with the Art Philosophy cartridge and my Expression. No other programs or files. Just used cuts from the cartridge.

jubileepprcomp-480


My special: Make any purchase through my Close To My Heart Link this month and I will gladly send you the recipe to re-create this adorable little Piggy Piecing or the cute little Ants from yesterday’s project HERE

photo wrap-490
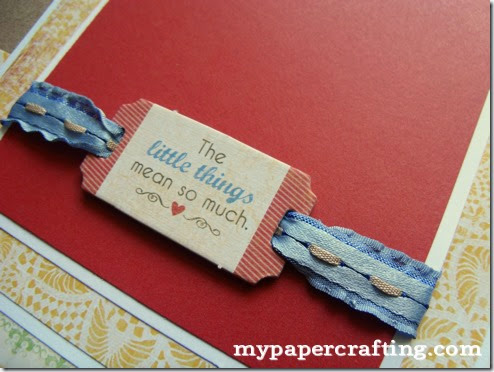
Here’s a closer look at the pretty chipboard element that I used to wrap my photo mat with. I used some ribbon from my stash. A photo will slide easily underneath.

piggy topper-490
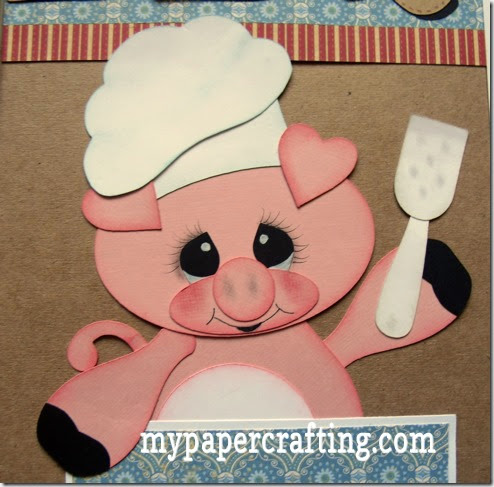
Here’s a closer look at the little piggy chef topper. I think he turned out super cute. Again, he is from the Art Philosophy  and Artiste Cartridges.

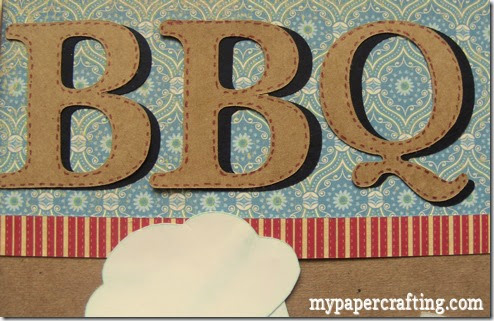
bbq ltrs-490
Here’s a closer look at the BBQ letters. These are cut from the Art Philosophy  and Artiste Cartridges. I cut them in kraft and black and then layered them and then did a little faux stitching to give them just a bit more interest.

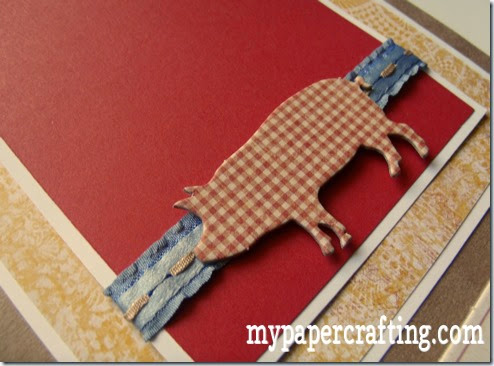
piggy-chipboard-490
Here is a closer look at the cute piggy gingham chipboard element. I used some glue dots to adhere him to the ribbon. That way a photo will slide underneath.


details-490
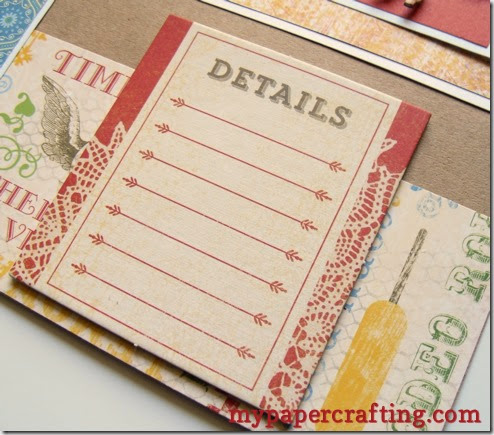
Here is a closer look at the nice “details” chipboard element. Perfect for some journaling!


Here's one last look at the entire layout.


Products Used For This Project

 
art-philosophy-200_thumb
Cricut Art Philosophy
jubileepprcomp-200_thumb
**RETIRING**

white-cardstock-200_thumb
kraft-cardstock-200_thumb
basic-cardstock-pack-200_thumb
Bamboo Cardstock from Basic Cardstock Pack

foam-tape-200_thumb
tape-runner-200_thumb
**RETIRING**

memory-book-glue-dots-200_thumb

Additional supplies
Pink paper for piggy piecings
Misc. ribbon

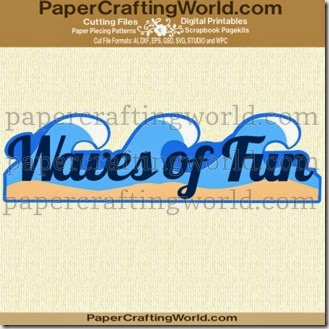
This week’s free SVG File for Newsletter and Email Update Subscribers.
waves-of-fun-title-ppr-cf-325_thumb1
Link will be available to newsletter and email update subscribers. CLICK HERE to subscribe now.
Formats Available: AI, DXF, EPS, GSD, KNK, MTC, SCAL, STUDIO, SVG and WPC.

Well, that about covers it for today! As always, thank you so much for sharing your crafty time with me. Be sure to come back tomorrow as I share another fun project  Jubilee Paper Pack and Jubilee Chipboard Complements projects. You will love it! Until then,
2013-fall-winter-melsig-450_thumb2