16_12

12 Days of Memories March & MORE Freebies

Hello crafty friends,
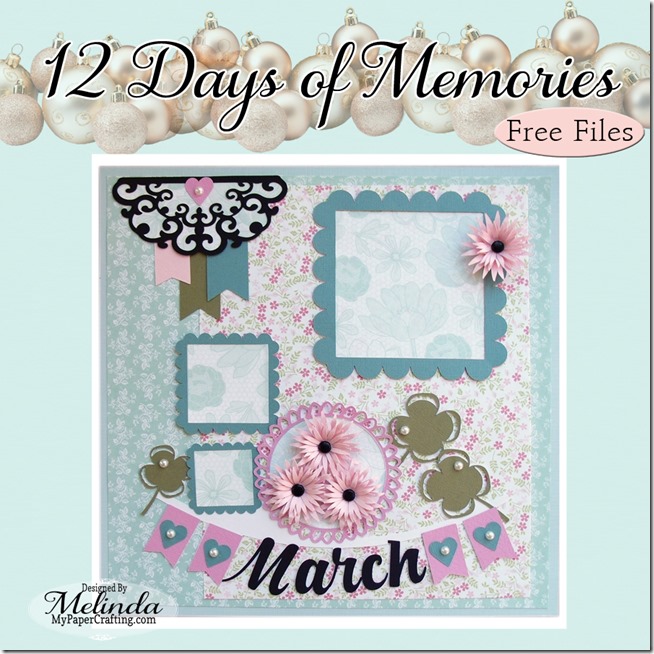
Today I am back again with another cute calendar page for the 12 Days of Memories over at the Pazzles Craft Room. Here is a look at the March Calendar Page.
GEDSC DIGITAL CAMERA

Once again the Craft Room Editor Michelle created the title and then I went from there.

GEDSC DIGITAL CAMERA
I added the pretty flowers and the little hearts.
GEDSC DIGITAL CAMERA
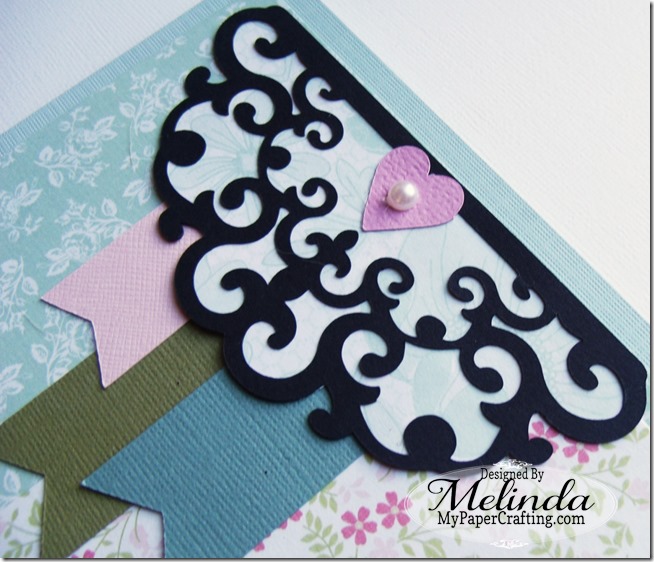
I also created this pretty half circle embellishment.

GEDSC DIGITAL CAMERA
Here’s a closer look at the pretty flowers. I layered them and then added some black brads.
Once again I used some pretty flowers from the DCWV Fresh Floral Stack.
To grab the free files to recreate this layout. Click HERE.

As always, thank you so much for stopping by, be sure to come back tomorrow as I share yet another page.

Don't forget to head over to Facebook and join my group: HERE  and like my Facebook page: HERE

Until then,

16_11

12 Days FREE FILES Project

Hey crafty friends,
Today I am sharing a layout I created for the Pazzles Craft Room  12 Days of Memories event. Craft Room Editor Michelle created the titles to each project and then we were able to create from that point.  So here is what I created.
GEDSC DIGITAL CAMERA

Embossed Chevron Heart
Here’s a close up of my embossed chevron heart.

Dimensional SVG Roses
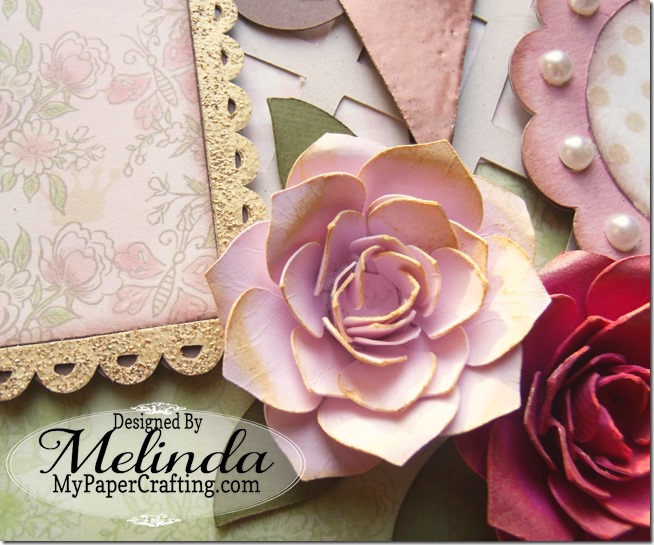
Here’s a closer look at the pretty flowers. I really enjoyed creating this project and used some embossing powders and inks. I also used some pretty papers from the DCWV Luxury Stack.  For complete details and to get the FREE FILES…You must head over to the Pazzles Craft Room HERE.

Be sure to leave me a comment and let me know you stopped by!

Until the next time,

5 Super Cute Fall Treat Boxes

SVG Fall Halloween Thanksgiving Treat Boxes
Hello crafty friends,
Today I am sharing  these super cute files I recently created exclusively for the Pazzles Craft Room. It is a set of five different treat boxes. I think they all turned out so stinkin’ cute!!!

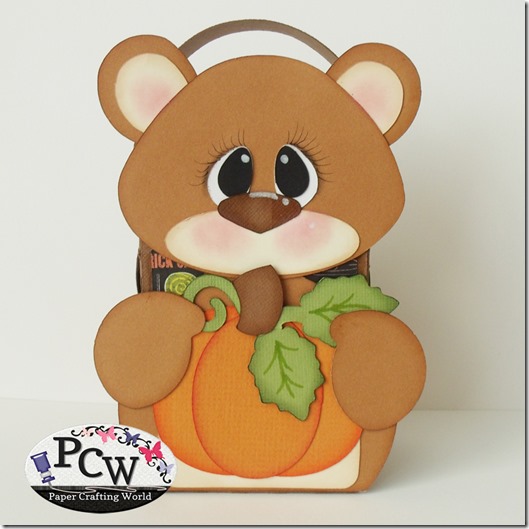
SVG Cut File Bear Pumpkin Treat Box
Bear Pumpkin SVG Treat Box File
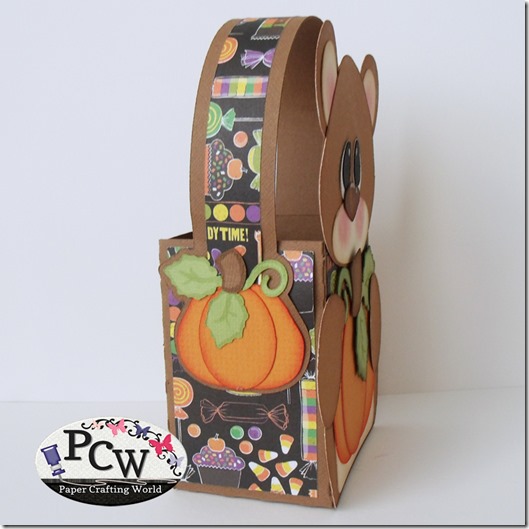
Side view of the bear with pumpkin box.

Crow SVG Cut File Treat BoxCrow SVG Cut File Treat Box
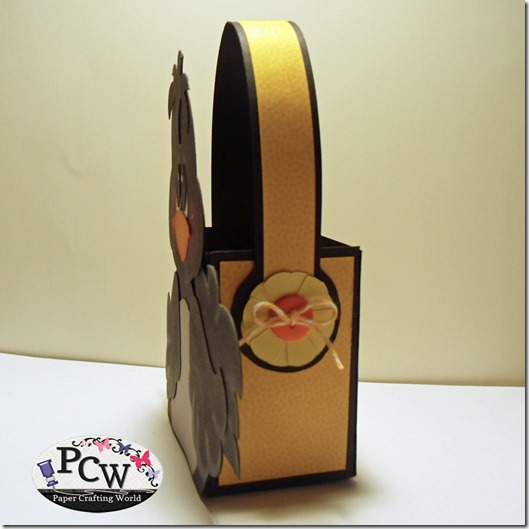
Side view of the crow box.

SVG Scarecrow Treat Box
SVG Cut File Scarecrow Treat Box
Side view of the Scarecrow Treat Box.

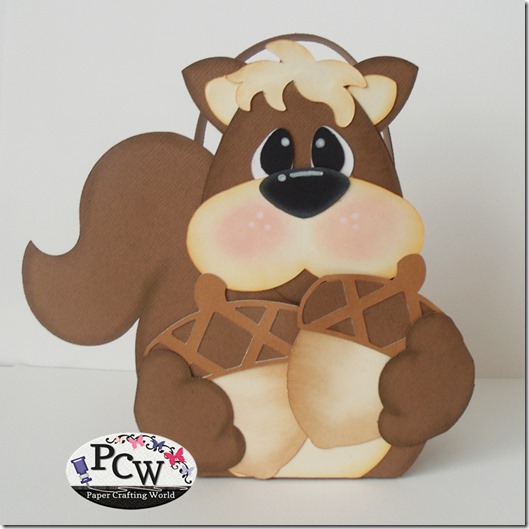
SVG Squirrel Treat Box
Squirrel SVG Treat Box
Side view of the Squirrel Treat Box.

SVG Cut File Turkey Treat Box
SVG Turkey Treat Box
Here is a side view of the little Turkey Box.

These super cute boxes are only available at the Pazzles Craft Room for members. You can sign up HERE.

Be sure to head over and check out all of the wonderful projects and files.

As always, thank you for stopping by and sharing your crafty time with me. Be sure to stop back by again as I will be sharing  many more projects I have been working on for the holiday season.

Until then,
Have a wonderfully crafty day.

3D Fall Metal Pumpkin Home Decor With Pazzles Embossing Tool

Hello crafty friends,
Melinda here with you today, and I have a super fun project to share with you.  As I looked around my craft room, I spied some of that fun metal craft I had used on a previous project. I decided that I wanted to do something with it, but what? I headed over to Pinterest to see what would spark my creative juices. I was going through some pins….Like most crafty hearts….I can really get lost down the rabbit…err Pinterest hole! But then it hit…inspiration. I saw these wonderful little “pumpkins” made out of mason jar lids….HERE.  I didn’t have the Mason jar lids, but I had my craft metal and my Pazzles!!!  So I went to work designing the pattern for the embossing. I didn’t just want to cut the metal into strips. Once I finished designing the strips, I used the Pazzles Embossing Tool and embossed the pattern and then cut them out. I cut out a total of 8 strips. You can find the file for this project here: Pazzles Craft Room 3D Pumpkin File.


I then used some Craft Glue Dots to adhere them at the bottoms on angles. Because the metal is very thin and easy to bend, I simply bent them up to the center and added more craft glue dots.

For the stem, I just cut a portion of the 8th strip and bent it into the shape I wanted. I adhered that to the top. In order to be able to remove the tea light I added to the inside, I left two of the strips un-bent. When the time came to bend them up and add them, I used a removable glue dot so that they would detach easily.  Because my metal was silver, I decided to use my Copic markers to color the strips and the stem. I then cut out my sunflowers and leaves and added them to the top. This adds a pretty decoration and also hides the “mechanics”.


For the centers of the sunflowers, I used a 3D glue dot and “rolled” it into a bit of a ball. I then sprinkled some brown glitter onto it. This gives the centers of the flowers some pretty dimension. I also inked the sides of the leaves and used my McGill flower shaping tool to give them a little dimension so they would naturally curve with the shape of the pumpkin.
Embossed Metal Pumpkin
The last step was adding the battery operated tea light to the center. My beloved hubby helped me here. He actually went to the store and got them for me! I was so proud of him. The craft area of the store is like asking him to go into a highly contagious zone or something…lol! I thought it came out super cute and love the soft, warm flicker of the tea light. It will be a welcome addition to my fall decorations!  I will have to make a few more!

Supplies Used


Copic Markers (Sanguine and Copper)
Glue Dots  Regular, 3D and removable
Yellow and Green Bazzill Cardstock
Rain Forest Set and Wood Grain Set Cat’s Eye Ink Pad Sets
Battery Operated Tea Lights


Be sure to head over to the Pazzles Craft Room to check out the other fun stuff!
Until the next time,