16_10

Bear With Pumpkin Cart Card

Happy Friday crafty friends,
Where did this week go?  Seems like it was just Sunday evening and whamo, the weekend is once again upon us! Today I am sharing a super fun and easy card I created with this month’s challenge in mind. Our challenge this month is an “anything goes” challenge with an optional twist. The optional twist is to use either a pumpkin or leaves on your project. So here is what I came up with
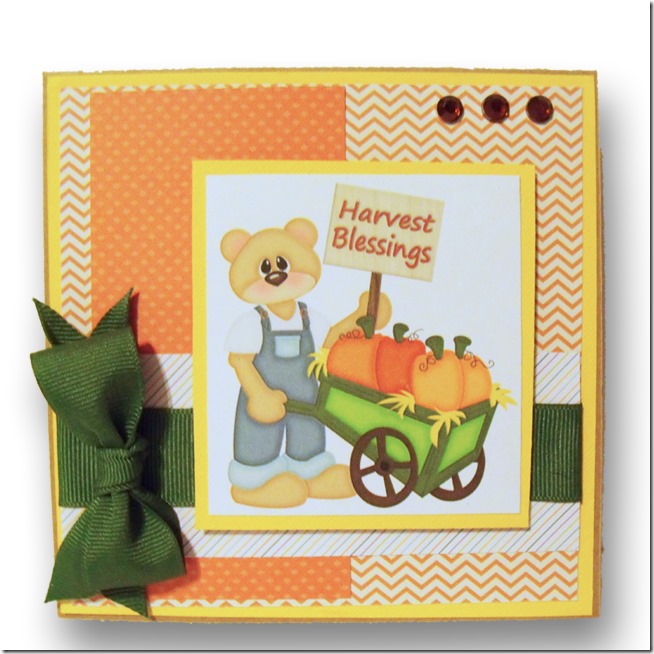
Bear w pumpkin cart Digital Stamp Card
Here’s a look at my completed card. It is a square shape and measures a 5.5 x 5.5. I started with a Kraft cardstock base. I then used some yellow cardstock for some mats and then turned again to my DCWV Fall & Halloween Basics stack for the patterned papers. Bear w pumpkin cart Digital Stamp Card
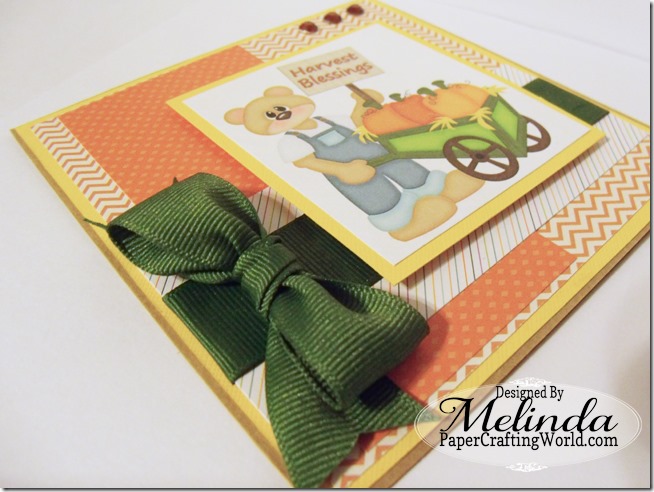
Here’s a closer look at the nice grosgrain ribbon I used to make the bow and the border.


Bear w pumpkin cart Digital Stamp Card
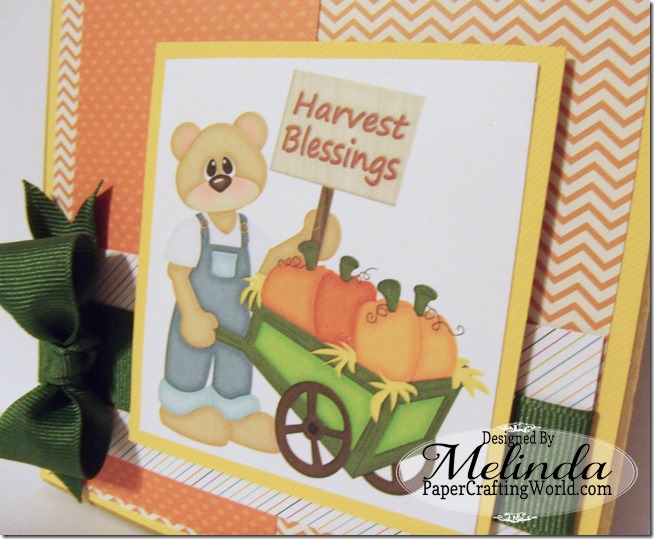
For the main image, I used the Bear with Pumpkin Cart DSb set and printed out the “finished” bear image.
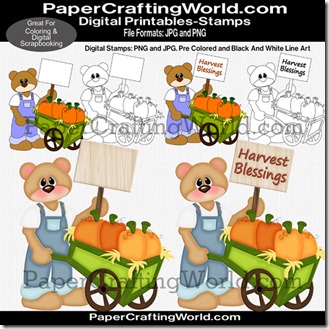
The image comes with all the shading done so it really is as easy as printing it off and either cutting around it with your craft cutter or just cutting a mat around it like I did. The set includes both .png and .jpg files so even digital crafters can get some use from them. You also get the set in a black and white line art version for coloring in yourself as well as a plain colored version.
bear w pumpkin cart pprdsb-325
Supplies Used
Bear with Pumpkin Cart DSb
Yellow Cardstock
DCWV Fall & Halloween Basics Stack
Misc. Gems

As always, thank you so much for stopping by and sharing your crafty time with me. Until the next time, have a wonderfully crafty day.

16_09

School Time Apple Card Nugget Treat SVG Cut File Box

Hello crafty friends,
I know it’s been a while, but I really have been crafting. Just not as often. Today I wanted to share a project I recently made for the Pazzles Craft Room. This month I was tasked with making a project with a school theme. I decided to make this super cute and fun treat card for my grandson for his first day of 4th grade! I used the Apple Nugget Box Card file I created exclusively for the Craft Room Library.
GEDSC DIGITAL CAMERA

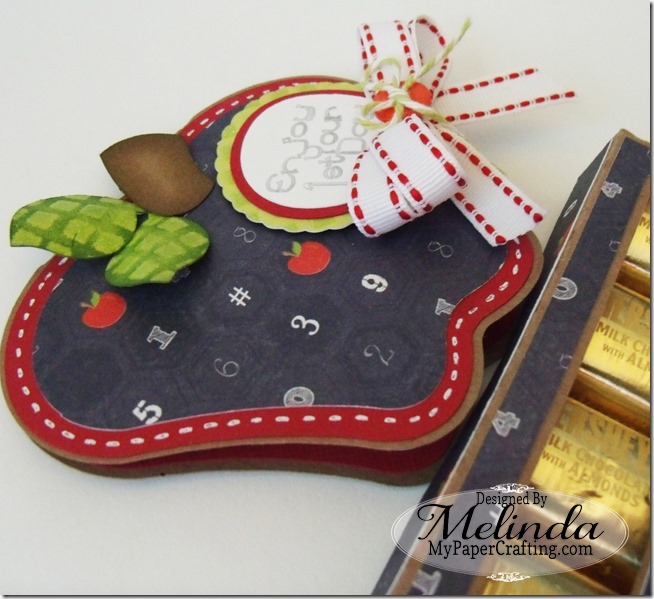
I started with some Kraft cardstock for the base. I then turned to the DCWV - Die Cuts With A View Edumacation Stack for the patterned papers. I also used some red cardstock for the outer apple shapes.

GEDSC DIGITAL CAMERA

The inside has a plain white shape so that I can write a note to our “little man” wishing him a great and successful year.

GEDSC DIGITAL CAMERA
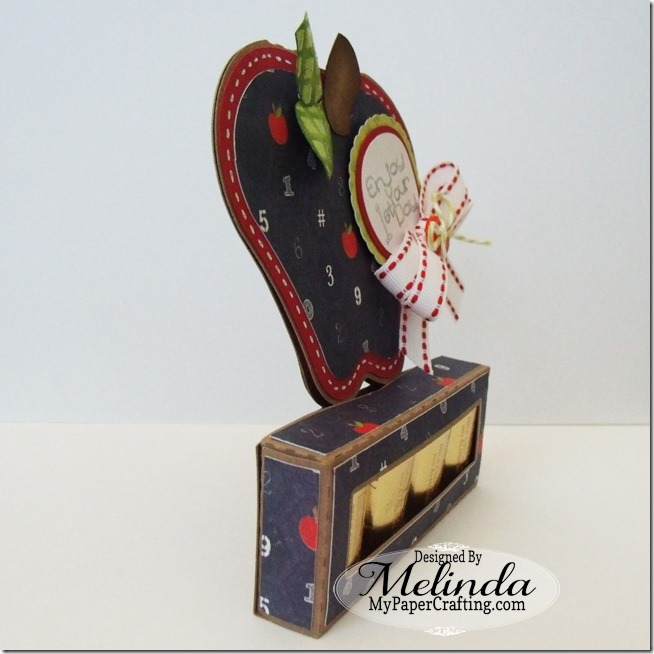
When creating the box, I also used the extra back base cut and the little stabilizer tab for the back included in the file. I cut those in kraft. Because of the shape of the apple, it would be easy to bend it the wrong way and cause it not to stay erect. Adding the stabilizer and extra back firmed it up perfectly.

GEDSC DIGITAL CAMERAGEDSC DIGITAL CAMERA
I then turned to my pen tool and “wrote” the ‘Enjoy your first day’ sentiment with one of my Sakura stardust gel pens. I inked the stem with some cocoa ink and the leaves with some green ink. This gave those pieces a little more pizzazz. I also used my white gel pen to add the faux stitches around the red outside mat.  Lastly, I added a ribbon bow and a button with some twine for a little something extra.

GEDSC DIGITAL CAMERA
Here is one final look at my completed project. As you can see, it fits four little nuggets perfectly in the box.  This would make the perfect teacher's card and or for classmates. Be sure to head over to the Pazzles Craft Room and check out some of the other exclusive files I have created.  Here are just a few of the newest and cutest files.
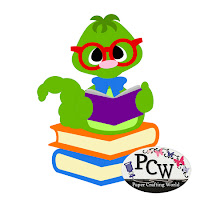
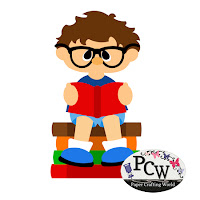
Bookworm SVG Cut File Boy Reading School Books SVG Cut FileGirl Reading School Books SVG Cut File

Plus you will love checking out what the other Design Team Members have created!!! Until the next time, happy crafting!

~Melin


Supplies Used:
Foam Tape
Misc. Button

16_07

Pazzles, Craftwell Ebrush Mixed Media Wall Hanging

Hello crafty  friends,
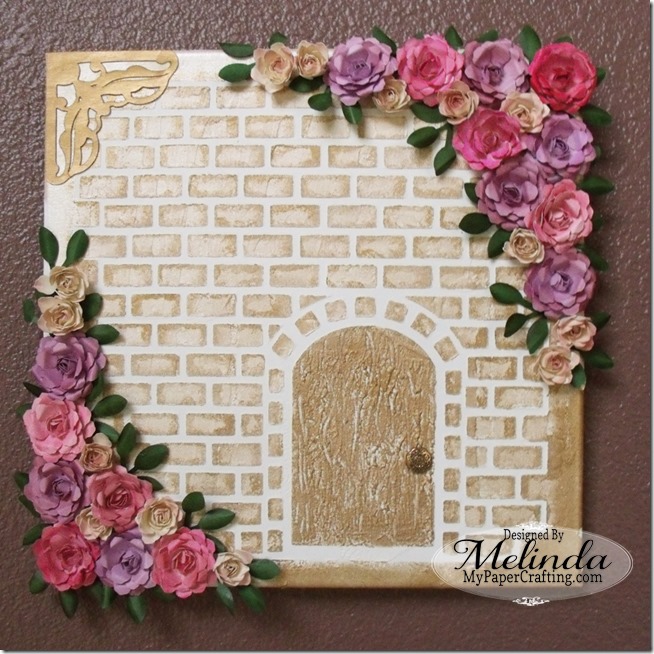
It has been a while since I have posted and wanted to get back into the swing. Today I am sharing my first ever “mixed media” project.  I created this wall hanging with my Pazzles and with my #Craftwell #Ebrush Air Brush.
GEDSC DIGITAL CAMERA
Here’s a look at the finished piece. I started by using a plain 12 x 12 Canvas I picked up from Hobby Lobby.
Next, I got some  Pazzles Stencil Material.  It is a much lighter weight than the typical stencil sheets you get at the craft and hobby stores. That means you can get a lot more creative with the type of cuts. I created the brick wall and door design with my Pazzles Software. Once I was happy with the look, I cut it out of the stencil material. It cut like BUTTER!!! I used a semi-used mat and it had no trouble sticking down while it cut all the “bricks” out.
GEDSC DIGITAL CAMERA
Here’s what the stencil looked like once it was cut out. I left the door piece in it’s place for the moment only because I wasn’t sure what I was going to do. But ultimately I took it out of it’s place.
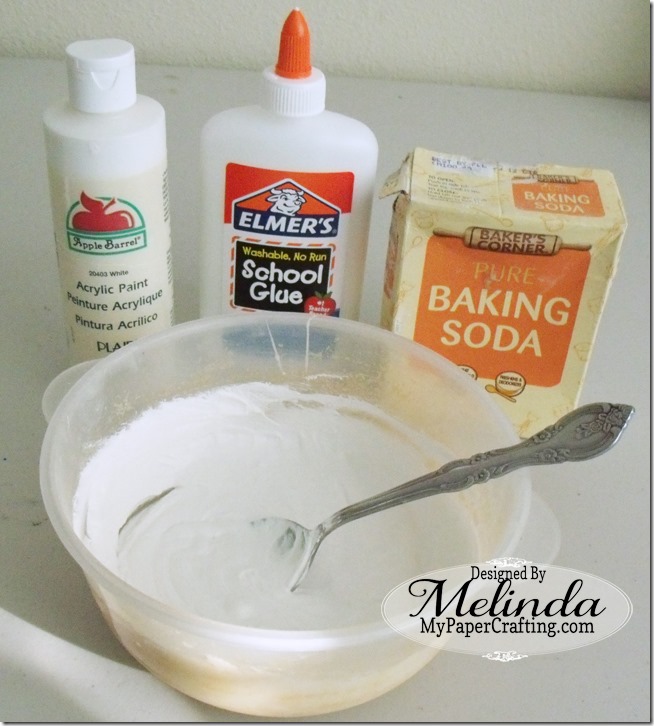
Once I was done cutting the material, I turned to the internet and made some homemade gesso. I found a tutorial online. I used the baking soda, paint and glue version.
GEDSC DIGITAL CAMERA

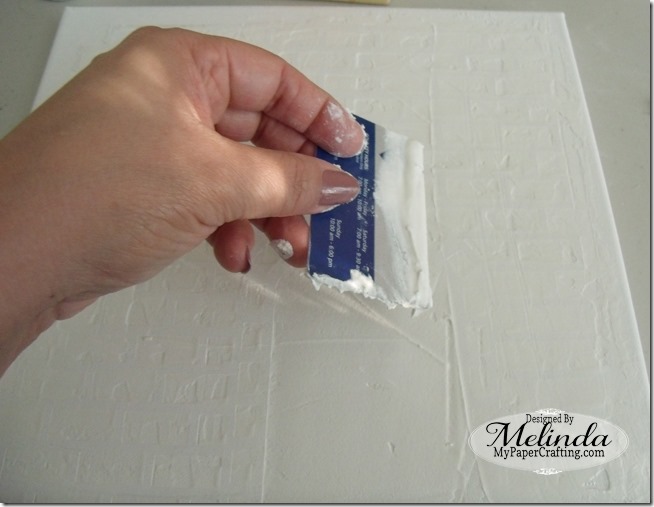
Once I mixed that up, I simply laid my stencil down on my canvas and spread the gesso all over. I really didn’t need any adhesive to hold the stencil down as I just carefully went over it with the gesso. I then took an old credit card and smoothed out the gesso. I let it sit and dry…mostly.

GEDSC DIGITAL CAMERA
Before it was completely dried, I took a Fiskars embossing plate (the wood grain one) I had and smacked it down on the door. It didn’t come up as clean as I wanted it to, but it did give the door plenty of texture. I just took a toothpick to add a few extra lines. I wanted to give it a slight wood look.
GEDSC DIGITAL CAMERA
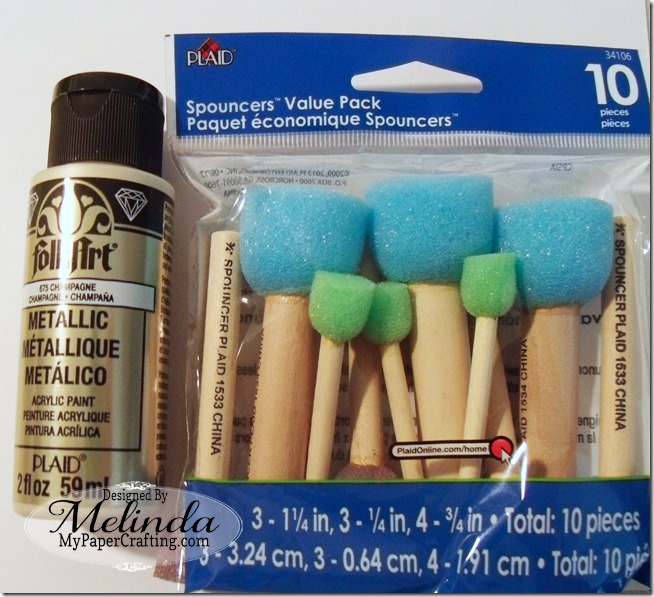
Once the gesso was dried ( took only about a half hour to 45 minutes, I went and ate some lunch so not exactly too sure…lol) I took a sponge and began dabbing paint on it. I wanted to give the bricks some dimension and shading with the two colors.
first gold color 650
Here’s what it looked like with the lighter gold on it.

outer edge gold 650
Here’s what it looked like when I applied the darker gold. I just went around the edges.
stencillifting 650
Once I was done doing all the painting, I lifted up the stencil and….magic!!!! I was really happy with how it turned out.

stencil removed-650
Here’s what it looked like once I lifted off the stencil. I love how the white of the canvas showed through and makes it look like the mortar of for the bricks.
GEDSC DIGITAL CAMERA
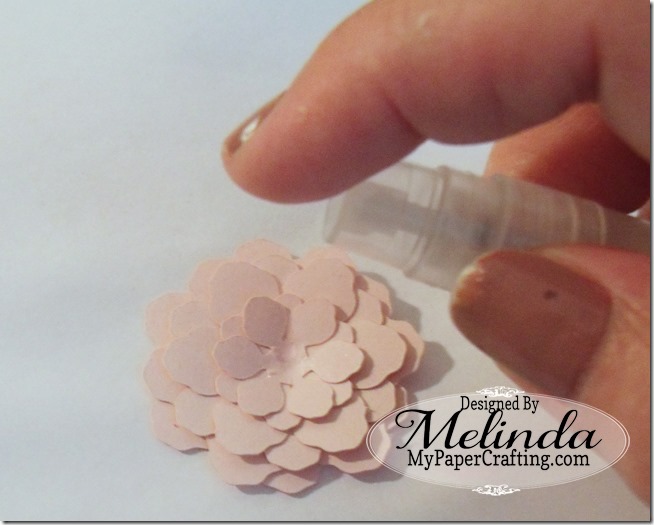
Next I cut out several flower shaped from my pazzles. I staggered the layers and glued them together.  Once the glue was dried I used a spritzer and spritzed a little water on them. I then went about curling and lifting the petals to give them dimension and shape.
GEDSC DIGITAL CAMERA
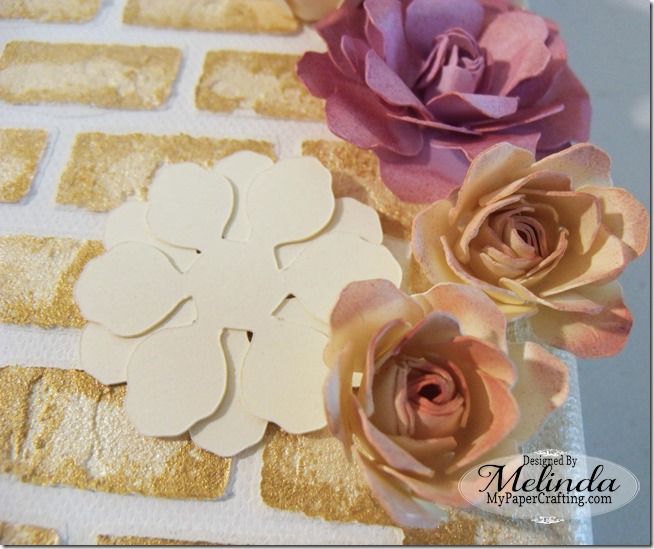
Here’s a photo that shows how flat they were and then how they looked once I shaped them.
GEDSC DIGITAL CAMERA
For the next part, I used my Craftwell EBrush and some of my Copic Markers to spray them and give them some dimension and color.
GEDSC DIGITAL CAMERA
Here’s a closer look at some of the various flowers with the different airbrushing accents on them. I also airbrushed some color onto the leaves.
GEDSC DIGITAL CAMERA
Lastly, I added the photo corner which was cut in Kraft paper and then painted with the same gold paint. And a little antique button I had in my stash for a door knob. Overall I am super excited with my first (of many) mixed media piece!
pazzles inspiration vue 650
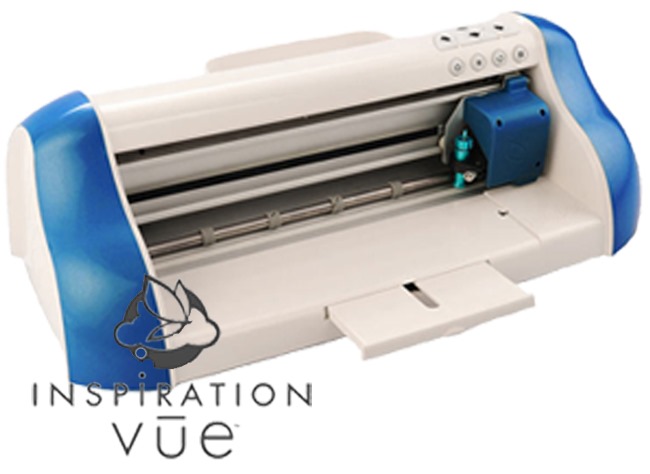
Love that my Pazzles was the back bone of the project. It allowed me to create my stencil, create my flowers and photo corner. If you want to venture into stencils, I STRONGLY recommend trying the stencil material from Pazzles. It cut so nicely!
Supplies Used
Craftwell E-Brush Air Brush
Homemade Gesso (Baking Soda, Glue, White Paint)
Various Copic Markers
Pure Gold and Antique Gold Acrylic Paint


Don't forget to head over and check out the Pazzles Craft Room. They have so many wonderful projects to get your creative juices flowing. I love that the projects they showcase are for ALL skill levels of crafters and not just the "over the top" projects. Plus, if you have a craft cutter, you may want to join the craft room. All their files are in SVG as well as WPC format! A whole new world of possibilities!


Until the next time,

Goodbye Cartridges 125x125

Discover Creative Freedom 300x250
Don't Forget To Sign Up For My Newsletter To Receive
The Subscriber Only FREEBIES and other exclusive info!
Happy Fourth Freebie

Hello crafty friends,
It has been a while and I am trying to get back into the swing of things!  I have made this cute cut files set that I would like to give away as a freebie for this week.  I am changing things up a bit and if you would like this free file set, you will need to join my new facebook group. It is called PCW Fans & Freebies Group.

eagle fun on the 4th ppr cfb 650
This cutting file set includes the finished printables you see for the Eagle with Sparkler and the Fun on The Fourth Title. You can print them out and cut them or even use them for digital projects.


Now for my second freebie. I have recently started creating files using the Cricut Design Space software. The label will list which cartridge if any you need to use to use the cut. You will need the Cricut Design Space software in conjunction with the Explore machine.
bear w patriotic hat ppr cf-650
For this file, you will need to have the Design Space software and an Explore. That’s it. requires no cartridges.
This bear will also be free through Saturday the 9th only!!!!
Sorry, these freebies are no longer available.
To get both of these free files you will need to join my new facebook group.

I also ask that you are a follower of this blog. Please click the blue, Join This Site button on the right hand column.

Happy Fourth of July!!!! Until the next time,