14_05

Pocket Scrapping Cards With My Pazzles

Hello crafty friends,
Happy Thursday! For those following along with the Psalms reading here is today’s passage.

KAPH
Psalms 119:81-88 
81 My soul faints for Your salvation, But I hope in Your word.
82 My eyes fail from searching Your word, Saying, 
"When will You comfort me?"
83 For I have become like a wineskin in smoke, 
Yet I do not forget Your statutes.
84 How many are the days of Your servant? 
When will You execute judgment on those who persecute me?
85 The proud have dug pits for me, 
Which is not according to Your law.
86 All Your commandments are faithful; 
They persecute me wrongfully; Help me!
87 They almost made an end of me on earth, 
But I did not forsake Your precepts.
88 Revive me according to Your lovingkindness, 
So that I may keep the testimony of Your mouth.

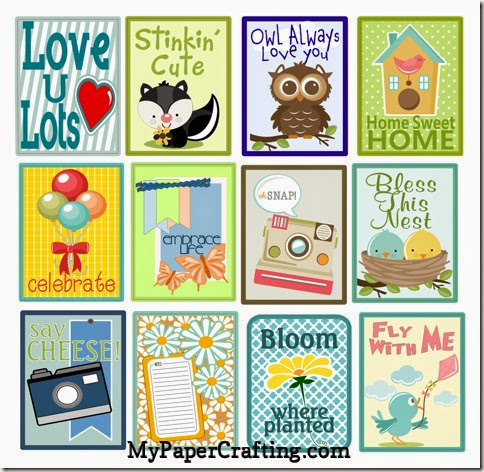
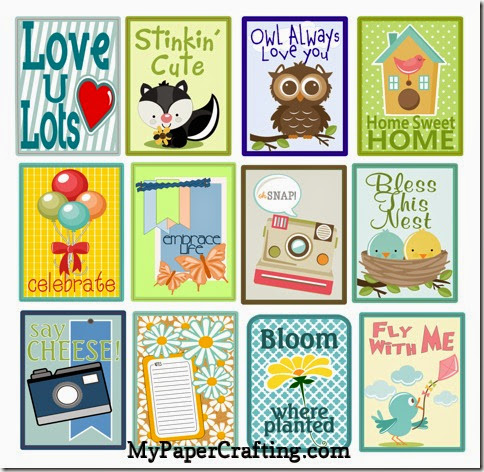
Blessings to you as you read and meditate on His Word. Now on to some crafty goodness. Today is my turn to share for my Pazzles Design Team. My assignment was to create some embellishments with my Pazzles. This was a tough assignment for me because I tend to think everything I create with my beloved PI is an embellishment. Whether it is a paper piecing for a layout, title or card element, My Pazzles is truly my go-to for making my creative thoughts come to life.  Pocket scrapbooking continues to enjoy a growing popularity within the scrapbooking community. So I decided to see how I could use my Pazzles to help me make some great cards to go with this fun way of scrapbooking. Here is what I came up with.
pocket scrapping cards by melin-480
I created twelve different 3x4 cards. All using my Pazzles Studio Pro Software, various Pazzles Craft Room Files and my printer! I did add some “patterned papers” to some as a background.  For those that have the Pazzles software, this is how you do that.

Adding A Background Image To Your Shape
By Melin Beltran
* Open your software and create the size you card you want. In this case, I created a rectangle that measures 3x4:
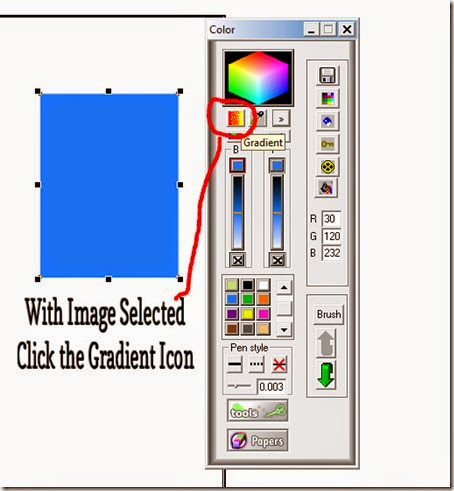
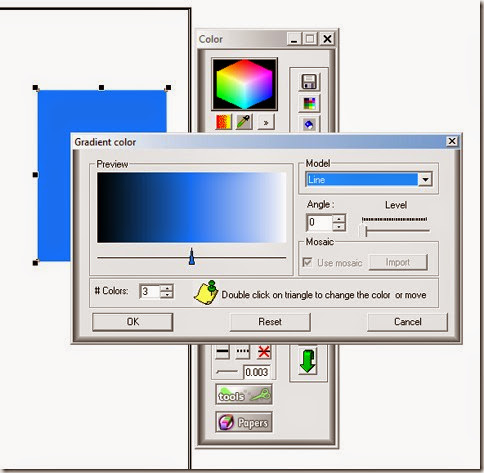
* Click the color icon and then select the gradient setting.

click color menu icon


Image12
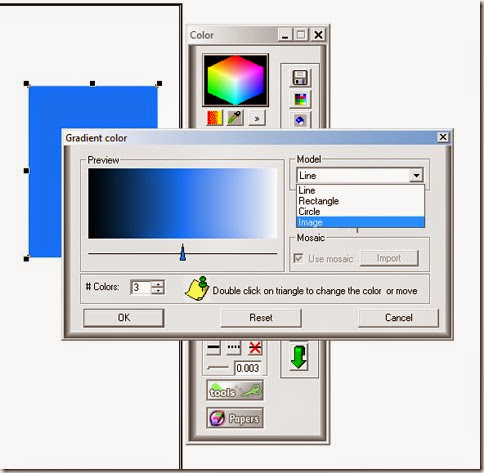
This box will come up.


Image13
Select the drop down arrow in the Model-Line box and select image.

Image14
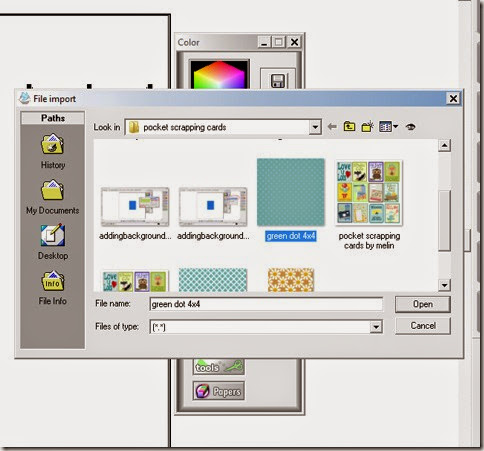
A window should open for you to locate your image. Please note: If you want your image to be “un-tiled” make sure your image is close to the same size as what your finished project is. In my case, I created this polka dot background in Photoshop and created it a standard 12x12 300 dpi size for “digital scrapbooking”. I just made a copy and resized it to 4x4. This way, it would load and the “print” would be true to size as well as not tiled.


Image15
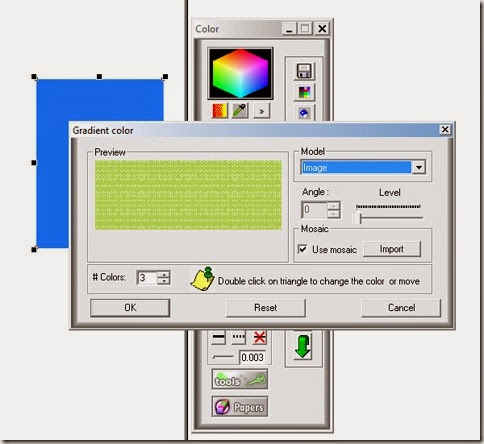
Your image will load into the preview box. If it does then you can hit ok.


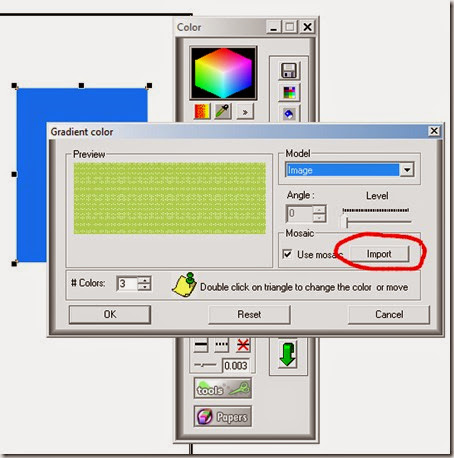
import
If you decide you don’t want that image or if the window doesn’t automatically open for you to browse and locate your image then simply hit the import button and that will open up a window for you to browse and locate your image.


image selected
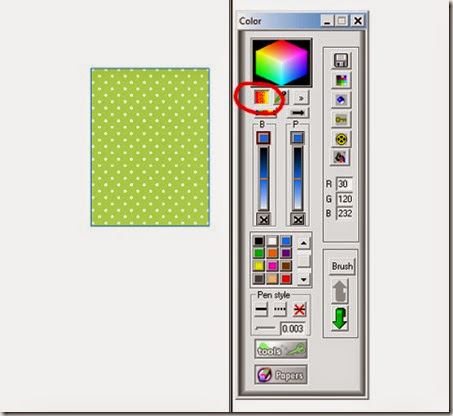
Now with your shape selected, click the gradient icon (circled in red) and your image will now “fill” with your background (see image below).


Image16b
That is how to add a background image to your pocket scrapping cards.


pocket scrapping cards by melin-480
Here is another look at all the different and fun cards I made. I simply used various cutting files and made sure they were “colored” in.  I assembled each one how I wanted to look completed. That way when it was time to print, they would print as shown on my screen. In full color. I did create them as print n cut files. I did this by adding a corresponding red outline to each. You simply “turn off” the red outline when printing and then when you’re ready to cut, you turn the line back on and use that line as your cut line. Easy peasy!

Craft Room Files Used
MK Balloon Bouquet
MK Bird Flying Kite
MK Birdhouse With Birds
MK Birds In Birds Nest
MK Cute Skunk
MK Forrest Owl
MK Oh Snap
Stained Glass Butterfly Purple
Upsy Daisy
Vintage Camera

Unfortunately, I cannot share these files with you as they are part of the Pazzles craft room. The great news is, if you are a craft room member, you are getting all these cuties to download!

Well, this about covers it for today. As always, thank you so much for sharing your crafty time with me. Be sure to come back tomorrow as I share another fun and hopefully inspiring project. Until then,
2013 fall winter melsig-450

You’re Out Of This World Scrapbook Page Kit Layout

Happy Wednesday crafty friends,
Hope your “hump” day is a good one so far. For those following along with the reading, here is today’s passage.

YOD 
Psalms 119:73-80 
73 Your hands have made me and fashioned me; Give me understanding, that I may learn Your commandments. 
74 Those who fear You will be glad when they see me, Because I have hoped in Your word. 
75 I know, O LORD, that Your judgments are right, 
And that in faithfulness You have afflicted me. 
76 Let, I pray, Your merciful kindness be for my comfort, According to Your word to Your servant. 
77 Let Your tender mercies come to me, that I may live; 
For Your law is my delight. 
78 Let the proud be ashamed, 
For they treated me wrongfully with falsehood; 
But I will meditate on Your precepts. 
79 Let those who fear You turn to me, 
Those who know Your testimonies. 
80 Let my heart be blameless regarding Your statutes, 
That I may not be ashamed.
What a powerful passage. May you be blessed as you read and meditate on His Word.

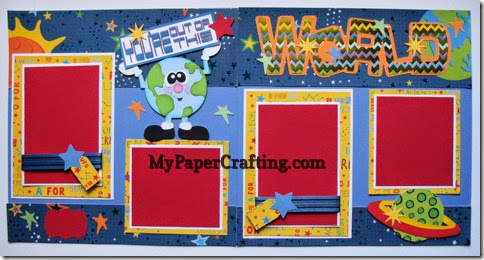
So now for my project today. I have been working on getting some new page kits together and this is one of the new ones that will be released this weekend.


youre out of this world-480mpc

Here’s a look at the entire layout.


matwrap-480mpc
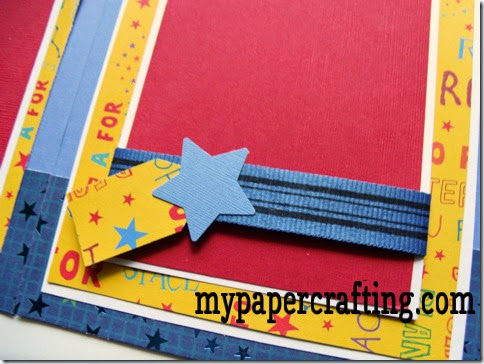
Ribbon wrapped around mat with a cute star and tag die cuts


saturn-480mpc
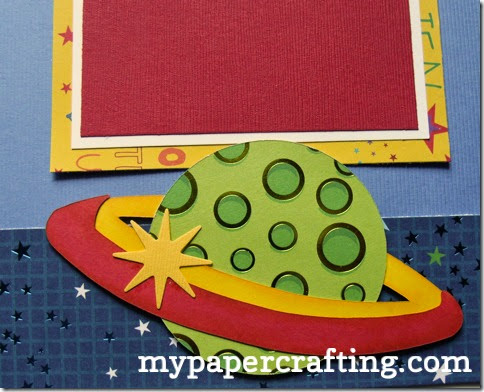
Colorful “Saturn planet” with foiled paper.


world titlempc-480
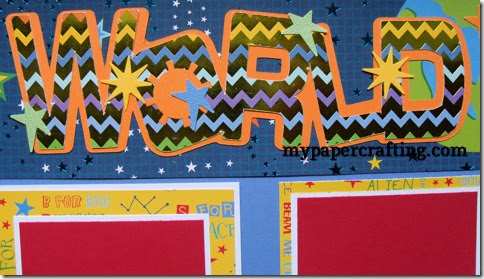
Chevron foiled world title. The background paper also has foiled stars making it really pop. Sorry the photo doesn’t really capture this.

world-480mpc
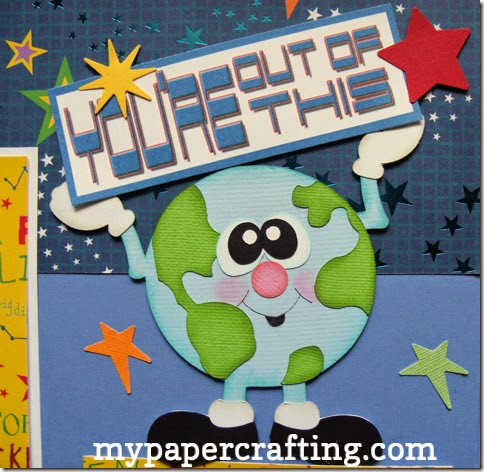
Little earth man paper piecing.

If interested, this page kit will be available starting this weekend at page-kits.com
Direct link: HERE

Well, that about covers it for today. Short and sweet. Be sure to come back tomorrow as I share another crafty and hopefully inspiring project. Until then,
2013 fall winter melsig-450

Art Philosophy Bears Paper Piecing Layout


Happy Tuesday crafty friends,
I hope you’re Tuesday is a terrific one so far. For those following along with the Psalm reading for the counting of the Omer, here is today’s passage.

ט (Tet)
65 You have treated your servant well, 
Adonai, in keeping with your word. 
66 Teach me good judgment and knowledge, 
because I trust in your mitzvot. 
67 Before I was humbled, I used to go astray; 
but now I observe your word. 
68 You are good, and you do good; 
teach me your laws. 
69 The arrogant are slandering me, 
but I will wholeheartedly keep your precepts. 
70 Their hearts are as thick as fat, 
but I take delight in your Torah. 
71 It is for my good that I have been humbled; 
it was so that I would learn your laws. 
72 The Torah you have spoken means more to me 
than a fortune in gold and silver.

Psalm 119: 65-72


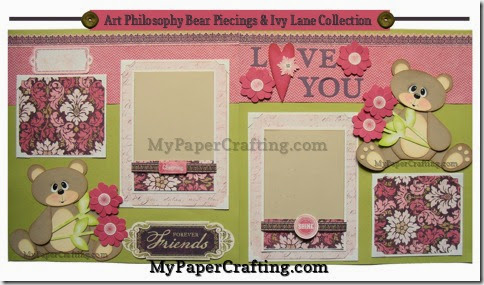
Blessings to you as you read and meditate on His word as we continue to count our days to Shavuot. Now for my project for today. I worked with some of the lovely paper from the Ivy Lane collection. I once again turned to my Cricut Art Philosophy cartridge and my Cricut Artiste Cartridge. here is what I came up with.


Here is a look at my completed layout. As I said, I used all papers from the Ivy Lane Paper Pack and the Ivy Lane Compliments. I did add some extra white paper for the photo mats and some cream and kraft colored paper for some of the bear pieces. 


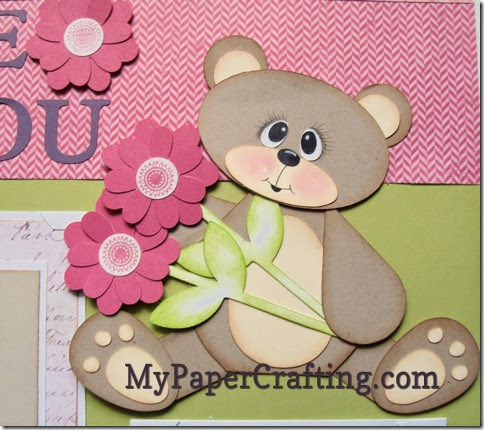
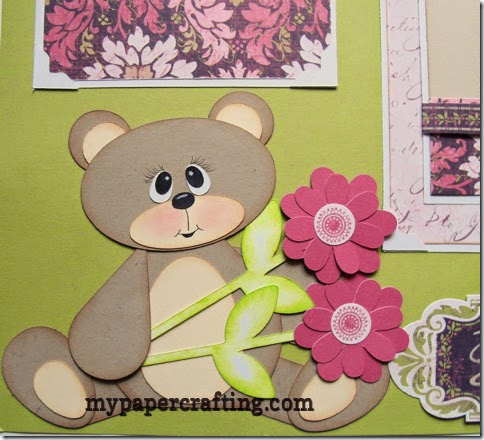
Here’s a closer look at one of the cute little bears. I created her from cuts from my Art Philosophy cartridge. I did also use some plain white paper to cut out the flower stems. I then inked them with some Pear ink from my Adventure Ink Pad set. I also used some Barn Red ink from the Enchantment Ink Pad set for the bear’s brown pieces. I also used some Pebbles Inc, dry decorator chalks for the bear’s facial features.


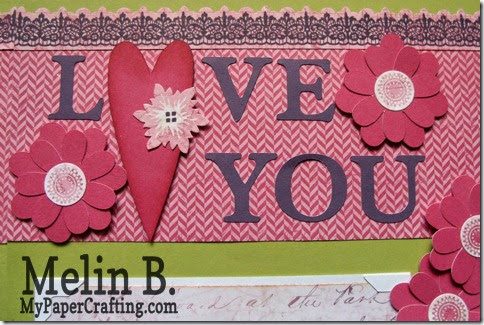
Here is a closer look at my title. Again, all of the die cuts come from the Art Philosophy cartridge. The little stickers in the centers of the flowers as well as the little flower on the heart are all on the Ivy Lane compliments set.


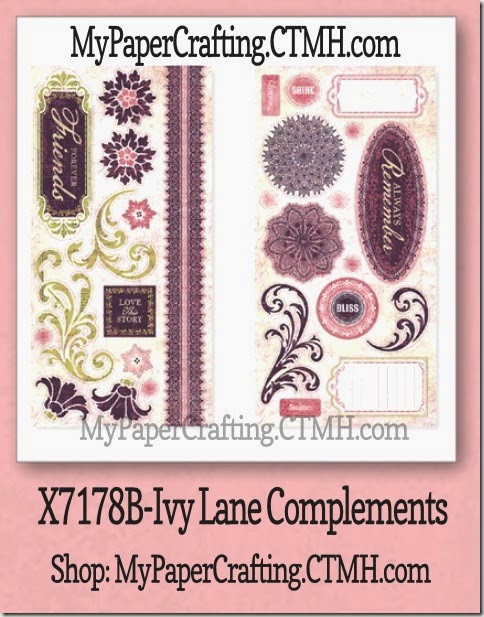
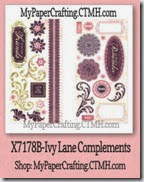
Here’s what you get with the complements sticker set. 
Two sheets of heavy weight cardstock stickers.

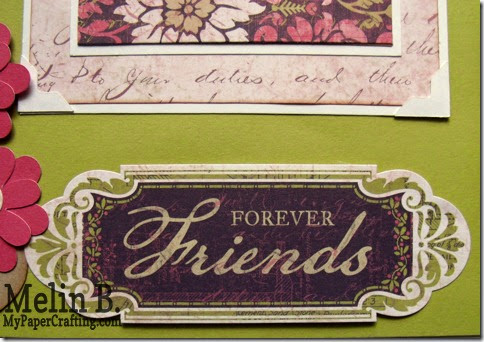
Here is a closer look at the pretty label. This too is a part of the Ivy Lane Compliments set.

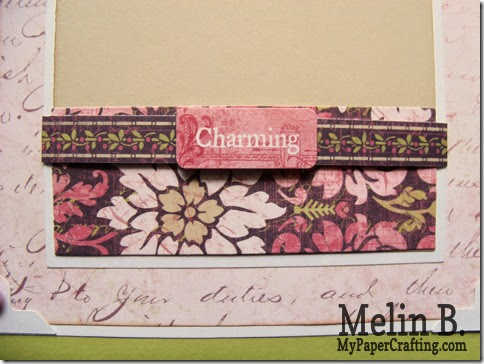
Here is a closer look at eh photo mat. I wrapped it with one of the Ivy Lane paper pack’s Zip strip. The zip strip is the other side of the information strip on all the CTMH decorative papers. Such a clever idea so that we can use EVERY bit of our paper! The charming label is adhered to the strip so a larger photo can easily slide underneath. 


Here is a closer look at the other cute little bear. 


One final look at the entire layout. 

In case you missed it, here are the other two projects I made with the same sticker set and paper pack. I only added in some Black, White and or Kraft cardstock to complete them as shown.

For this one, I only added in some White cardstock and some kraft cardstock for the mats.

For this one, I only added some black cardstock for the mats, letters and oval lace cut.

So you see, for the price of the paper collection and complements, you can get a lot of scrappy bang for your buck. You don’t have to mat your photos with the mats I used, but let’s face it, what crafter doesn’t have some basic black,white and or kraft cardstock in their stash? 

Products Used For This Project

Don’t forget about this month’ CTMH special
As an added bonus, if you make a purchase through my link,(minimum $10) I will gladly send you the instruction on how to make the cute little brown bear from you Art Philosophy   and  the Artiste Cartridges.


Also, if you purchase $25 or more worth of product through my CTMH link, I will send you the detailed cutting instructions for making the blue bird piecings with your Art Philosophy cartridge as well as your choice of one of the coordinating stamp svg file sets I have created. You can see the coordinating stamp set svg files HERE


Well, I think this about covers it for today. Thank you so much for stopping by and sharing some of your crafty time with me. Be sure to come back by tomorrow as I share another fun and hopefully inspiring project. Until then,
Spring Has Sprung Boy Page Kit


Happy Monday crafty friends,
Hope your weekend was a good one and your week is shaping up to be a great one. For those following along with the reading of Psalms for the Counting of the Omer, here is today’s passage.

CHET 
Psalms 119:57-64 
57 You are my portion, O LORD; I have said that I would keep Your words.
58 I entreated Your favor with my whole heart;
Be merciful to me according to Your word.
59 I thought about my ways, 
And turned my feet to Your testimonies.
60 I made haste, and did not delay 
To keep Your commandments.
61 The cords of the wicked have bound me, 
But I have not forgotten Your law.
62 At midnight I will rise to give thanks to You,
Because of Your righteous judgments.
63 I am a companion of all who fear You, 
And of those who keep Your precepts.
64 The earth, O LORD, is full of Your mercy; 
Teach me Your statutes. 


Blessings to you as you read and meditate on His Word. Nor for my project today. I wanted to share one of the layouts I made into a kit. I had made a very girly version and this is the “boy or girls who aren’t overly girly” version

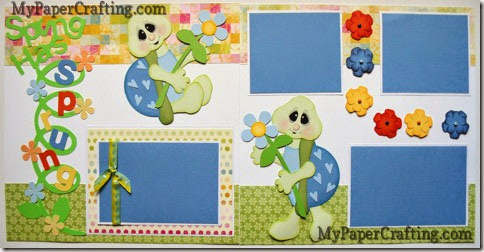
Here’s a view of the entire layout. I used some cute Quick Quotes, Mary’s Garden designer paper. It is cute and very colorful and could be for a boy and or a girl. I used my Pazzles to create the piecings for this layout. I will have the file set available for purchase very soon.


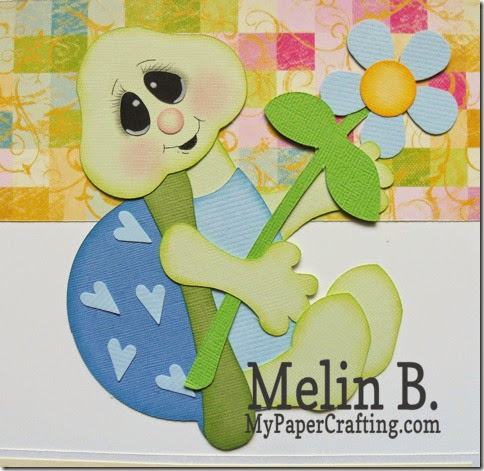
Here’s a closer look at the little turtle sitting.


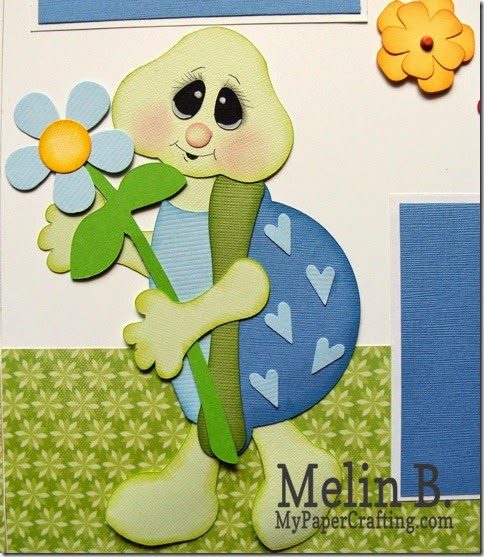
Here’s a closer look at the little boy turtle standing.

Here’s a photo of the cute title. 


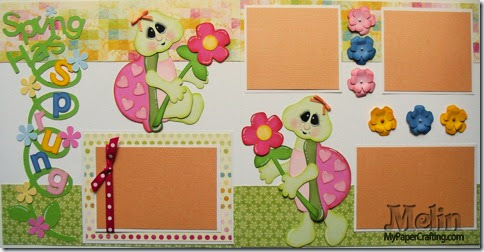
In case you missed it, this is the “girly” version. These will both be available as page kits on page-kits.com starting Saturday if interested.

Well, that about covers it for today. As always, thank you so much for sharing your crafty time with me. I look forward to having you stop by tomorrow. Until then,
SOUS 3D Challenge-Nail Polish Box

nail polish box wad-480
Happy Friday crafty friends,
Hope you’re getting ready for a great weekend! Here is today’s Psalm reading for those that are following along with me.

ה He
33 Teach me, O Lord, the way of Your statutes, 
And I shall keep it to the end. 
34 Give me understanding, and I shall keep Your law; 
Indeed, I shall observe it with my whole heart. 
35 Make me walk in the path of Your commandments, 
For I delight in it. 
36 Incline my heart to Your testimonies, 
And not to covetousness. 
37 Turn away my eyes from looking at worthless things, 
And revive me in Your way.[a
38 Establish Your word to Your servant, 
Who is devoted to fearing You. 
39 Turn away my reproach which I dread, 
For Your judgments are good. 
40 Behold, I long for Your precepts; 
Revive me in Your righteousness.
Psalm 119: 33-40
Blessings to you for reading and meditating on His Word. Now for my project today. It’s Friday and that means there is another SOUS  die cut challenge! This challenge we were asked to create something 3D! So this is what I came up with!


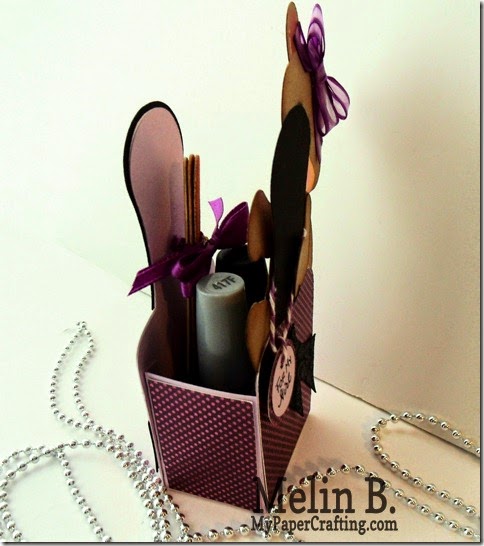
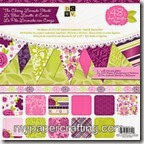
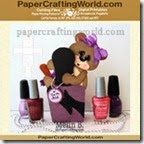
I made this adorable little nail polish box-gift holder. I used a cut file from PaperCraftingWorld.com. I used some papers from the DCWV Die Cuts With A View Cherry Limeade Stack. I then used a cute little bear piecing to “hug” the bottle top. I then cut the bottle top and decorative piece out in black cardstock. I used some Black stickles to cover the decorative piece on the bottle. I then added a little tag with some twine and hand wrote the sentiment. I did use my Enchantment ink pad set and my basics ink pad set to ink the bear pieces. I then used my dry decorator chalks and my chalk marker and fine tip pen to create her face.

nail polish box ppr cf-325nb

side view2-480
This is a side view so you can see, it holds two bottle of nail polish and some emery boards. There is enough room to add a little gift card in there too. It came together very quickly. A great way to give a little gift.

Products Used For This Project

pazzles-cutter-200

dcwv cherry limeade stack-200
nail polish box ppr cf-200
Nail Polish Box CF
tape runner-200

memory book glue dots-200
clack cardstock-200
basic cardstock pack-200

Z1767-chalk marker
ek success circle punch one inch
EK 5/8 and 1” circle punches
basic 10
black stickles
Black Stickles
Lilac mini

Z2502-enchantment
Z2503-basics


Additional supplies
Misc. Purple Ribbon (two types)
Lavender cardstock


Well, that about covers it for today. Please be sure to HEAD OVER TO SOUS and check out what the rest of the designers created and join the fun! You have almost two weeks as this is a bi-weekly challenge to get a project done. You could win a great prize too!  Head over and check it out: HERE 

As always, thank you so much for stopping by and sharing your crafty time with me. Be sure to come back tomorrow as I share another fun project and hopefully some more crafty inspiration. Until then,
2013 fall winter melsig-450