14_05

Mother’s Day Pop Up Card Using Your Cricut

Happy Tuesday crafty friends,
I hope your day is shaping up to be a great one! I have a great Mother’s day project to share with you. But first if you are following along with the reading in Psalms, here is today’s passage.

פ Pe

129 Your testimonies are wonderful; 

Therefore my soul keeps them. 
130 The entrance of Your words gives light; 
It gives understanding to the simple. 
131 I opened my mouth and panted, 
For I longed for Your commandments. 
132 Look upon me and be merciful to me, 
As Your custom is toward those who love Your name. 
133 Direct my steps by Your word, 
And let no iniquity have dominion over me. 
134 Redeem me from the oppression of man, 
That I may keep Your precepts. 
135 Make Your face shine upon Your servant, 
And teach me Your statutes. 
136 Rivers of water run down from my eyes, 
Because men do not keep Your law.
Psalm 119: 129-136

May this passage bring healing, hope and blessing to you. So here is what I came up with for today. These little pop up card boxes are all the rage right now. Funny how something can become such an “in thing” isn’t it? I shared the first one I created HERE and you can still get the free file for it if you use machines compatible with cut files. 


But for those who may not have that option, the only other option is to cut and score a template by hand. Well, I happened to be looking through my Cricut Artiste handbook and I noticed this box. It had flaps that hung open much like the card boxes. So I decided to experiment with it and this is what I came up with.

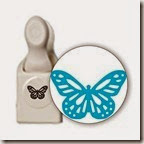
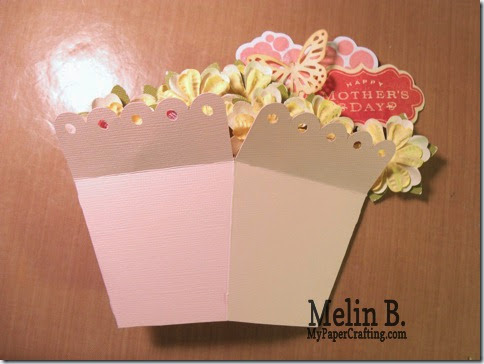
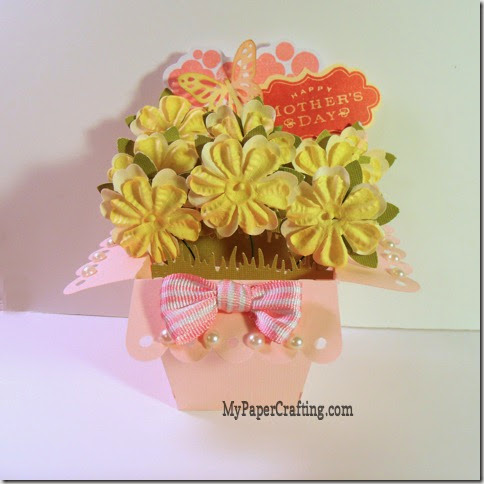
I simply used the box on page 54. I used the fit to page function and cut it out in pink cardstock. I used some Prima flowers I had in my stash. I used two stamps from Close To My Heart. The heart shape (can’t really see it from this angle) and the Happy Mother’s Day stamp. I used a Martha Stewart Butterfly punch and a grass punch. I used an XL Daisy punch for the leaves behind the flowers. I did ink the edges of the butterfly with some Barn Red Ink.
perfect fit mom-480
This stamp collection is compatible with the Artiste Cartridge.

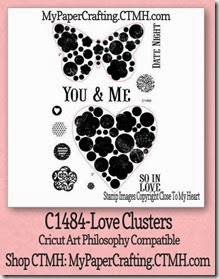
love clusters-450
This stamp collection is compatible with the Art Philosophy Cartridge.

cut piece off-480
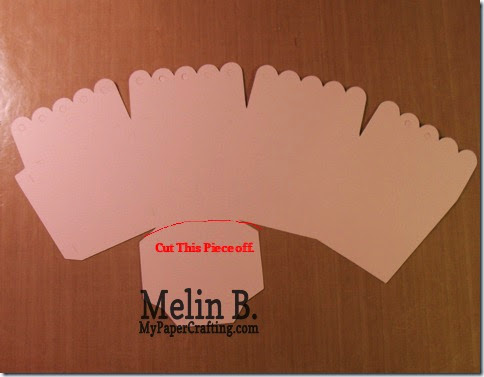
To make it a “pop up-able” box, I cut off the bottom of the box and assembled the four sides only. By not adhering the walls of the box to the base, It gave it the ability to become “collapsible”. This is a view of the pattern when cut from your cricut. Just cut the bottom piece off. To make the cut line up, you can fold the pattern in half and follow the bottom edge of the panel that folds onto the one you are cutting.

inside of pop up box-artiste-480
To make the inserts you will need to “fudge it” a bit. The box is on an angle. So I cut my strips at 1” x 4” and then score .75” in from each end. Adhere your strip to the inside and then close your box both ways. This will allow your strips to take on the curve of the angle. One side will have a stronger curve than the other. Cut your strips out in the same color as your box to help hide your mechanics. I cut them in white for photo purposes.

artiste pop closed-480
This is what the box will look like when closed. Obviously the more you decorate outside the box, the more will “spill out” I intended for mine to be full, but you can leave your die cuts straighter.

box in envelope-480
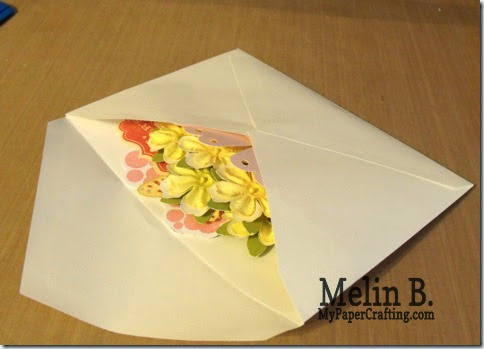
When closed, my card fit into an envelope intended for a 5x6.5 card. These are envelopes from a package of envelopes and cards you can pick up from Michael’s.


artiste m-day pop up card-480
Here is one last look at the box. I added some pretty pearls from the Paper Studio and a bow from some ribbon I had in my stash. It isn’t exactly like the pop up boxes you see around the net, but it will do the job nicely. Again, if you need a cut file for a pop up box, visit my other post HERE for the link.

Products Used For This Project
expression
Cricut Expression
artiste-200
CTMH-c1484-love-clusters-200

perfect fit mom-200

blush-200
hollyhock-200
tape runner-200
memory book glue dots-200
foam tape-200

hb pearls
Paper Studio
Pearl Gems
large monarch buttefly punch
MS Butterfly Punch
martha stewart grass punch
MS Grass Punch

Additional Supplies 
Bazzill Pink Cardstock
Misc. Ribbon
Well, I think that about covers it for today. As always, I truly appreciate you stopping by and sharing your crafty time with me. Don’t forget to come back tomorrow as I share another project for Mother’s day. Until then,

Always And Forever Layout

Happy Monday crafty friends,
I hope you had an enjoyable weekend. I apologize for not posting the last few days. Just had a lot going on. You know how that can be. Anyway, I wanted to share today’s Psalm reading for those who are following along first.


ע Ayin
121 I have done justice and righteousness; 
Do not leave me to my oppressors. 
122 Be surety for Your servant for good; 
Do not let the proud oppress me. 
123 My eyes fail from seeking Your salvation 
And Your righteous word. 
124 Deal with Your servant according to Your mercy, 
And teach me Your statutes. 
125 I am Your servant; 
Give me understanding, 
That I may know Your testimonies. 
126 It is time for You to act, O Lord, 
For they have regarded Your law as void. 
127 Therefore I love Your commandments 
More than gold, yes, than fine gold! 
128 Therefore all Your precepts concerning all things 
I consider to be right; 
I hate every false way.
Psalms 119:121-128


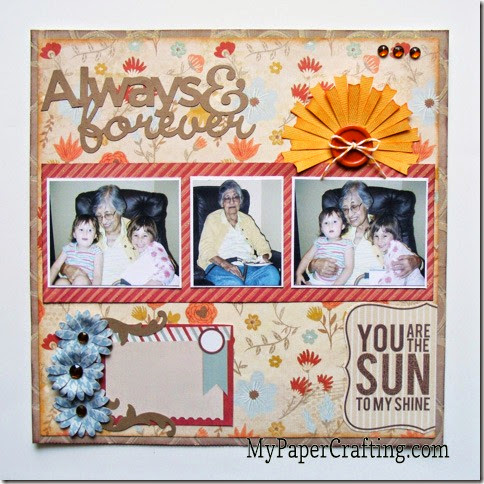
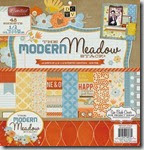
May your heart and mind reflect on the goodness of His word. Now on to today’s project. I created a layout with my grandmother and a couple of my nieces. I used paper from the DCWV Modern Meadow Stack and my Cricut Artbooking Cartridge.

GEDSC DIGITAL CAMERA
Here's a look at the completed layout. 

GEDSC DIGITAL CAMERA
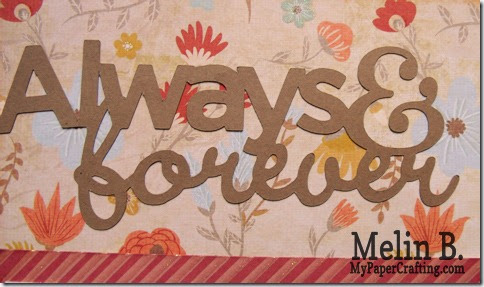
Here’s a closer look at the title. I used the Cricut Artbooking cartridge. I cut it at 2.5” using some Kraft cardstock.


GEDSC DIGITAL CAMERA
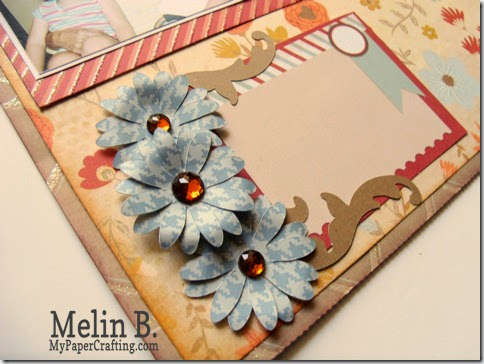
Here’s a closer look at the flowers. I used some paper from the same DCWV Modern Meadow stack and cut the flowers out. I cut then at 1.75” and layered them. I added a Doodlebug jewels from my stash to the centers. I also used foam tape on the middle flower to give it a little lift. The flourishes were cut at .75” from some kraft cardstock.  The journaling card as well as the Sunshine sentiment card are included in the Modern Meadow Stack, so they coordinated with the papers perfectly. You can also see in this photo that I inked around the edges of the floral patterned paper with some Barn Red Ink from the Enchantment Ink Pad set.

sun closeup-angle-480
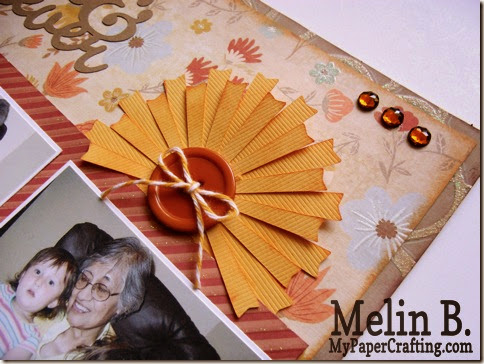
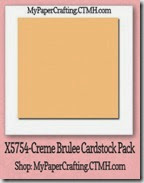
Here’s a closer look at the sun die cut. I cut that out at 3.5 and 4”.  I used some old paper I had in my stash, but if you need a color close to this, it is very close to the Crème Brulee cardstock from CTMH. You can purchase a pack of Crème Brulee Cardstock or you can get a couple of sheets in the I used some Sunset ink from the Adventure Ink Pad set to ink the edges of the rays. I staggered and layered them and then tucked it underneath the paper a bit. I added a button to the center and tied a bow of twine to it. I also added a few more Doodlebug jewels to the top corner for a little decorative touch. You can see by this photo the the base paper and the striped papers are pre-glittered. It gives the layout a little extra understated pizazz.

Products Used For This Project

expression
Cricut Expression
artbooking-200
Cricut Artbooking Bundle

dcwv modern meadow
Die Cuts With A View Modern Meadow Stack
kraft cardstock-200
white cardstock-200

whimsy ink pad
Z2502-enchantment
tape runner-200
memory book glue dots-200

foam tape-200
creme brulee cs-200

whimsy cardstock pack-200
baker's twine paradise-200
Additional Supplies Used
Misc. Button

Well, I think this about covers it for today. As always, thank you so much for stopping by and sharing your crafty time with me. Be sure to visit again tomorrow as I share a cute project for Mother's Day. Until then,

Free To Be Me & Artbooking Card

Hello crafty friends,
Hope your Thursday, First day of May is a good one so far. It’s the first day of the new month! Before I get to my crafty inspiration, I wanted to share today’s Psalm reading with you.


ל Lamed
89 Forever, O Lord, 
Your word is settled in heaven. 
90 Your faithfulness endures to all generations; 
You established the earth, and it abides. 
91 They continue this day according to Your ordinances, 
For all are Your servants. 
92 Unless Your law had been my delight, 
I would then have perished in my affliction. 
93 I will never forget Your precepts, 
For by them You have given me life. 
94 I am Yours, save me; 
For I have sought Your precepts. 
95 The wicked wait for me to destroy me, 
But I will consider Your testimonies. 
96 I have seen the consummation of all perfection, 
But Your commandment is exceedingly broad.
Psalms 119: 89-96

What a tremendous passage. I hope that it inspires and blesses you greatly. Now onto my crafty project for today.


GEDSC DIGITAL CAMERA
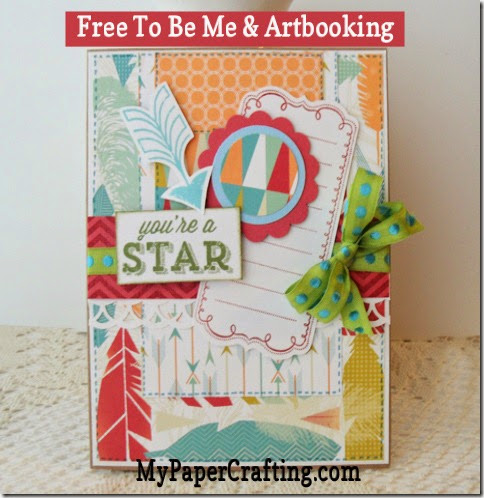
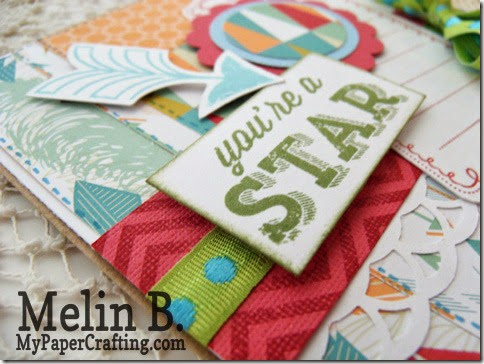
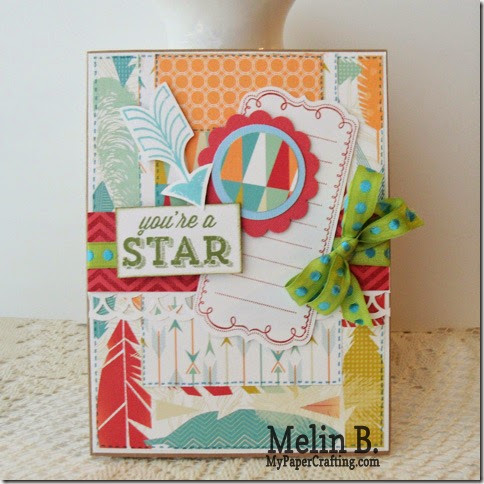
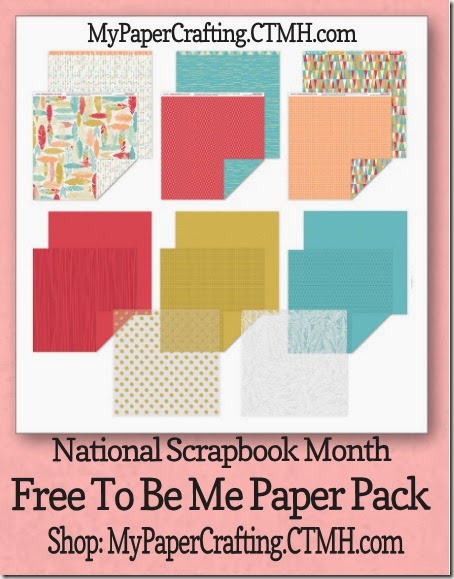
I created this card using paper from the new Free To Be Me Paper Collection available this month only through Close To My Heart. It is part of the National Scrapbook Month promotion this month. You can get this paper pack for only $5 with a $50 dollar purchase at Close To My Heart. Just head over and start shopping through my May Online Gathering Link


GEDSC DIGITAL CAMERA
Here is a closer look at the strip of red paper I stamped with the chevron background stamp from the In The Background Stamp Set. I stamped the sentiment with my olive ink pad and inked around the edges. I used some foam tape to give it a little lift.

GEDSC DIGITAL CAMERA
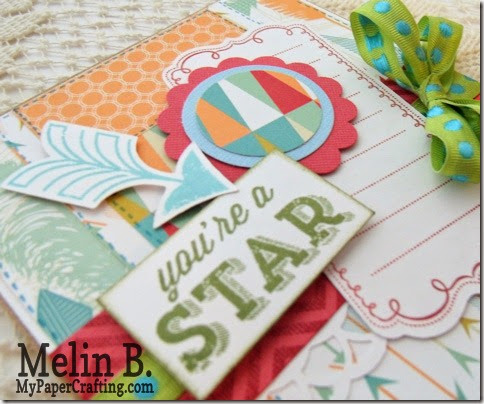
Here you can see the arrow. I cut it from the Artbooking and then stamped it with my Crystal Blue ink pad. The decorative note strip was also cut out of my Artbooking cartridge and then stamped with my Cranberry Ink Pad. I also used a Martha Stewart border punch for the white border and some circle punches and a scalloped circle punch for the little decorative accent. Of course you can cut out similar shapes from your Artbooking cartridge.

GEDSC DIGITAL CAMERA
Here is one final look at the card. I did use a fine tip sharpie marker to draw the faux stitches onto my card as well as some ribbon to tie it all together.

Products Used For This Project
expression
Cricut Expression
artbooking-200
free to be me-200

cranberry ink-200
crystal blue ink-200
olive ink-200

kraft cardstock-200
white cardstock-200
in the background-200

foam tape-200
tape runner-200

Additional Supplies
MS Border Punch
Misc. Ribbon
Circle Punches
Scalloped Circle Punch

Be sure to check out the wonderful paper and of course
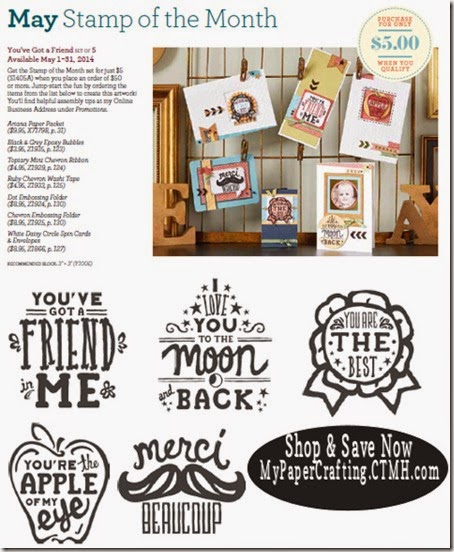
the stamp of the month this month.
free to be me-450

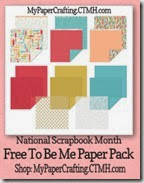
Here is the Free To Be Me Paper Pack . You get two each of six different double sided papers as well as two sheets of very pretty vellum and 6 coordinating cardstock sheets. 14 pieces! All for only $5 with the purchase of $50 or more. 

PLUS, with that same qualifying purchase you can also pick up the super fun Stamp of the month set for an additional $5.

may sotm flywer-480

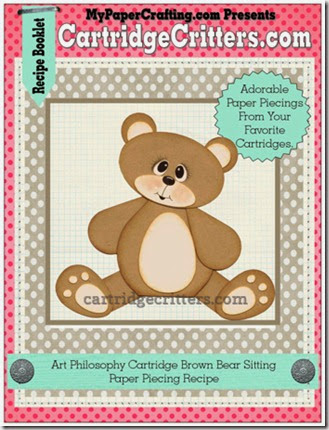
As an added bonus, if you make a purchase through my link, (minimum $10) I will gladly send you the instruction on how to make the cute little brown bear from you Art Philosophy Cartridge.
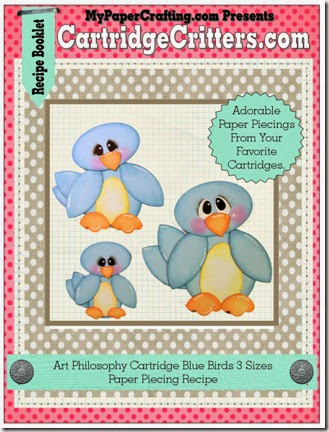
Also, if you purchase $25 or more worth of product through my CTMH link, I will send you the detailed cutting instructions for making the blue bird piecings with your Art Philosophy cartridge as well as your choice of one of the coordinating stamp svg file sets I have created. You can see the coordinating stamp set svg files HERE. Please note: My personal promotions are through me and not part of the Close To My Heart promotion. Promotions cannot be combined with any other specials or promotions. 


Well that about covers it for today. As always, thank you from the bottom of my heart for stopping by and sharing your crafty time with me. Until tomorrow,
2013 fall winter melsig-450