Hello crafty friends,
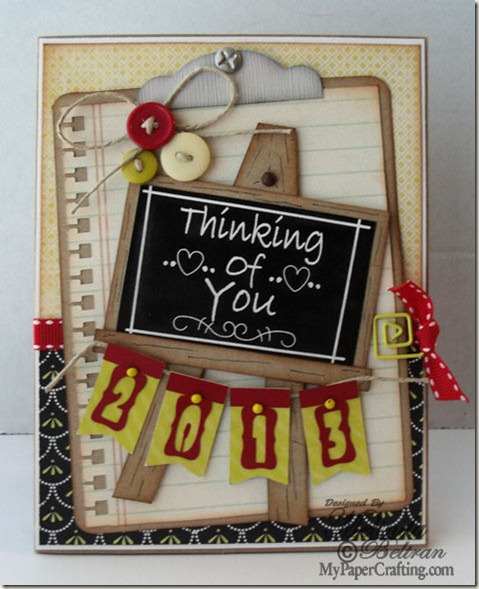
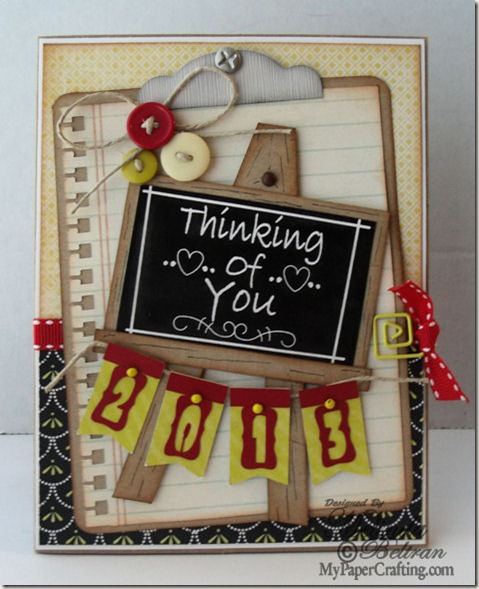
Here is my details post on my Chalkboard Card. I created it for yesterday's fabulous Friday post. I used the DCWV Snapshot Paper Stack as well as a free file from Pazzles and this week's free digi from PCW. First, Here is a look at my card.
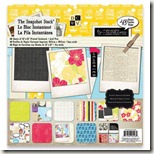
The finished size is 5x6.5. For all the designer patterned paper, I used the DCWV Snapshot Stack. It is currently on sale at DCWVDeals.com.PLUS, there is a code for buy three stacks for 19.98 deal. The code is LABORDAYDEAL or LABORDAY13, so be sure to grab some stacks! Okay, aside from the paper, I used some svg cut files I created in my Pazzles Inspiration software and a free svg file from Pazzles. I used one of the chalkboard digi sentiments from this week’s “freebie” set. Links below.
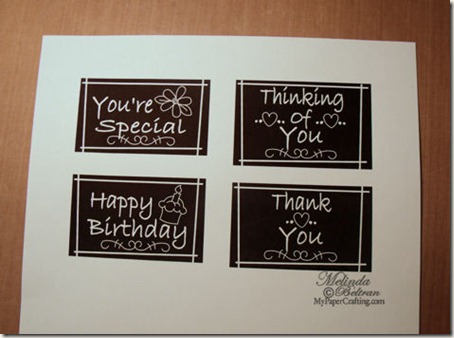
I started by printing out my sentiments. I printed them all out as I will be making additional cards with the others and didn't want to waste paper :-) That "chalkboard" look is quite the rage these days, so I decided I would use the freebies from PCW this week.
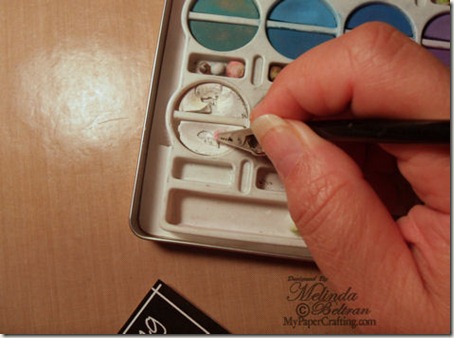
I cut out the Thinking of you sentiment and grabbed my well loved and well used chalks.
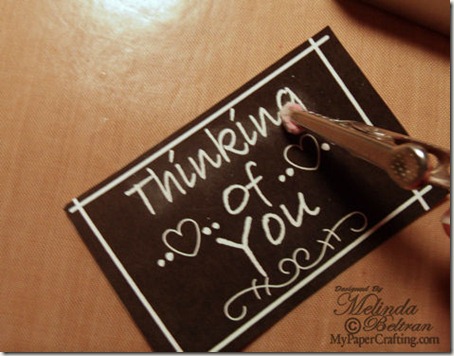
I lightly brushed some of the white chalk on some of the letters and different areas on the digi. I wanted to give it that dusty chalkboard look and this was the perfect way to do it. I used my finger to just smudge a little here and there.
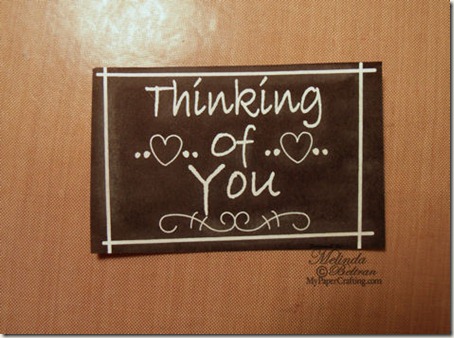
Here's a view of the "dusted up" chalk board sentiment.
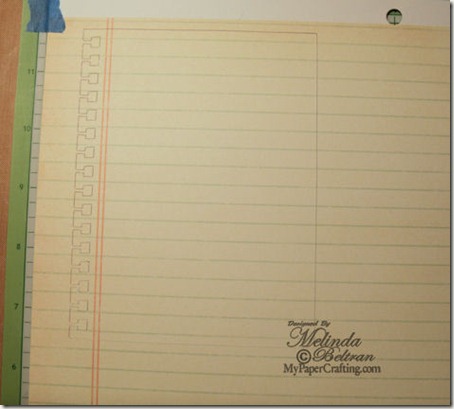
I used a piece of paper in the Snapshot Stack. I positioned my cut file so that it would cut out right where it did so that I could get the paper fringed edge on the other side of the red lines. This way, when it cut out, it would look like a real piece of notebook paper.
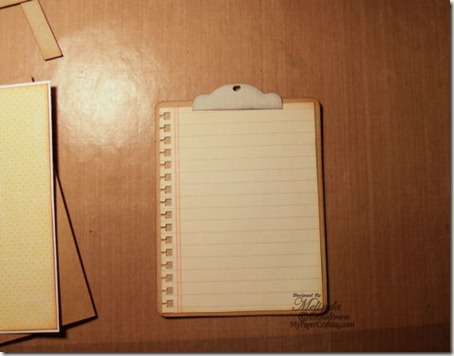
Here is what the piece looked like once I cut it out. Love the DCWV cardstock weight. Not too heavy that it tears up your cuts but not too thin either 
Here is a shot of the “clipboard”. I inked the edges of the board, paper and clip part. Later, I added a making memories faux “screw” brad to the top of the clip part.
Here's a shot showing that I cut the little banners out of another piece of DCWV paper from the Snapshot stack. Don't worry, I won't be wasting this paper just on these little cuts. It is way too yummy not to use....afterall...waste not, want not!
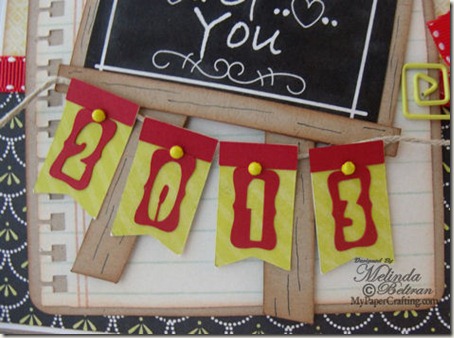
Here is a close up look at the little banners. I added some tiny brads to the holes in the number charms. I used some foam tape to give them a little lift and allow the string to slide underneath. BTW…The Number Charms are a FREE file from Pazzles. See the link below and grab them while you can. Their files are in the WPC format for Pazzles as well as SVG for others too!
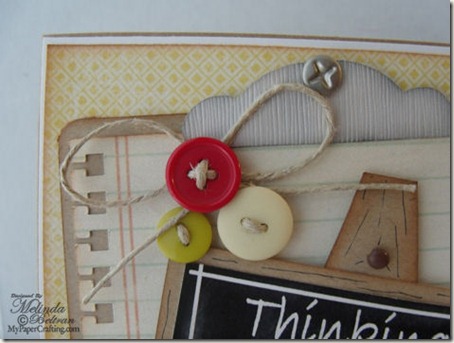
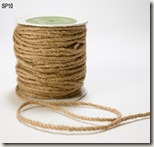
Here’s a closer look at the cute little buttons. Again, I used some hemp to match the look of the card. Here you can also see the faux screw brad I added to the top of the clipboard. I just thought the hole looked so bare and needed something. You can also see the tiny brown brad I used at the top of the easel.
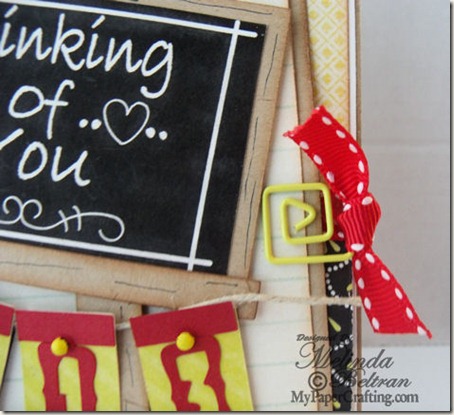
Here is a closer look at the funky little paper clip I added. I thought it just went well with the whole overall design. It also matched the color of the banners pretty well.
Again, here is one last look at the completed card.
**ENABLER ALERTS**
DCWV is having a labor day weekend promotion. Buy 3 stacks for only 19.98 at their DCWVDEALS.com site.
Use Code LABORDAYDEAL or LABORDAY13 and guess what??? The Snapshot stack is one of the available stacks!!!!
Also, the Chalkboard card set is only .99 PLUS, spend $2.50 and used code PCW50 and get all your files at 50% off! That means this cut file would be .50 cents!
Also, the Chalkboard card set is only .99 PLUS, spend $2.50 and used code PCW50 and get all your files at 50% off! That means this cut file would be .50 cents!
Now, for the products I used to create this little gem.
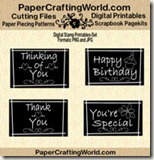 Chalkboard Digi Sentiments From PCW. FREEBIE This week only. See Yesterday’s Post for the link. | 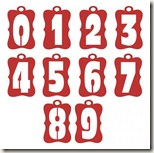 FREE Number Charms Files from Pazzles (limited time) | |
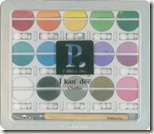 Pebbles Basic Brights Chalk Set |  |
Additional Supplies
White, Gray and Kraft Cardstock
American Crafts Buttons
Making Memories Brads
Misc. Brads and Paper Clip
Dashes, Dots and Checks Red Ribbon
Well, I think that about covers it for today. Thank you so much for sharing your crafty time with me. Be sure to come back tomorrow as I will be sharing a super cute layout I created!


