Happy Monday crafty friends!
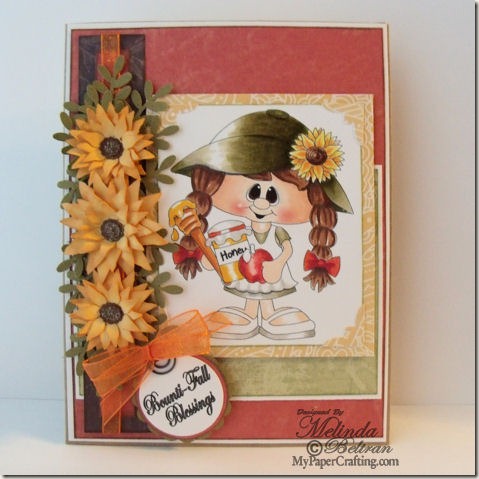
Hope your weekend was a wonderfully blessed one! Today I am sharing a card I created with one of the new QT Patootie Digi’s from PaperCraftingWorld.com.
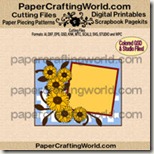
She is the adorable QT P. Honee digi. I also used the Sunflower card file from PCW too.
Here’s my card. I used the black and white image and colored her in with my Copic Markers. I then backed the image onto a piece of designer paper from the DCWV Handy Dandy Stack. I wasn't too sure about this stack until I opened it up and really looked at all the papers. This is a great stack! Then the Green, Red and Brown designer patterned papers are from the DCWV Timeless Texture Stack. I used the Bounti-fall Blessings sentiment and punched it out with my circle punch. I then punched out a scalloped circle and added the mini paper clip and the pretty sheer bow. The bounti-fall blessings is a sentiment to wish the recipient much blessing into the new year and to thank them for their loving kindness.
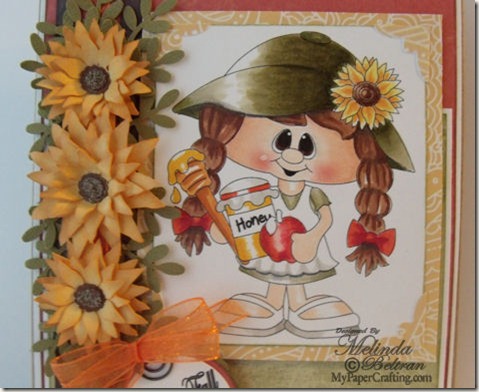
Here is a closer look at my QT P. Honee colored digi. She is holding the apple and honey as it is tradition during this season to enjoy apples and honey during the Hebraic Roots of our Christian faith’s honoring of this season.
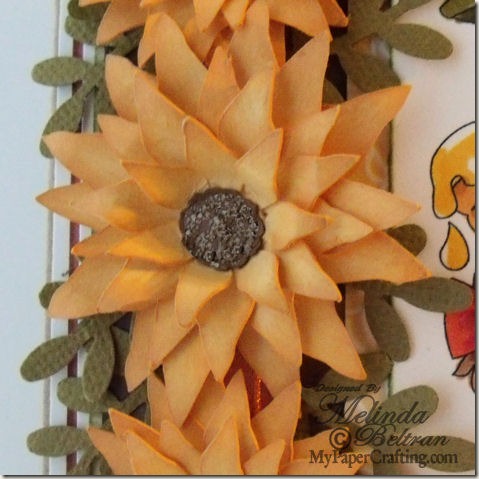
Here is a closer look at one of the sunflowers. I used the sunflower svg file from the Sunflower card file set from PCW and made the cute sunflowers and the green foliage.
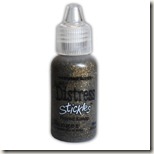
For the centers, I simply added a touch of the Frayed Burlap distress stickles. I wanted the grainy texture of the distressed stickles. I used my Enchantment Ink set from CTMH to lightly ink the flowers with the Goldrush ink pad and the Olive Ink pad to edge the digi. I used my regular sized Saddle Ink Pad for the edges of the red and brown DCWV patterned papers.
I used the following products to complete this card
 Pazzles Inspiration To Cut My SVG Files |  QT P Honee Digi | |
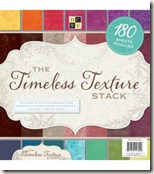 DCWV Timeless Texture Stack | 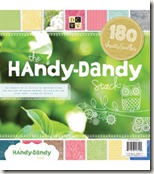 DCWV Handy Dandy Stack | |
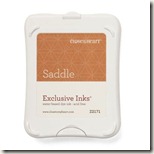 Saddle Ink Pad |
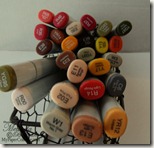
Copic Markers
| |
Additional Products
Green, White and Kraft Cardstock
Misc. Sheer Orange Ribbon
Misc. Copper Antiqued Paper Clip
1 1/8 Circle Punch
1 1/4 Circle Punch
CHALLENGES
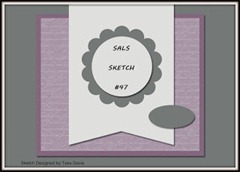
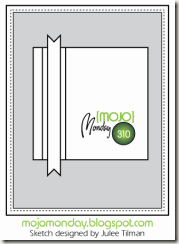
For the card layout, I followed the sketch from Mojo Monday
I am also entering this challenge in the
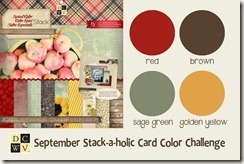
September Stackaholic DCWV Card Color Challenge
September Stackaholic DCWV Card Color Challenge
Here are the rest of the challenges I will be entering:
Creative Inspiration: Fall Colors Challenge
Totally Gorjuss: Anything Goes
My Sheri Crafts #118: Fall Colors
One Stitch At A Time: Use A Digi
All That Stickles: Appreciation
Great Impressions Stamps: Fall Colors
Glitter N’ Sparkle: Add A Bow
Digitally Sweet Challenges: Anything Goes. Must Use A Digi
Creative Fingers: Anything Goes
Crafty Ribbon Challenge: Anything Goes With Ribbon
Well, that about covers it for today. Thank you so much for stopping by and sharing your creative-crafty time with me. Be sure to come back by tomorrow for another wonderful project!






![CRICUT_ARTISTE_LARGE[6] CRICUT_ARTISTE_LARGE[6]](http://lh5.ggpht.com/-AMjV08yzJmE/Uickxd_sQSI/AAAAAAAAjDU/m1xJZB9AH9o/CRICUT_ARTISTE_LARGE%25255B6%25255D%25255B5%25255D.jpg?imgmax=800)
![C1540 CTMH Hello Blooms Flair Stamp Set[5] C1540 CTMH Hello Blooms Flair Stamp Set[5]](http://lh3.ggpht.com/-G4DiwTNzX6o/UickzaTabvI/AAAAAAAAjDs/hpSL09N6CCM/C1540%252520CTMH%252520Hello%252520Blooms%252520Flair%252520Stamp%252520Set%25255B5%25255D%25255B5%25255D.jpg?imgmax=800)
![z2191-sunset[5] z2191-sunset[5]](http://lh5.ggpht.com/-GXt8f6HFYOs/Uickz80m7gI/AAAAAAAAjAM/i9zony_XSbE/z2191-sunset%25255B5%25255D%25255B2%25255D.jpg?imgmax=800)
![z2190-gypsy[5] z2190-gypsy[5]](http://lh3.ggpht.com/-DsYcpFO7wik/Uick0ZIO2uI/AAAAAAAAjAU/no3cbUYgmmo/z2190-gypsy%25255B5%25255D%25255B2%25255D.jpg?imgmax=800)
![Z2174-champagne[5] Z2174-champagne[5]](http://lh4.ggpht.com/-RVOw_RFdCg4/Uick07wZQxI/AAAAAAAAjC8/eASPo2A_VBQ/Z2174-champagne%25255B5%25255D%25255B4%25255D.jpg?imgmax=800)
![z2104-barn red[5] z2104-barn red[5]](http://lh5.ggpht.com/-KJitN6MkEDY/Uick1SQ8WvI/AAAAAAAAjAo/1MOrhW08zOQ/z2104-barn%252520red%25255B5%25255D%25255B4%25255D.jpg?imgmax=800)
![sugarberry smooch ink[5] sugarberry smooch ink[5]](http://lh3.ggpht.com/-7Z8rh4jP8kc/Uick13uo13I/AAAAAAAAjDw/M4PXpaC976I/sugarberry%252520smooch%252520ink%25255B5%25255D%25255B5%25255D.jpg?imgmax=800)
![smooch siren ink[5] smooch siren ink[5]](http://lh4.ggpht.com/-UJQMh96vc8g/Uick2trmYNI/AAAAAAAAjDM/dsgUqutdBYk/smooch%252520siren%252520ink%25255B5%25255D%25255B3%25255D.jpg?imgmax=800)
![early dawn[5] early dawn[5]](http://lh3.ggpht.com/-c4nQnKiXqK8/Uick3qnVzkI/AAAAAAAAjCg/I8mLqdVrGoE/early%252520dawn%25255B5%25255D%25255B3%25255D.jpg?imgmax=800)
![island blossom[5] island blossom[5]](http://lh3.ggpht.com/-0rqyftUsozU/Uick4by6k-I/AAAAAAAAjCs/52bPjh65VMM/island%252520blossom%25255B5%25255D%25255B3%25255D.jpg?imgmax=800)
![mouse[5] mouse[5]](http://lh4.ggpht.com/-mSBwdQDwSug/Uick4-Ex1BI/AAAAAAAAjC0/6vcQWRZmNhs/mouse%25255B5%25255D%25255B3%25255D.jpg?imgmax=800)
