14_02

Scrapbook SVG Layout Moose Be Love

Hello crafty friends,
Welcome to another Fabulous Friday SOUS Die Cut Challenge! Our challenge this time is all about something sweet! It is no coincidence as one of the “sweetest” days of the year is coming up!  When you think of Valentine’s day, you inevitably think of Chocolates, candy and sweet treats! So here is what I came up with!

Scrapbook Layout Using SVG Paper Piecings
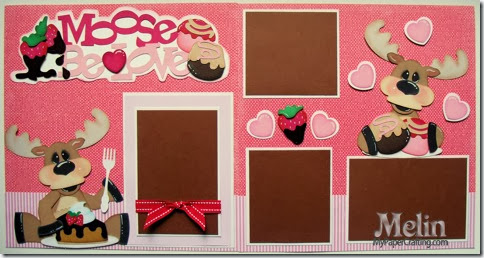
Moose Be Love

Paper Piecing Scrapbook Layout Moose be love SVG Cut File layout
Here is a view of my entire scrapbook paper piecing layout. I love the “pun” title. I used the Chocolate Moose SVG cut file from PCW.

SVG Paper Piecing chocolate moose die cut file


SVG Moose Truffle Paper Piecing Cut File
Here's a closer look at the little chocolate moose topper. Holding his little truffles-chocolates.


Here's a closer look at the strawberries on the title. I used some liquid glass to give the chocolate some shine.


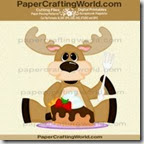
Here is a closer look at the little moose getting ready to enjoy his chocolate covered pie!


Paper Craft SVG Pie Die Cut
Here's a closer look at the pie. Again, I used some liquid glass to really make the chocolate look extra yummy!


Products Used To Create This Project
pazzle1
Pazzles Inspiration
chocolate mousse ppr-cf-200B
Chocolate Moose CF
Z2501-adventure
Adventure Ink Pad Set

Z2503-basics
Basics Ink Pad Set
enchantment ink-140
Enchantment Ink Pad Set

whimsy ink pad
Whimsy Ink Pad Set
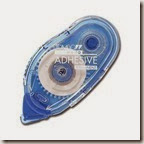
1514-tombow adhesive
Tombow Adhesive

Z1151-foam tape
Foam Adhesive

Z553-chisel tip glue pen
Chisel tip glue pen

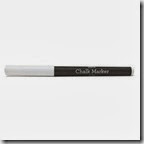
Z1767-chalk marker
Chalk Marker
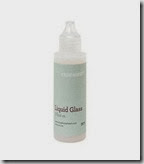
liquid glass
Liquid Glass


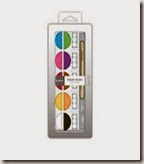
basic 10
Pebbles Basic Chalks
Additional Products Used 
Black Fine Tip Pen
White, Black, Red, Pink Brown, Medium Brown and Dark Brown Cardstock
MME Abbey Road Cardstock Designer Paper
Recollections Patterned Papers

I did also make this layout into a kit. You will be able to purchase it starting on Sunday on Page-Kits.comNow head over to SOUS and check out what the rest of the design girls created. Don’t forget, our challenges now have sponsors, so play along and you will be entered to win!

As always, thank you for sharing your crafty time with me. Until tomorrow,

Die Cut Heart Easel Card

Hello crafty friends,
Today I am sharing a project for my Scrapyland.com DT. I created a heart shaped easel card. I made this card using all “manual” dies. Here is a photo of my completed card.


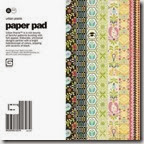
All the papers I used for this card with the exception of my Kraft and White Cardstock came from the Basic Grey Urban Prairie 6x6 Paper Pad.

Shaped Die Cut Card Tutorial
I started by selecting some kraft paper. I measured to make sure I had a piece big enough to be folded and yet made room for the whole die. I did this with the two largest dies in the pack.


I folded the paper and scooted the fold to where it was just shy of the top two scallops. By leaving the top two cut lines exposed, it allowed the “fold” to stay in tact. This created the card body.


Here is a closer view showing how the paper looked still in the die. You can see the fold on both scallops are within the scallops. I had no problem cutting the cardstock with the "double thickness" I used my Cuttlebug for this project.


Here is what the two “card” bases looked like. I made one smaller so I could layer it on to the larger one. It will make sense when you see the rest of the photos. Also making the bases on the kraft cardstock gave the card a good sturdy base. 


Because I wanted to create an easel card,  I had to create a fold in one of the flaps. I used my Martha Stewart Score board to line up my card so I could get a straight line.


Here are several of the dies. The die cut set comes with 5 sizes of the heart shaped dies. It makes it really easy to find the size you need.


Here is a closer look at the top heart. I hand cut the eyelet part off the blue die cut pieces and layered them onto the white heart. I used the White Opal liquid pearls to go around the middle heart.


Here is a closer look at the bottom heart. I used foam dots to give the larger heart some lift so the card would stay opened.


Here is a shot of how the card looks closed.


Here is a view of the top heart “card” open. I left it blank so I could write my personal note on the white cardstock.


Here’s one last look at the card opened.


Products Used To Complete This Project

white opal pearls-155
White Opal Liquid Pearls

18283036hr
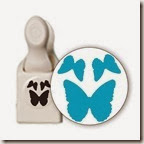
MS Butterfly Punch
Additional Supplies
White and Kraft Cardstock
Martha Stewart Score Board

Hope this inspires you to look at your dies in a different way. With some of your shapes you could make some very nice card bases!  Don’t forget to swing over to Scrapyland.com  to check out all of the amazing new releases now in stock!!!

One Cool Kid SVG Layout

Happy Monday crafty friends,
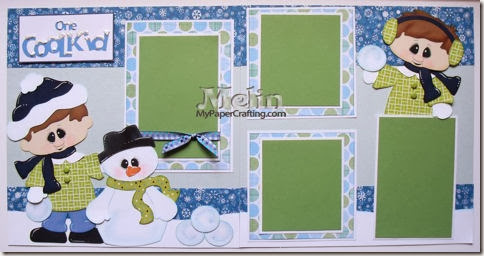
I wanted to share a layout I recently made with the One Cool Kid SVG cut file set from PaperCraftingWorld.com.

one cool kid layout-480
Here is a look at my completed layout.


qt boy topper-450

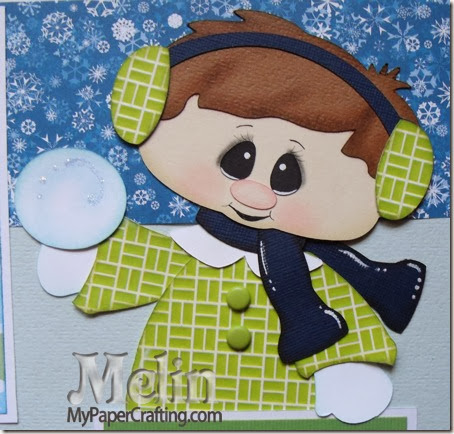
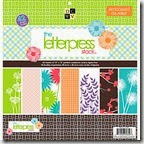
Here is a closer look at the little boy mat topper. I used some DCWV Letterpress Stack paper for his ear muffs and his coat. I used some Charcoal ink from the Basics Ink Pad Set his scarf. I used some Sky ink from the Whimsy Ink Pad Set for the blue of the snowball. I used my dry decorator chalks from pebbles inc for his facial features and for his hair. I Used my Chalk Marker for the whites on his eyes as well as the details on his scarf. Lastly I used a fine tip black pen for his mouth, eye lashes and eyebrows.


qt boy-snowman-450
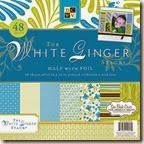
Here is a closer look at the little boy with his snow friend. I used some paper from the DCWV Letterpress Stack for the little boy’s coat. I used a piece of paper from the DCWV White Ginger Stack for the snowman’s scarf. Again, I used the sky ink for the snowman and snowball pieces as well as the snow borders in the background. I did also use some dry decorator chalk for the extra details on the snowman’s body and face.

title closeup-450
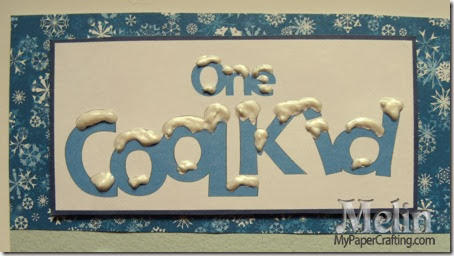
Title Close up. I used some dimensional paint for the snow on the letters. I did make this layout into a kit that you can pick up at page-kits.com.

Products Used To Complete This Project

dcwv letterpress stack
DCWV Letterpress Stack
dcwv white ginger stack
DCWV White Ginger Stack
one cool kid lo-ppr-cf-200
One Cool Kid SVG Set

whimsy ink pad
Whimsy Ink Pad set
Z2503-basics
Basics Ink Pad Set
basic 10
 Dry Decorator Chalks
Z1767-chalk marker
White Chalk Marker

Additional Supplies
Blue, Black, White, Navy and Green Cardstock
Doodlebug Brads
Misc. Ribbon
Recollections Patterned Paper
HOTP Patterned Paper

 Don’t forget, there is still time to join the SOUS die cut challenge this week. Which is something to wear! Head over and check it out HERE Be sure to stop back by tomorrow as I share another fun project for my Scrapyland DT. Until then,
2013 fall winter melsig-450

Card With Free Digi and Blog Hop Winners

Happy Sabbath crafty friends,
So glad you stopped by today. I hope you are enjoying the start of a restful and crafty weekend. Today I am sharing a quick card I created with this week’s free digi and I am also announcing the winners from our blog hop last weekend.

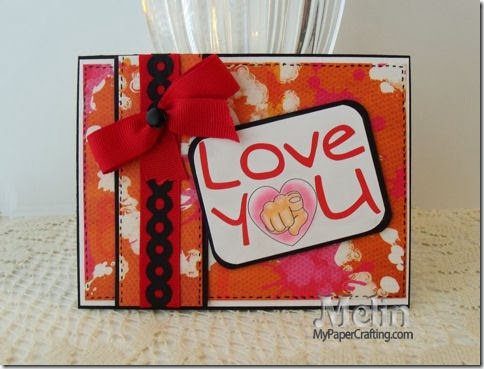
Here is the card I created using this week’s free digi:
love you hand pointing card ds-480
I used the Die Cuts With A View (DCWV) Neon Chic Stack for the funky and colorful paper. I added in the red and printed out the digi and then used my pink copic marker and dry decorator chalks to color in the hand and the pink of the heart. I used the EK Success border punch.

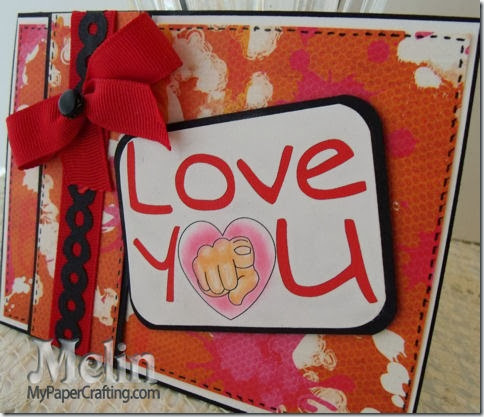
love you side view 480
I layered the border punch onto a piece of ribbon and then tied a bow and added a brad to the center. Lastly, I added some faux stitching around the mat and the border mat.

current free digi-200
This is the new digi stamp from PCW for this week.
love you 2014 ppr-ds-200
CLICK HERE to go download
Please note:  The shopping cart will say .99 but when added will be free until 1-6-14.

Now for the Winners
Lots of Love Blog Hop Winners

Jen H’s. Winner
#8 Georgiana from Carson's Creations said: "Both cards are super cute, but that squirrel is my favorite!"

Suzanne P’s. Winner

Susan Creech who wrote January 25, 2014 at 8:31 AM 
I love this layout & I agree 100% with Melinda! Love they way you used all your tools.


Sue C’s Winner

Michelle 
Hi Sue, this is a beautiful card and I love the colours. The sentiment is wonderful. I am a follower of your blog and love your work. x


Larelyn’s Winner

POOHBEAR 
"Beautiful cards."


Sandy’s Winner

Lynn C. (wordperfectqueen@yahoo.com)January 25, 2014 at 10:20 PM 
”I love the pearls surrounding the black heart. They really make the owls on the branch pop. The snow on the branch is a really nice touch too. Great card, Sandy. Thanks for sharing”.


Charlotte’s Winner
Charlotte, this is so cute! And perfect fit for you, I might add! Love it!


PCW DT Blog Winner

Snowdraak said:
Pretty paper and card. Thanks for sharing the banner set! I was just looking at your card and thinking I needed something like that banner. Thanks for the chance to win too!


MyPaperCrafting.com Main Blog Hop $20 Winner


Linda Simpson said...
These are stunning! Love the Latte! 
Hugs 
Linda xxx

To claim your prizes: Please contact the blog owner where you won. For the PCW DT blog winner and the MyPaperCrafting.com winners, (Snowdraak and Linda S.) please email me: melin @ scrapbookeden.com (remove spaces). You have one week to claim your prizes.

Well I guess that covers it for today. Don’t forget to stop back by tomorrow for another fun project. Until then,

2013 fall winter melsig-450