
Happy hump day crafty friends!
Today I am sharing a fun and colorful Valentine's day card with a little surprise. Here's a look at my finished project. It features some fabulous dies from Cottage Cutz along with some fun paper from Doodlebug designs and a full tutorial and template from yours truly :-)


Here's a look at just the cover. It features images from the following die sets
Cookies & Cocoa
Santa Gnome w/Cookies
Snowmen Friends
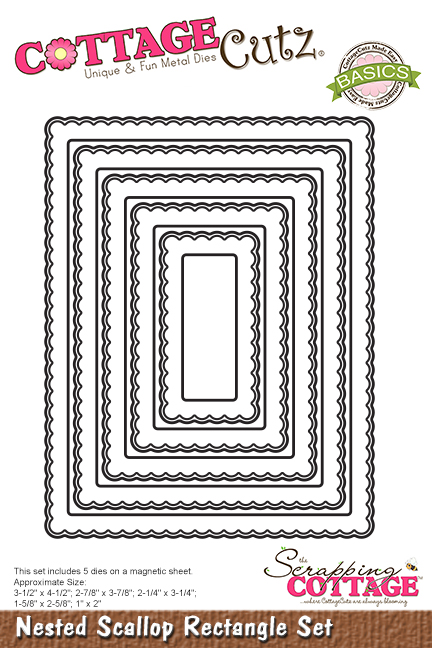
Nested Scallop Rectangle Set
Stitched Heart Set
I used my markers to color in the various pieces. The cute image was from my Doodlebug paper pack as was the patterned papers I used for the scallop rectangle mat and the two hearts. I also used my puffy paint for the showgirls' hat and pompom and some stickles for the whipped topping on my mugs.
To make this fun card with a surprise you will start with a 5.5 x 11 piece of cardstock. I used white for mine. I then scored it at 5.25 and 5.75.

When scored you should have a half inch seam or section in the middle. See photo below. You will score and fold both lines so your base will close.

To make the little pocket you will need to create a little box like the one I created in the photo below.
The base measurement is 4.75 x 11
You will score your piece of cardstock along the 4.75 side at .5", 7/8", 3 7/8" and 4.25"
You will score along the 11" side at .75", 1 1/8", 5 7/8", and 6.25"
You will cut it according to the photo below.

Here's a template image to offer a little additional help.

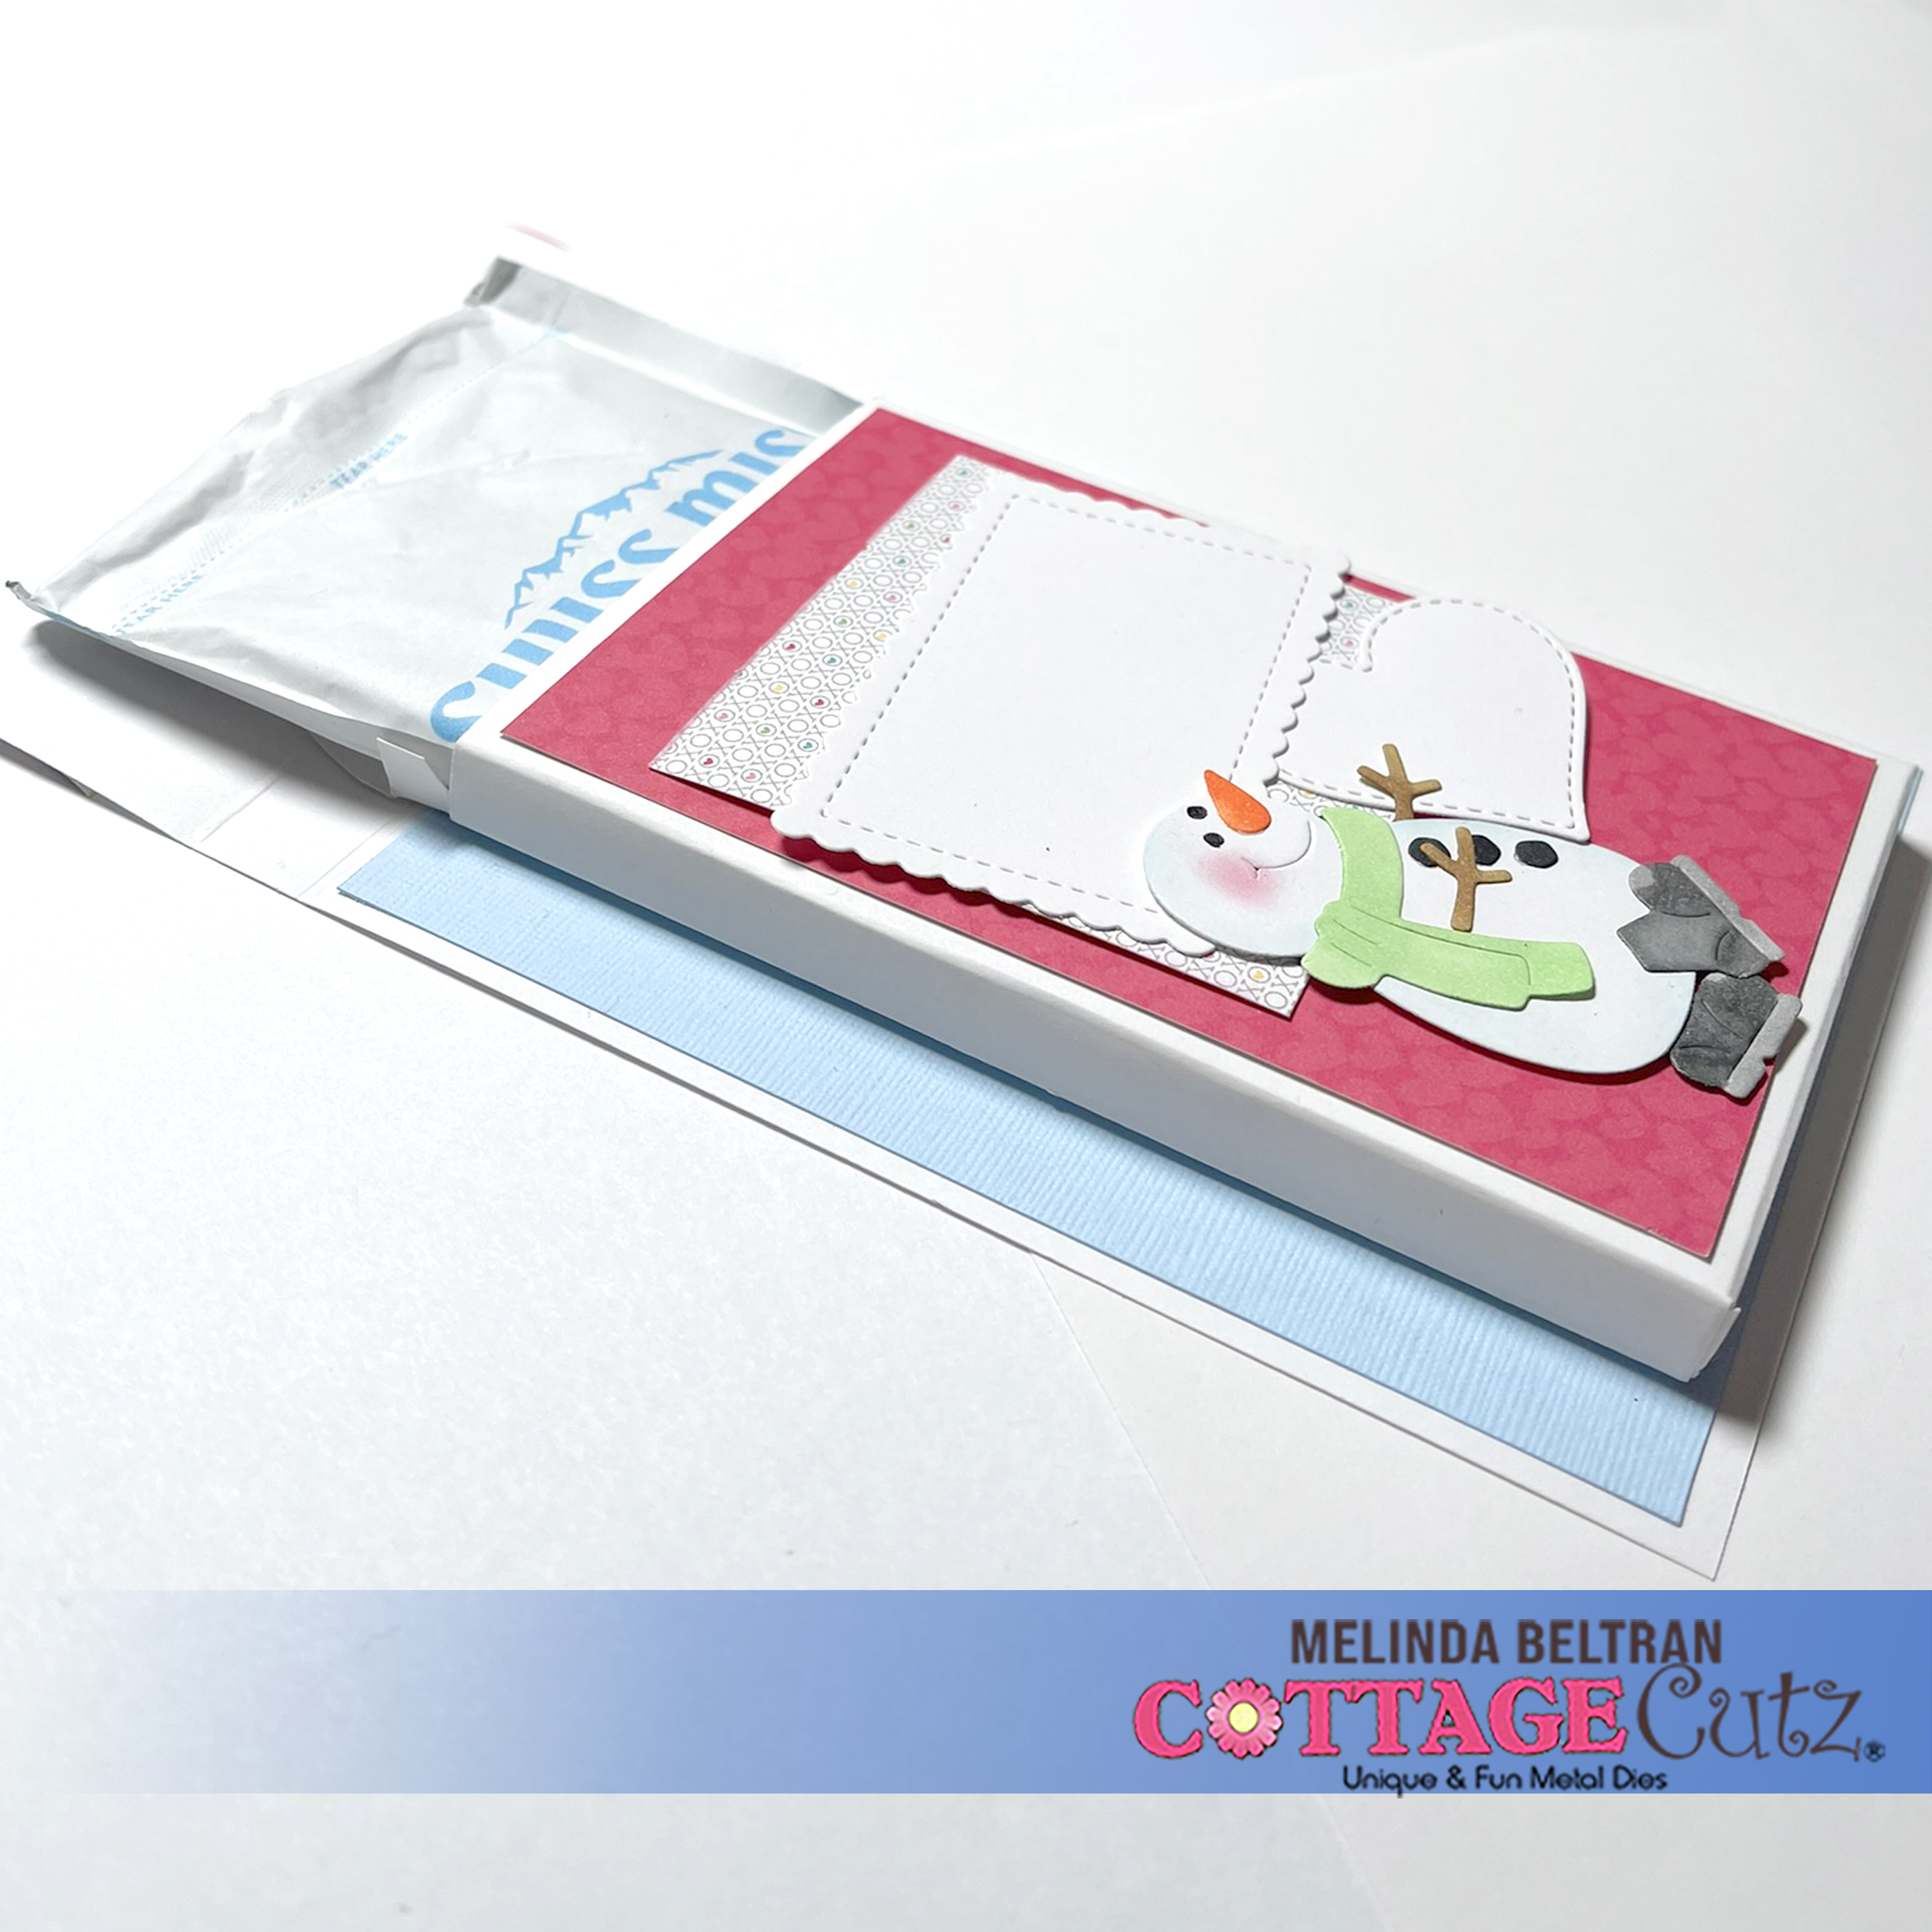
Once you have scored and cut the box, you will assemble it. When put together, this is what the "top" side should look like.

It has a flap that folds on the top so you can easily put a packet of Hot Cocoa inside.

Here is a photo of the "backside". I left the extra flaps so that I could adhere all of it to the base. Doing this makes the sides more sturdy. When you assemble the box, it will make more sense. They are optional and you could choose to cut them off to make the sides "flush" with the sides and not wrap around to the back. Here you can see I just added a piece of tape to keep down those flaps and then added adhesive to the entire back. This makes sure the little pocket/box is going nowhere...lol!

I added a blue mat to the inside background and then adhered my pocket/box to the center. I then decorated the top with a mat of patterned paper, a decorative piece of corresponding patterned paper and then a little rectangle, heart and another little snowmen friend. For this one, I added the little Santa Gnomes boots to him. Super cute! The rectangle and heart are left blank so I can write a little note to the recipient.

Here is a side view of the inside of the card, opened up. This gives you a good idea of what the box attached will look like and how the cocoa packet will be accessed.
Here is one last look at the top
I think it turned out super cute and you can make these for co-workers, friends and loved ones for Valentine's day and have a lot of fun doing them!
Dies I Used
Cookies & Cocoa

Santa Gnome w/Cookies

Snowmen Friends

Nested Scallop Rectangle Set
Stitched Heart Set

Well that about covers it for today! Until the next time, have a wonderfully craft-die day!
Melinda Beltran


No comments:
Post a Comment
Thank you for taking the time to comment. I appreciate it so very much. Due to excessive spam, all comments are moderated. -Melinda