
Happy TuesDIE Cottage Cutz Friends!


Melinda here with you on on another sweet TuesDIE. Can you believe it is already August? Whew, time is just flying!!!! Today I am sharing a super cute card and little treat box set I created, featuring dies from the new Strawberries and Bees release.
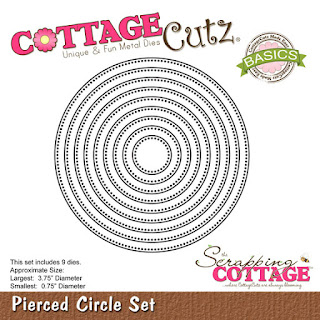
I used the Strawberry Cottage to create the fun treat box. For the Card I used the Berry Phrases Die set. For the card I also used the Circle Pierced Nesting Die set.

My finished card size is a standard top folding A4 size. The base is white cardstock and then I added a piece of red cardstock. To that, I added a mat of some patterned digital paper I created. I proceeded to cut out the pierced circle in the largest die in white cardstock and the next size down in green cardstock.
I then colored all my strawberries and leaves and stems. I also cut out all the phrases in white cardstock. I then assembled the words and berries onto the green mat.
To Make My Little Box

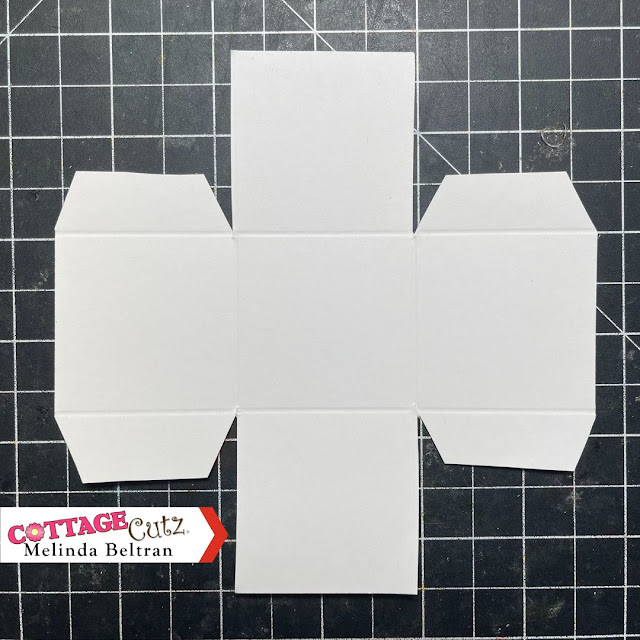
I started by cutting out a piece of white cardstock to 5.25 x 5.25. I scored it at 1.75 on all four sides. After scoring, I cut out the four corners leaving just enough for glue tabs to assemble the box. See the photo above.

Next I cut out the strawberry cottage two times in plain white cardstock. I lined up the bottom of one and used my ruler to find where up the strawberry the width was 1.25". Once I found that, I cut off the bottom. I did that for two of them. I then went ahead and colored the strawberries with my red marker.

I colored the leaves and stems of the strawberries and adhered them to opposite sides of the box. I also cut out two squares of red cardstock and then the mini strawberry patterned digital paper I created. I cut them out at 1 5/8" and 1 3/8". I adhered them to the sides of the box.

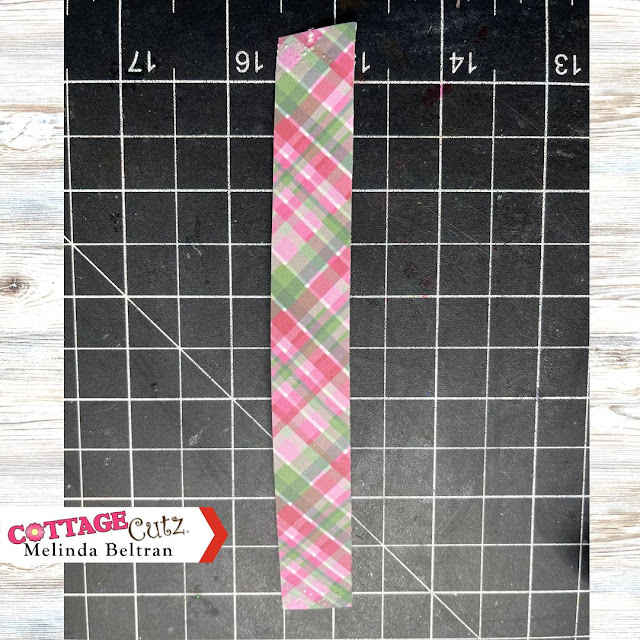
I then cut a strip of the patterned diagonal plaid digital paper. It was approximately .75 x 5.25

I went ahead and assembled the box.

Here you can see I added the strip for a handle. I also added some plaid paper mats to the inside of the box. It finished off the inside and it also helped keep the little handle securely attached to the box. I sandwiched it between the box and the extra mat.

Here's a closer look at the sweet little box. I added some of the adorable flowers, berries and foliage from the die to each side. I also lucked out and found that old-fashioned strawberry candies. I used those for the box.
Here is one last look at my projects.

Dies I Used

Be sure to head over to their shop and grab your dies today!
Well that about covers it for today! Until the next time, have a wonderfully craft-die day!
Melinda Beltran


No comments:
Post a Comment
Thank you for taking the time to comment. I appreciate it so very much. Due to excessive spam, all comments are moderated. -Melinda