Showing posts with label DCWV Fresh Floral. Show all posts

16_12

12 Days of Memories March & MORE Freebies

Hello crafty friends,
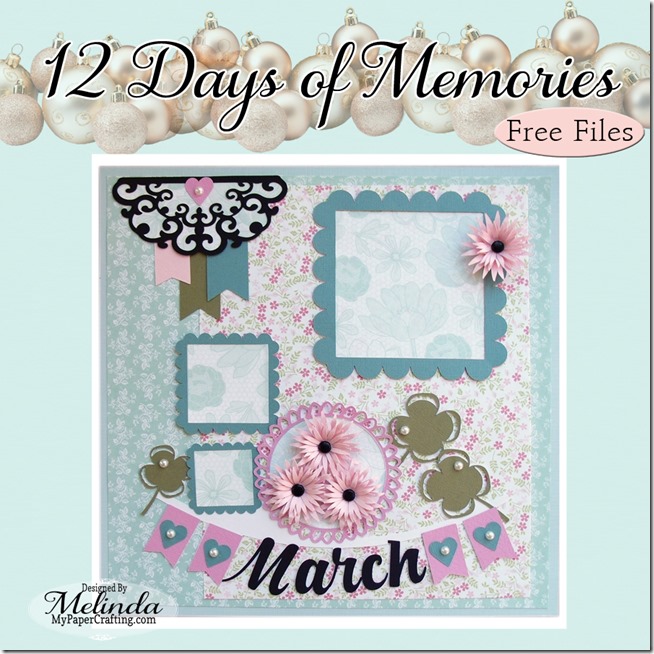
Today I am back again with another cute calendar page for the 12 Days of Memories over at the Pazzles Craft Room. Here is a look at the March Calendar Page.

GEDSC DIGITAL CAMERA

Once again the Craft Room Editor Michelle created the title and then I went from there.

GEDSC DIGITAL CAMERA
I added the pretty flowers and the little hearts.

GEDSC DIGITAL CAMERA
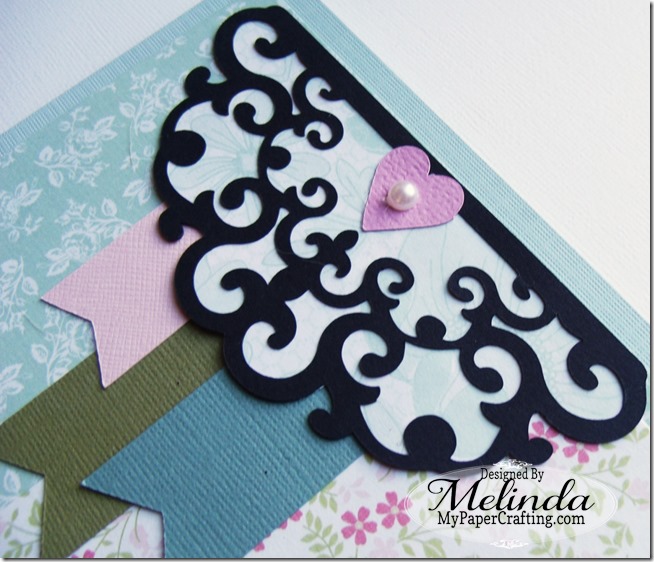
I also created this pretty half circle embellishment.

GEDSC DIGITAL CAMERA
Here’s a closer look at the pretty flowers. I layered them and then added some black brads.
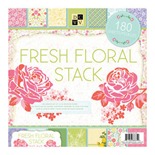
Once again I used some pretty flowers from the DCWV Fresh Floral Stack.
To grab the free files to recreate this layout. Click HERE.

As always, thank you so much for stopping by, be sure to come back tomorrow as I share yet another page.

Don't forget to head over to Facebook and join my group: HERE  and like my Facebook page: HERE

Until then,

13_07

When Life Hands You Lemons…..

Good morning crafty friends,
I hope your Tuesday is shaping up to be a TERRIFIC ONE! I have a cheery project to share with you today! It includes “Sneak Peaks” of the files that will be released this weekend at PaperCraftingWorld.com!
water bottle treat holder card set
Here is my fun and easy to make set! I created a card to match my Water Bottle Treat Holders.  The Water Bottle Treat Holders come in two sizes. One for a standard sized water bottle and one for a larger water-beverage bottle.

lemonade card svg digi-450
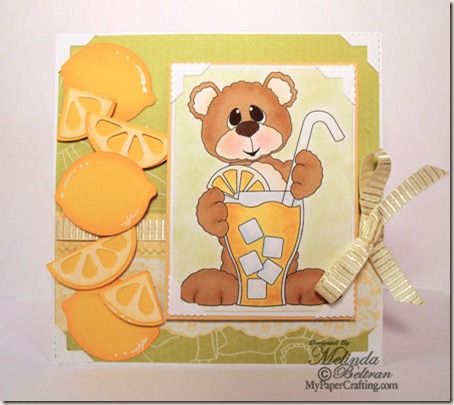
 Here is a closer look at the cute card. I used the lemons and wedges from the Lemonade Boy Stand CF set and the cute Bear With Lemonade Glass Digital Stamp. I used the pre-printed version and then used my dry chalks to add some shading and dimension. For instructions on how to do this, check out my tutorial HERE.

bear w lemonade glass-ppr-ds-325
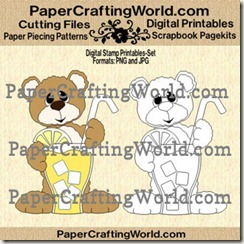
Bear With Lemonade Glass Digi
RELEASING THIS SATURDAY

lemonade stand boy setcf-325
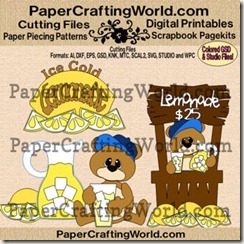
Lemonade Stand Boy v. Cut File Set.
RELEASING THIS SATURDAY

water-bottle-treat-holder-svg-template-450
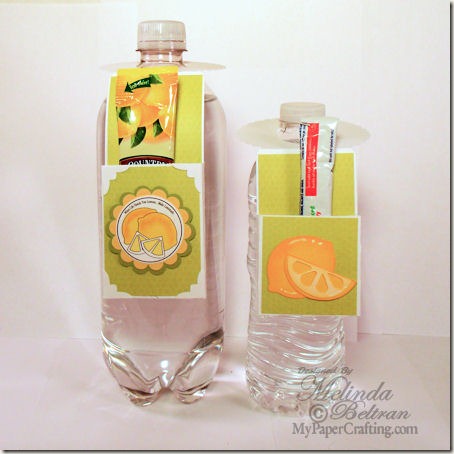
 Here is a shot of just the two water bottle treat holders. On the larger one, I used the cute little lemon digi. On the smaller one, I used the lemon and wedge again from the Lemonade Boy Stand Cut File Set.

Be sure to sign up for my newsletter. I will be sharing quite a bit of information and even a special code for a SUPER discount on all the new files that will be released this weekend!
PLUS there will be a free subscriber only cut file and digi! You can sign up HERE

Products Used For These Projects
PCW Files Listed Above
DCWV: The Fresh Floral Stack
Yellow, Green, White and Cream Cardstock
CTMH White Chalk Writer
Dry Decorator Chalks
Misc. Cream Ribbon

Thank you so much for sharing your crafty time with me. Come back by tomorrow for a wonderful project from Designer Larelyn!
melin-sigj

13_06

Die Cut Coloring With Chalks Tutorial

Good morning crafty friends,
I wanted to share the details on the card I created for this past’s Digi Desserts Fridaze post. I have a short tutorial on how I colored my die cut flowers with my Pebbles Inc chalks.
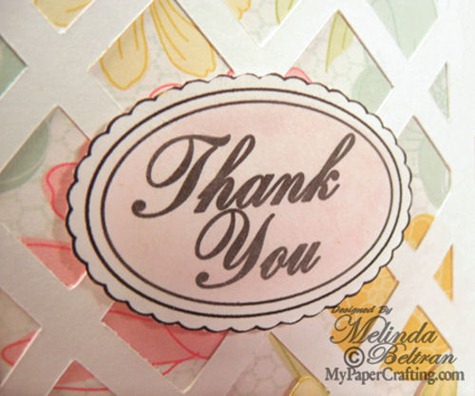
Here is a shot of the entire card. I used the Basic Lattice Card cut file from PaperCraftingWorld.com. This File is a featured file this week so you can snag it for as low as .50 cents!

This is a closer look at the completed flowers. My tutorial today is a small “HOW-TO” on how I colored my flowers.


Coloring Die-Cuts With 
Decorator Chalks Tutorial
pebblesinc-chalks-500
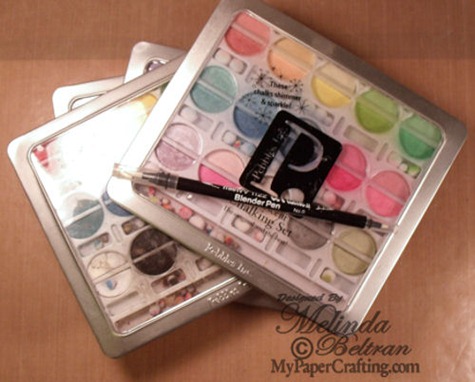
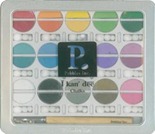
Here are the two products you will need.
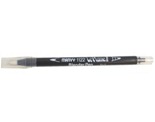
Pebbles Inc. Decorator Chalks and a Blender Pen
For these flowers, I used the Shimmer Chalk and Regular Color Sets.

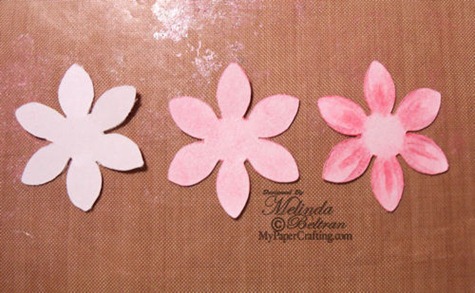
plain white flowers-500
Start with plain white cardstock die cuts. I like to start with plain white
so that as I add my color, you will get more depth.


Using the pompoms and applicator provided in your set, 
pick the color of chalk you would like to use and apply some to your pompom.


Generously apply your chalk to your die cut for a good solid base of color. 
Be sure to "rub" or burnish the chalk into the die cut. You can 
simply blow off any excess you may have. The chalk will stay onto 
the die cut if you "rub" it in well with no problems.


Once you are satisfied with your base color, you will take your 
blender pen and "brush" some of your chalk color onto your pen. 
Note: Your blender pen will "intensify" the color that you pick, 
so in this case, I used the same color chalk that I used for the base.


Once you've loaded your blender pen, simply add it onto your die cut in a brush stroke fashion. Note: Because you are using the blender pen, if your lines seem too intense, imply continue coloring and the blender pen will help to tone down or blend-soften the lines. You will need to keep "reapplying" the chalk to your blender pen tip as you notice the color fading.


Once you have finished all your petals, you can dust over the whole die cut with the "white pearlescent shimmer" to really sparkle it up.


Three-flowers-500
Here is a shot showing the die cut coloring progression.


single-flower-500
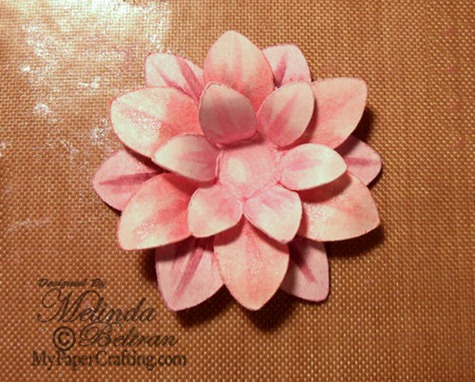
After I finished “coloring” all my die cuts, I simply assembled and curled the flower petals.


thank you pre-colored-500
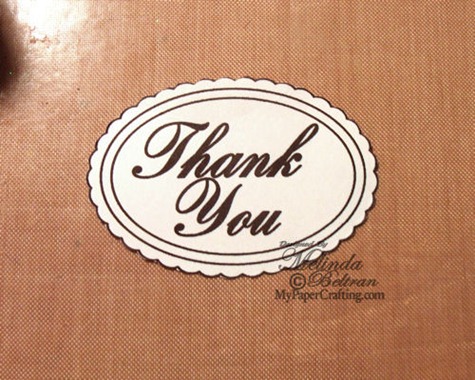
I also used my chalks to add some color to the sentiment.

thank you cu-500
Here is a picture of the sentiment stamp after I added the chalk.


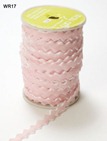
For my final step I added some liquid pearl accents to the pretty, May Arts, velvety ricrac ribbon.


leaves-500
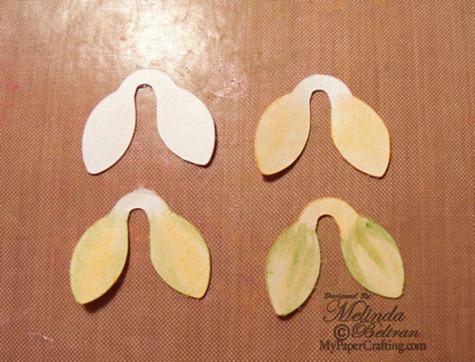
For the leaves I did the same technique. I started with a plain white die cut (top left die cut) I used my applicator and medium pompom to dust on the base color. (top right) Next, I added some light green to the edges again with my pompom (bottom left) Final step, I added some darker green with my blender pen and a medium green (bottom right)


Here is a side view of the flowers. Once I adhered them with some foam dots, I added some pearl gems to the centers.
Here is one final look at the finished card.


**UPDATE**

So sorry, I forgot to mention; you do not need a different blender pen for each color. Simply use a piece of scratch paper to brush your pen onto until it "runs clear" again. While your nib will get "stained" it will run clear and then you can use a different color.

Here are the products I used to complete this card

Thank you so much for once again sharing your crafty time with me. You can head over to our DDF post and see what the other gals created: HERE. Be sure to come back tomorrow for a new SVG-Cut file project and FREEBIE!

SVG-Cut File Showcase-Free File


svg-6-18-13
Good morning crafty friends,
Thank you for visiting us on another Terrific Tuesday. Today is our bi-weekly SVG-Cut File Showcase. It is also our last showcase for this design team term. We will be coming back in July with a great new format, so we aren't going anywhere but into our craft rooms to work on some more great, creative projects to share! Speaking of share…let’s get right to the crafty goodness the designers have for you!


melin-s2013
SEVENTEEN


PCW File Used: Zebra Print CF Set
DCWV Stack: Cherry Limeade Stack.
I created this card with paper from the Die Cuts With A View Cherry Limeade Stack. This paper is foil and has a beautiful metallic finish. Perfect for my animal print and all things flashy and blingy seventeen year old! I finished it off with some ribbon and bling!


BEAUTIFUL
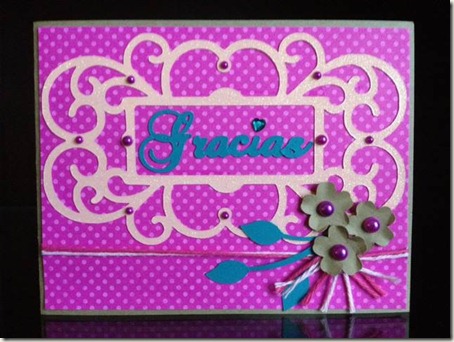
Next I created another card using the free svg file for this week.
PCW Files UsedBeautiful Title  and Card Tag With Flourish Flower
DCWV Stack: The Fresh Floral Stack
Aqua and White Cardstock


freesvg-2013
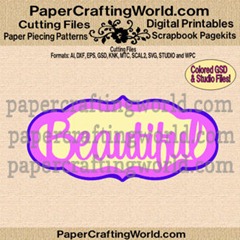
beautiful title ppr-cf-325
UPDATE: Free Link Is Now Expired
PLEASE SIGN UP FOR MY NEWSLETTER.
My Weekly FREE SVG File link 
is now in each newsletter.


Be sure to visit us tomorrow for some great Cricutlicious inspiration!
Have a wonderfully crafty day!