Showing posts with label DCWV Fresh Floral. Show all posts

13_06

Rose Card Details

Good morning crafty friends,
Hope your Weekend is off to a great crafty start! I am sharing the details on how I created my Rose card with you today. I created this card for this week’s Digi Desserts Fridaze post.


Here is a look at my finished card.


I started with these dies. They are all by Spellbinders.

die frame-500
I cut out two of the frame dies and then lined them up.

I cut a piece of paper to back the frames and adhered it to the backs and trimmed the corners.


This is what the finished frame looks like.

corner die cut-500
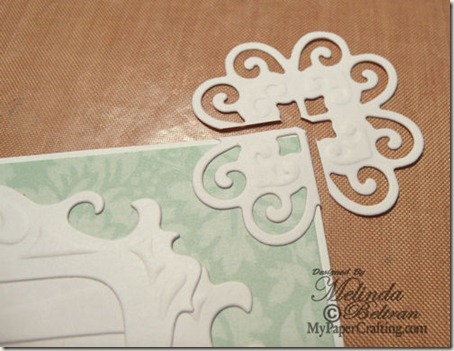
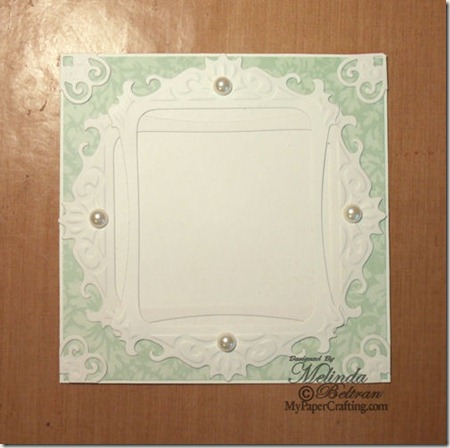
I then took the little medallion die and cut off one edge on each corner of the face of the card. Doing this created a faux photo corner.
die cut card background-500
Here is what the front of the card base looked like. I added some pearl gems.

I used my Copic markers to color my image. This is a digital stamp from PaperCraftingWorld.com called The Rose Bundle DS
Here is a quick step by step coloring guide
  Please ignore the big rose in the bottom center. I got the bright idea to take photos of the coloring process AFTER I had been working on that rose Winking smile
I started by coloring the roses in with my R32 marker. I left some of the tips white.


Next, I went back over with my R35. I used this color more towards the center of the flower petals.


Third step: I added in my R37. Once again I started by adding it to the center of the flowers. I was trying to create “depth” by coloring it this way.

After going back over the red parts with my R32 and R35 to “blend” the colors, I next colored the leaves in with my G02 green as pictured.


Next, I added G05 towards the centers and bottoms to give the leaves depth.


My third color green was G07. Once again I colored more towards the enter and along the “veins” to give a strong contrast.

Finally I added in my YG05 to give the leaves a yellow green highlights. I did go back over and try to blend with the various colors. I also used my C4 to add just an extra touch of depth to some of the areas on the roses that would naturally be more shaded.

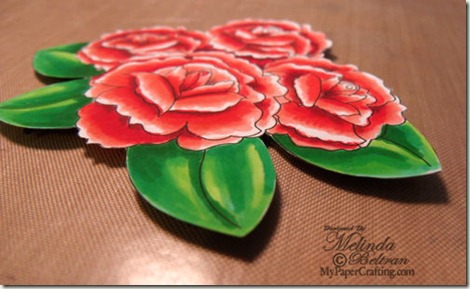
rose ds side view-500
I cut my image out and added some foam tape to give them some dimension.


I cut out the Renaissance Hearts Die medallion and then adhered it to some of the same DCWV patterned paper. I then trimmed around it to create a border of the medallion.
Once I did that, I adhered the finished rose digi to the center.


Finally, I placed some foam tape under the rose-medallion combo and then added that to the base of the front of the card….and finished!


Here is one last look at the finished card.


I used the following products to completed this projects
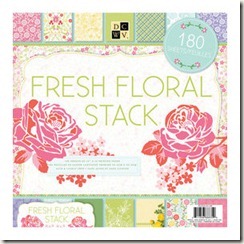
DCWV Stack: Fresh Floral Stack

fresh floral stack
PaperCraftingWorld.com
Rose Bundle Digital Printable

roses bundle-ppr-ds-200
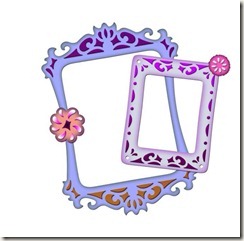
Spellbinders Classic Frame-Frameabilities Die
classic frame-framabilities
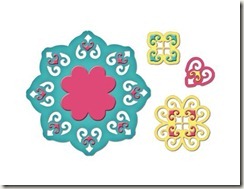
Spellbinders Shapeabilities Pendants - Renaissance Heart
spellbinders-shapeabilities-pendants-renaissance-heart-s4-206--448-p
Copic Markers: R32, R35, R37, C4, YG05, G02, G05, G07
Misc. Pearl Gems
Thank you so much for stopping by and sharing your crafty time with me.  Don't forget to head over to the DDF post from yesterday and check out what the other gals created! CLICK HERE

Please be sure to swing back by tomorrow as I share another project and hopefully some great crafty inspiration too!
melin-sigj

Cornflower n’ Ribbon Card

Good morning  crafty friends,
 I wanted to share a card I created this week. So let's get right to it.

Here is a view of the completed card.

cornflower card ppr-cf-500
I used the Cornflower Card SVG set from PCW.
 FLOWER TUT-1
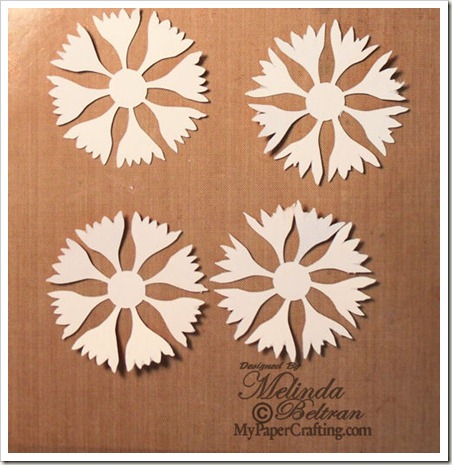
My flowers started as plain white cardstock.

FLOWER TUT=4
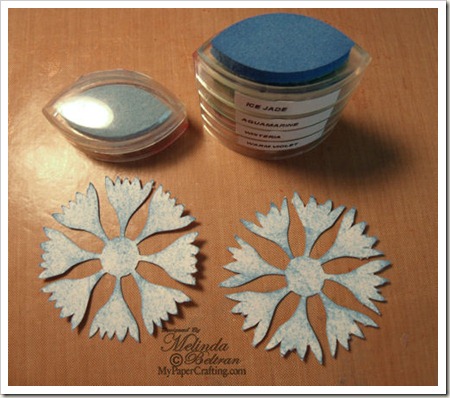
I sponged some Ice Jade Cat’s Eye Chalk Ink on each petal layer.

FLOWER TUT-5
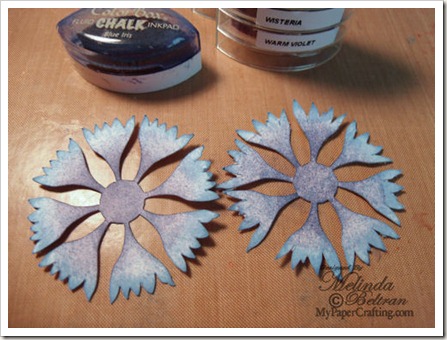
I then sponged some Blue Iris Chalk Ink in the center. I then went back around the 
edges of the petals with the Ice Jade color to help “blend in the colors.

PETAL ROLL
Next, I used a dowel to “curl” the petals and give them some shape.

FLOWER FINAL
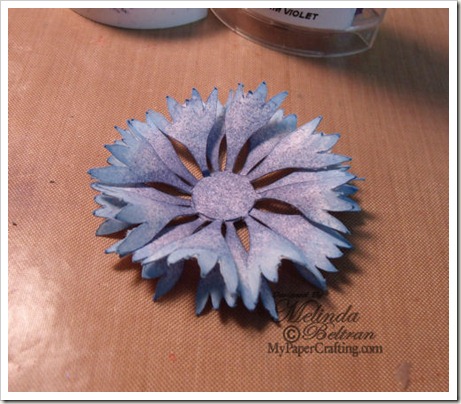
I staggered the layers and off set and glued them together.

FLOWER INNER-PLN
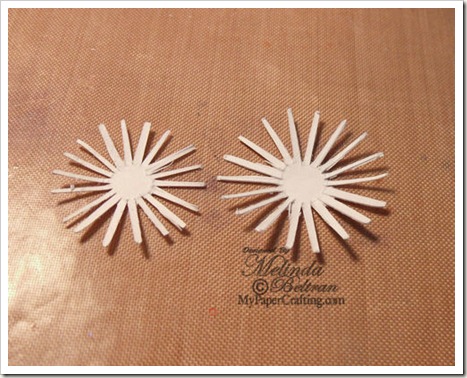
Next, I needed to create the centers. Again, I started with white cardstock.

FLOWER INNER
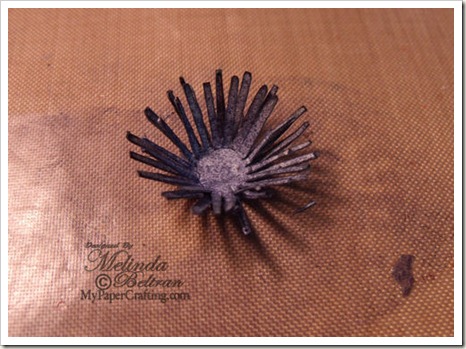
I inked them with Blue Iris and Charcoal Chalk Inks.
I layered, staggered and glued them together also.

GEDC1134
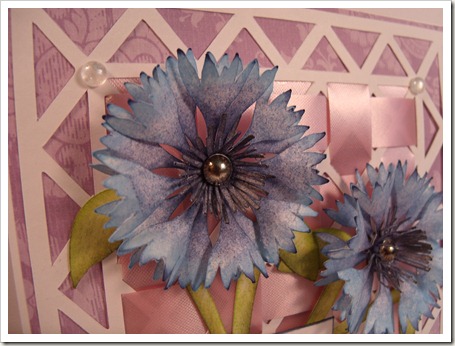
Here is a close up of one of the finished flowers. 
I added a Metallic Gem to the centers.

GEDC1135
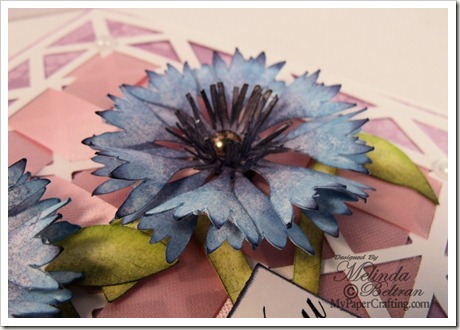
Here is another close up showing a side shot. I also used white cardstock 
for the leaves and stems. I used the Olive Pastel and Medium Green Chalk 
Inks to sponge the color onto the stems.

RIBBON=BACK
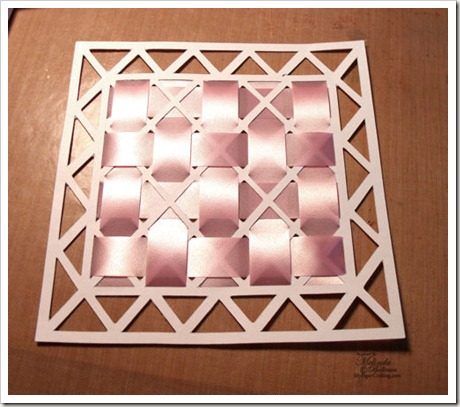
I wove some pink ribbon through the center Lattice panel. 
I think it gives the card some great texture!

Lastly I added the sentiment and some pearl gems on the four corners of the lattice background.

I used the following products to create this card.

PCW File: Thinking of You DS 
DCWV: Fresh Floral Stack-Patterned Paper
Gems: Robin’s Nest Dewdrops
Misc. Ribbon
Ice Jade, Blue Iris, Charcoal, Medium Green and Olive Pastel Chalk Inks.
Foam Dots Dimensional Adhesive.
White Cardstock

Thank you for sharing your crafty time with me. 
Be sure to stop back by tomorrow for the Craft With Cartridges Showcase.


13_05

Love Tag Details Post

Good afternoon crafty friends,
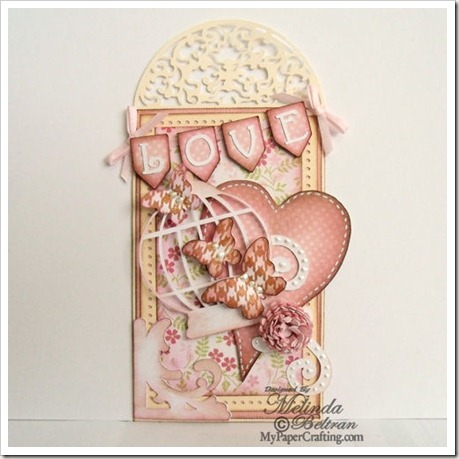
Here is the details post for the tag I created for Thursday’s Tags n’ ATC’s Post.
tag rtclr-nologo-500

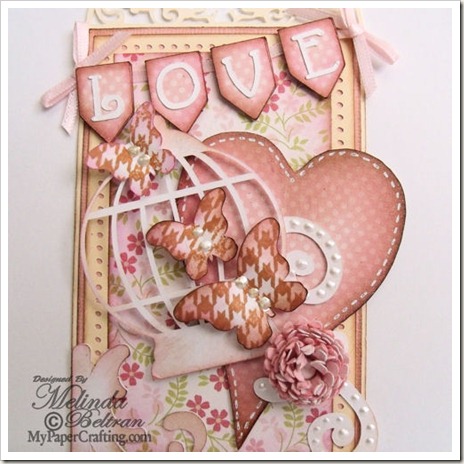
Here is a view of my finished tag.

I used the Window Flourish Tag Cutting File From PCW (Coming Soon)
tag base-500
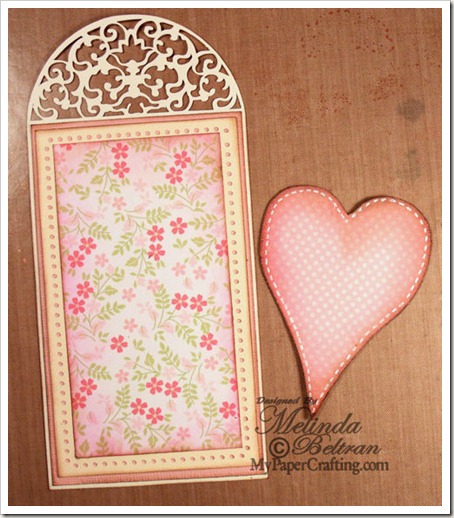
Here’s a view of the tag  base and the heart. I cut the heart out of a lightweight 
chipboard and then again out of patterned paper.

piercing closeup-500
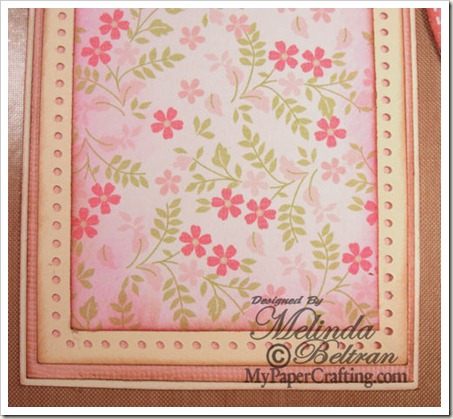
Here’s a close up view of the “circle”” frame-edge that I created.

lovetag-cu-500
Here is a close up view of the layers together.

butterfly closeup-500
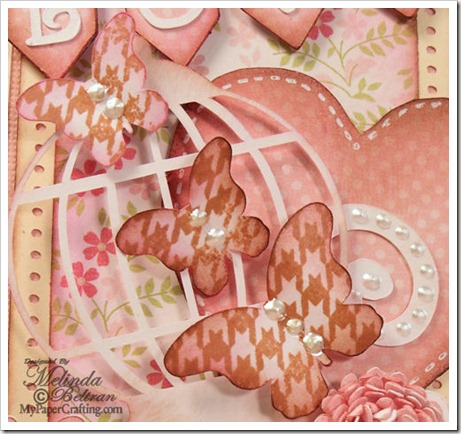
Here is a close up of the butterflies. They started out as plain white cuts. I used a 
CTMH Stamp and some Brown Bag ink to stamp the “pattern” on them. I inked
the edges with a combination of Orchid Pastel and chestnut Roan chalk inks.
I added some extra pizzazz with the Opal White Liquid Pearls for the
centers of the butterflies as well as on the flourish.

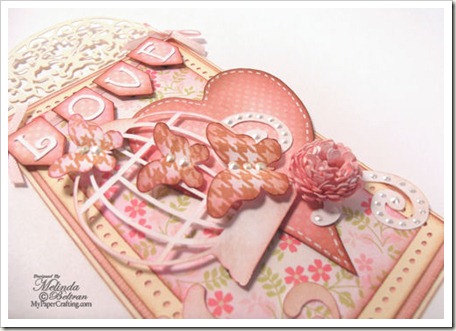
tag side-viewc-500
Here is an angle shot to show the dimension. I used foam dots to give the 
birdcage and butterflies some dimension.
 Products Used
PCW File: Window Flourish Tag Cutting File (Coming Soon)
DCWV Stack: Fresh Floral
Cream, White and Pink Cardstock
Chestnut Roan and Orchid Pastel Chalk Ink
White Signo Gel Pen
Misc. Pink Ribbon
Misc. Mini White Brad

Be sure to head over to this week’s Tag n’ ATC post and see what the other 
designer’s have done. You can also grab the birdcage on 
Tuesday’s SVG post: HERE

Thank you so much for sharing your crafty time with me.

Pin It

Lattice Tag Details

Hello crafty friends,
Here is my details post for the tag I made for our Thursday Tag n’ ATC Post.
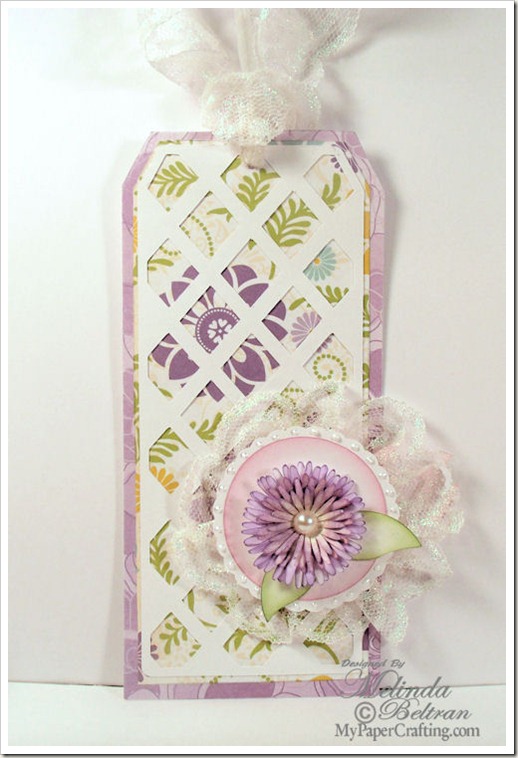
lattice tag-516-500
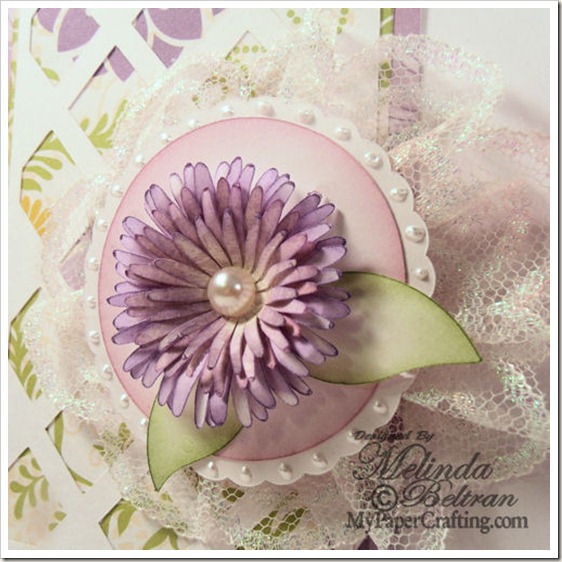
This is a view of the finished tag. I used the Tag, Lattice and Flower file from PCW.

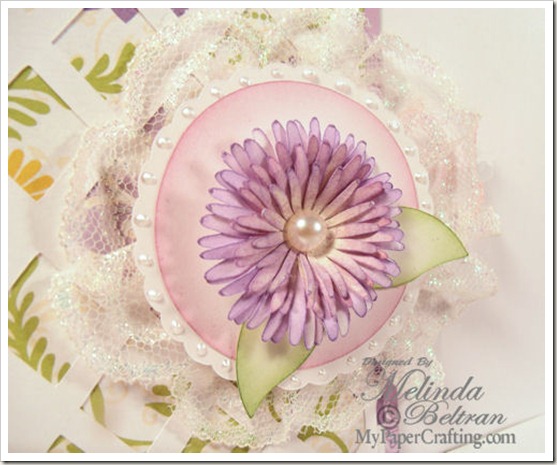
lattice tag flower cu-500
Here is a close up of the flower. I created the flower from plain white cardstock. I used Lavender and Medium Purple ink to ink the edges of the petals. I layered and staggered the petals and then curled them. I used Warm Green and Lime Pastel ink for the leaves. I also softly inked the circle with a Pink Ink. In short, all those pieces started as plain white. I used some iridescent lace to create the back and some Liquid Pearls to edge the scalloped circle layer. Lastly I added one adhesive pearl embellishment.

lattice flower cu-500b
 Products Used for this tag
DCWV Fresh Floral Stack Paper
White Cardstock
Purple, Lavender, Medium Green and Lime Green Ink.
Iridescent Lace
Liquid Pearls – Opal

Be sure to visit our Tags n’ ATC’s post to see what the other designers created as well as grab the FREE Vintage Graphic. CLICK HERE

Thank you so much for sharing your crafty time with me.
-Melin

DCWV-SVG Birthday Scalloped Circle Card and more

Good morning crafty friends,
Hope you are having a TERRIFIC TUESDAY thus far! Today our designers will share some wonderful projects they have been working on! So let’s get started!


melin
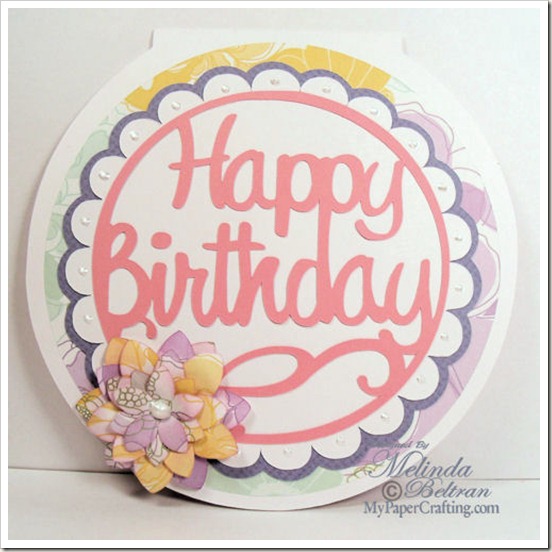
PCW File Used: Circle Card w Scallop –Birthday CF Set
DCWV Stack: Fresh Floral Stack
White Opal Liquid Pearls
White, Pink and Periwinkle Cardstock
 tanya-hbcard-500


chriss
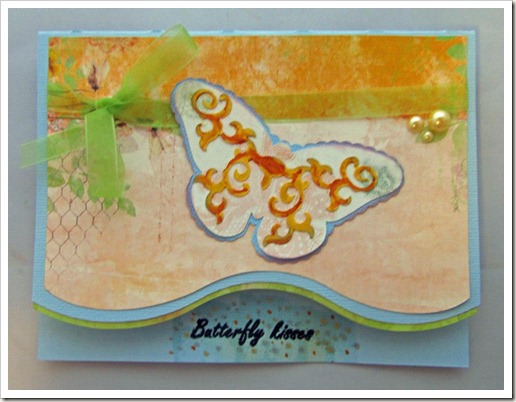
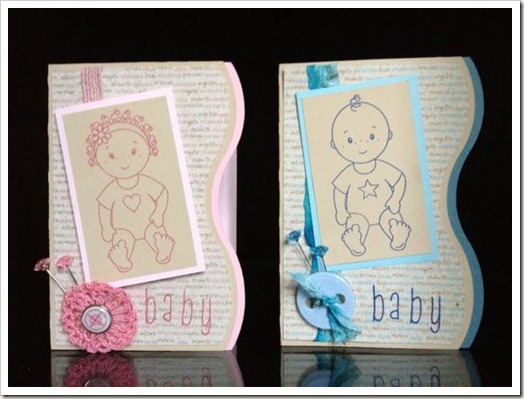
PCW Files Used: Wavy Edge Card and Butterfly From Butterfly N’ Tag  Cutting Files
 chriss


lynden
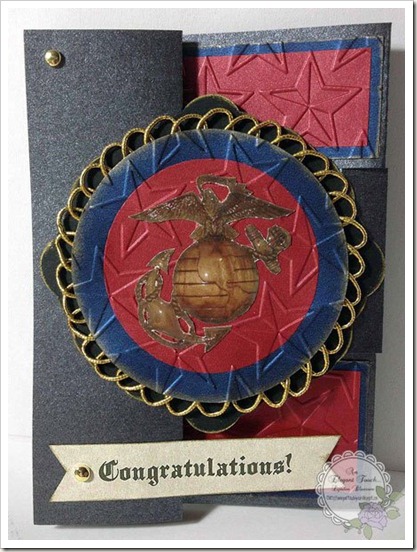
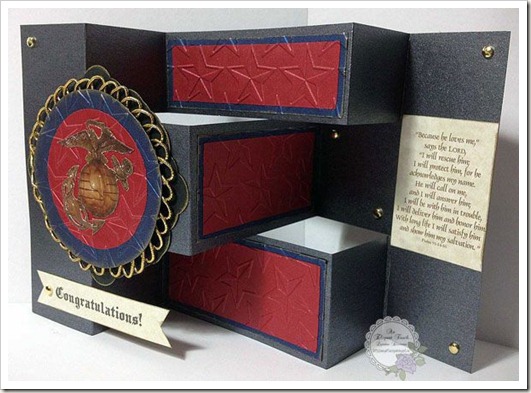
PCW Files Used: Frames Nested 122 and Psalm 91
 lynden
lynden2
xochitl
PCW File Used: Wavy Edge Card
 xochitl


Free File
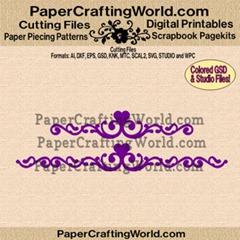
flourish n heart-57-ppr-325
CLICK HERE to Download
Please note: Price will say $1.00, but when added to cart and check out, it will be free during this showcase period only.

Thank you for stopping by! 
Be sure to come back tomorrow for our Wonderful Wednesday Craft With Cutters Challenge
-Melin and the PCW Designers