14_12

Tell Santa…You NEED some CASH For Your STAMP STASH!!!

santa cash-650j
Happy Wednesday crafty friends, 
Today's post is all about some CRAZY great specials Close To My Heart has going on this month! As you may or may not know, I am a Close To My Heart consultant. With the end of the year winding down, I need just a few more sales to meet my quarterly minimum. These specials are fantastic and you won't want to miss out. My CTMH link is: MyPaperCrafting.CTMH.com

1412-maincarousel-cc-us-650
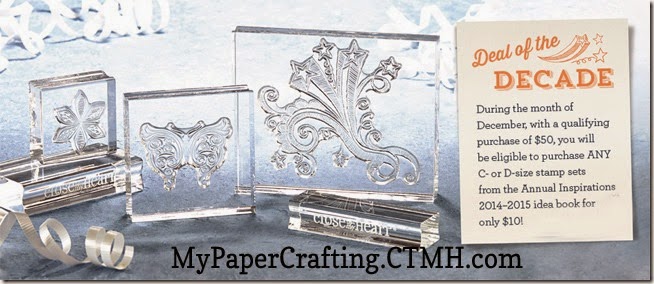
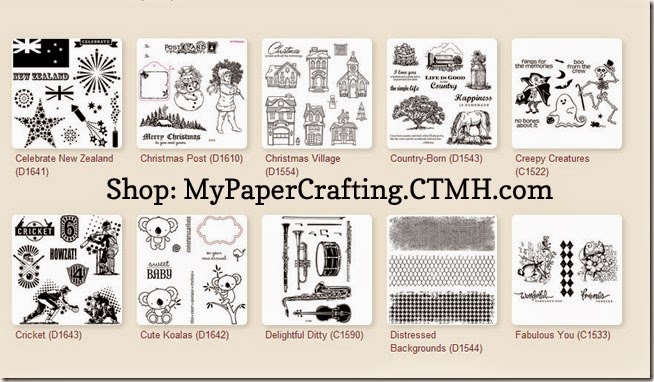
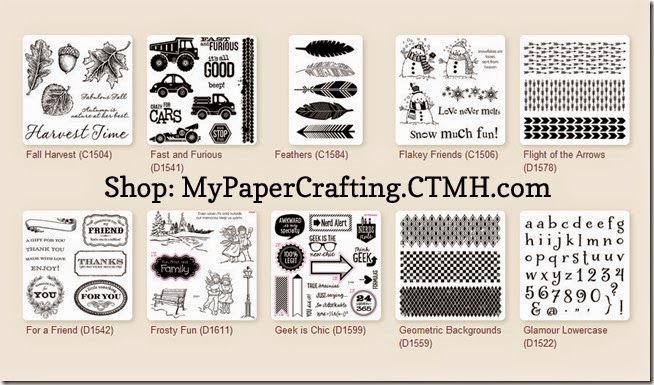
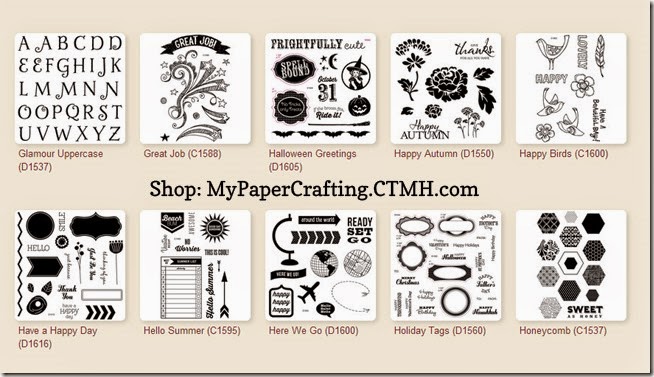
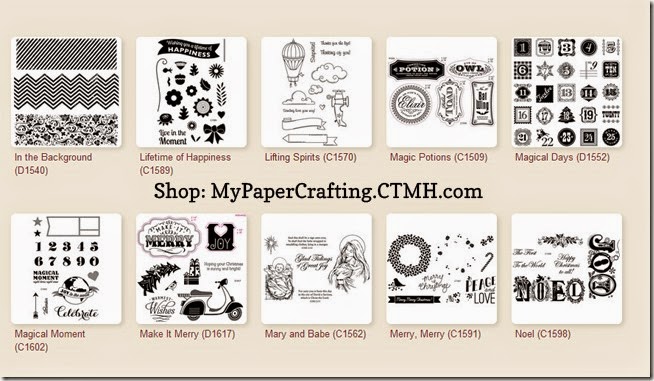
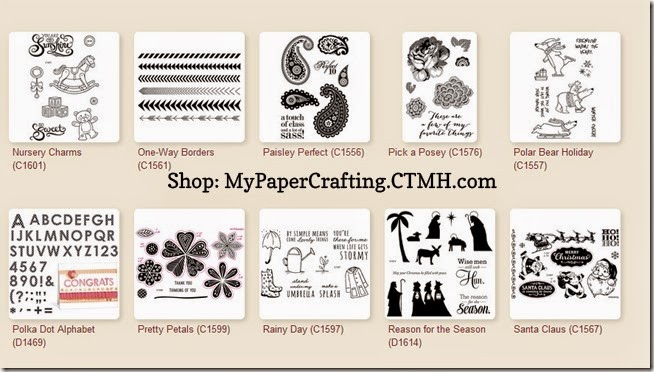
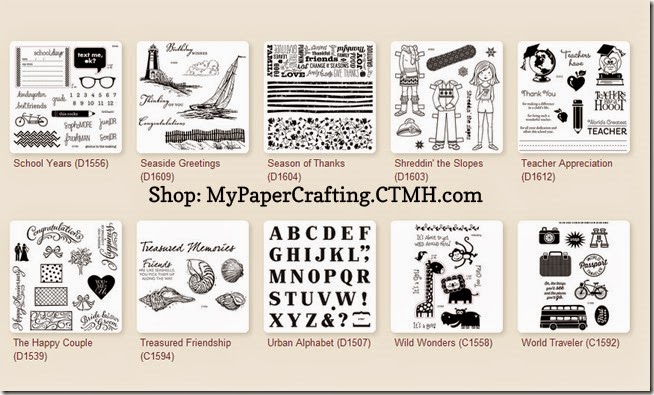
During this month only with a qualifying purchase of $50, you will be eligible to purchase ANY C or D size stamp sets from our Annual Inspirations idea book for only $10 ea! An unlimited amount! Here are the stamp sets that are available for this promotion.
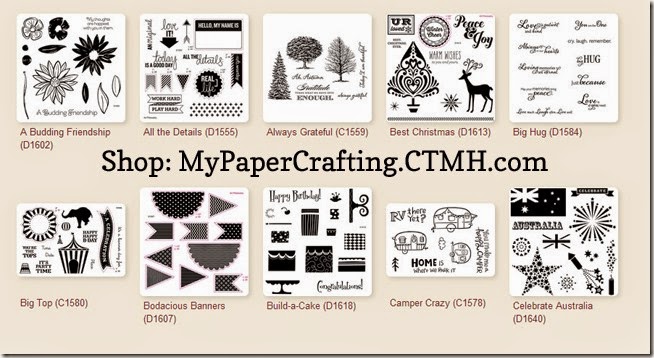
deals-650

2

3

4

5

6

7

8

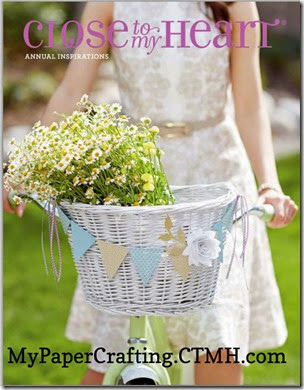
Also, there is the new Seasonal Expressions Catalog as well as the Annual Inspirations Catalog to purchase from to meet the $50 minimum. You can also download both catalogs in pdf version so you can view them anytime without being online! The seasonal catalog is good only through the end of March 2015, so you definitely want to order from there while you have time.
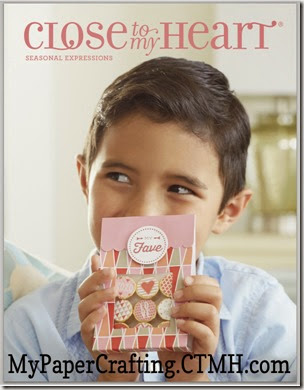
seasonal expressions1-650

PDF Version of Catalog Available
annual catalogmpc

PDF Version of Catalog Available

Lastly, Don’t forget about the super cute Stamp of the Month Only $5 with the same qualifying $50 purchase!
sotm slideful banner-650

So much good stuff, it will have your crafty heart a flutter! So if Santa doesn’t know what to get you, be sure to tell him (them) some cash for your stamp stash would be AWESOME! You have until December 31st to take advantage of these specials! 

I do hope you will consider making a purchase from my CTMH link. As I stated above, I am close to making my quarterly minimum sales so I can continue to be a Close To My Heart Consultant. Your order not matter how big or small,  would be greatly appreciated! I try very hard to share all sorts of projects and not be too pushy when it comes to "selling" as I like so many of you, just enjoy crafting with all sorts of stuff. But I really do need to let you know a bit more about CTMH, a little more often :-)

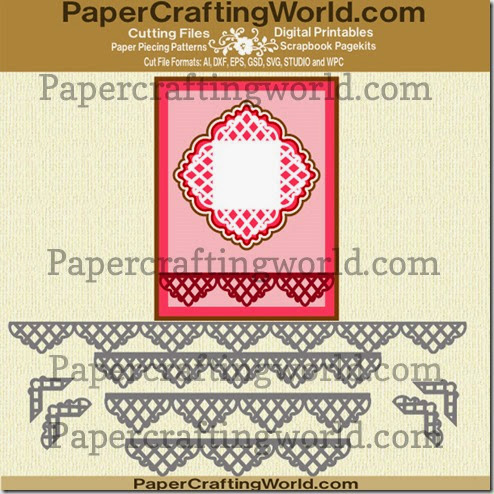
As a final incentive, Any sized purchase from my CTMH link from now through the end of the year, I will send you this pretty SVG card basics Set. Features multi sizes borders, two types of photo corners and a layered embellishment. File formats in: AI, EPS, DXF, SVG, STUDIO and WPC.
card basics 1215 ppr cf-490

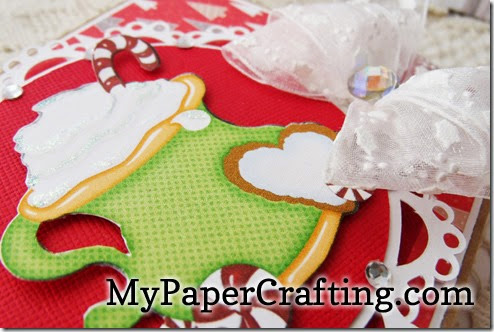
Well that about covers it for today, be sure to stop back by tomorrow as I share a new project and video for those last minute gifts! Here is a sneak peek…
GEDSC DIGITAL CAMERA

As always, thank you so much for stopping by and sharing your crafty time with me. Until tomorrow,

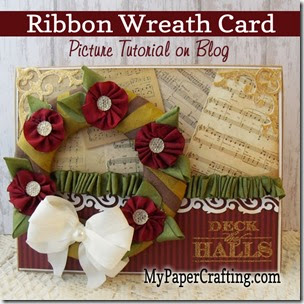
May Arts December Ribbon Challenge

GEDSC DIGITAL CAMERA

Happy Friday crafty friends,
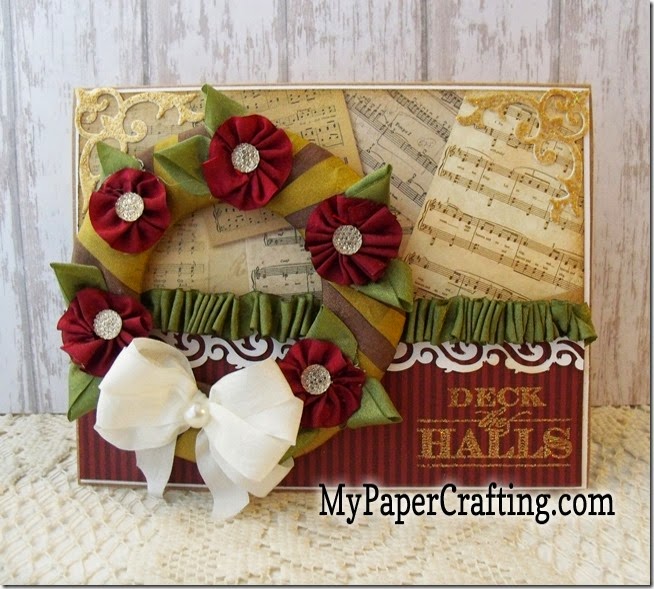
Hope you are getting ready for a wonderful weekend. Today I am sharing a project I created for the May Arts December Ribbon Challenge. I was fortunate enough to get some ribbon sent to me, so this is what I came up with.

GEDSC DIGITAL CAMERA
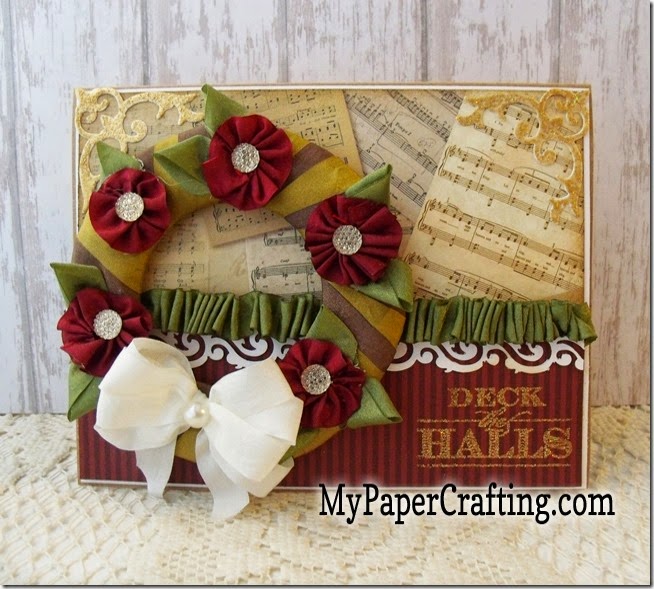
Here’s a look at my completed card. The finished size is 5 x 6.5. It is a kraft cardstock base and then I have a white cardstock mat. The patterned paper came from the DCWV Storybook Christmas Stack. I inked the edges of the two papers with some of my Saddle Ink Pad and adhered them to the white cardstock.

GEDSC DIGITAL CAMERA
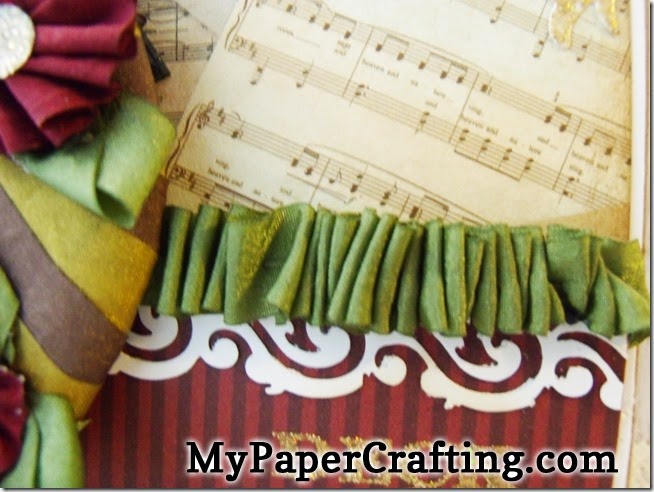
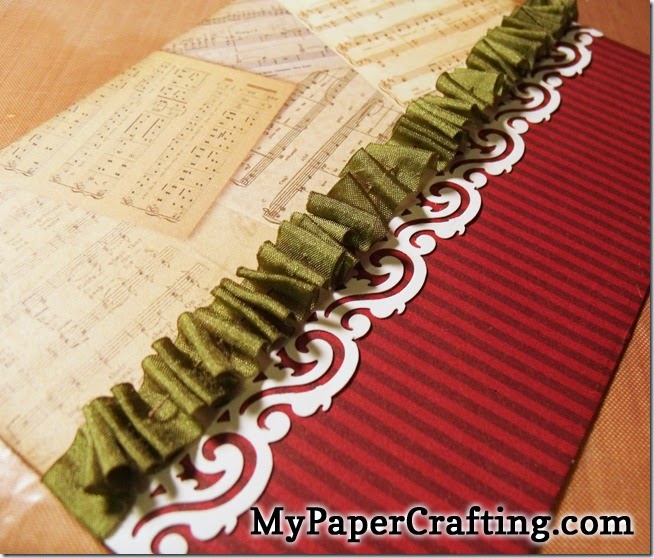
Here is a closer look at the cinched ribbon.

GEDSC DIGITAL CAMERA
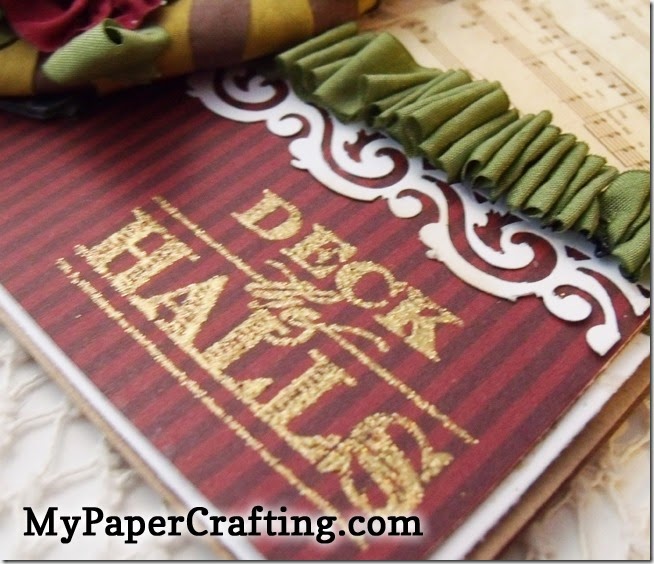
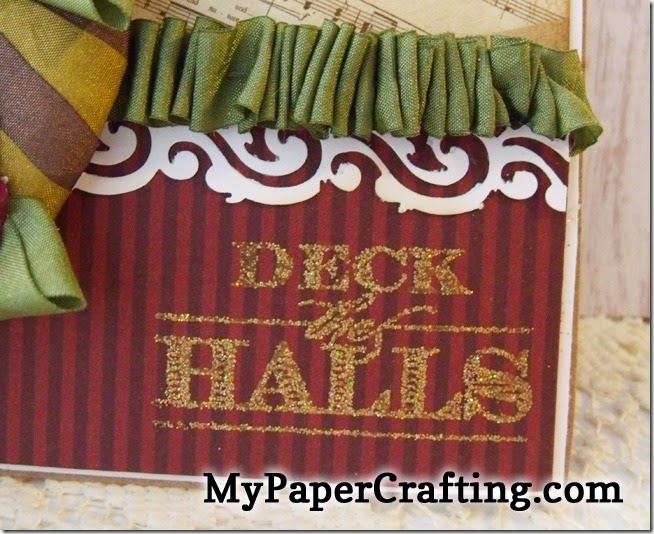
This is a closer look at the stamped and embossed sentiment. The sentiment is from Close To My Heart and is from the Deck The Halls stamp set.

GEDSC DIGITAL CAMERA
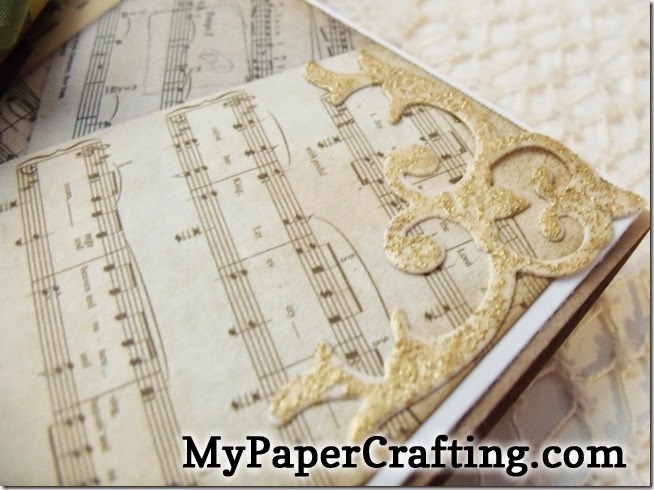
Closer look at one of the pretty Spellbinders D-Lites Corner flourishes I used. I cut it in white cardstock and then heat embossed it with some gold glitter embossing powder.

GEDSC DIGITAL CAMERA
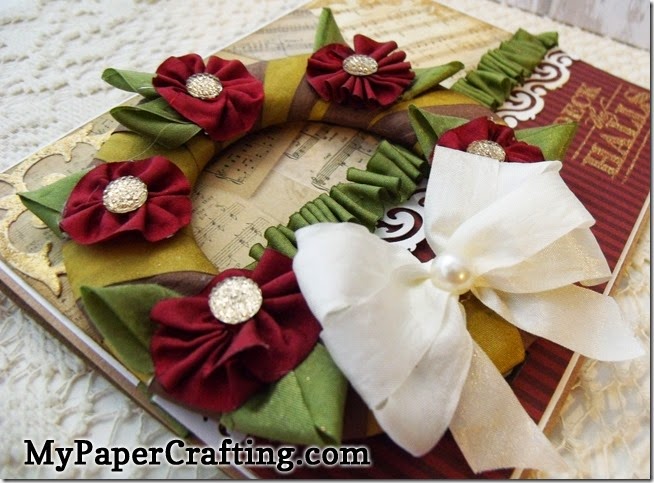
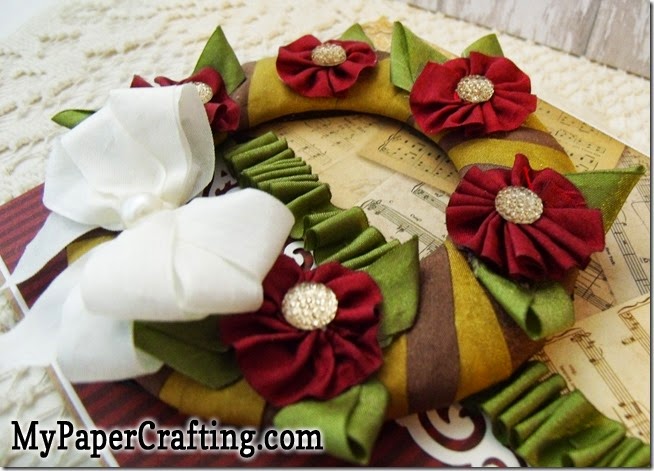
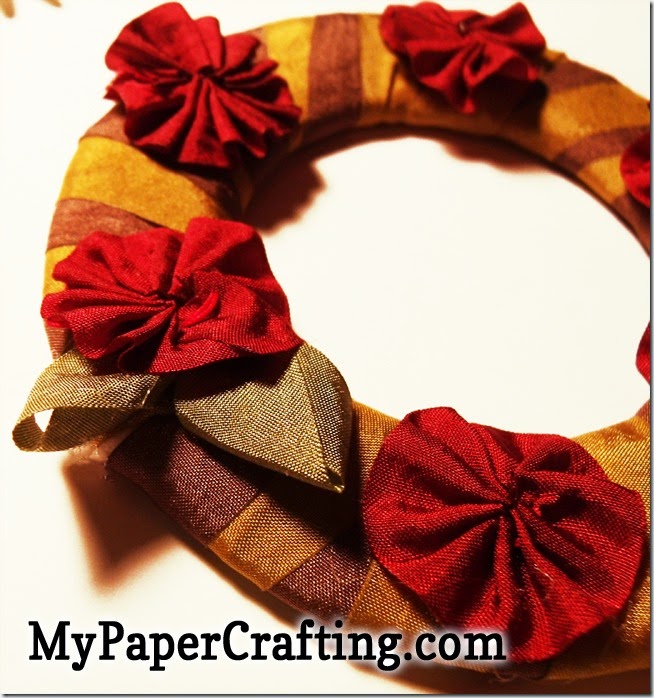
Here is a closer look at my ribbon wreath. I think it turned out really well. It has some dimension to it. And looks very nice.

GEDSC DIGITAL CAMERA
Here is a closer look at the border punch I used. It was an EK Success border punch.

GEDSC DIGITAL CAMERA
Here’s just another side shot of the wreath. I used some Bling Glitter Gems for the centers of the “flowers.

GEDSC DIGITAL CAMERA
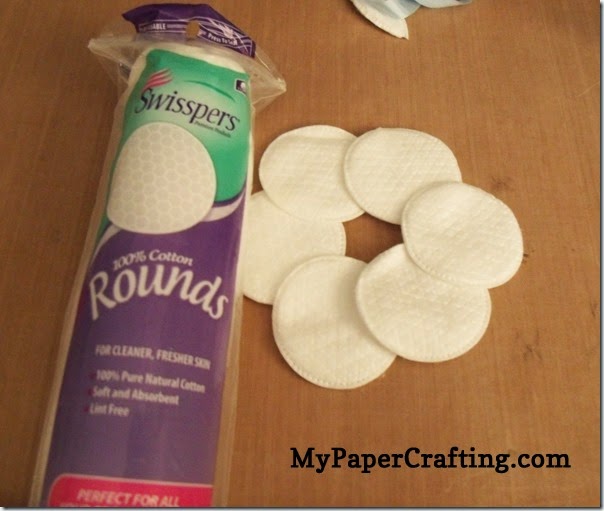
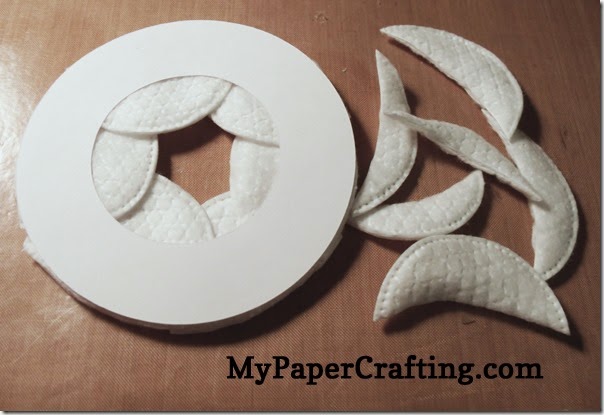
Cut my template for the wreath and used some dollar store cosmetic circles for some extra texture.

GEDSC DIGITAL CAMERA
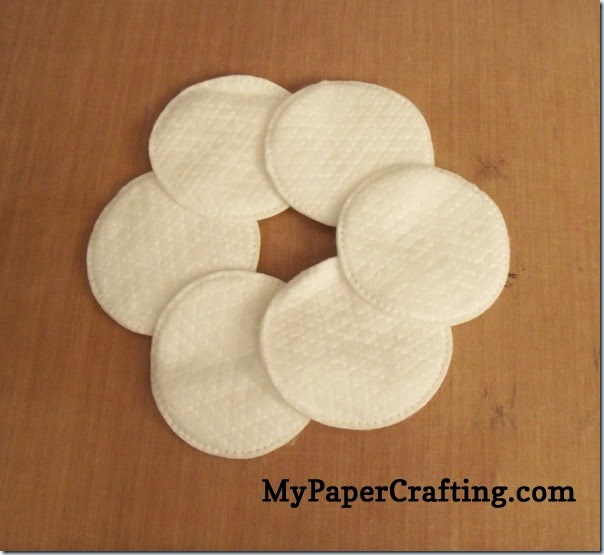
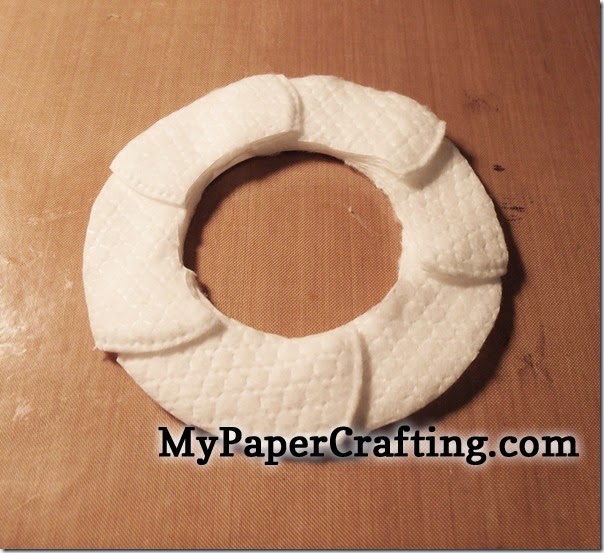
I covered the circumference of the wreath with the cotton circles.


GEDSC DIGITAL CAMERA
I then trimmed around the edges of the template to cut off the excess of the cotton circles

GEDSC DIGITAL CAMERA
Here is a look at the trimmed wreath.

GEDSC DIGITAL CAMERA
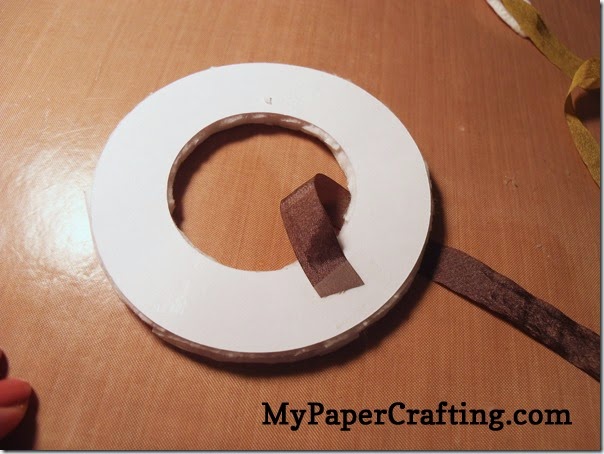
Attach ribbon by the back.

GEDSC DIGITAL CAMERA
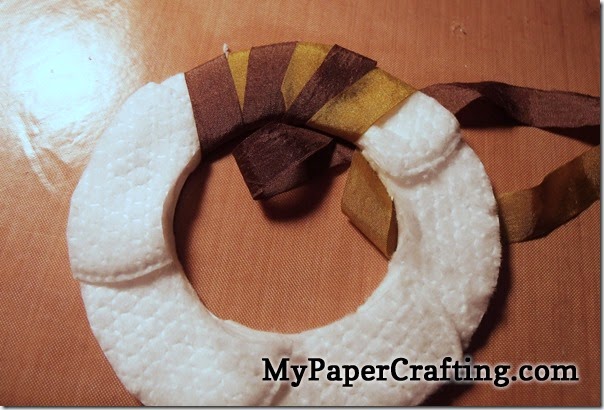
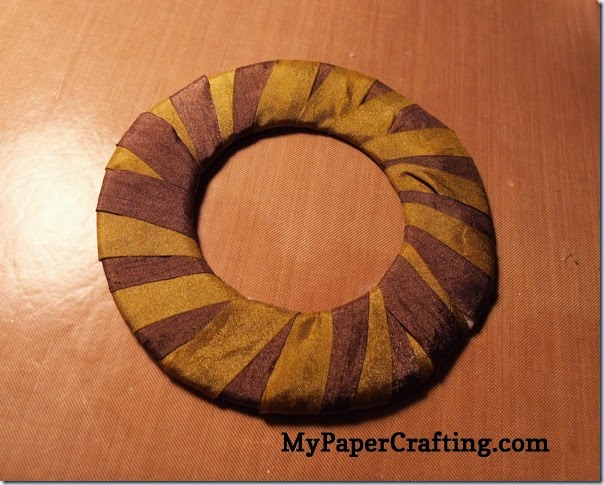
Add both colors and start wrapping around the wreath template.

GEDSC DIGITAL CAMERA
Finish wrapping completely.

GEDSC DIGITAL CAMERA
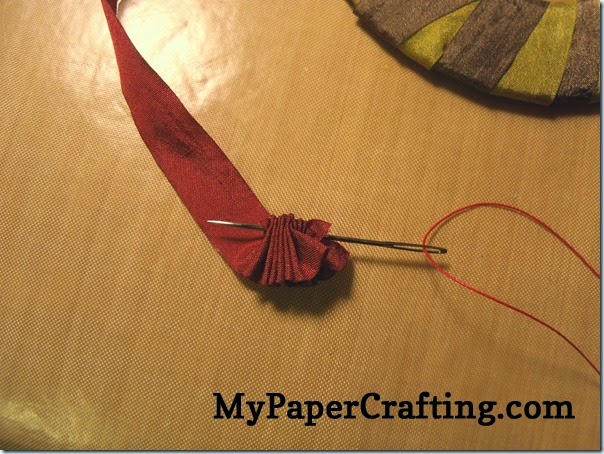
Use the burgundy ribbon to go in and out


GEDSC DIGITAL CAMERA
Attach the ribbon flowers and use the olive ribbon to make the “leaves” by simply folding them.

GEDSC DIGITAL CAMERA
Use the rest of the olive ribbon to pleat it down the middle

GEDSC DIGITAL CAMERA
Here’s one last look at the completed card. I used some Bling Glitter Gems for the centers of the flowers. I added a pearl to the center of the bow.  I also used an EK Success border punch for the border and then used some embossing powder to emboss the sentiment and the spellbinders corner flourishes.

Please head over to the May Arts Ribbon Site and vote for my card. You could win two rolls of ribbon and maybe help me too!


Supplies Used For This project
Pazzles Vue
DCWV Storybook Stack
CTMH Yuletide Greetings Stamp Set
Spellbinders Corner Flourish Dies
May Arts Ribbons
CTMH Bling Glitter Gems
Gold Embossing Powder
EK Success Border Punch

Well, I think this about covers it. As always, thank you so much for sharing your crafty time with me. Until the next time, 


Throwback Thursday Crafty Goodness

Happy Thursday crafty friends, 
Today I wanted to share a quick post with a few of the Christmas cards I have made in years past. You can click the direct post links to get details on the different cards. Plus I have a free vintage file you can pick up.

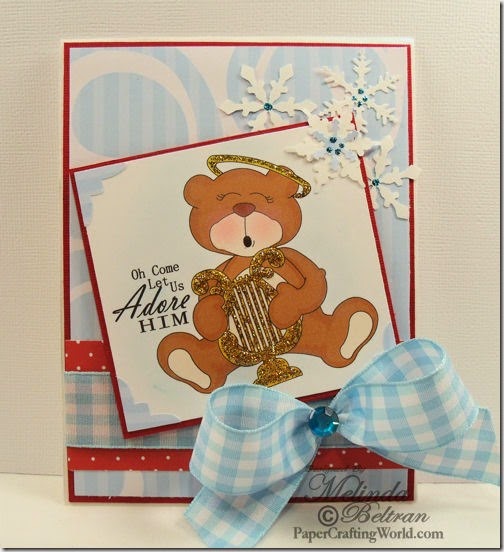
O Come Let Us Adore Him Bear Card
bear w harp card-500

Vintage Santa Card
day1 vintage card-500[4]


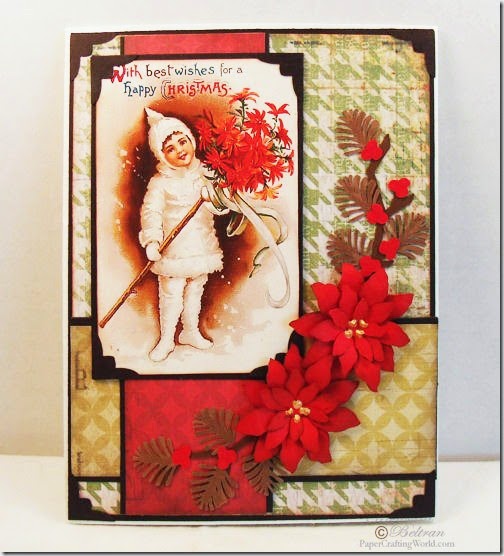
Vintage Christmas Card with Poinsettias
posta v-card-500-b

bestcmaswshs-500
Here is a free vintage file for you. The folder also includes a few versions of this image: Sepia, Grayscale and various color washes.
Download it now as it will be free for only a couple of days.
Sorry no longer available


Well, I think that about covers it for today. Be sure to come back tomorrow and I will be sharing my card for the May Arts Ribbon December challenge! Until then,

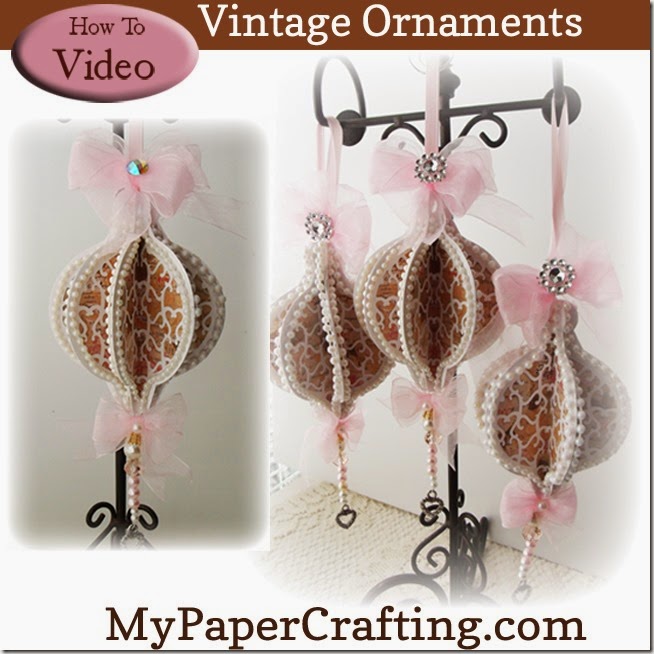
Vintage Ornaments

ornaments label 650sq
Hello crafty friends,
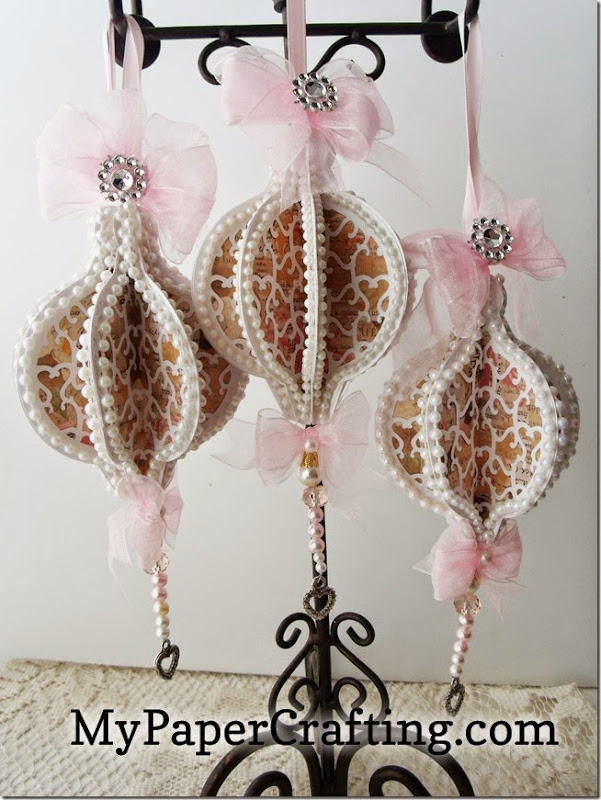
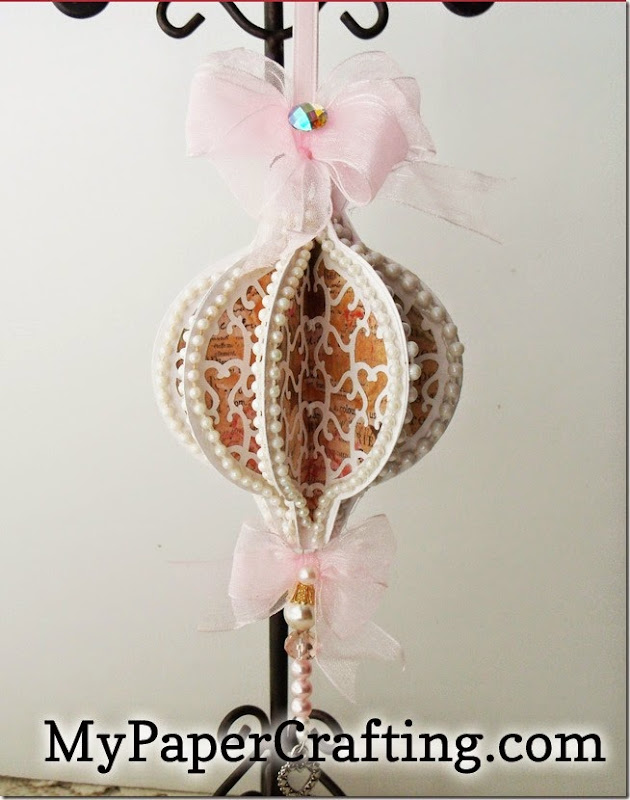
Melinda here today sharing my ornament project with you. These ornaments were super easy to make and very pretty.


GEDSC DIGITAL CAMERA
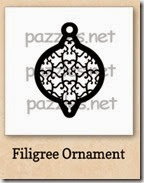
To start with I chose the Filigree ornament file from the craft room.  They were a lot of fun to make. I made a video showing how I made them. You can check it out on YouTube.
You Tube Video Direct Link: http://youtu.be/WdozrlZ7ljs
GEDSC DIGITAL CAMERA
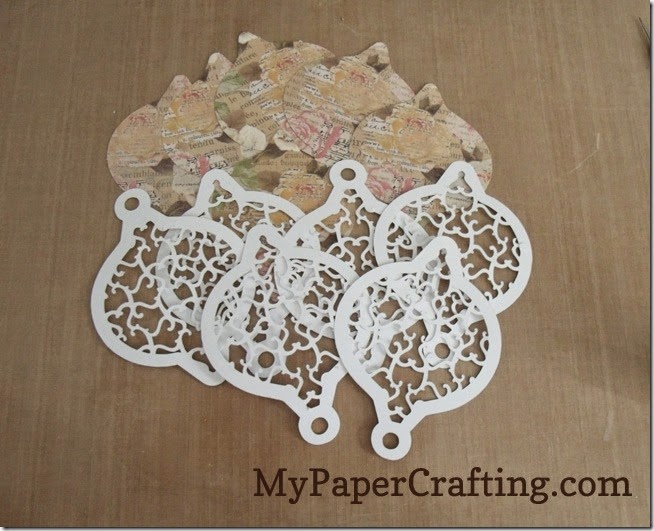
Cut all your pieces out
GEDSC DIGITAL CAMERA
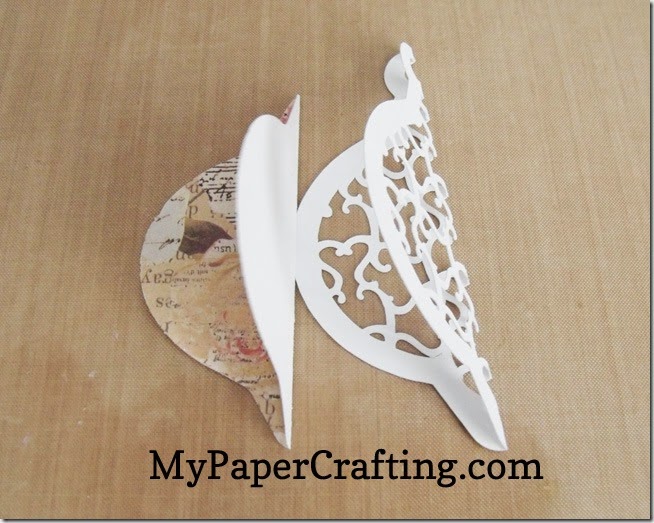
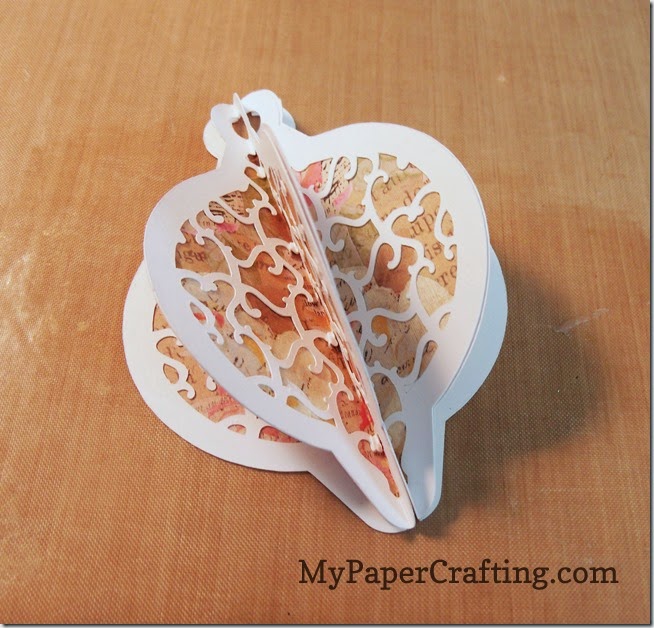
I proceeded to cut out 8 of these ornament files in white. I then created the solid "liner" piece by ungrouping the ornaments internal structure. I cut eight of these pieces out using some pretty paper from the Paper Studio Stack. Once I had all of my pieces cut out, I went ahead folded each piece in half. I did use my score board so that I could get a really good, clean score. You need to be careful with the filigree ornament when folding as there are a lot of little open pieces. Once all my pieces were folded, I glued one liner to one of the filigree pieces. This will create a total of eight flaps.
GEDSC DIGITAL CAMERA
I then glued one half of one flap to the next half of the next flap. I continued to do this until I was left with only the very first open flap and the very last open flap.
GEDSC DIGITAL CAMERA
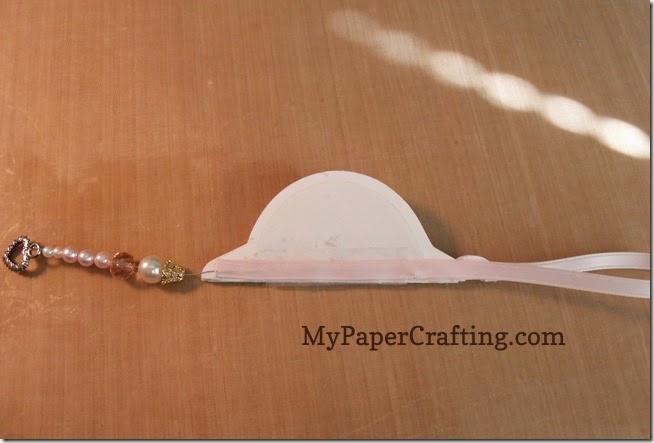
Before gluing these last two flaps together, I added a pink ribbon loop to the top to hang the ornament. For the bottom, I used some floral wire and strung some beads. I glued the strung beads to the bottom inside flap and the ribbon to the top inside flap. Once these were in place, I could go ahead and glue the remaining two flaps shut completing the circumference of the ornament. I thought eight flaps made for a nice amount, you can always experiment and create your ornament with more or less flaps depending on the look you are going for.
GEDSC DIGITAL CAMERA
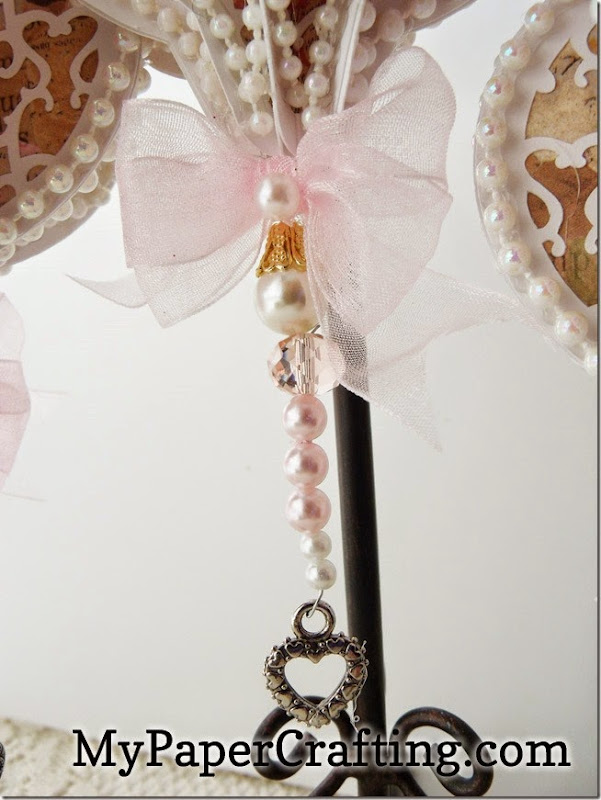
Here’s a closer look at the string of pearl beads I used. They were just some random beads I had in my stash.
GEDSC DIGITAL CAMERA
Add ribbon bows to the tops and bottoms of the ornaments and add pearls along the sides of each opening.
Products Used 
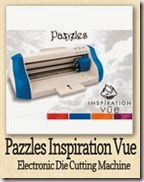
pazzles vue-200
Pazzles Inspiration Vue
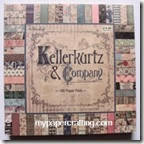
kellerkurtz and company-200
Paper Studio-Hobby Lobby Kellerkurtz and Company Paper Stack
filigree ornament-200j
Pazzles Craft Room   Filigree Ornament File
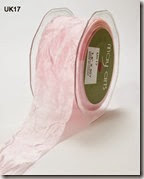
UK17
May Arts Pink Sheer Ribbon
hb pearls
Hobby Lobby Paper Studio Spare Parts Pearls
silver faux bling strips
Silver Faux Bling Strips
pearl trim
Hobby Lobby Pearl Trim
white cardstock-200
White Cardstock
Additional Supplies
Hot Glue Gun
Various Beads
30 Gauge Floral Wire
Heart shaped charms
Well I think this about covers it for today. Be sure to check out the video and subscribe to my YouTube Channel HERE. As always, thank you so much for sharing your crafty time with me. Until the next time,