10_12

Day 7 - 25 Days of Cricut(Crafting) Holiday Fun

Good morning everyone,
So sorry for the delay in getting this up today.
But….Welcome to Day 7!  Hope you have been enjoying the projects and getting some great tips and holiday inspiration!
Let’s get right to today’s project
deck the halls swirly tree Cricut v-500
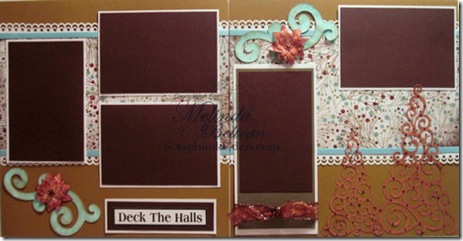
Here is the layout with the Cricut Version Cuts. .  The Flower cut was from the Accent Essentials Cartridge. The flourish was something I created, but there are a lot of flourishes in the Cricut arsenal that you could use.
cricut flower
Here is the flower from the Cricut cuts. I cut three layers at 1, 1.25 and 1.50
cricut trees
I cut the trees from The Christmas Cartridge at 7.5” and 5.25”


deck the halls layout-500
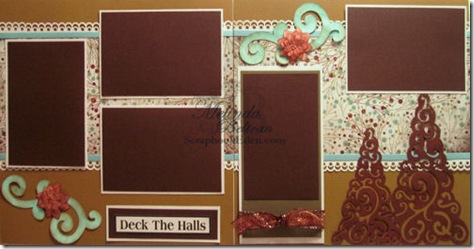
Here is the “My Version” layout. These are certainly not “traditional” holiday colors, but I wanted to do something out of the ordinary. The Trees, swirls and “poinsettia” type flower were all files that I created. The Deck the Halls is a word art-digi stamp that I made.
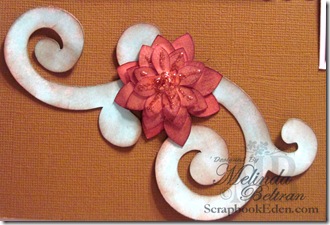
swirl and flower closeup
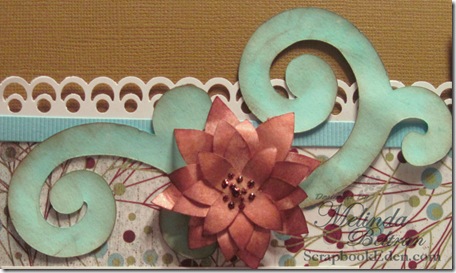
Here is a close up of the flower and the swirl. The picture is over exposed, so you really can’t see all the glimmer from the glimmer mist on the swirl and the glitter on the flower. But they are very nice.
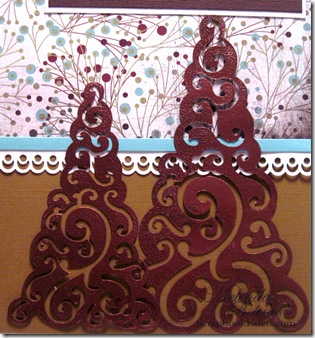
swirly tree closeup
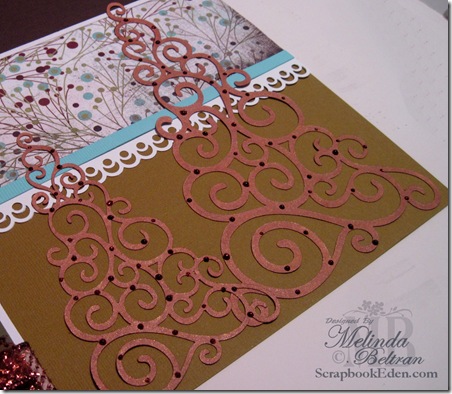
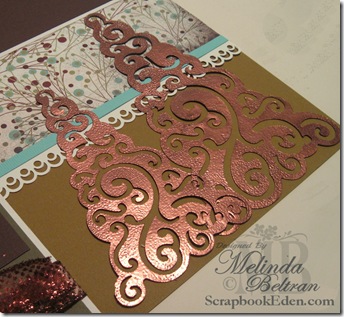
Here is a close up of the tree. I embossed them with copper, but again, the picture doesn’t really show this too well.
my trees angled shot
Don’t forget, there is still time to enter our challenge! Just click the button on the top left column to check it out and enter! Be sure to join us tomorrow as the DT unveils the next challenge!

So for the FREE files today:
Please Note: Click each one you want and then check out ONCE. If you check out multiple times or after each item and then come back for the next, the system may “block” your IP address….sorry about that. Something I don’t have any control over.

Day 6–25 Days of Cricut (Crafting ) Holiday Fun FREE Files

Happy Monday crafters!
Hope you all had an enjoyable and productive holiday weekend. My neighborhood is looking so festive. Several neighbors have their outdoor decorations up and it looks so nice in the evening.

Today’s project is for the Fantabulous Cricut Challenge Blog. This week over at FCCB our challenge was all about gifts. We needed to make a gift or gift packaging.
So here is my take on the challenge:

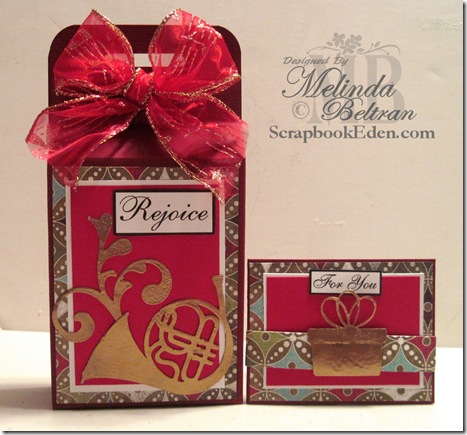
gift bag and card by melin

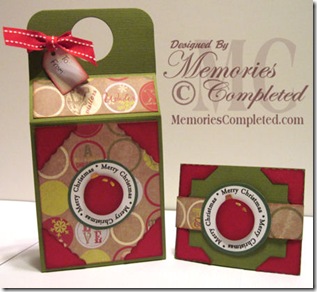
I made this gift box and matching gift card holder. The base of the box and the gift card holder are made from one sheet of cardstock! Gotta love that! The directions for making these is below. I have also put the directions on a pdf document so you can easily download and save them :-)
Be sure to head over to FCCB and join in the challenge this week! Some wonderful prizes are up for grabs.  You can also get some more great holiday inspiration from the super talented design team!  GO HERE

For my box decorations:
  • The French Horn is from the Quarter Note Cartridge.
  • The Present is From Christmas Cheer
  • The Rejoice Tag and For You Tag are digi stamps I created.
  • I embossed the French horn and present with Gold Embossing powder. Simple yet really pretty.
  • I made a simple “belly band” that slides of the gift card holder. This is just a .75” strip of paper wrapped around. Tight enough so it won’t slip, yet loose enough for the recipient to easily remove it.
So here are some directions for making this gift set. I have the original directions on my SCRAPBOOKEDEN.COM  so I am copying them over here for you today!

Bag and Gift Card Tutorial

alliebag-450movie box-450

boxandcardhldrbymelindabeltran-450
Box Instructions
Supplies:

  • Scor Pal or scoring blade or other scoring tool.

  • 12 x 12 Cardstock

  • Scissors

  • Adhesive

  • Circle Punch, Tag Punch or Other Punch as desired.

  • Corner Rounder

  • Bone Folder

  • Patterned paper and embellishments as desired.


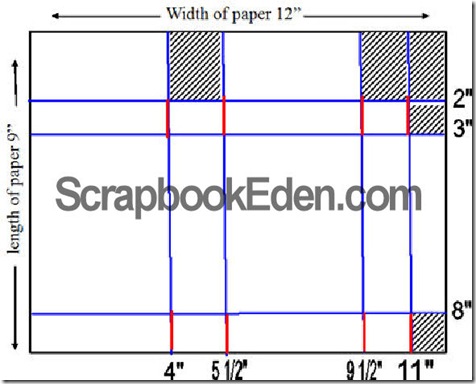
Step #1: Cut your cardstock 9” x 12”

Set the 3” strip aside. You will use this for making the gift card holder.

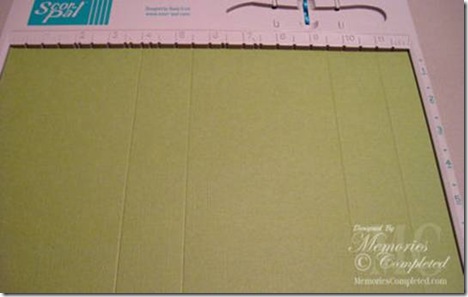
Step #2: With the 12” side of your cardstock across the top, score at 4”, 5-1/2”, 9-1/2” and 11”.

clip_image002

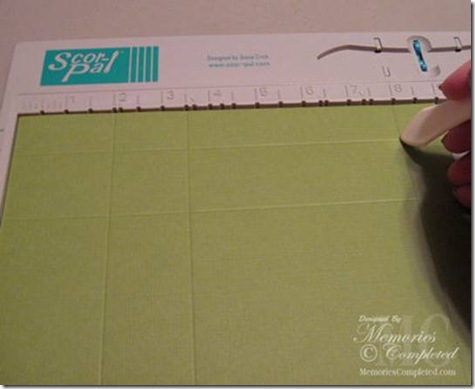
Step #3: With the 9” side of your cardstock across the top, score at 2”, 3”, and 8”        
clip_image004

Step #4: Cut out all the striped areas as shown in the diagram.

cutting and folding diagram

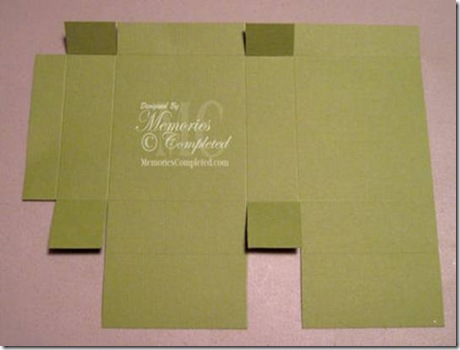
Step #5: With your scissors, cut on all the red lines. (Refer to diagram) When done properly your piece should look like the photo below. Note: photo is flipped and turned from the diagram...sorry for any confusion.

clip_image006

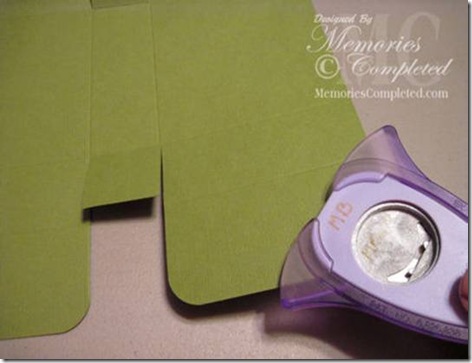
Step #6: Round corners on the two main wide flaps (This is optional).

clip_image008

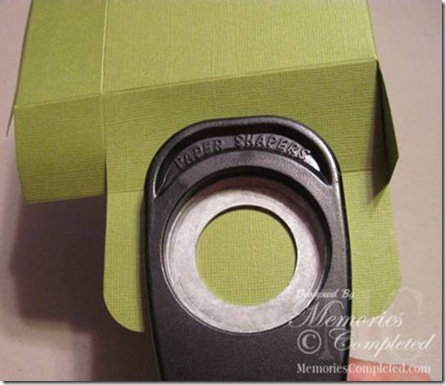
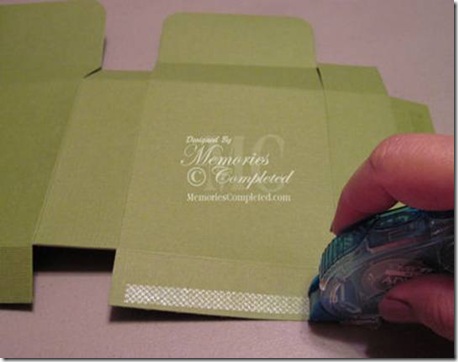
Step #7: Using your Circle Punch, or key hole or tag punch or any desired, punch the holes for your handles. Do this step BEFORE you adhere your box together. 
You can line them up and do them at the same time so your holes match up.

clip_image010

Step #8: Apply adhesive to one of the large bottom panels.

clip_image012

Step #9: Crease all score lines with your bone folder and assemble your box.

Step #10: Decorate your box as desired.

Gift Card Holder
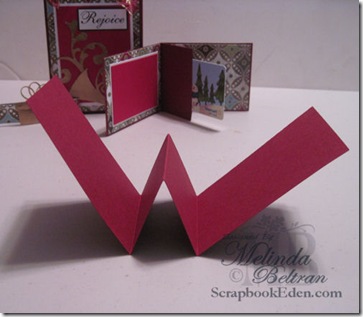
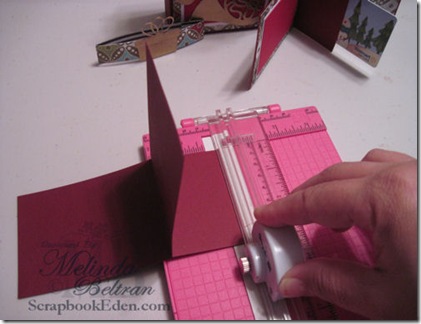
Step #1:  Taking your 3” x 12” piece of paper, score at 4”, 6” and 8”.  Crease all your folds with a bone folder.


fold for card

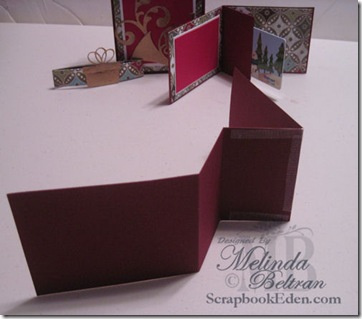
Create a pocket in the center and adhere the outer edges.


glue placementCut the middle fold. This is where the gift card will slide in and hold in place.

trim for card


NOTE: Please click each link THEN check out once! Otherwise your IP address may get blocked and you may not be able to download all the files.


This is a picture of the box with "My Version of a French Horn Cutting File".

Once again, thank you so much for taking the time to come by and share in a little holiday crafting fun with us. We sincerely appreciate it.  Please be sure to let all your crafting buddies know about our fun!  We are wanting to share this with as many crafters as possible!  Thank you so much!

Day 5–25 Days of Cricut–FREE File

day 5-300
Happy Sunday Crafters!
Thank you for joining us for another day of our 25 Days of Cricut (Crafting) holiday fun!  It has been such a pleasure doing these projects for your holiday crafting inspiration!   So let’s get right into the magic!
Today’s projects are still in keeping with our challenge here at CookingWithCricut.com. So be sure to join in the fun. You still have plenty of time!
First Up:
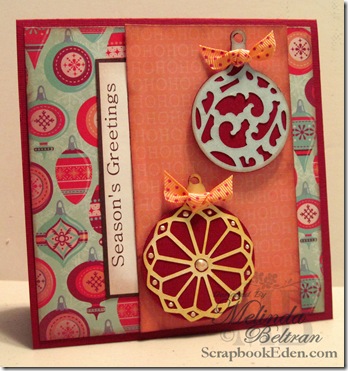
I made this card using the Christmas Cartridge and my expression.
cricut ornaments seasons greetings card idea-500
The finished card size is 5.5 x 5.5
I cut the ornaments out in red on black out and then plain white. I then inked the top layers and added some liquid pearls on the bottom ornament. I finished them off with a little bit of ribbon. I created the Season’s Greetings Digital Stamp.

Next:
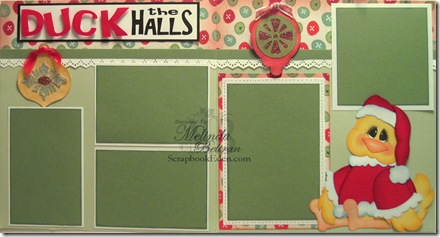
duck the halls
Here is a view of the entire layout. I created all the elements so they can be cut on your Cricut using either MTC or SCAL. If you aren’t familiar with this, I have a couple of pages on my website Here and Here that explains this.
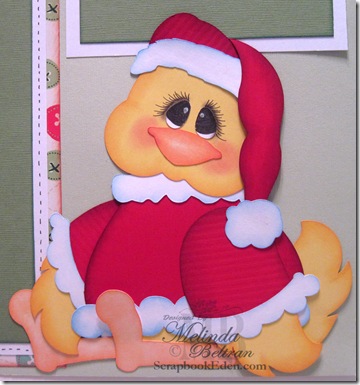
duck closeup
Here is a close up of the cute little ducky.

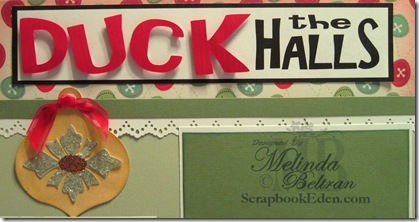
duck the halls title closeup
Here is a close up of the Duck the Halls title.

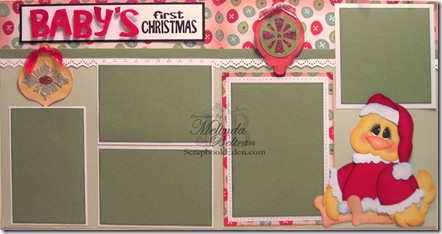
baby's first version
Finally, here is a version with a different title. I have several people in my circle of friends who are working on baby pages, so I thought this might suite some of them

So for the FREE files:
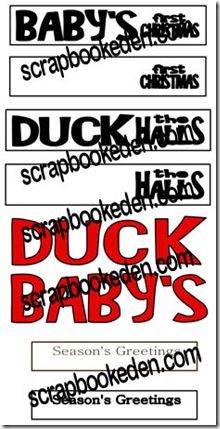
Today I am giving away the Baby’s First Christmas Title, The Duck The Halls Title and the the Season’s Greetings Digital Stamp. All three of these are in PDF format so they can be printed out. BUT, I am also including the Baby’s and Duck letters for those who want to cut the letters out.
samples 500


Thank you once again for stopping by. I hope you have a marvelous day and be sure to stop back by tomorrow.  Remember too, that we have a challenge. Just click on the link at the top left to check it out!
Melin and the CookingWithCricut.com Design Team.

Day 4–25 Days of Cricut–FREE File

day 4-300
Happy Saturday everyone!  We hope you are enjoying your weekend.  We hope you’re enjoying the ideas, inspiration and FREEBIES. Just a quick note about the free files. Please download them as soon as possible. Unfortunately, I found out there is a limit to how many downloads per day are allowed. So I am looking into increasing the amount. In the meantime, don’t wait, in order to be sure and get your download do it as soon as you can.

So here are today’s projects.


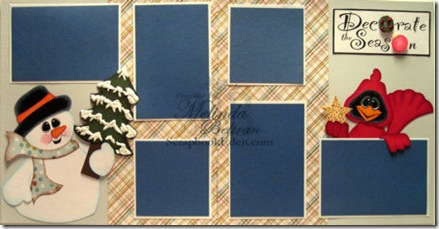
decorate the season-450
Here is a view of the entire layout


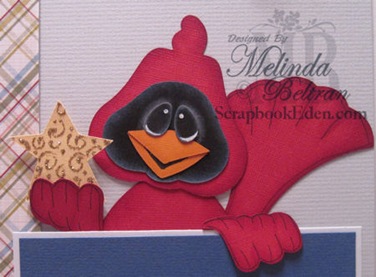
cardinal 450
Here is a closeup of the cardinal I created.

snowman-450
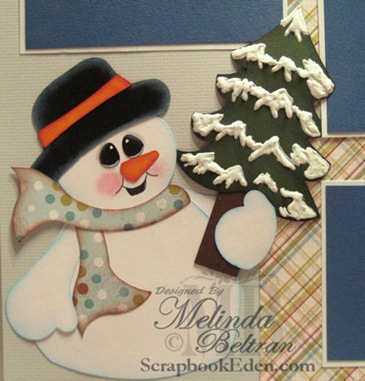
Here is a closeup of the snowman.


IMG_0588
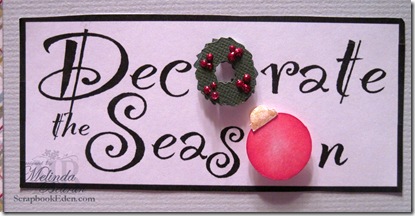
Here is a closeup of the Decorate the Season Title Block. The images of the wreath and the ornament are printed on the bottom in case you don't have a way to cut them.


Now for those who have the Cricut and use Cartridges:
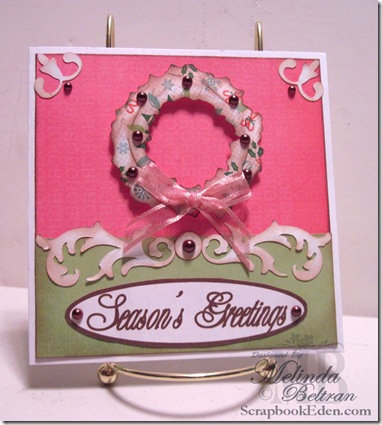
season's greeting card
I created this card using the Cheerful Seasons and Picturesque Cartridges.
The finished size of the card is 5.5 x 5.5
The wreath was from Cheerful Seasons at 2.75”
The flourishes and corners were from Picturesque at 2.75”
The circle dot is from George and Basic Shapes.
The Season’s Greetings digital stamp was one I created. This is part of today’s giveaway!

So now to the FREE files for today:
In today’s download you will get the
  • Decorate The Season Title, 
  • The Wreath and the Ornament Cutting Files AND 
  • the Season’s Greetings Digital Stamp.
To help with the downloads I am including everything in one folder. The digital stamp and title block are pdf files. The cutting files are in AI, DXF, GSD, KNK, MTC, SVG and WPC.
Thank you so much for stopping by and leaving your comment. Please also take a moment to become a follower and sign up for the newsletter.
Have a wonderful day!


Melin and the CookingWithCricut.com Design Team

Day 3–25 Days of Cricut–FREE File

day 3-300
Happy Friday everyone!

Welcome to our 3rd installment of 25 Days of Cricut. We sincerely hope you have enjoyed the first two days!  We have a lot more in store for you, so let’s get right to it!
Again in keeping with the theme of our challenge here this week, I made a project using my Cricut and some files that I created.
cricut day 3 trimming the tree project
Here is a view of the entire layout. It is very bright and pretty in person. Unfortunately my lighting was a bit off when shooting.
bear 400b

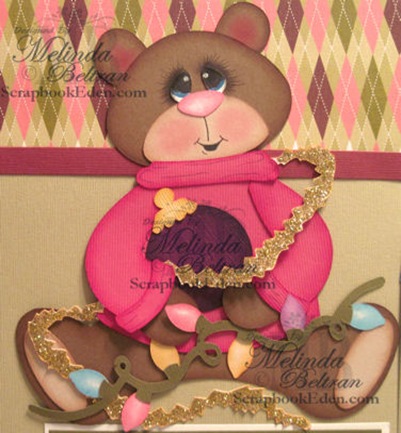
Here is a close up of the bear. She is all tangled in her tinsel and lights :-)
But at least she is bundled up in her sweater.
closeup of tree
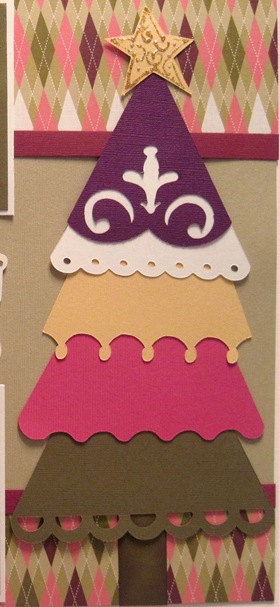
Here is a close up shot of the tree. Pretty simple but I wanted to keep it clean and uncluttered.

closeup of title
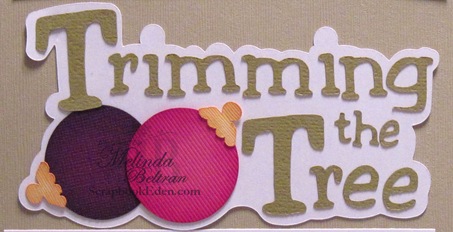
Here is a close up of the title block. This is the FREE file for today! But make sure and download it before midnight! Then it will go away!
Add to Cart


Well that’s it for today. Please prepare to join me tomorrow for another fun day of great crafting fun.
Please feel free to leave a comment. We (I) love to read them and please kindly share this with all your blogging and crafting buddies!
Thank you so much!  Melin and the CookingWitCricut.com Design Team!

25 Days of Cricut Day 2

Good morning everyone,
Thank you for stopping by for day 2 of our 25 days of Cricut holiday fun! So let’s get right to it!
Here is a layout I created using the new Inspired Hearts Cartridge.christmas inspired hearts cricut layout-500
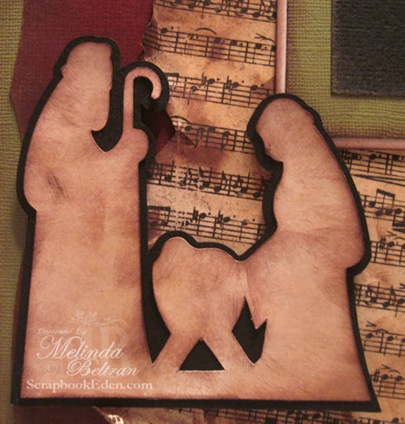
Here is a close up shot of the nativity cut that is on this cartridge. I cut it out on plain white paper and then the shadow on black. I used glimmer mist and inks to give it the distressed/vintage look. The pictures don’t show the soft, subtle shimmer of the glimmer mist and the metallic gold ink. It is very pretty in person :-)
inspired hearts cricut ideas manger-500
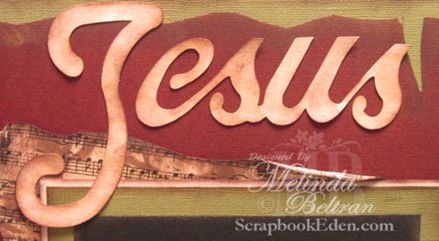
Here is a close up shot of the Jesus title that is also on this cartridge.cricut inspired hearts Jesus-500

Here is a close up shot of the Printable Stamp – Title block I made.reason for season title block by melin-500
Okay, I can’t leave those of you who have your cutter but don’t have the cartridges out, 
so I created a “version of this layout with cutting files I created.

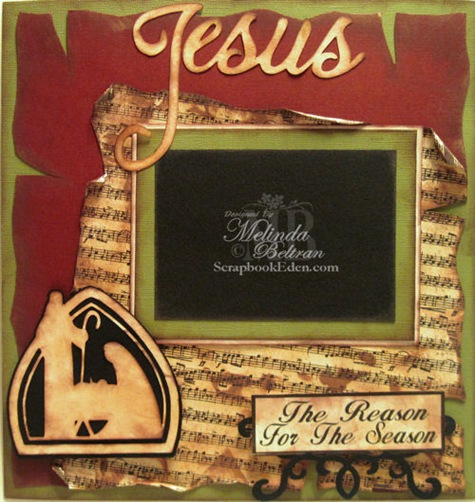
For the sake of time, I used the same layout, I just switched out the cutting files. Here is a view of the entire layout with “my version” of cuts.christmas nativity scrapbook layout idea-500
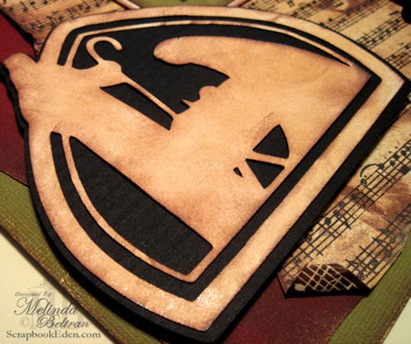
Here is a close up shot of the nativity cutting file I created. I cut it in white and black paper and employed the same techniques as described earlier to give it the aged – vintage look.nativity cutting file svg wpc gsd knk-500

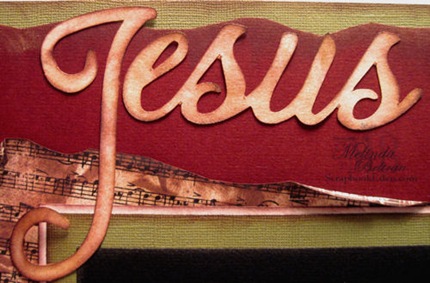
Here is my version of the title. I started with a font called “fancy” and then I added my own 
touches so that it more closely resembled the Cricut cut.Jesus cutting file svg wpc gsd knk-500

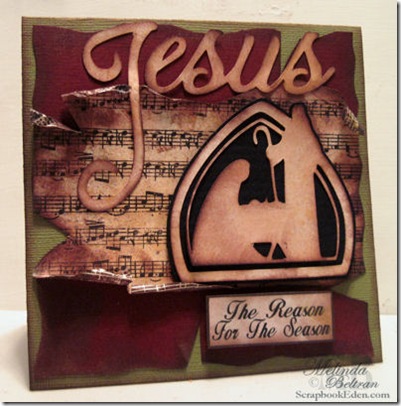
Then I had cut all the cuts in smaller versions and created cards out of the same style cuts and used the “left over” paper to create these cards to they would have a similar look to the layouts.
Here is the Cricut – Inspired Heart Cardchristian christmas cricut card idea-400

Here is “My Version” card
christmas nativity cutting file card svg wpc gsd knk-400
Well, I hope you enjoyed the projects today. Today I am gifting you the Jesus and Nativity cut files I created…PLUS the Digi Stamp Title Block :-) May the abundant blessing of the almighty fill your hearts this joyous Christmas Season. May the true meaning of the Season be your compass and guiding light today and each day He gives!  Many Christmas Blessings,
Melin and the CookingWithCricut.com Team

BE SURE TO STOP BACK BY TOMORROW
for some more great ideas.
I will set my posts to go live @ 10am est. each day. So sorry for any confusion about that.

Just a small and humble request. If you could please spread the word about our 25 Days of Cricut…Share it with your friends on Facebook, your scrapping buddies and those in your groups. If you would even consider placing this “blinkie” on your blog and making a quick post about it…We would SO GREATLY appreciate it. We want to share this endeavor with as MANY crafters as we can!  Thank You Kindly!!!
25 days sidebar logo-150j2 Just right click this blinkie and save it to your computer and then add it to your blog Smile

Jesus Title, Nativity and Digi Stamp. FREE Until Midnight EST time, 12-2-10