16_01

Frosty Fun Birthday Card w Pazzles Craft Room Exclusive Files

Hello crafty friends,
Today is my day to share over at the Pazzles craft room. So to start my new year off, I decided to share a  card I had to make for my niece. Often I create birthday cards that aren't necessarily specific to the season in which they happen, but this card is going to my niece who was born in the first week of January. Plus she lives in Michigan so, I thought a cute little snowgirl card would fit the bill.

GEDSC DIGITAL CAMERA
Here is a look at my finished card opened. It is an easel card and the closed size is approximately 5.5 x 5.5 (not including the protruding balloons). The base paper is from the DCWV Little Miss Stack. The Snow girl’s coat and hat are cut from the DCWV White Ginger Stack. The rest of the pieces were all cut in plain white cardstock. I then used my shin han markers to color in the pieces. I did also use the Whimsy Ink Set to lightly ink around the outline of the snow girl as well as the balloon strings. I used my Pebbles chalk inks to add some rosy cheeks to my snow girl’s face. I used my white chalk marker for the glints in her eyes. I used the following markers:
Leaf Green Marker: Balloon and present


GEDSC DIGITAL CAMERA
Here’s a closer look at the sentiment. I cut all the pieces in plain white cardstock.  I colored the letters and the present ribbon in with my Peony Purple Shin Han marker. I also used my leaf green shin han marker for the present. I edged the outline with  my Crystal Blue Ink pad. For the dot of the “I”, I used a cute little puffy sticker from the “Stuck On You” Puffies sticker set.

GEDSC DIGITAL CAMERA
Here’s a closer look at my stamped tag. I used my Thistle Ink Pad and a stamp set to stamp the sentiment. I finished it off with some of my Thistle Thick Twine and a little pearl gem. I did also use some foam tape to give it a little lift.

GEDSC DIGITAL CAMERA
Here’s a look at the finished card closed. My card features some of the fun new EXCLUSIVE cuts I created for the Pazzles craft room this month! Here are just four of the newest ones.

pcw frosty fun birthday title-450 pcw snowman with balloons-450
pcw layered rose-450 pcw heart scalloped shaped card-450

Supplies Used
PCW Pazzles Craft Room Exclusive Files: Snowgirl w Balloons and Frosty Fun Birthday Title

Be sure to head over to Pazzles and check out the rest of the designer’s great projects. You will just love what they have been dreaming up. PLUS don’t forget you can join the craft room and can download files including the exclusive ones I create for them.

Plus, if you create a project using any file I have created you can join the monthly anything goes challenge the PCW design team is having! To check it out and join the challenge: CLICK HERE
Until the next time,

Discover Creative Freedom 300x250
Don't Forget To Sign Up For My Newsletter To Receive
The Subscriber Only FREEBIES and other exclusive info!


January Challenge Winter Card and New Freebie

Happy New Year crafty friends. It’s a new year and new month. That means we are back to our monthly challenges over on the PCW design team blog. Please click the challenge tab for details on our challenge. Our challenge is always an “anything goes” challenge with an “optional” twist. This month’s optional twist is to use a snowflake and or snow. So to go with our optional twist I created this card.

january-challenge500_thumb1

www-cut-file-card-650_thumb2
Here’s a look at my completed card. The size was 5 x 6.5. I used some papers from the DCWV Sunday Afternoon Stack. The base is white cardstock. I didn’t have the right color of blue for my sentiment, so I decided to use my markers to color it. I then added some pearl accents to the centers of the snowflakes and in the top left corner.

www-cut-file-card-side-view-650_thum

I used one of the new pcw files, warm winter wishes quick card cut file set. This cut file set includes the finished png and jpg files of the card front. Perfect for printing out and hand cutting print n cut or for using with your digital and or other hybrid projects.
card-warm-winter-wishes-ppr-cfb-4505


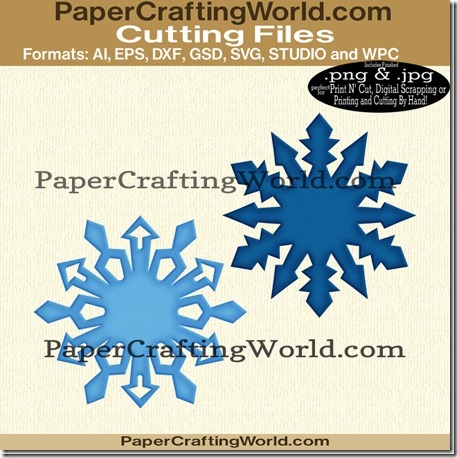
So to go with this month’s “optional twist” here are a couple of free snowflake cut files. It also includes the .png and .jpg files.

snowflakesv152g-ppr-cfb-450_thumb1
Free for the entire month of January. To download, it will say 1.00, but when added to the cart and you check out, it will be free.


10-gc-winter-600_thumb1
Now it’s your turn to enter our challenge. Simply add your project to the inlinkz link on the challenge blog post HERE. One lucky, randomly drawn winner will receive a 10.00 gift certificate to PaperCraftingWorld.com

Well, again, that covers it for today. Until the next time,
Discover Creative Freedom 300x250
Don't Forget To Sign Up For My Newsletter To Receive
The Subscriber Only FREEBIES and other exclusive info!


15_12

Baby’s First Christmas Layout, Hop Winners and Kit Info

Hello crafty friends,
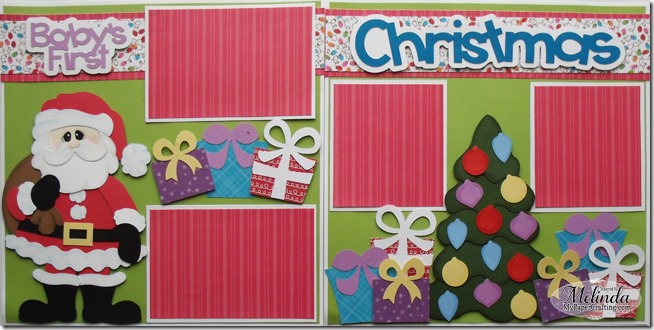
Yesterday was my turn to share over at the Pazzles Craft Room. I decided to create this super cute layout with some wonderful craft room files.
GEDSC DIGITAL CAMERA
Here’s a look at the entire layout. It is a two page 12x12 layout.
GEDSC DIGITAL CAMERA
Here’s a closer look at Santa. He turned out way too cute.

GEDSC DIGITAL CAMERA
Here’s a detailed look at both of the title pieces. You can see that there is also some glitter on the pretty light paper border.

GEDSC DIGITAL CAMERA
Here’s a detailed look at page two. Featuring a nice tree with ornaments and a bunch of colorful presents.

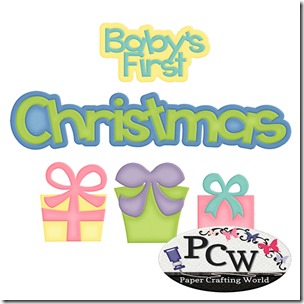
pcw santa standing-450 pcw babys first christmas title-450
pcw christmas tree w presents-450 pcw reindeer in wreath-450

Here are the latest, super cute files I created exclusively for the Pazzles Craft Room.  All FREE with a Pazzles Craft Room Membership. I create at least 10 exclusive files for the craft room each month. PLUS  THERE ARE THOUSANDS of other SVG files. So you don’t have to be a Pazzles machine owner to enjoy the huge benefits of a craft room membership. Any DIY craft cutter that has software that can utilize SVG files will work!!! Make sure you tell them I sent you and I will send you a little extra something special from me when you sign up!!!

So Tell Santa…you want a craft room member ship under your tree this Christmas!!! Whoop Whoop!!!

ALSO I made just a few kits of this layout. For those that may want the kit.
Shipped via priority USPS mail. To purchase, Click the add to cart button
Sorry, Sold Out


Now for the winners for my blog hop candy.
2-miranda first day


 Miranda said... 
Beautiful!!!! 
11/30/15, 10:16 AM


Miranda-comment on Winter Scene Card


8-migdalia

Migdalia said... 
Congrats on your GDT! I want to say precious & beautiful!! 
Have a blessed day,Migdalia 
12/5/15, 12:56 PM

Migdalia- Comment on Snowman Card

Ladies, you have two weeks to claim your prize. Please contact me via email (melinda @ scrapbookeden.com) remove spaces. And I will give you instructions on how to claim your 20 gift certificate (each) from PaperCraftingWorld.com

Until the next time,

Discover Creative Freedom 300x250
Don't Forget To Sign Up For My Newsletter To Receive
The Subscriber Only FREEBIES and other exclusive info!


Artfully Sent Snowman Card


12107899_10154366668620961_5529537663500022800_n
Happy Sabbath crafty friends,
So glad you stopped by. Today I am part of the Honeybearz 12 days of Christmas Hop. If you just happened to be here, then be sure to head over to Lisa’s blog. She has worked so hard to coordinate this hop and there are TONS of prizes you could win! If you have been following the hop then you should have come from Barbara’s blog. All week I have been sharing projects I made with my Cricut Explore and the Artfully Sent cartridge from CTMH. So here is my my project for today.

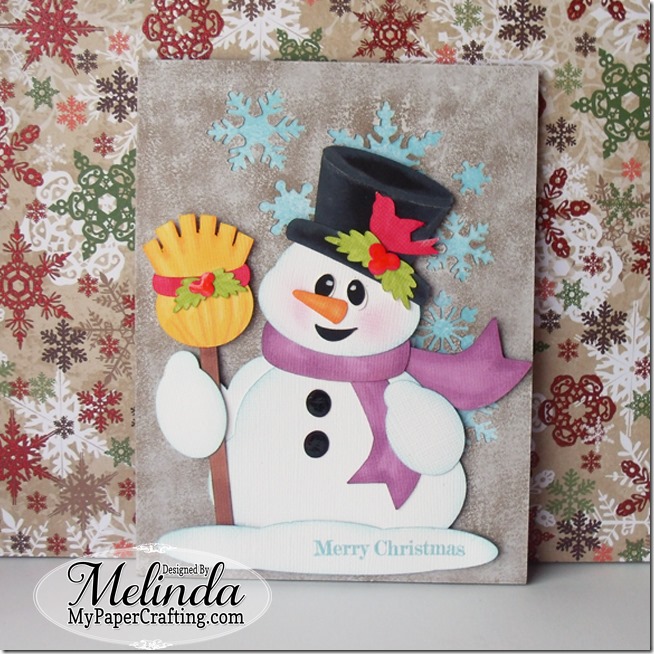
GEDSC DIGITAL CAMERAHere’s a look at my complete card. I started with my Cricut Explore and the Artfully Sent Cartridge. I created this super cute little snowman in the Design Space software. The base of the card is one of the files in the cartridge. It is made with kraft cardstock. I then used my White Daisy Ink Pad to sponge some white ink onto it to simulate “snow.  I then used some white cardstock to back the inside of the cover and sponged some blue ink on it to give the snowflake cut outs some contrast.

GEDSC DIGITAL CAMERA
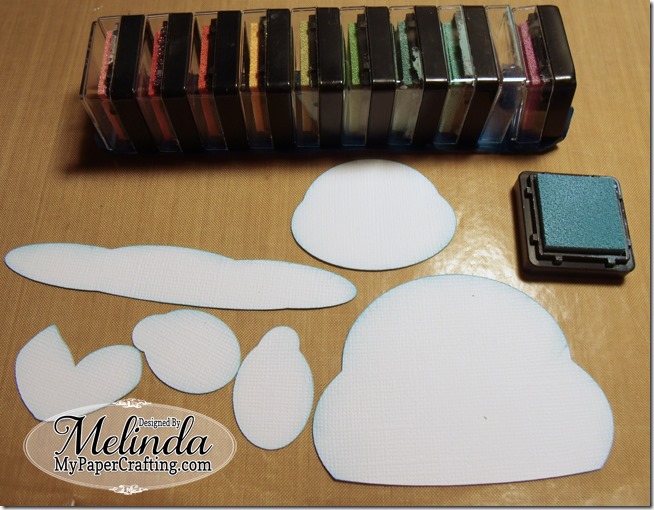
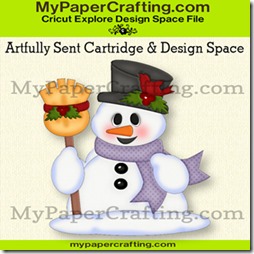
I used my Whimsy mini ink pad set and used the Crystal Blue to ink the edges of the snowman pieces to give it a little dimension.
GEDSC DIGITAL CAMERA
Next, I had cut all these pieces out in plain white cardstock. Most of my cardstock is still in boxes from my move and I haven’t had time to really dig it all out and set it up….SOOOOO I decided to use my markers to “color” my pieces. It worked out great. I used my Shin Han markers to color them all the various colors. Perfect solution!
GEDSC DIGITAL CAMERA
Here’s a closer view to show you that I used a little liquid glass to give his buttons and the berries on his broom and hat some extra shine. I did also use my chalk marker to put the glint in his eyes.

GEDSC DIGITAL CAMERA
Lastly, I used one of the sentiments included in the artfully sent bundle and stamped the Merry Christmas sentiment using my Crystal Blue ink pad. I also used some foam tape to give this little guy a little lift from the base.
Now for my blog candy:
I am giving this awesome blog candy away! Just head over to Monday's post and leave a comment there AND/or leave a comment on today's post.
ALSO: Make sure that you are a follower of my blog too. And you will be entered to win!I will be picking a winner on the 7th.
pcw 0 gc

Now for some freebies
hippopotamus tags ppr-dg-650
This was Tuesday's freebie: CLICK HERE
Please note: The file says $1.00 but when you click the add it to bag button, there will be no charge during this free period. Free through 12-7-15

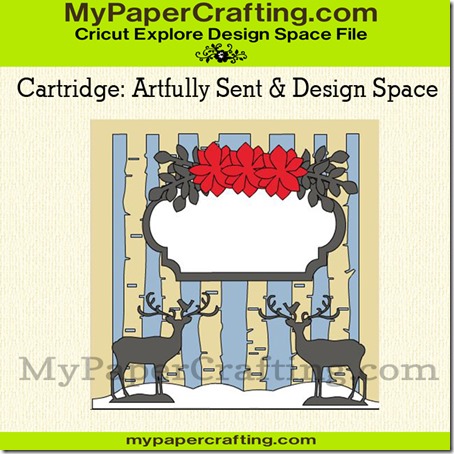
I also shared the Design Space file I created for the card I shared Monday. To use this file and recreate this project, you will need to have the Cricut Explore, using the Design Space software and the Artfully Sent cartridgeFree through 12-7-15
winter scene card-650
To get this file CLICK HERE


Christmas Blessings Title with Photo Corners SVG type cut file
CLICK HERE Free through 12-7-15

FREE SVG Files From Pazzles: CLICK HERE


Now be sure to head over to Ms. Madge’s blog and see what wonderful creation she has for you. In case you get lost along the way, here is the complete line up.
Barbara - http://spotofsanity.blogspot.com (Guest Designer)
Melinda - http://www.mypapercrafting.com (Guest Designer) YOU’RE HERE
Elizabeth Jeanne - http://CraftsByHappyStamper.com

As always, thank you so much for stopping by and sharing your crafty time with me. Be sure to stop back by tomorrow as I share another fun Holiday project….until then,

Discover Creative Freedom 300x250
Don't Forget To Sign Up For My Newsletter To Receive
The Subscriber Only FREEBIES and other exclusive info!


Artfully Sent Reindeer Card Piecing and Freebie

Happy Thursday crafty friends,
Hope you are having a wonderful day. Today I am showcasing another project I created from the fun and ON SALE….Artfully Sent cartridge.  I have been having a ball working with this fun cartridge in conjunction with the Cricut Explore and Design Space software. So here is what I came up with.

Okay I just have to insert something here…trying to get pictures of this project has LITERALLY been like PULLING TEETH!!!! First I took pictures with my camera…and my card wouldn’t read in my computer!!! I could use is in my camera, but my card reader in my laptop wouldn’t pick it up….UGH…spent about 45 minutes trying to get that to work. So I finally gave up and then turned to my phone. Took photos again and then tried to message them to myself…and I kept getting a send failure notice…UGH. Then lastly, I tried “emailing” them to myself….FINALLY….SOOOOO I apologize, these pics aren’t the best quality but I think they will work
artfully sent reindeer card-650
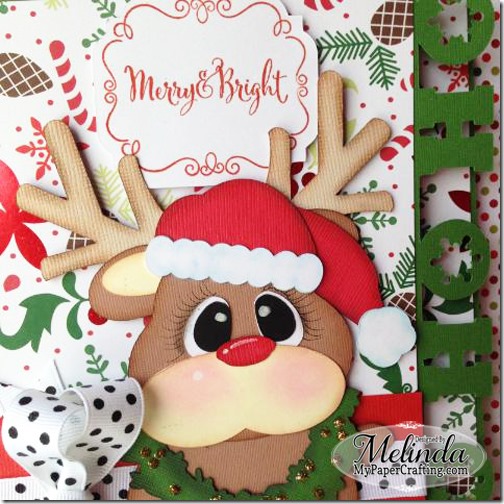
Here’s a look at the completed card. I used some green cardstock for the base. The base with the HO HO HO is a cut in the Artfully Sent cartridge. I used the Design Space software and my Artfully sent cartridge to create this adorable little reindeer piecing.

reindeercardface-500
Here’s a closer look at the stamped sentiment. The frame and the sentiment are both also in the Artfully Sent bundle. I used my Cranberry Ink Pad to stamp the frame and sentiment. The tag is already in the Artfully sent cartridge too.

artfully sent reindeer card sideview-500
Here is just a slight side view to show that I used a little foam tape to give the reindeer piecing and the sentiment a little lift. I finished off the card with a little bow. I also added some Gold Glitz stickles to his little wreath to jazz it up. The papers I used were once again from the DCWV Evergreen Stack.

artfully sent file images-650


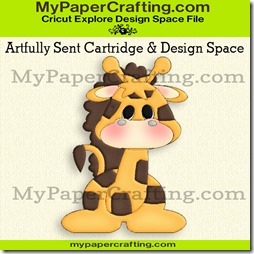
artfully sent baby giraffe-ppr-650
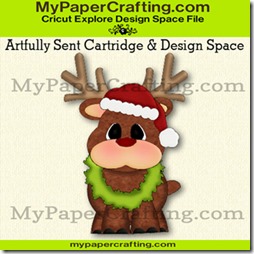
artfully sent reindeer piecing-ppr-325
artfully sent snowman piecing ppr-325
artfully sent hippo box ppr-450
These are the four special design space and artfully sent files I will be sharing with those that purchase the bundle through my link!
Please note: If you are an active CTMH consultant and want to know how you can get these files for your use, please feel free to email me: melinda @ scrapbookeden dot com.
ONLY 24 HOURS LEFT TO SAVE ON THE ARTFULLY SENT CARTRIDGE!!!
cricut-artfully-sent-collection-25
winter scene card-650
Don’t forget to head over to my Post on Monday and pick up the FREE Design Space File

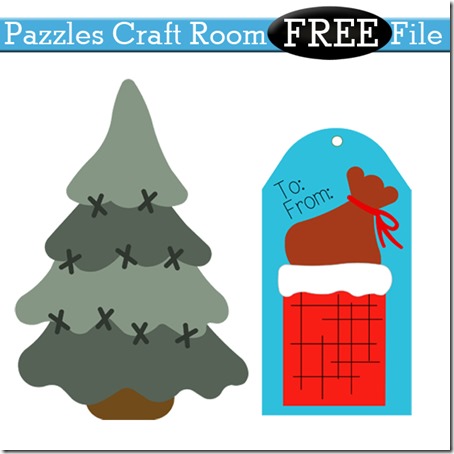
Today’s Freebie comes from our friends at Pazzles. Remember they have a wonderful craft room and thousands of files. All their files are in SVG format too. So you don’t have to “own” a pazzles to benefit!! For details CLICK HERE
tree n tag freebies-600

Well, again, that covers it for today. Be sure to come back by tomorrow for one final Artfully Sent project. Until then,
Discover Creative Freedom 300x250
Don't Forget To Sign Up For My Newsletter To Receive
The Subscriber Only FREEBIES and other exclusive info!