15_04

Brown Bunny Hybrid Easter Cards

Hello crafty friends,
Today I wanted to share this super fun and super fast Hybrid, printable card that I made. I have been learning more about digital scrapbooking and Photoshop in general. As a result I have been kicking around some different things. One of the things is making “hybrid” crafts. For those that may not know, Hybrid crafts are crafts that are part digital and part “traditional”. They incorporate the use of both digital and “tangible” products. So here is a little card I came up with.


Here are my two finished cards. One has the pink polka dot mat and the other the green polka dot mat. Their finished size is 4.25  5.5
brown bunny hybrid card ppr ds-425
Set comes with a pre-formatted pdf file as well as individual jpg files as shown. 


Here is a closer look at one of them. The base is cut from kraft cardstock. Then I cut a white mat and then cut out the pre-printed mats and the other strips.

GEDSC DIGITAL CAMERA
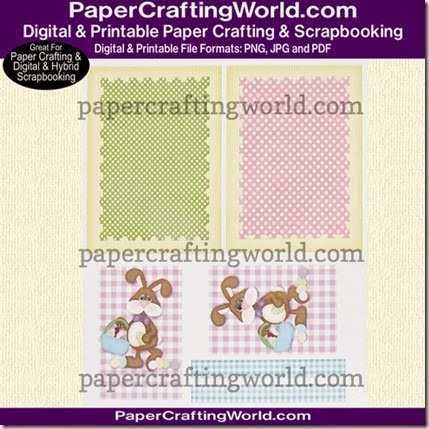
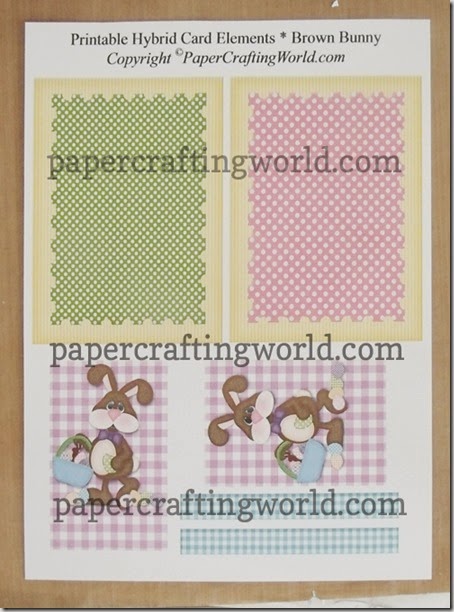
Here is what the pre-printed template looks like. It is in pdf format and fits on an 8.5 x 11 piece of paper.

GEDSC DIGITAL CAMERA
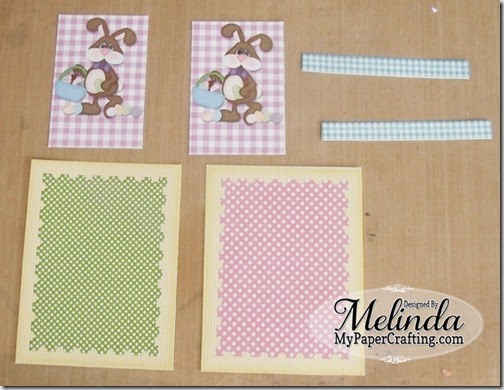
Here are the pieces after they have been printed and cut out.

GEDSC DIGITAL CAMERA
I matted them with some white cardstock. To assembly them, I adhered the top mat with the bunny onto the bottom mat. I did use some foam tape to give them a little lift. Next I adhered the blue plaid strip and then wrapped some white ribbon to it. Once I did all that, I simply glued the finished piece onto the base of my kraft cardstock.  Finally, I used my gypsy ink pad and my for you stamp from the My Fave stamp set. I then cut it out with a circle punch I had on hand. I used a little more foam tape to give it a little more lift and that was it…Easy Peasy!!!


Supplies Used
pazzles vue-200
Pazzles Inspiration Vue
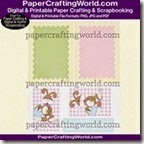
brown bunny hybrid card ppr ds-200
Brown Bunny Hybrid Card Printable
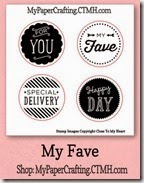
my fave-325
My Fave Stamp Set
gypsy ink-200
Gypsy Ink Pad
white cardstock-200
White Cardstock
kraft cardstock-200
Kraft Cardstock
foam tape-200
Foam Tape
ezdots-200
Tape Runner

Well, that about covers it for today. Be sure to stop back by tomorrow for another fun and hopefully inspiring project. Until then,


Don't Forget To Sign Up For My Newsletter To Receive 
The Subscriber Only FREEBIES and other exclusive info!

15_03

Ducky In Egg Shaped SVG Card

Happy Monday crafty friends,
I hope you are enjoying a great start to your week! With Passover-Resurrection Sunday fast approaching, I thought I would share this super cute Shaped card I recently created.  So let's get right to it.
GEDSC DIGITAL CAMERA
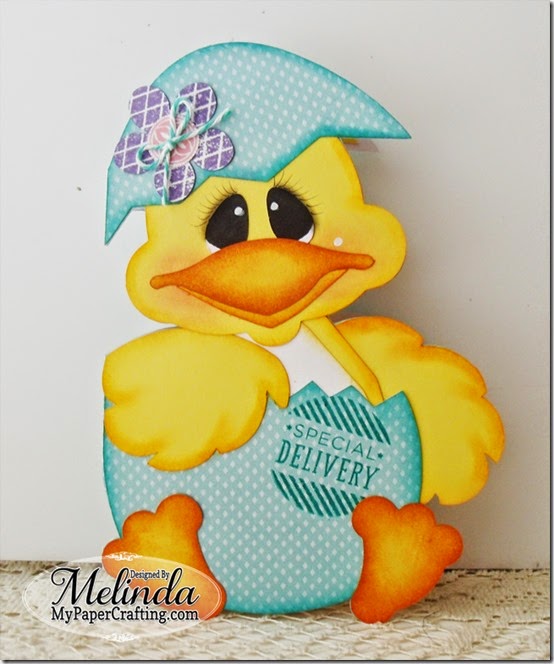
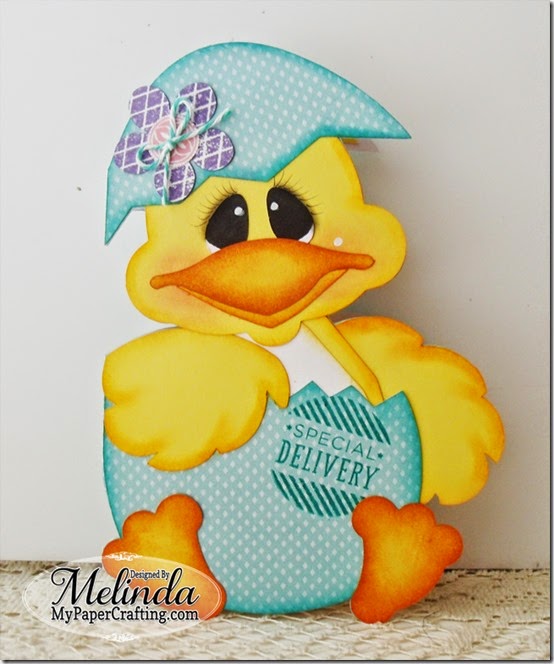
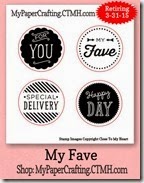
Here’s a look at my finished card. I used some cardstock and some DCWV Halloween & Fall Basics Papers for the Blue Polka Dot Paper. That cute Special Delivery Stamp is from the My Fave Stamp set that will be retiring tomorrow!

GEDSC DIGITAL CAMERA
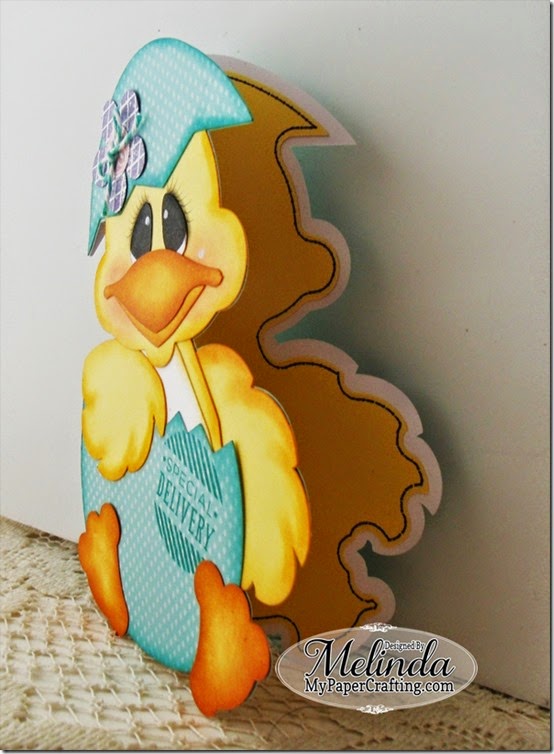
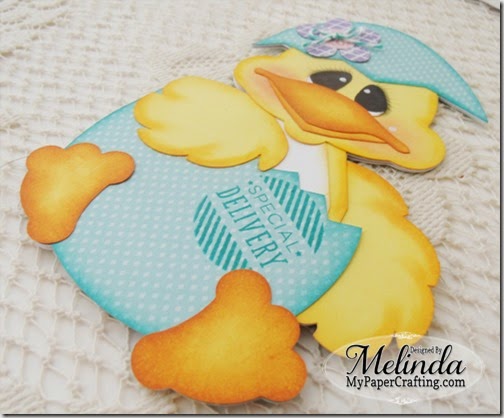
Here’s a view of the card slightly opened. I used my Pazzles Pen Tool to draw the stitched outline for the yellow mat.

GEDSC DIGITAL CAMERA
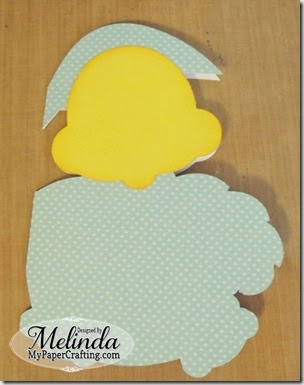
Here’s how I constructed the card. I started by folding the base.
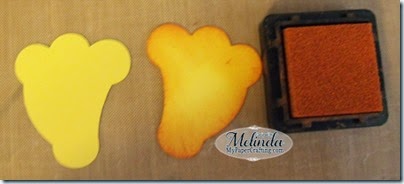
I then inked and added the head.

GEDSC DIGITAL CAMERA
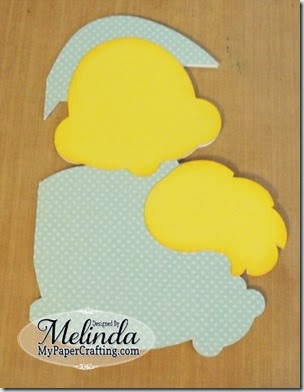
Here I added one of the wings. I just followed the shape of the card to figure out placement.

GEDSC DIGITAL CAMERA
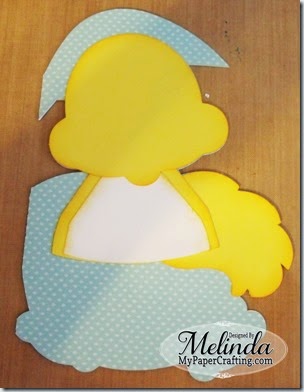
Next, I added the tummy and body part. I just slid the top portion underneath the head.

GEDSC DIGITAL CAMERA
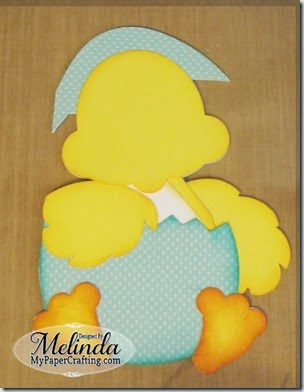
Then I added the other wing and the top polka dot layer of the bottom of the egg.

GEDSC DIGITAL CAMERA
Used my ink sets to ink the edges of the different pieces. I used my Enchantment Ink Set.


GEDSC DIGITAL CAMERA
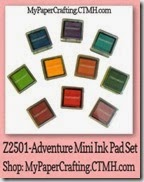
I used my Lagoon Ink Pad to stamp the cute Special Deliver stamp. I also used my Adventure mini ink pad set that contains a lagoon ink for the edges of my egg pieces.

GEDSC DIGITAL CAMERA
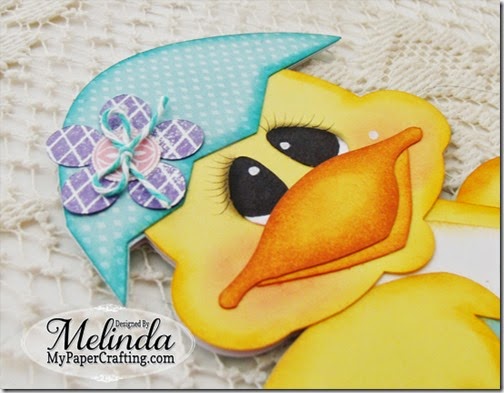
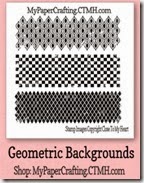
Here’s a close up of the face. I used the March stamp of the month for the middle circle and then used the Geometric Backgrounds stamp set and my Gypsy Ink Pad for the flower. I topped it off with a little twine. I created the face using my White chalk marker for the whites of his eyes and then my Pebbles Basic Chalks for the facial features as well as my fine tip black pen for the eye lashes. For info on how to create faces, you can check out my tutorial HERE

GEDSC DIGITAL CAMERA
Here is one last look at the finished card. Cute, Cute, Cute!


Supplies Used

pazzles vue-200
Pazzles Inspiration Vue
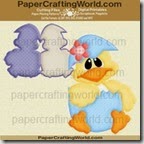
chicky shaped card ppr cf200
Ducky In Egg Shaped Card CF
fall and halloween basics stack-350mpc
DCWV Fall & Halloween Basics Stack
geometric backgrounds-200
Geometric Backgrounds
my fave-325rr
My Fave Stamp Set
adventure ink pad-200
Adventure Mini Ink Pad Set

Z2502-enchantment
Enchantment Mini Ink Pad Set
march sotm stamp set
March Stamp of the Month
white chalk marker-200
White Chalk Marker
basic cardstock pack-200
Basics Cardstock
adventure cardstock pack-450
Adventure Cardstock

ALERT!!! Don’t Forget…The Seasonal Expressions 1 Catalog is coming to a close. Don’t miss out on your chance to pick up some of the cute stamp sets that will be going away!
You don’t want to miss it! Plus many more! Be sure to head over and do a little shopping today!!!!

seasonal expressions1-650


Don't Forget To Sign Up For My Newsletter To Receive 
The Subscriber Only FREEBIES and other exclusive info!


For Someone Special Card

Happy Tuesday crafty friends,

Hope you are doing well. I wanted to share a card I made a while back with some great CTMH products.
GEDSC DIGITAL CAMERA
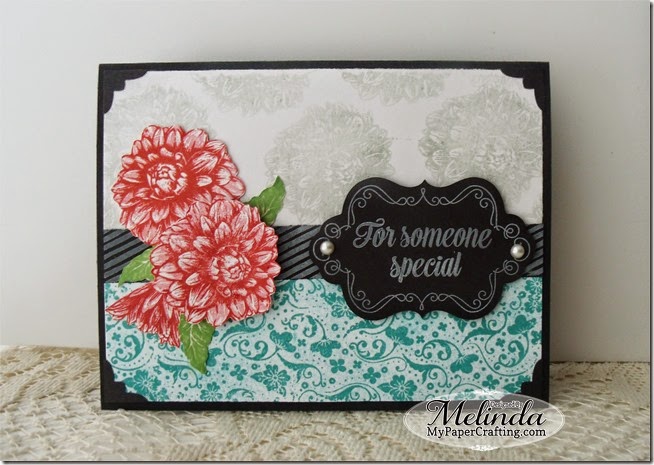
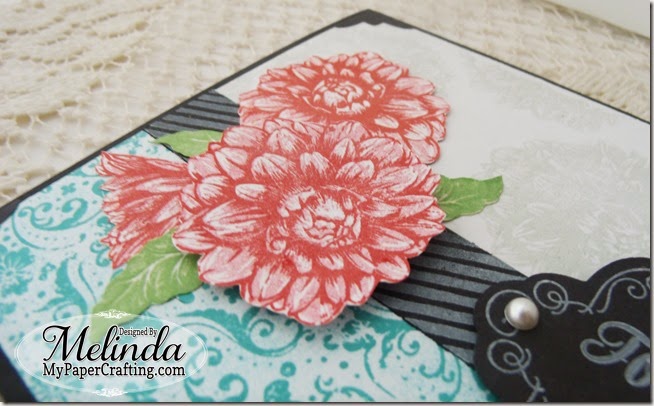
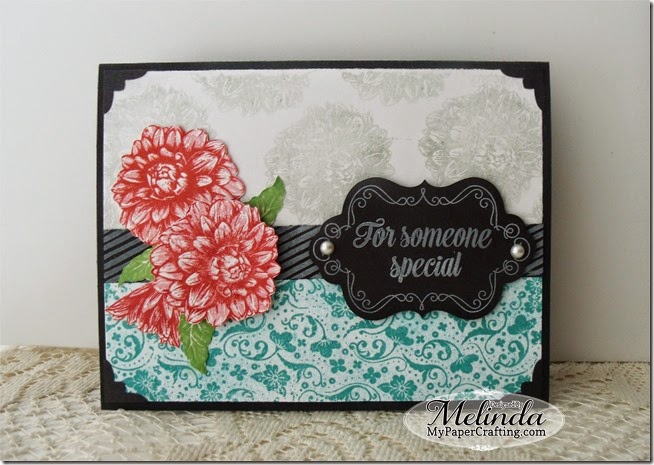
Here’s a look at the finished project. The finished size is 5 x 6.5. I started with a black cardstock base.

GEDSC DIGITAL CAMERA
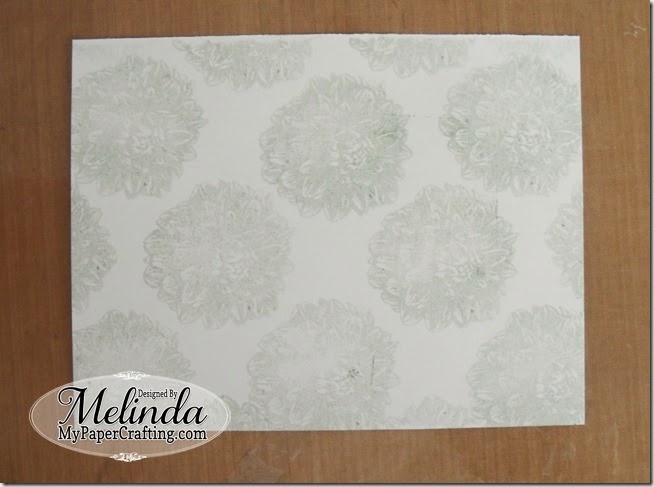
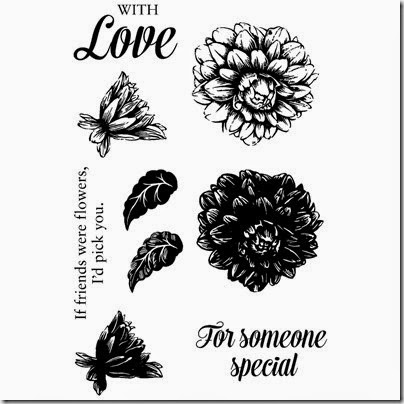
I then turned to the someone special stamp set and my whisper ink pad. I did a second generation stamp technique to make the flower pattern a soft and subtle background.

GEDSC DIGITAL CAMERA
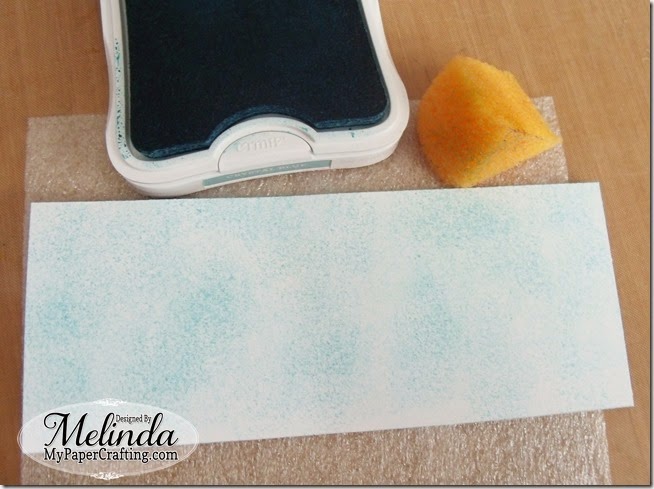
I then turned to another piece of white cardstock and sponged some of my Lagoon ink pad onto it.

GEDSC DIGITAL CAMERA
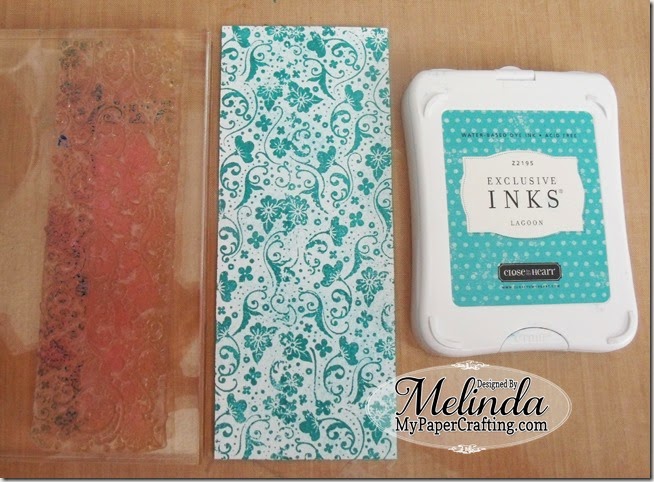
I then used some more of my lagoon ink pad and the floral pattern stamp from the In the background stamp set

GEDSC DIGITAL CAMERA
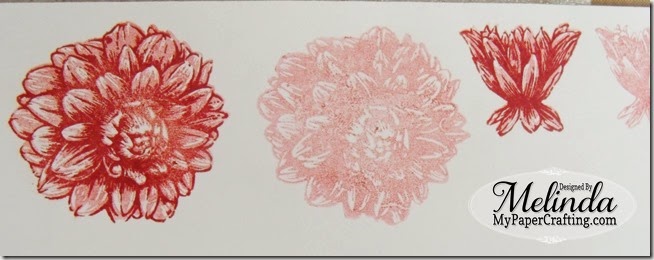
I then turned back to my someone special stamp set and used my blush ink pad to stamp the base and then the outline stamp with some of my Cranberry Ink Pad.

GEDSC DIGITAL CAMERA
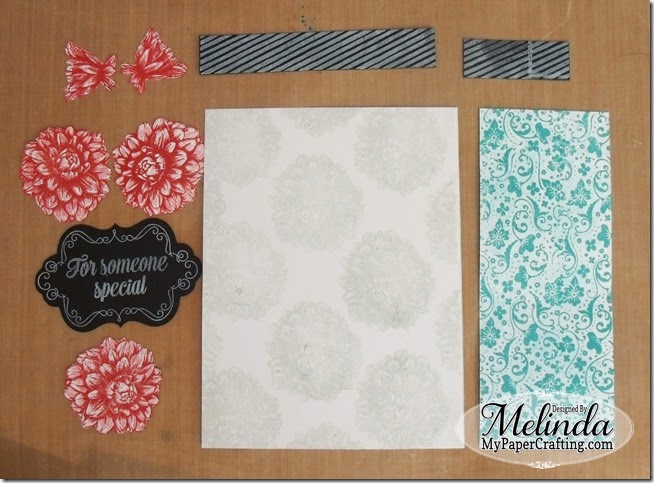
This photo shows all the different pieces before assembly. I did use some black cardstock and my white daisy ink pad along with the diagonal stripes stamp from the In The Background stamp set.

GEDSC DIGITAL CAMERA
I used some foam tape to give the flowers a little lift.

GEDSC DIGITAL CAMERA
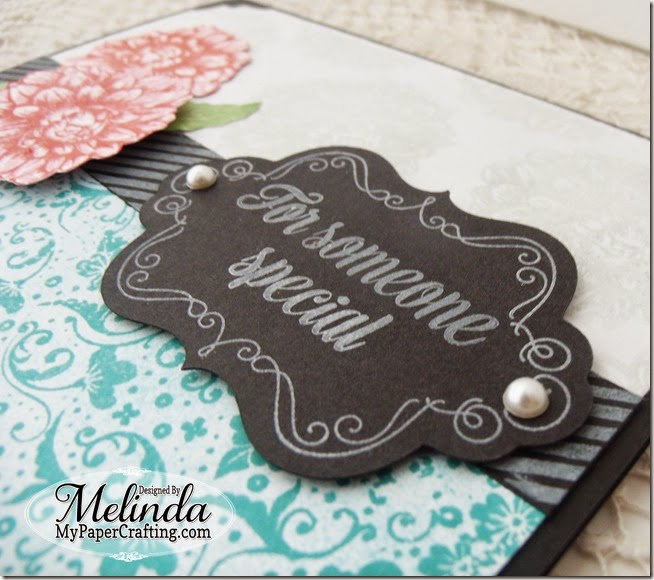
I then turned to my Artfully Sent Cricut cartridge and cut out the black tag. I used my White Daisy Ink pad  and one of the stamp sets that the Artfully Sent cartridge has to stamp the outline. I then turned back to my someone special stamp set and my White Daisy ink pad to stamp the sentiment. I added a couple of Pearls to each side for a little extra pizazz. When assembling I did use some foam tape to give it a little lift.

GEDSC DIGITAL CAMERA
Here is one last look at my completed card.
PLEASE NOTE: The pretty Someone Special Stamp Set is one of the stamps that will be expiring in just a few days!!!!
someone special stamp set
You don’t want to miss it! Plus many more! Be sure to head over and do a little shopping today!!!!

seasonal expressions1-650

Supplies Used
Cricut Explore

Be sure to stop back by tomorrow as I share another fun project. Until then,
Don't Forget To Sign Up For My Newsletter To Receive 
The Subscriber Only FREEBIES and other exclusive info!