Happy Sabbath crafty friends, I am so excited to share my Science Rocks Blog Hop project with you today! Several designers will be sharing all kinds of Science themed projects. You should have arrived from Jessica's blog. If you wish to start at the beginning, Connie is the first stop (complete hop list below).
This is a one day blog hop. Leaving comments for each crafter is always appreciated. Our sponsor for this hop:
JW Illustrations (JD Designs)
They will be giving one lucky winner a gift certificate to spend on their super cute digital artwork. Please visit them online http://www.jwillustrations.com and on facebook
What do you need to do to win? Easy... become a follower of each of the fabulous blogs in this hop and leave each of them a comment letting them know what you like best about their projects. You will have until 12:00 am Monday to finish this hop and leave your comments. Winners will be announced on Wednesday at Connie Can Crop. Be sure to follow everyone and leave your blog love along the way! Now for my project.
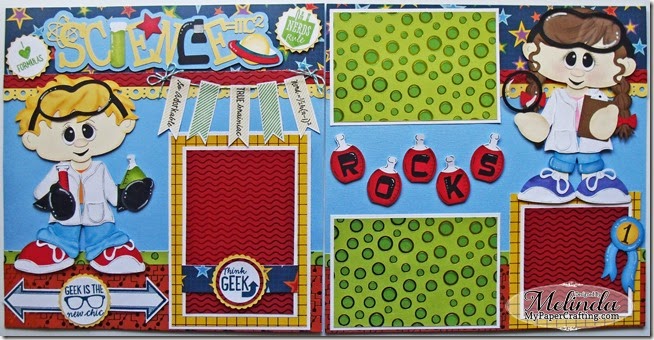
Here’s a look at my completed layout. It is a two page 12 x 12 layout. The base paper is some blue Bazzill cardstock. All of the patterned papers are from the Paper Studio Cosmic Whammy stack from Hobby Lobby. The papers are so bright and colorful and several of the pieces in the stack have foil for that little extra pop!
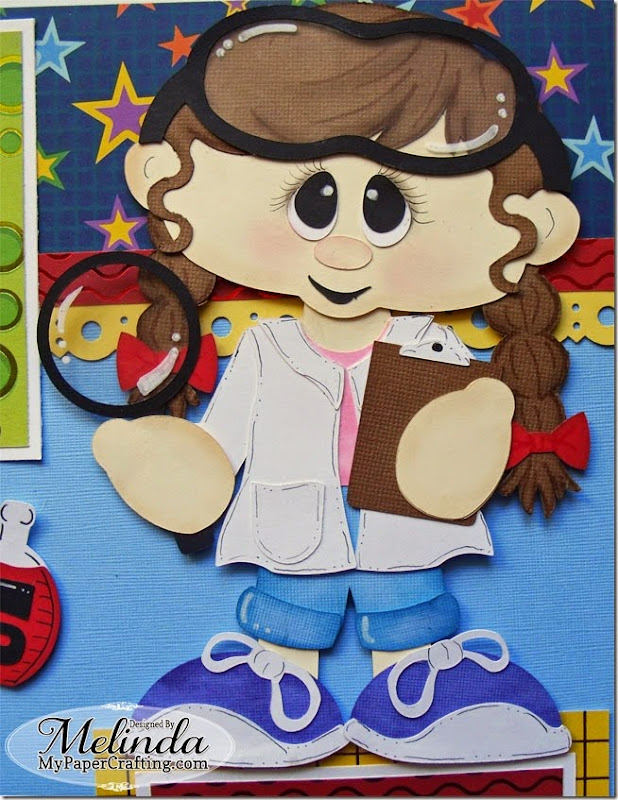
Here’s a look at the cute little girl “scientist” holding her magnifying glass and clipboard. She also has her goggles. I created this super cute piecing in my Pazzles Software and cut her out with my Pazzles Vue. I used my Pebbles chalks as well as some inks and my journaling pen and white chalk marker to add all the fun details to her.
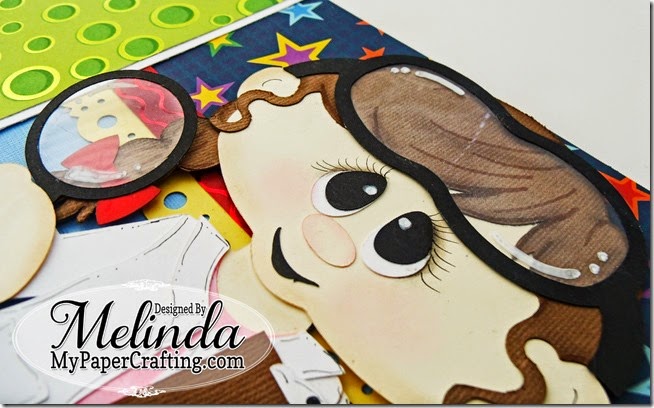
This is a side view. I was attempting to show how I used some transparency for the goggles and the magnifying glass.
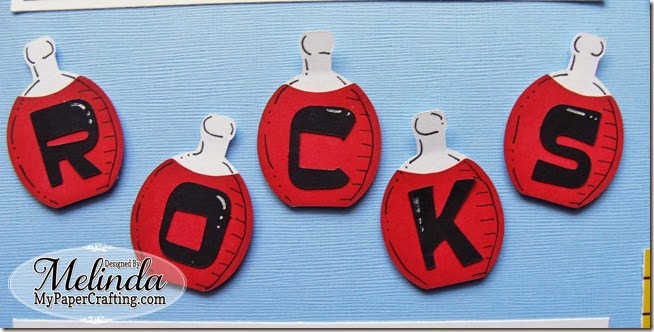
This is the “rocks” title. They are beakers filled with red liquid.
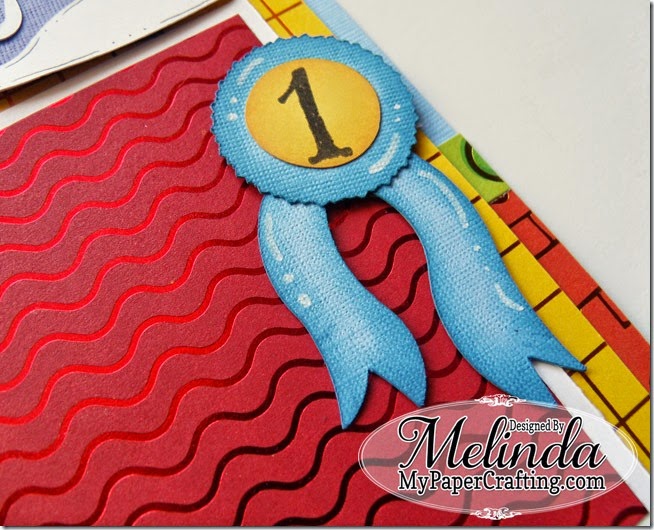
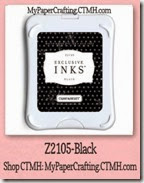
Here’s a closer look at the blue ribbon. I used my Lagoon ink pad to ink the edges and my white chalk marker for the accents. I also used the Glamour lower case stamp set and my black ink pad for the number 1.

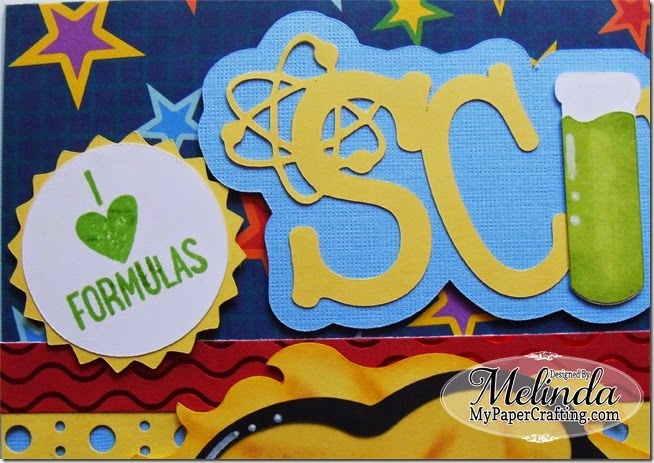
Here's a closer look at the cute title I created. It is another SVG die cut set created from my Pazzles Inspiration software. I used my silver marker for the lamp-c neck and my pear green shin han marker for the beaker as well as my ruby ink pad and my white chalk marker for the additional details.
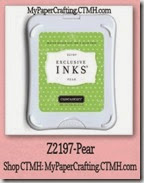
Here’s a closer look at the I heart formulas sentiment. Stamped using my pear ink pad. I used my Art Philosophy cartridge to cut out the circle and the star circle. I also used some foam tape to give it a little lift.
Circle: Page 21 @ 1.75”
Circle 5: Page 61 @ 2”
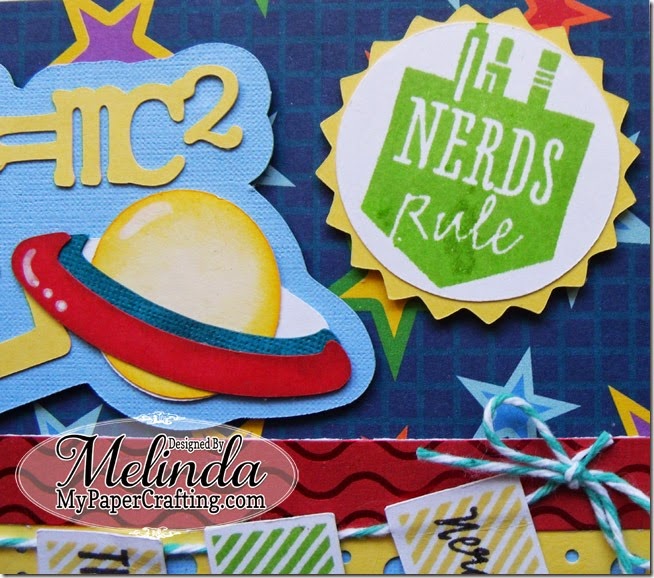
Here’s a closer look at the nerds rule stamped sentiment. I stamped it with my pear ink pad. I also used my Art Philosophy cartridge to cut out the circle and the star circle. I also used some foam tape to give it a little lift.
Circle: Page 21 @ 1.75”
Circle 5: Page 61 @ 2”
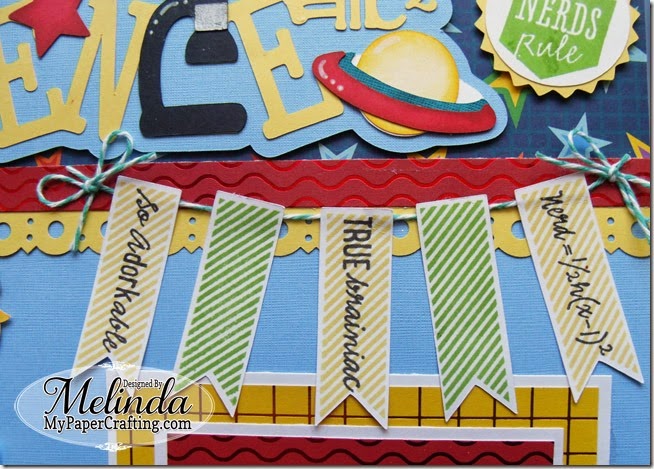
Here’s a closer look at the banners. I used the Art Philosophy cartridge to cut out the banners and then stamped them with my canary ink pad and my pear ink pad. The sentiments were stamped with my black ink pad. I used some Paradise Assortment twine and some mini glue dots to adhere the bows.
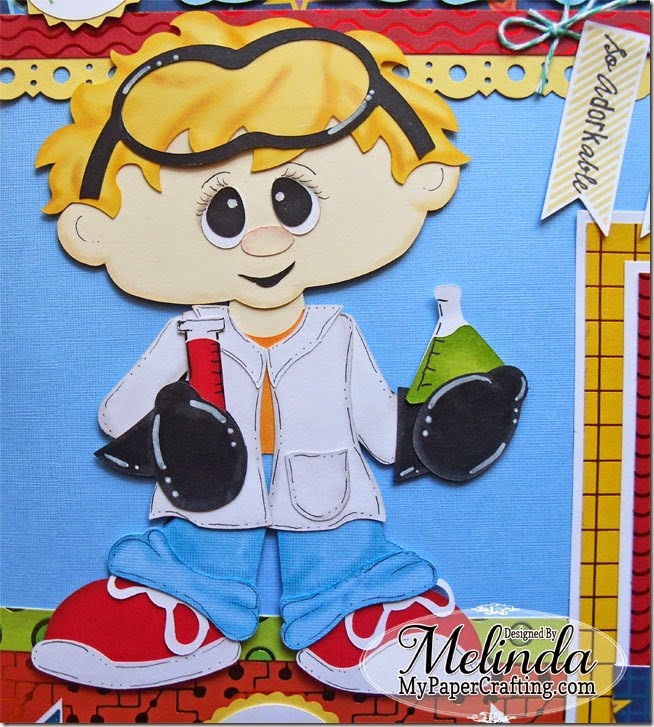
Here’s a closer look at the cute little boy scientist paper piecing I created. I used my Pazzles Inspiration Vue software to create the piecing and to cut out all the SVG’s for this project.
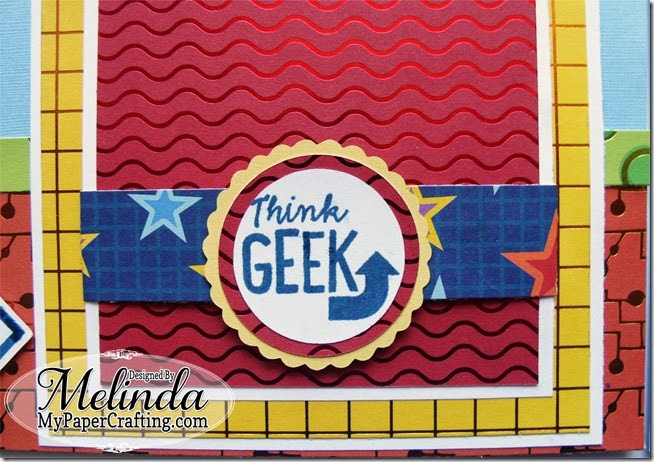
Here’s a closer look at the think geek stamped sentiment. Used my Cricut Art Philosophy cartridge to cut out the circles and then the scalloped circle
Circles: Page 21 @ 1.5 and 1.75
Scalloped Circle: Page 31 @ 2”
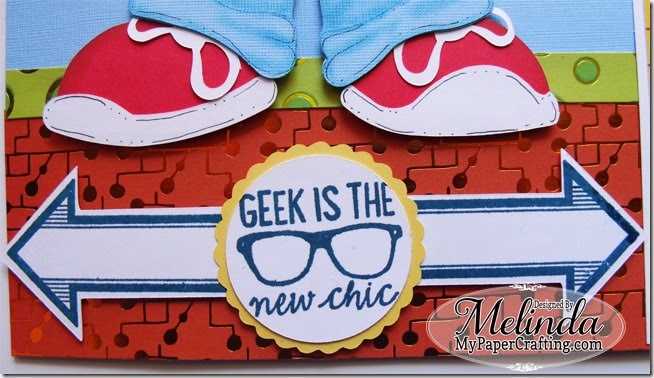
Here is a closer look at the Geek Is The New Chic stamped sentiment. Stamped with my Pacifica Ink Pad. Again I used my Cricut Art Philosophy cartridge to cut out the circle, scalloped circle and the arrows. The stamped arrow image is also part of the same Geek Is The New Chic Stamp Set. I once again used my Pacifica ink pad. You can see the background paper is some more of that fun foil paper that comes in the Cosmic Whammy stack from Hobby Lobby.
Circle: Page 21 @ 1.75
Scalloped Circle: Page 31 @ 2”
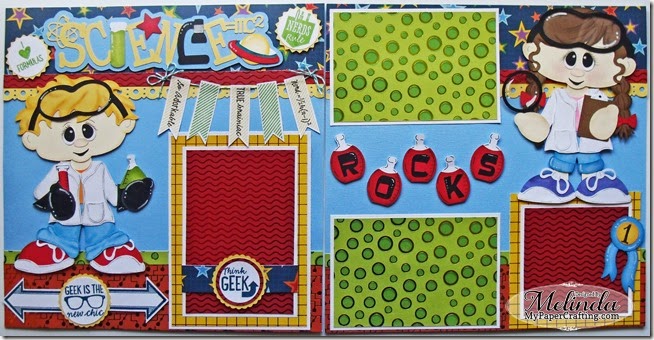
Here’s one last look at my completed layout. If you would like to get the SVG files for this project then place any size order on my CTMH site and I will send them to you as an extra bonus for free.
Products Used For This Project
 | 
Cricut Expression
| 
Cricut Art Philosophy Bundle
| 
Geek Is The New Chic Stamp Set
|
 | 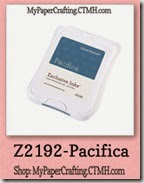
Pacifica Ink Pad
|  |  |
 |  |  | 
Pebbles Chalk Ink
|
 |  |  |  |
 |  | 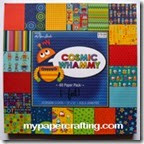
Paper Studio Cosmic Whammy Stack
| 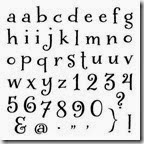
Glamour lower case alphabet set
|
Up next is Kathy
Here is our complete line up in case you get lost along the way:
1. Connie
2. Jenny
3. Alicia
4. Pam
5. Haidee
6. Sandy
7. Theresa
8. Jessica
9. Melinda
10. Kathy
11. Holli
1. You Must Be A Follower Of My Blog. Be Sure To Click The Top Right "Follow" Button and take just a moment to follow.
2. Leave a comment on this post. I will pick a random winner via random.org and announce it next Friday. You will have until next Tuesday to leave a comment.
As a thank you for stopping by, here is a little freebie for you!
Blog Hop Freebie

UPDATE: Sorry no longer free. Head over to PCW to grab it for a great price!
Free through 2-11-15 only.
Available formats: AI, DXF, EPS, KNK, MTC, SCAL, STUDIO, SVG and WPC
As always, thank you for stopping by and sharing your crafty time with me. Until the next time,
Don't Forget To Sign Up For My Newsletter To Receive
The Subscriber Only FREEBIES and other exclusive info!
The Subscriber Only FREEBIES and other exclusive info!


