Hello crafty friends,
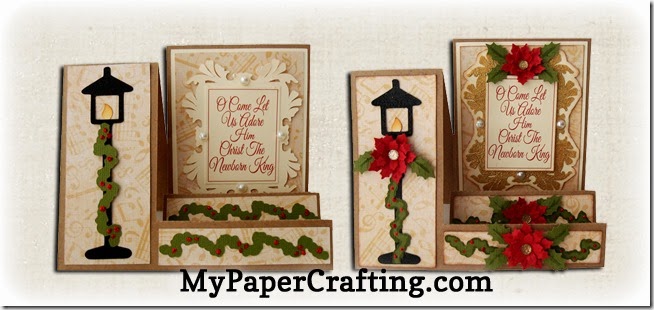
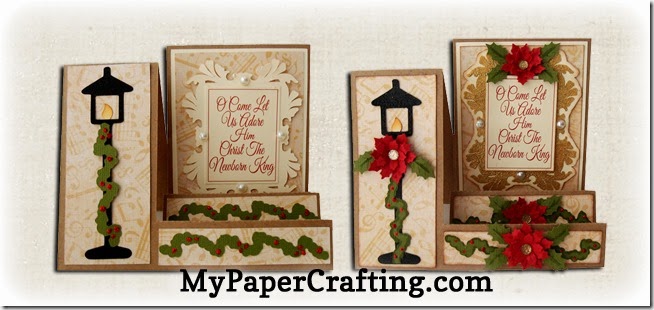
Today is my turn to share over at the Pazzles Craft Room Blog. Our assignment was to create two cards that are the same, but one easier and faster for quick reproduction and the other with a little more zing. These are my first cards of this 2014 Christmas-Holiday season. So let’s get started. Here is a picture of both cards.
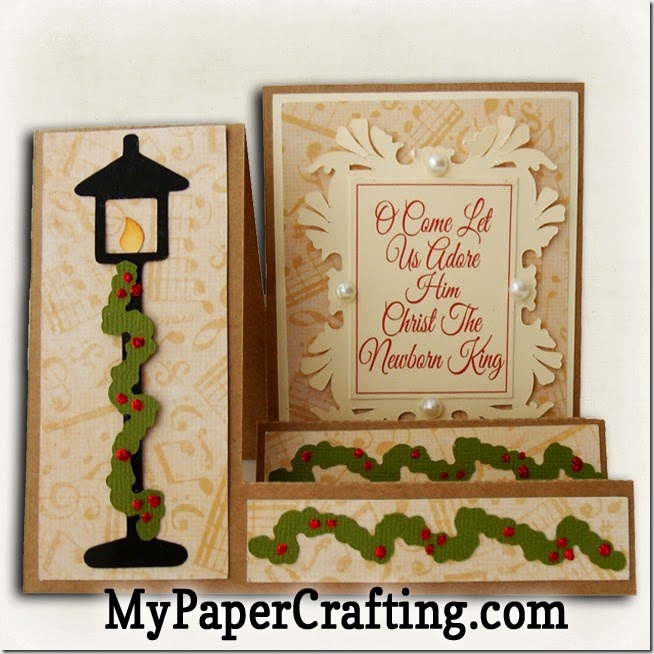
For the main card base, I used the Side Step Fold file from the craft room. I cut them both in kraft cardstock. I then used my DCWV Performance stack and found some lovely cream note paper. So I cut a cream mat for the main area of the card and then cut the rest of the mats in the patterned paper. I then turned to the library and found the fun Christmas Lamp file. I cut them out in black cardstock.
I then cut the flames out and inked them to give them a bit of a "glow". I then cut out the garland and cut extras to line the bottom two steps on each card. I used my Red Stickles glitter glue to add the little holly berries. I then turned to my sentiment and typeset my sentiment in my Pazzles software. I then used the print n' cut feature to print the sentiments out on my printer and then cut them with my Pazzles. For the frames, I grabbed the Flourish file and made a frame from it. For this card I simply layered the sentiment on to the frame and then added some pearl accents. I used my foam tape to give it a little lift.
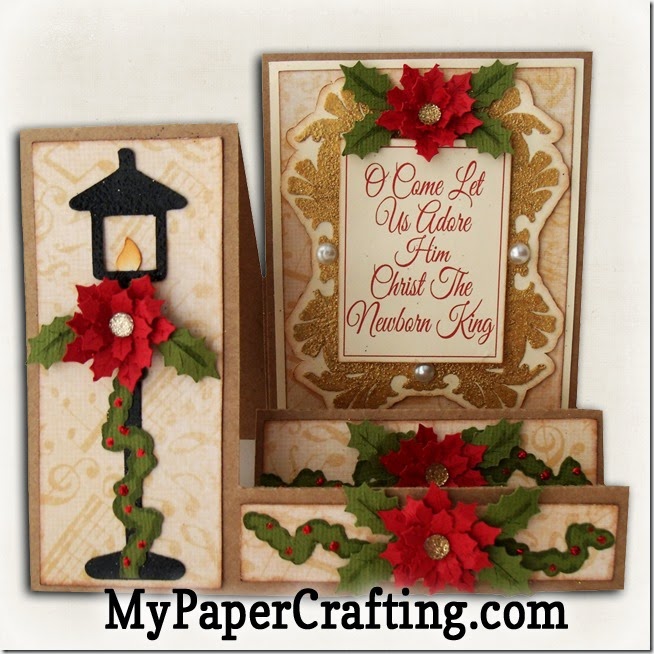
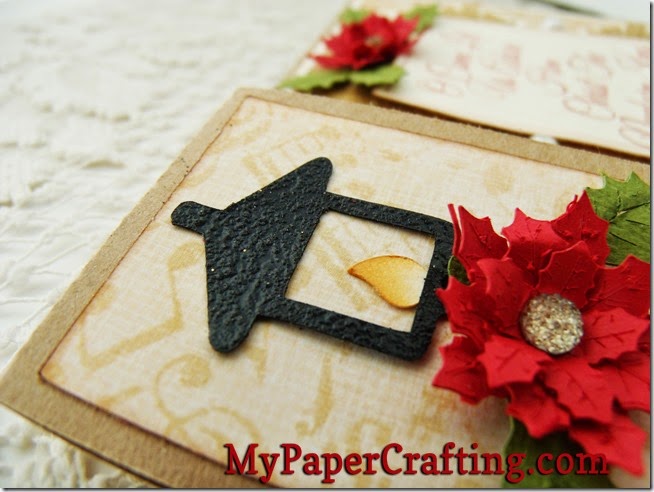
For the "fancier" version, I took it a step further and embossed it with black embossing powder. If you look at it, you can see how it makes the lamp look a little more "realistic" (see the pic below). I also embossed the frame with Gold embossing powder on the fancier card.For the fancier card I also used the Day 9 poinsettia file and added some poinsettias to the card. I used three layers of the poinsettia flower and two layers of leaves and hand pieced them together. I also inked the edges of the mats on the fancier card and added some gold gems to the centers of the poinsettias. This makes the card a little more special.
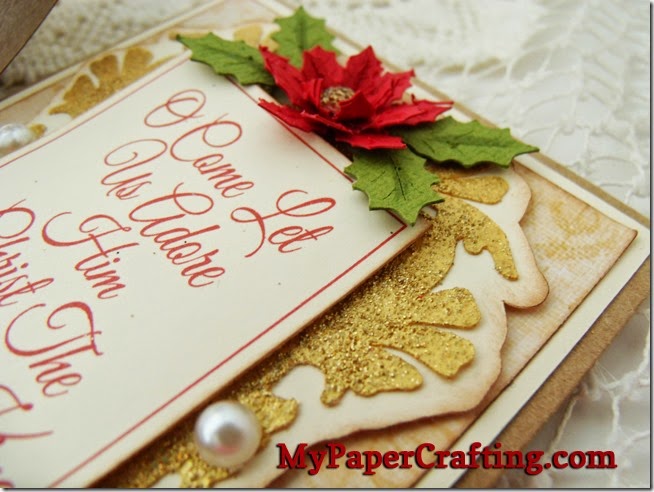
Here’s a closer look at the gold embossing on the frame. I love the rich look it gives.
Here’s a closer look at the embossed lamp post. The texture really makes it look much more realistic. Turned out really pretty…I think.
Either way, both cards are perfect for sending to those you are thinking about this season.
Supplies Used
Craft Room Files
Side Step Card
Christmas Lamp
Flourish
Day 9 Poinsettia
Other Supplies
DCWV Performance Stack
Be sure to head over to the Pazzles Craft Room and check out what the other designers did. There are some fantastic cards on there and I am sure it will inspire you to get your craft on. BTW….Don’t forget about the Pazzles 99 Inspiration Vue special. If you are in the market for a craft cutter and you need to give your secret Santa a hint…this is one fantastic deal!!!!
Well, that about covers it for today. Be sure to come back by tomorrow for another fun and inspiring project!!!! Until then,


