14_10

You Are Sunshine For My Soul Pazzles Print N' Cut Card

sunshine for my soul card-490
Happy Tuesday crafty friends,
Yesterday I shared a card with you where I used the InVue project folder Treasured Friendship My design team assignment was to create two cards using the same project folder. First, here is the card from yesterday. CLICK HERE for details.

hello you card by melin-600

sunshine for my soul card-490
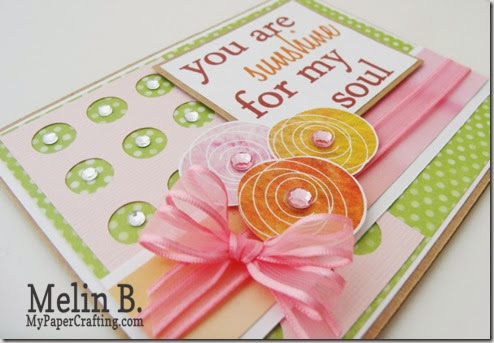
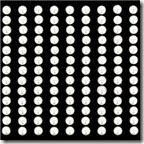
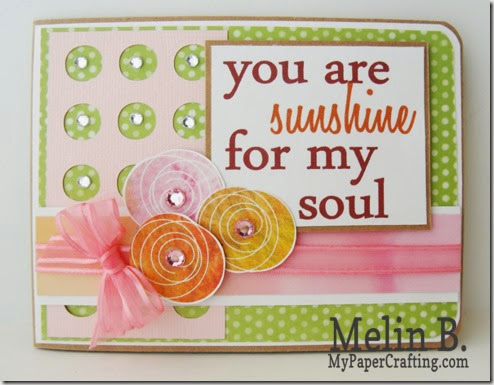
Now onto today’s card. I used the same project folder but just picked a few of the different options.  For this version, I kept the card the same orientation as it is originally, which is more of a landscape position. I cut my base again out of kraft cardstock and then used some white and some patterned paper from the Close to my heart brushed paper collection. I then cut one of the background modifiers, from pink cardstock. The circle cuts for this background modifier give it a nice clean visual interest for the background.

side view cllt-490
Then I chose the print n cut watercolor flowers from the themed images sub folder in the modifiers section. With the new InVue software, print and cut is a snap. I also chose to make the sentiment a print and cut. I simply added the colors I wanted to the sentiment and created a cut box around it. After printing the sentiment and flowers on my printer, I cut them out and added them to my card. I then finished off the card by adding a border of white and more brushed patterned papers along with some ribbon and gems. Super easy and great results!
Treasured Friendship Card InVue Project
Themed Image Modifier: Watercolor Flowers
Sentiment Modifier: You are Sunshine for my soul
Background Modifier: Dots
Supplies Used

pazzles vue-200
Pazzles Inspiration Vue
brushed paper-200
kraft cardstock-200

white cardstock-200
White Cardstock
sparkles clear asst-200
Sparkles Clear Asst.
adventure cardstock pack-200
Adventure Cardstock Pack
ezdots-200
EZ Dots runner
mini glue dots-200
foam tape-200

Misc. Ribbons

Well I think that about covers it for today. Be sure to check out yesterday’s post so that you can get details on the InVue software. As always, thank you so much for stopping by and sharing your crafty time with me. Be sure to come back tomorrow as I share another project with you. Until then,

Hello Card Using My Pazzles InVue

hello you card by melin-600

Hello crafty friends, 
My turn to share a project for my Pazzles design team. My assignment was to choose one of the fun projects in the InVue software and make a couple of projects with the same pattern. These projects are found in the local directory of your InVue Software. There are layouts and card projects to choose from. I chose the Treasured Friendship card project.


base-490
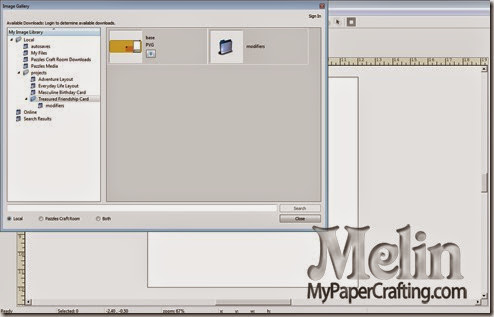
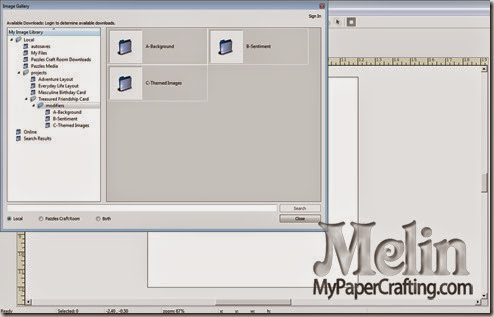
project starts with a prescribed base. From there you can look in the modifiers folder and find sub folders to change up your backgrounds, sentiments and themed images. It really takes a lot of the guess work for creating a project from scratch.

modifiers-490
This screen shot shows you the folder structure.

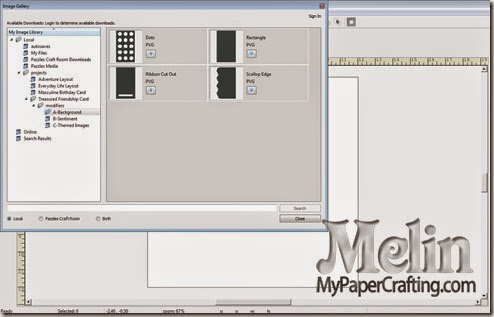
backgrounds-490
Here were my choices for the backgrounds.

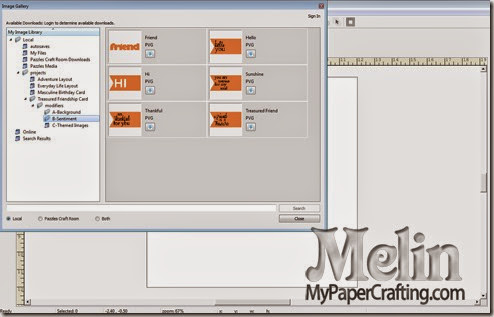
sentiments-490
Here were my choices for the sentiments

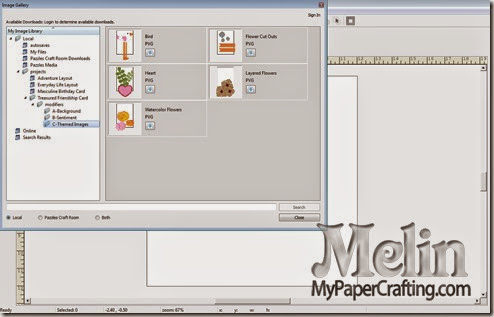
themed images-490
Here were my choices for the themed images.

hello you card by melin-600
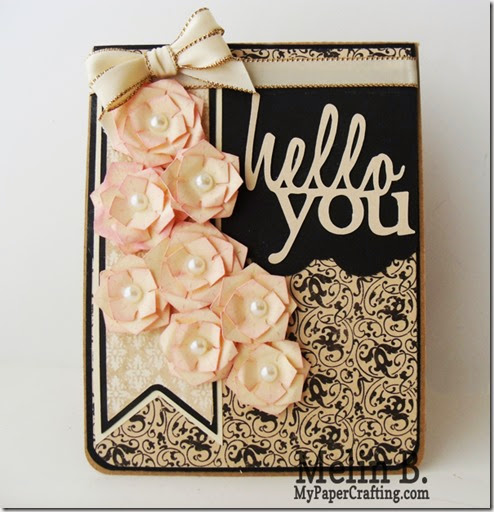
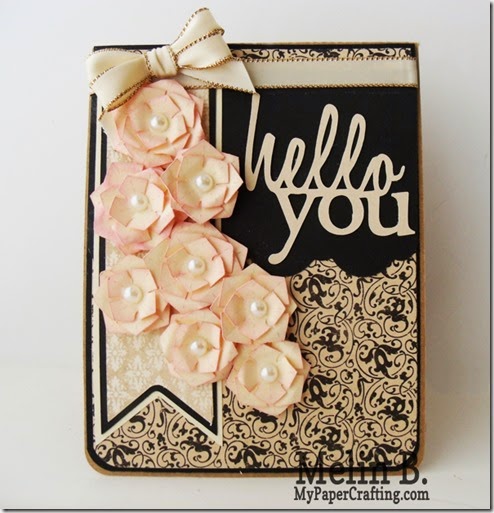
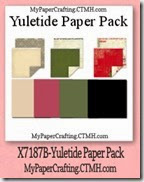
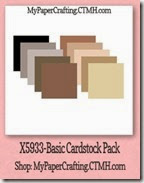
For my first card, I created I chose to "flip" the base from a horizontal to vertical orientation. I cut that out of kraft cardstock. I then created a couple of quick layers for the mats in black cardstock and then used some beautiful paper from the Close To My Heart Yuletide collection. I then chose the scallop edge from the background modifiers folder. I cut that in black cardstock. The base of the card came with the pennant shape. I just created a couple of layers so that I could cut it in cream, black and more Yuletide patterned paper. 


flowers cllt-490
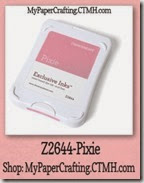
I then chose the layered flowers cut from the themed images modifier folder and cut them in layers in cream cardstock. I inked the edges of the flowers with my Pixie ink and then curled them as I staggered the layers to give them a more dimensional look. I used some pearls for the centers. For the sentiment. I chose the hello you sentiment from the sentiments modifier folder. I did weld the words together as I wanted to make it easier to apply the title. I then finished off the card by adding some pretty ribbon along the top. It came together easily and helped me create an elegant looking card in a short amount of time.
Treasured Friendship Card InVue Project
Themed Image Modifier: Layered Flowers
Sentiment Modifier: Hello You
Background Modifier: Scallop Edge

Supplies Used


pazzles vue-200
yuletide paper-200

basic cardstock pack-200
kraft cardstock-200

hb pearls
Paper Studio Pearls
pixie ink pads-200
ezdots-200
EZ Dots Runner
mini glue dots-200
glue pen-200

Be sure to stop back by tomorrow and I will share the other card I made with the same In Vue Project folder.  As always, thank you so much for stopping by and sharing your crafty time with me. Until tomorrow,

Doodlecharms and DCWV Crow Piecings Layout

Hello crafty friends,
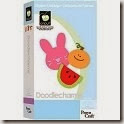
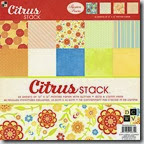
I was going through my blog and I don't know how this got "unpublished" from last year, so I went ahead and republished this post. Strange how technology works, but somehow I messed things up...so I guess you could consider this a "throwback Thursday" sorta post...lol.  Anyway here it is....I am sharing a layout I created with the Doodlecharms cartridge and some great DCWV Citrus Stack Paper.

cream of the crop cricut lo-450
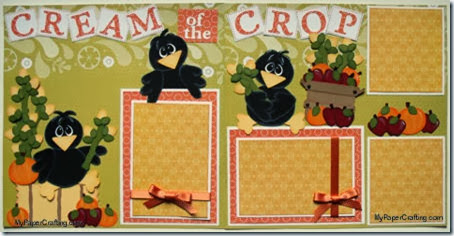
Here is a look at my entire two page layout. All the cuts were from the Doodlecharms Cartridge. The cute little crows are my own designs, paper pieced from cuts found on the cartridge. The letters are from the Art Philosophy cartridge. All of the pretty, patterned paper is from the DCWV Citrus Stack. I love that these paper would work for many different types of layouts and projects.

crow holding cornstalk-450
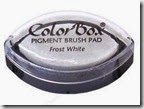
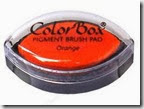
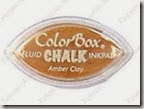
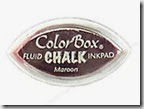
Here is a closer look at the cute little crow sitting on top of a photo mat holding his cornstalk. Next to him is a basket full of harvest goodies. I used some Pebbles Basic Chalks for the white around the crow’s pieces as well as some Frost White Pigment Ink. I used Maroon Chalk Ink for the apples, Cocoa for the basket, Orange for the Pumpkins. Warm Green for the leaves and stalks. Butterscotch for the corn, beaks, feet and hay bale. I also used my Copic E59 marker to color the apple and pumpkin stems. I decided to do that as opposed to cutting out all of the stems separately in brown paper…Waste not, want not. All of these supplies can be found at Scrapyland.com

crow topper-450
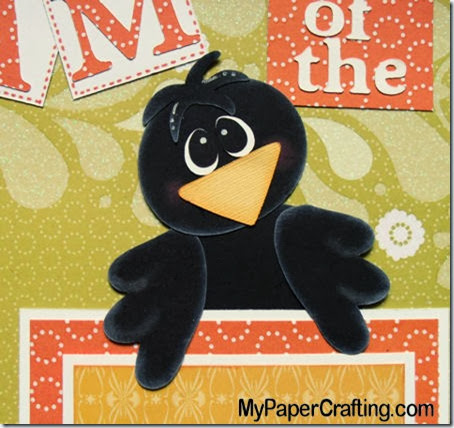
Here is a closer look at the cute little crow topper.

crow on hay-480h
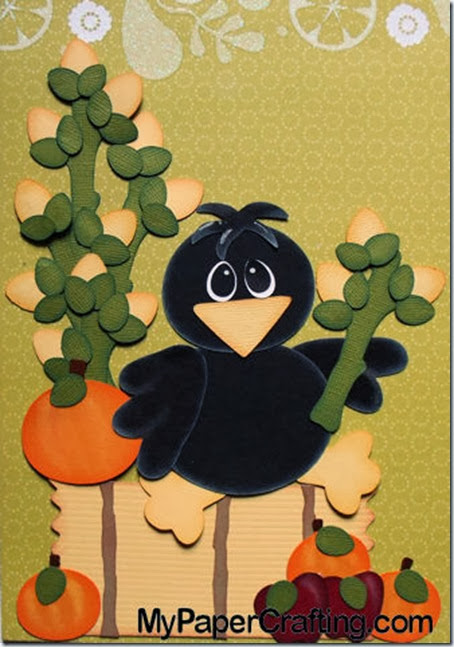
Here’s a closer look at the cute little crow sitting on a bale of hay. He is holding a stalk of corn and surrounded by pumpkins, apples and more cornstalks.

Products Used To Create This Project


doodlecharms dcwv citrus stack basic 10
cocoa frost white orange pigment ink
Cocoa Pigment Ink Frost White Pigment Ink Orange Pigment Ink
amber clay
Amber Clay Chalk Ink
maroon
Maroon Chalk Ink
warm green
Warm Green Chalk Ink

Additional Supplies
Orange, Yellow, Cream, Red, Green, Black, Kraft and White Cardstock
American Crafts Ribbon
Be sure to head over to Scrapyland.com and check out all the many wonderful products they have at great prices.
Thank you for sharing your crafty time with us!

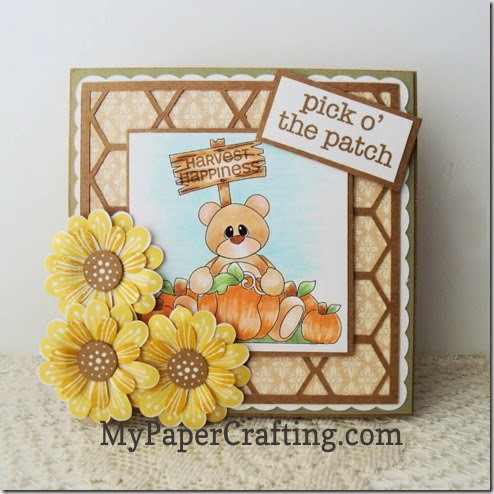
Pick O’ The Patch Card

Hello crafty friends, Today I wanted to share a fun card I created with my Copics, a digi and some great CTMH papers and stamps. So let’s get to it.


pick o the patch cardlt-490
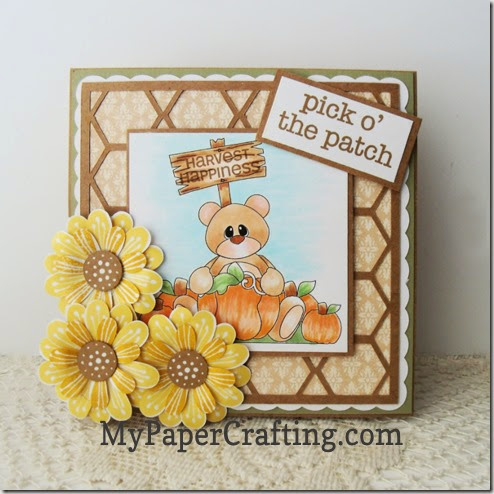
Here is what I came up with. It is a fun little card using a PaperCraftingWorld.com digi and some fun Pretty Petals stamps and Copics.


backplain-lt-490
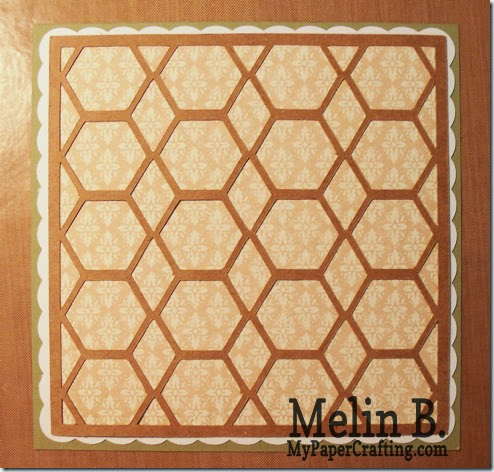
I used some green cardstock for the bottom mat. Next is a piece of white cardstock for the white scalloped mat. The patterned paper is a piece from the CTMH Yuletide paper collection. I then put a top layer of the hexagon mat cut from some kraft cardstock.

bear in patch cu-lt-600

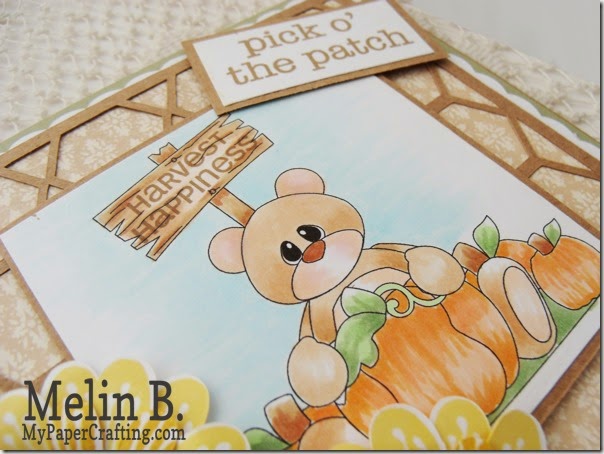
Then it was on to my image. I used the cute little bear in pumpkin patch digi  from papercraftingworld.com. I colored it in with my various Copic markers. The Harvest happiness is a retired stamp from CTMH as is the Pick of the Patch sentiment.


pretty petals pprcf-325
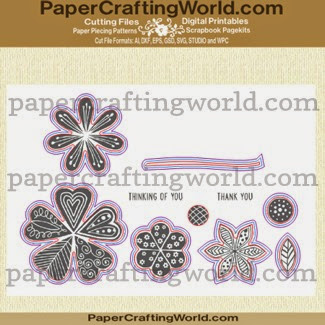
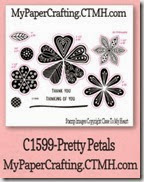
I created SVG’s to match the CTMH pretty petals stamp set

Side note: For those that don't do SVG's the pretty petals stamp set also has some compatible cuts on the Cricut Art Philosophy Cartridge

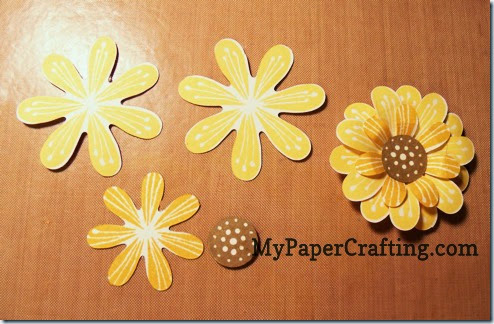
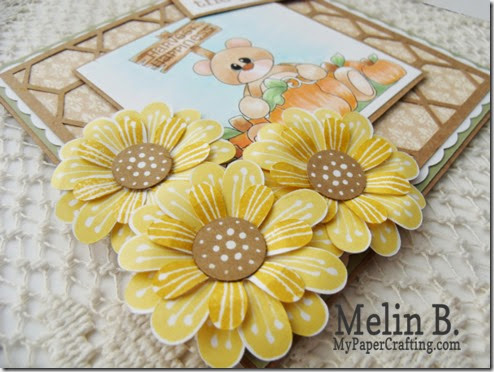
I cut several out and then used my Canary ink pad to stamp some of the layers and then my honey ink pad to stamp some of the layers. I also used my saddle ink pad to stamp in the centers of the flowers. I used some foam tape to give the flowers a little lift so that I could curl the petals slightly for some dimension.


flower-pieces-lt-490
This is what each flower looks like. I just created a smaller version of the same flower and still used the same stamp for the top petal layer.


flowers cu-lt-490
Here’s a closer look at the completed flowers.


pick o the patch cardlt-490
Here is one last look at my completed card.


Supplies Used For This Project


pazzles vue-200
yuletide paper-200
pretty petals-200

honey ink-200
canary-200
saddle-200

kraft cardstock-200
white cardstock-200
adventure cardstock pack-200

ezdots-200
foam tape-200


Well that about covers it for today. As always, thank you so much for stopping by and sharing your crafty time with me. Be sure to come back by tomorrow for another fun and hopefully inspiring project. Until then,