14_06

Pazzles-Spellbinders Digital Die Sea Horse Card

Hello crafty friends, 
Happy Sabbath! I hope you are enjoying your day. It is my turn to share over on the Pazzles Craft Room Blog today. For those that don’t know, I love, love, love my Pazzles Inspiration

Pazzles also has a wonderful resource called the Pazzles Craft Room. For a small monthly subscription, you can have access to hundreds and hundreds of cut files. The best part, if you don't have a Pazzles Inspiration, but have a machine that can cut SVG type cutting files, then you can still join and take advantage of all they have to offer...just sayin' :-)


Today I am sharing a cute card I created with some of the latest Spellbinders digital die collections. Spellbinders and Pazzles have teamed up to bring you some of the fabulous Spellbinders dies in digital format. This means you can now have access to some of the Spellbinders collection for your cutting machines!


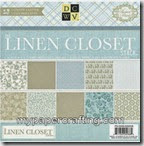
Here’s my finished card. I used the Labels 13 S4-248 set to create my card base. I simply created a duplicate of the largest layer and welded them together at the top. I then cut one of the smaller layers using some of the very pretty paper in the DCWV Linen Closet cardstock stack. I then proceeded to cut out another smaller layer and then used that same sized layer and my lattice tool to create a latticed layer. I glued that on top of the bottom layer that was cut with some pretty glitter paper from the same stack.


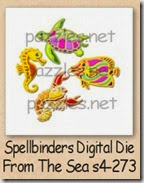
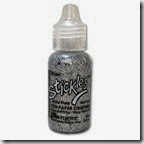
Next, I moved on to the pretty Sea horse from the From the Sea collection. I cut out several layers using a combination of papers from the same DCWV stack and also some plain white cardstock. With the plain white cardstock layer, I proceeded to ink the horse in varying shades of blues, purples and pinks. I then layered that on top of the other layers and then added some star dust stickles to dress it up.


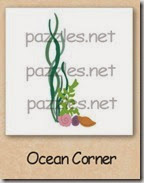
I then used the Ocean corner cut file and cut out the seaweed and the sea shells all in white cardstock. Once again I used my various colored inks to color the various pieces. I love the look of inking them when they are a white base. It gives the die cuts a softer, watercolor type look and you get more "depth" to the look of your die cuts. I added some blue liquid pearls around the seaweed and horse to simulate smaller water bubbles.


I dressed up my shells with just a touch more of the Star dust stickles. Because it is iridescent, it takes on the color of each shell.


Finally I created the sentiment in my software by simply using a font and typing it into a circle. I printed and cut that out and inked the edges. I then cut several smaller circles and inked them to simulate bubbles. Lastly, I just love that we have access to the Spellbinders collection with our Pazzles. Truly a match made in crafty heaven!

Supplies Used
pazzles-cutter-200

dcwv linen closet stack-200
dcwv linen closet cardstock stack-200
from the seas4-273 spellbinders-200
Spellbinders
From The Sea

labels13s4-248 spellbinders-200
Spellbinders
Labels 13
ocean corner-200
Ocean Corner
Z2501-adventure
whimsy ink pad
tape runner-200

foam tape-200
stardust stickles
baby blue liquid pearls

Don't forget to pop over and check out the Pazzles Craft Room. They have some wonderful projects by the rest of the design team, great crafty inspiration and even some freebies too!

Well, that about covers it for today crafty friends. Be sure to come back tomorrow as I share another crafty project! As always thank you so much for sharing your crafty time with me. Until the next time,
2013 fall winter melsig-450

Dollar Bill Roses and Grad Cap Box With My Pazzles


Hello crafty friends,
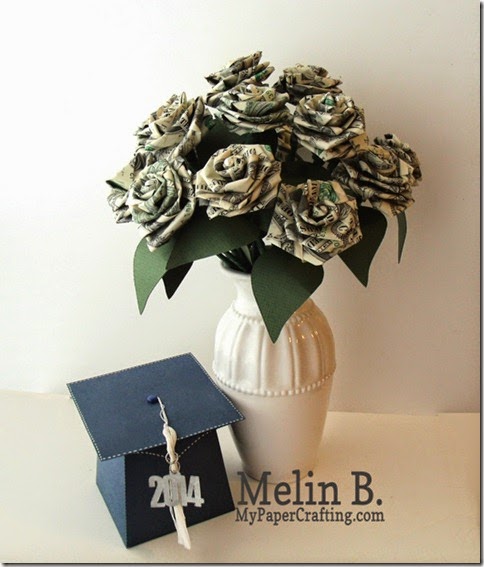
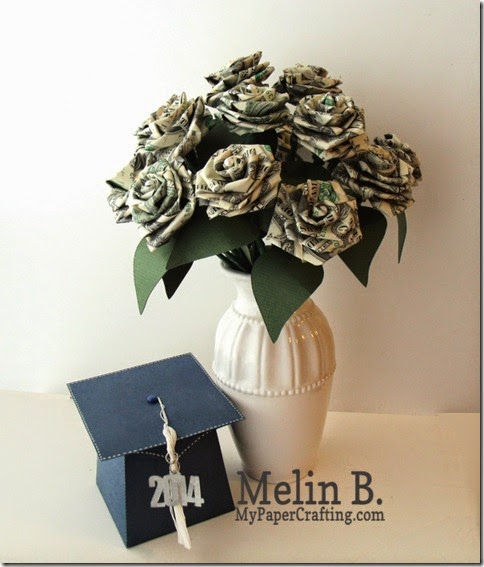
Hope your Thursday is a good one so far. Today I am sharing a project I created for my daughter. Recently she graduated from High School and so I made this set for her.

dollar-bill-roses-grad-boxwlgo-600
The grad cap box is a Pazzles Craft Room cut file. The leaves are also a Pazzles Craft Room Cut file. I used the same concept as my folded paper roses. 

box cuwlogo-480
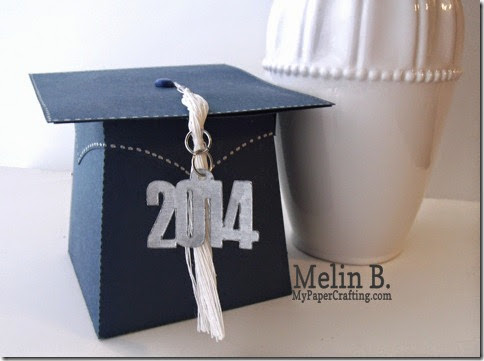
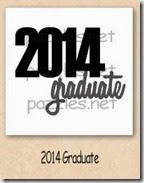
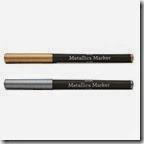
Here is a closer look at the grad cap. I cut it in blue as that her school colors….blue and silver. I made the tassel using some crochet string. The 2014 is also a Pazzles craft room cut file. I cut it in plain white cardstock and then used my silver metallic marker to color it silver. I did add a “loop” to the top of the number to make it a “charm”.

grad box open-480
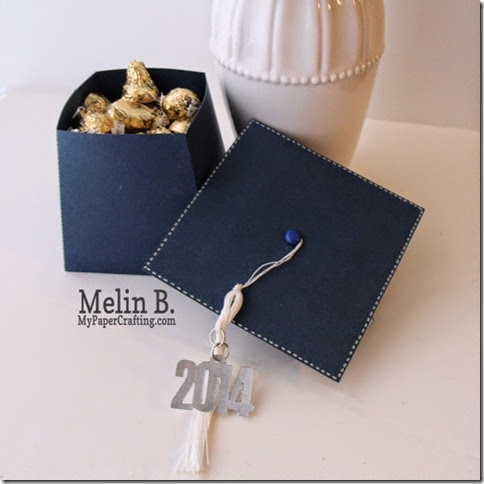
Here is what the box looks like opened. I was able to fill it with a whole 11 oz. bag of Hershey's hugs and kisses. I used my chalk marker to do the faux stitching along the top of the cap and the “hat” part underneath.

dollar bill roses cu-480
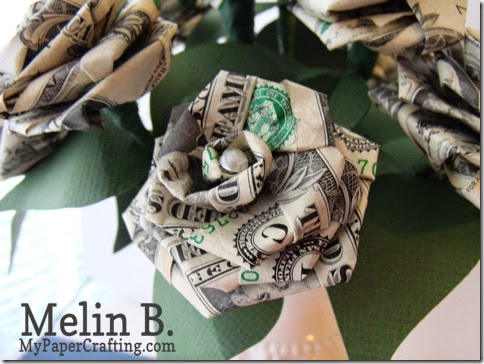
Here is a closer look at the dollar bill roses. I used the same technique as the folded paper roses I have made before. I have a tutorial and video on that: HERE. It took five one dollar bills to make each rose.

dollar bill rose single cu-480
The main difference is I had to figure out how to make the dollar bills fold together without using any glue or tape so that pulling them apart would be quick and easy. Once I did finish rolling and folding, I used regular floral tape to wrap the bottoms tight so they would stay on the skewers. I then cut the leaves out from some green Bazzil cardstock and the Leaf file from the craft room. This was some Bazzil I have had in my stash for quite some time and I am pretty sure it is a discontinued paper. It just matched the color of the floral tape the best.

dollar-bill-roses-grad-boxwlgo-480
Here is one last look at the completed bouquet and cap. I think I hit everything a girl likes to get with the exception of jewelry. Candy, Flowers and money….lol!

Products Used For This Project

pazzles-cutter-200 grad hat box-200 layered leaf-200

2014 graduate-200 hb pearls
Paper Studio Pearls


Z1767-chalk marker
White Chalk Marker
tape runner-200
memory book glue dots-200
Z1768-metallic markers

Additional Supplies
White Doily Yarn
Blue and Green Bazzil Cardstock
Green Floral Tape
Bamboo Skewers
Dollar Bills
Well that about covers it for today. So sorry the post was way later than usual. Hope you were inspired though. As always, thank you for sharing your crafty time with me. Until the next time,

Con “GRAD” ulations Poster

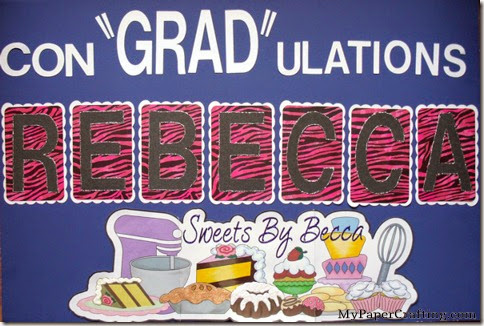
My daughter recently graduated from high school. I couldn’t be more proud of the fine young lady she has grown into. It was a low key celebration as we don’t have too much family in the area, so I made this poster and wanted to share it with everyone.
rebecca's grad poster-480
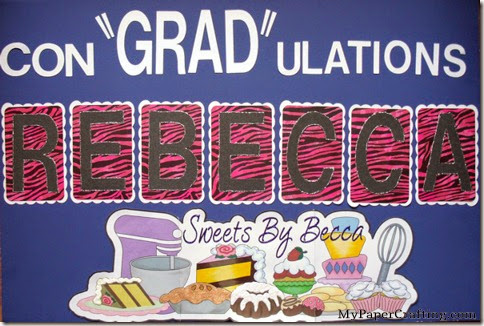
Here’s a look at the entire poster. I used a piece of foam board that was already colored blue. I started with blue as I thought I would do things in blue and silver which her school colors. After consulting her, she didn't want the blue and silver theme so I ended up adding some “color” to it….lol The overall size is 20” x 30” a standard piece of foam board.  One of the nice things about the pazzles software is that you can design according to your finished size. You simply create a new file with the sizes you want. I do this a lot when I am working on a two page layout. I adjust my size to 24 x12 and then go from there. Doing this allowed me to layout the letters and then copy them over to a 12 x 12 size for cutting and I knew exactly how it was going to layout.

cakes cu-480
Here is a closer look at some of the yummy goodness I created.  To make this bottom image, I created it all in my Pazzles software. Once I had the final size, I exported it to a jpg. Then I took that jpg image and opened it up in my Microsoft Publisher software. I did this because this software has a feature for “poster printing” It allows you to layout out your larger print and then it will automatically “slice” up your image to print on however many sheets of letter size paper. The great thing about this feature is that it prints a little “overlap” where it knows you will have a seam. This allows you to cut one side of the image to where it printed up to and then you can lay it on top of the “overlap: and create an almost seamless look very easily! This print out too three sheets of letter size paper so it had two seams. In the above photo you see where I added some shading to the cake slice using my copic markers as well as some of my Pebbles dry decorator chalks. I also used some stickles, white dimensional paint and some distress stickles for the cake, Bundt cake and pie tops.
cake slice cu-480
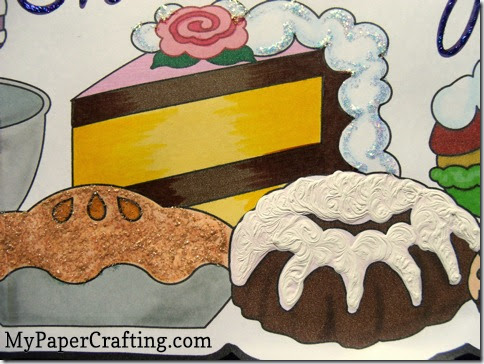
Here’s a closer look at the cake slice. You can see for parts of the cake, I used some of the Bazzil textures that come in the Pazzles software. This printed out nicely giving the cake some texture. I again used some white dimensional paint for the frosting.

by becca cu-480
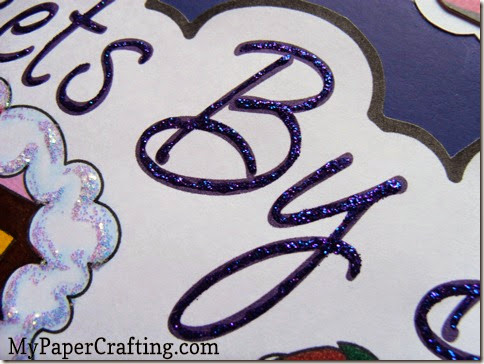
Here is a closer look at the lettering. I used some Stickles midnight blue to go over the lettering to give it just a little extra shine.

cupcakes-480
Here’s a closer look at the cute little cupcakes, cookies cake and whisk. Again, I used my markers, chalks and stickles to add to the printed images.

letters-480
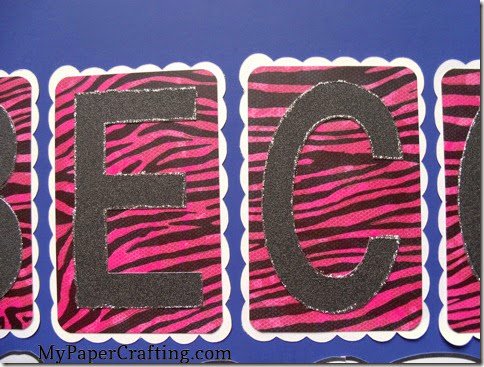
Here is a closer look at the letters. I used some of the DCWV Glitter paper in black for the letters and the animal print paper is from the Neon Chic stack…Love my stacks!!!

rebecca's grad poster-480
Here is one last look at my completed poster. She really liked it and put it in her room Smile

Products Used For This Project

pazzles-cutter-200 dcwv glitzy glitter stack-200
DCWV Glitzy
Glitter Stack

dcwv neon chick stack-200
DCWV Neon Chic Stack
brushed corduroy stickles
Brushed Corduroy Distress Stickles
crystal stickles
Stardust stickles
white dimensional paint

tape runner-200
foam tape-200

basic brights
silver stickles
Silver Stickles
dark blue stickles
Dark Blue Stickles

Additional Supplies

Well that about covers it for today crafty friends! I hope you are inspired to think bigger, faster and easier when it comes to those larger projects! As always, thank you so much for stopping by and sharing your crafty time with me. Be sure to come back tomorrow as I share another fun and hopefully inspiring project!  Until then,

2013 fall winter melsig-450