14_01

DCWV Citrus Stack And Cameo Card

Hello crafty friends,
It’s another terrific Tuesday and that means its my turn to share for my Scrapyland DT. Today I created a colorful and fun card using the DCWV Citrus Stack Paper Collection and the Wildflower Digital Design Portfolio for the Cameo Silhouette.

Here’s what I came up with.

Here is my finished card. I used the wonderful Die Cuts With A View DCWV Citrus Stack. All of the patterned papers as well as the sentiment came from that stack. I used some Bazzill pink cardstock for the roses. I used the Wildflower Digital Design Portfolio to create the flowers.


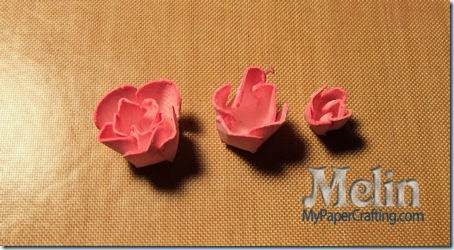
Here is the side view of the flowers.

studio shot-450
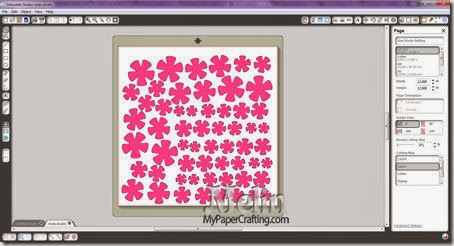
I started by laying out the flower onto my virtual mat in my Cameo Studio software. I made them in graduated sizes for the layers.


After cutting all the flowers, I inked them with some pink pigment ink. I did ink both sides of the die cuts.

water spritzing-450
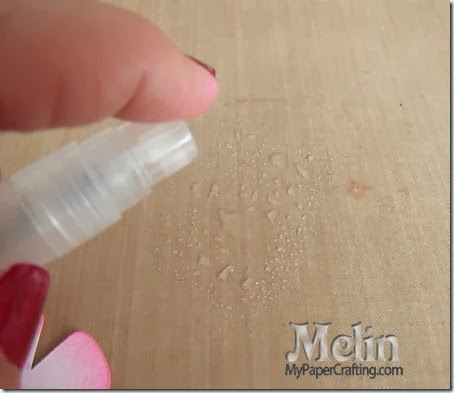
Next I spritzed some water on my craft mat

flower in water-450
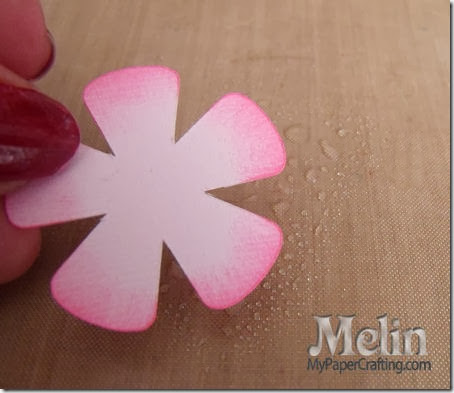
I then laid my flower die cut on the water on both sides. This is just to get the die cut moist and not too wet. The whole purpose is to be able to bend the petals without them getting hard creases in them.

flower tip1-450
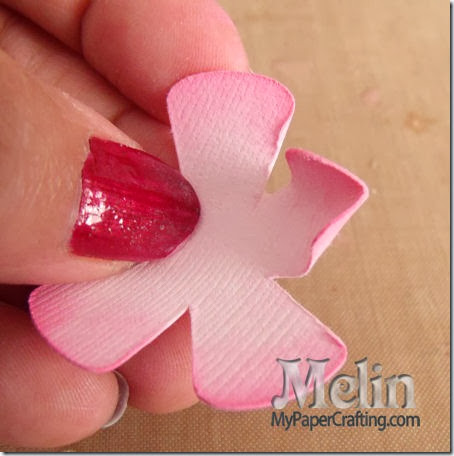
I folded each petal up and also pinched them.

flowertip2-450
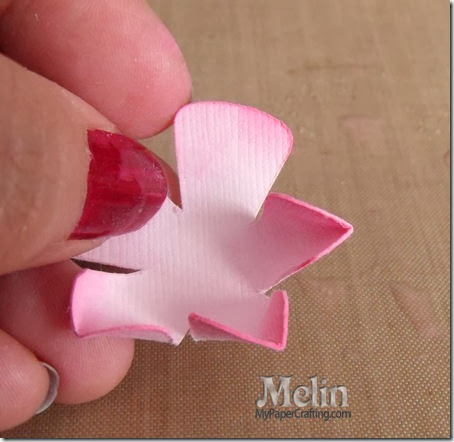
I did this for each petal.

flowertip3-450

flowertip5-450
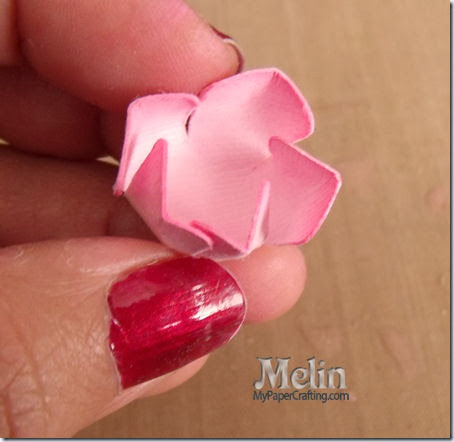
Once I folded each petal, I folded them up and together. I closed them up tightly and let them dry.

flowers4-450

laugh a lot flower2-450
Once the layers were dried I simply glued each layer and then staggered them as I layered them.


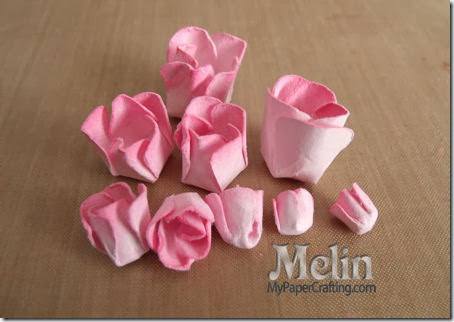
Here is one last look at the flowers. I finished off the cards by adding some leaves and a cute little bow.

Products Used to create this card
silhouette cameo logo-195
Silhouette Cameo
wildflower design portfolio cd140
Wildflower Design Portfolio
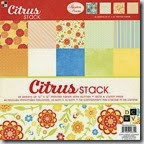
dcwv citrus stack
DCWV Citrus Stack Paper Pad
ac circle foam tabs
Foam Dots
ac glue dot runner
Adhesive Runner
glue dots craft dots
Glue Dots
pink
Pink Pigment
Pink, White, Kraft, Green Bazzill Cardstock
Water Mister
Misc. Pink Ribbon and Button

Be sure to stop by Scrapyland.com where you can pick up all of these supplies. As always, thank you so much for sharing your crafty time with me. Be sure to come back by as I will be sharing a very pretty and unique card next.

Snowman Layout SOUS Die Cut Challenge


Hello crafty friends,
Today I am sharing a project I created for this week’s new SOUS(Stuck On You Sketches) Die Cut Challenge. The challenge this week was to include a snowman on your projects. So here is what I came up with.

pilesoffun layout-480mpc
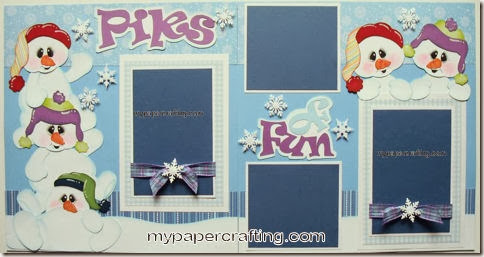
I made this super cute layout with lots of cute snowmen. I used the Pile of Fun Snowmen Layout Cut File Set from PaperCraftingWorld.com to create this project.
snowmen pile-450
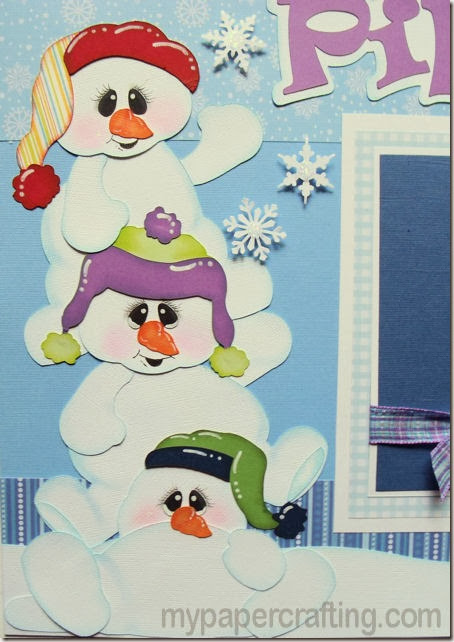
Here is a closer look at the cute little “pile” of snowmen.
snowmen toppers-450
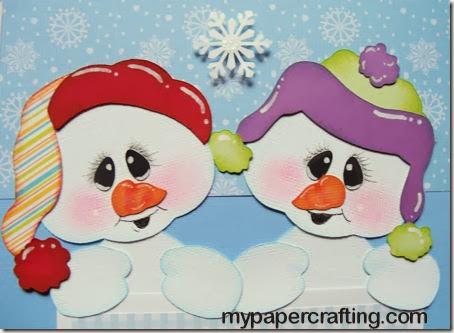
Here’s a closer look at the little snowmen toppers.

Here’s the file set
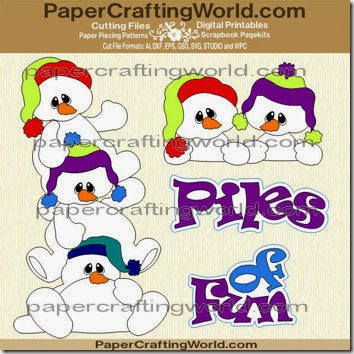
piles of fun lo set-ppr-cf-350
PaperCraftingWorld.com Piles of Fun Layout Set CF

I did make a small amount of kits out of this. So if you’re interested, you can head over to page-kits.com and pick one up.

current free svg-325
Here is this week’s FREE SVG Cut file.

1-9 snowman-ppr-cf-350
CLICK HERE 
To go and download for free from now until 1-16-14. Please note the file shows a price of .99 but there will be no charge during this free period. 

Now there are no excuses, you can join in on the challenge! Be sure to head over to SOUS and check out what the other designers have created! You will be glad you did!  You could also win some great blog candy!


As always, thank you so much for sharing your crafty time with me. Be sure to stop back by as I will be sharing some more fun projects!
2013 fall winter melsig-450

Easy Thank You Card From Pazzles Craft Room

Hello crafty friends,
Today it is my turn to share for the Pazzles Design Team. I am sharing a super quick and easy Thank You card featuring files from the Pazzles craft room.  I wanted to create a card that could possibly would work for a "masculine" recipient. Here is what I came up with.

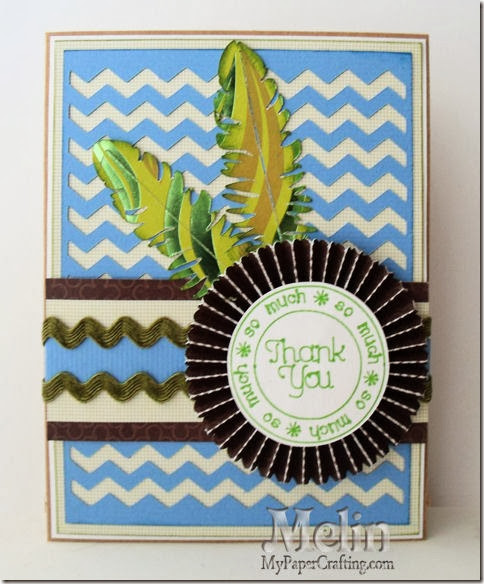
Easy Thank you card by melin2-480

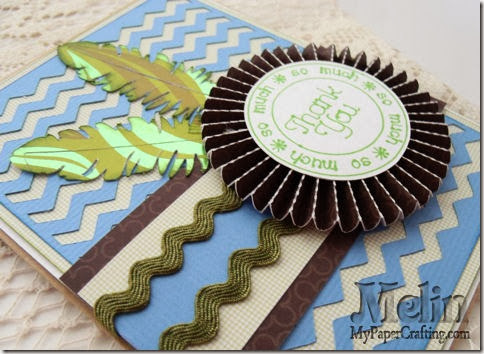
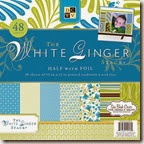
My finished card size is 5x6.5. My base was from regular kraft cardstock.  It came together very quickly. I started by cutting a white mat an 1/8” down and then another mat from the DCWV White Ginger Paper Stack an 1/8 smaller. I then used the Chevron Paper Lace file from the library and sized it to 4.5 x 6. I cut it from regular blue cardstock. I then used the downy feather file and cut two of them from another piece of patterned paper from the same White Ginger stack. For my final cut, I used one of the rosette files and cut out two rosette strips at 1.5 by 10.5 inches. The patterned paper was once again from the same stack.  I then used my pen tool and a green fine tip sharpie to draw the thank you sentiment and then cut that out. I cut some brown patterned paper and then a thin strip of the blue paper edged by the olive ric rac ribbon. I lightly edged the chevron paper lace with some blue ink. This card came together very easily with the help of a few great files from the craft room, my pen tool and a fun paper stack!

thanks card closeup-480


Products Used for this project
pazzle1
Pazzles Inspiration
dcwv white ginger stack
DCWV White Ginger
pen tool-200
Pazzles Pen Tool
chevron-paper-lace
Chevron Paper Lace
downy-featherlabel
Downy Feather
rosettes-swags
Rosettes And Swags

Z2501-adventure
CTMH Adventure Ink Pad Set
thank you label
Thank You File

Additional Products Used
Bazzill Kraft, Blue and White Cardstock
Kiwi Green Fine Point Sharpie Marker
May Arts Olive Ric Rac Ribbon

Thank you so much for stopping by and sharing your crafty time with me. Be sure to come back tomorrow for my Stuck On U Die Cut Challenge Project and FREE SVG cut file! Until then,
2013 fall winter melsig-450

Bloom And Grow Scrapbook Page Kit Layout

Hello crafty friends, 
Today I am sharing a layout I created for my Scrapyland DT. It is no secret that many in the United States have been going through an Arctic Blast. While I was tempted to do a layout showcasing the cold, I really wanted to do something colorful and cheerful.

BLOOM AND GROW lo-480
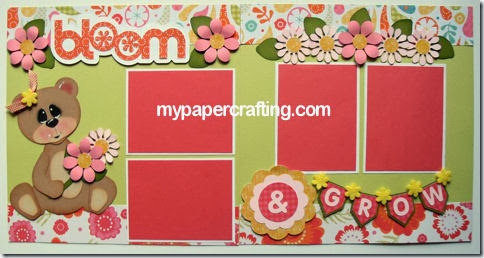
Here is a view of my layout. I used patterned paper from the Die Cuts With A View Citrus Stack. All of the cuts with the exception of the bear came from the Wildflower Digital Design Portfolio CD for your Silhouette Cameo.

bear bloom and glow cu-480
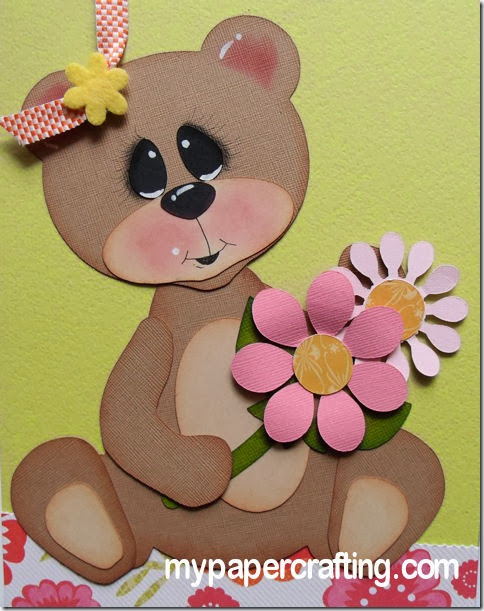
Here is a closer look at the little bear. Last week I shared how I created this bear from my silhouette cameo using ovals as well as the edit points tool and a shape from the Block Party Design Portfolio CD. You can check that post out HERE.

BLOOM TITLE-480
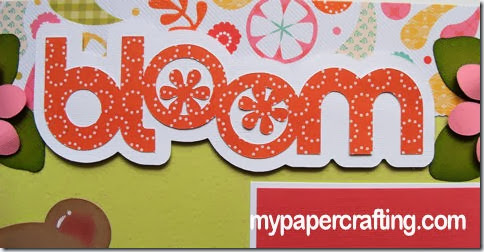
Here is a closer look at the bloom title. Just one of the many pre-made titles on the CD.

FLOWERS CU-480
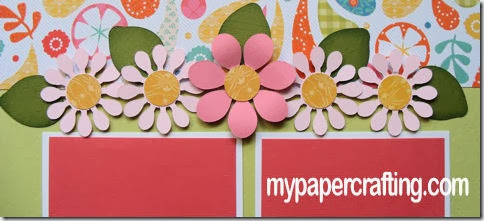
Here is a closer look at some of the pretty flowers. Again all of the shapes are from the Wildflower CD.

grow cu-480
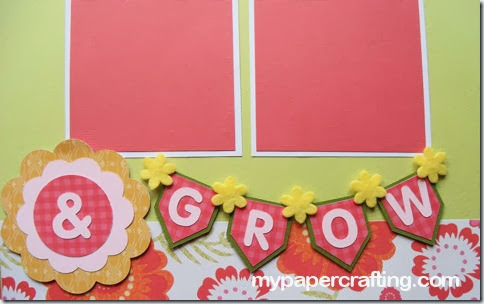
Lastly, here is a closer look at the “Grow” title. I created the banners by simply using a square  shape in my Cameo software and then pulling out one of the sides in half.

I used the following products to complete this project
silhouette-cameo_thumb
Silhouette Cameo

Wildflower Design Portfolio
dcwv citrus stack
DCWV Citrus Stack
basic-10_thumb
Pebbles Basic Chalks
pastel10_thumb
Pebbles Pastel Chalks
pearlescent-earth-tones_thumb
Pebbles Earth Tone Chalks
enchantment-ink-140_thumb1
Enchantment Ink Pad Set

whimsy-ink-pad_thumb
Whimsy Ink Pad Set
Z2501-adventure_thumb
Adventure Ink Pad Set
Z2503-basics_thumb1
Basic Ink Pad Set
1514-tombow-adhesive_thumb
Tombow Adhesive Runner
Z1151-foam-tape_thumb
Foam Adhesive Tape
Z1767-chalk-marker_thumb
Chalk Marker
1772-glue-dots_thumb
Memory Glue Dots
Z553-chisel-tip-glue-pen_thumb
Chisel Tip Glue Pen


 Well, I hope you are inspired to start working on those celebration memories. I did make these this layout into a page kit that can be purchased at page-kits.com. I only made a limited quantity of each, so be sure to get them while you can.
CLICK HERE

Also, head over to scrapyland.com and check out all the wonderful products they have including some other digital design portfolio CDs for your silhouette cutting.


As always, thank you for sharing your crafty time with me! Until next time...