14_03

Best Buds Pazzles Craft Room Layout

Hello crafty friends,
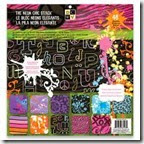
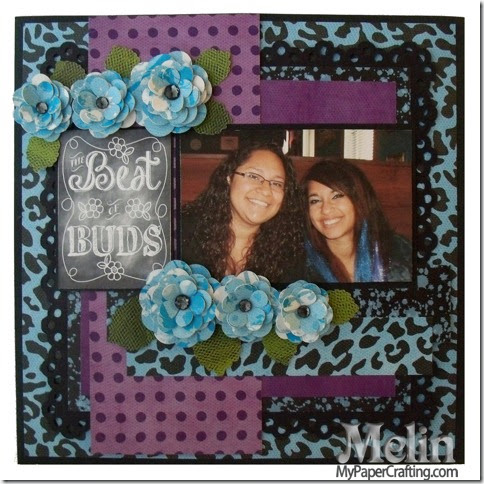
Today I am sharing a super quick and easy layout for my Pazzles DT. I chose the DCWV Neon Chic paper stack for all the patterned papers. The only other paper used is some black cardstock.
best buds layout by melin-480


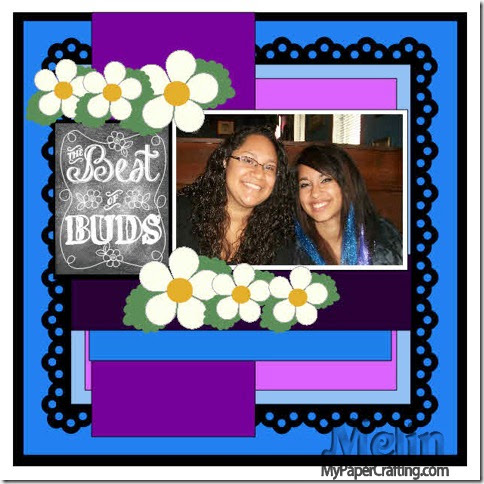
I started by using my software to “layout” my page. This alone is a huge time saver. You can determine what sizes you need your elements to be before you make a single cut. I will even import my picture into the page so that I know exactly what size I want to print the image out once I am done designing. The additional benefit to doing this is, you can “save” this layout in your library and you can “reuse” this base layout again and again! Here's a picture of what the layout looks like in my software.
layout in pi image-480

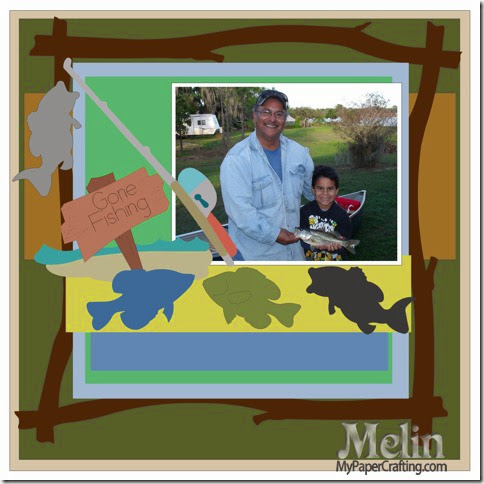
Here is a totally different layout using the same design from above. I simply added different elements and it’s ready to cut and assemble.
fishing layout idea2-480

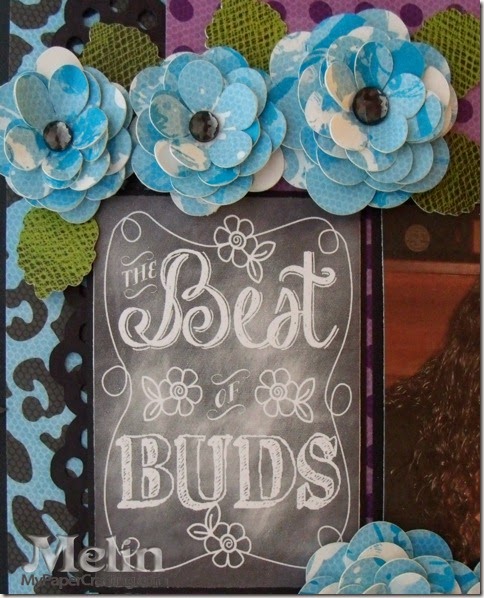
Because the paper is very busy and energetic, I needed to keep the layout really, simple. I layered several mats of the different paper in the stack. I cut the doily frame from the craft room in plain black cardstock. I used some foam tape to give that layer just a little lift.

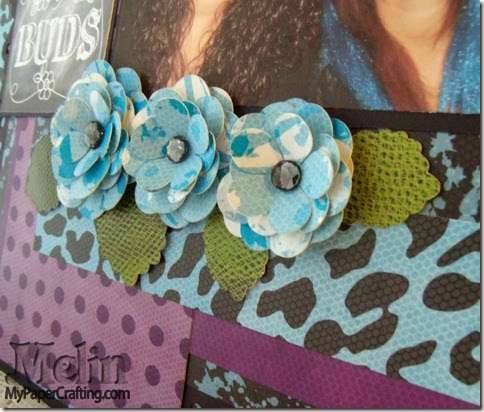
flower closeup-480
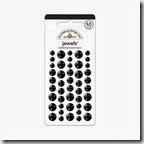
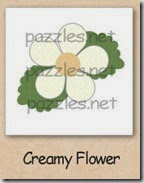
Then I used the creamy flower file and cut several flowers in different sizes from another piece of paper from that same stack. I cut the leaves from that same file in the green and black patterned paper. I simply layered the flowers and turned the petals slightly up to give them a bit of dimension. I added a doodlebug beetle black rhinestone gems to the center of each flower. I used some more foam tape to give the flowers a bit more lift. I adhered the flowers, leaves and photo to the layout.

chalkart-flower-closeup-480
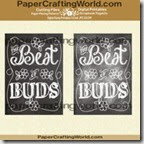
Lastly, I created the best buds chalk art title in my Pazzles software. I simply printed it right out from the software, matted it onto some black cardstock and that’s it! I was all done. No inking, stitching or other embellishing necessary. I encourage you to try your hand at “designing” your complete project in your software. There are so many benefits to doing it this way. Namely as a time and material saver.

Products Used For This Project
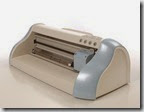
pazzle1
Pazzles Inspiration
dcwv neon chick stack
DCWV Neon Chick Stack

doodlebug jewels beetle black
Doodlebug Beetle Black Jewels-Gems
creamy flower 200 doile frame best buds chalk art ppr-ds-200
Best of Buds Chalk Art

Additional Supplies
Bazzil Black Cardstock

Well, I think that about covers it for today. I hope you will take the time to view the possibilities of your software differently. If you don’t have a Pazzles and you are thinking about getting a cutting machine, then please check into the brand new Pazzles Vue! They are currently taking pre-orders and will be shipping soon! You can get the down lo HERE
As always, thank you so much for stopping by. Be sure to come back by tomorrow as I share a new project and a new Friday Freebie! Until then,
2013 fall winter melsig-450

Shamrock Die Cut Card

Hello crafty friends,
Hope you’re having a great day. It’s another Terrific Tuesday and that means it’s time for another project featuring some wonderful goodness from Scrapyland.com So here is what I am sharing with you today.

shamrock cards-480
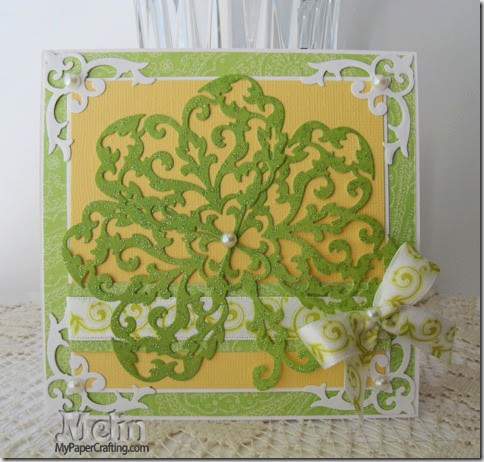
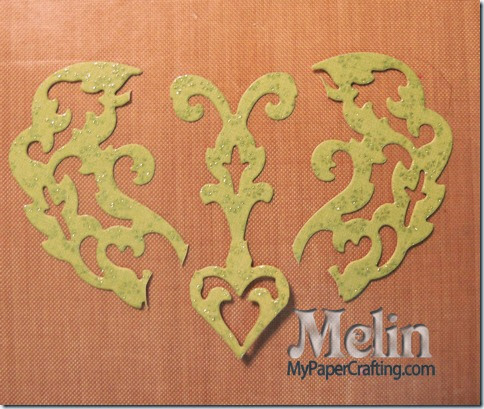
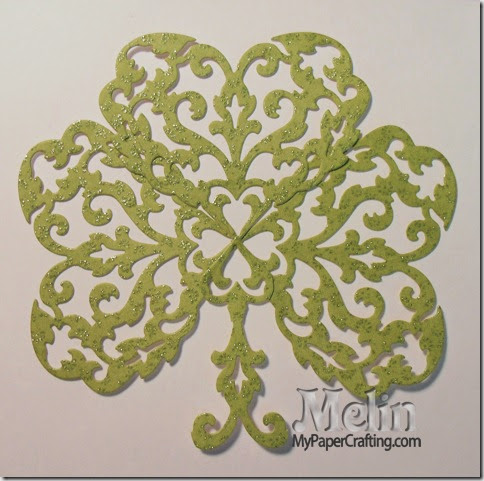
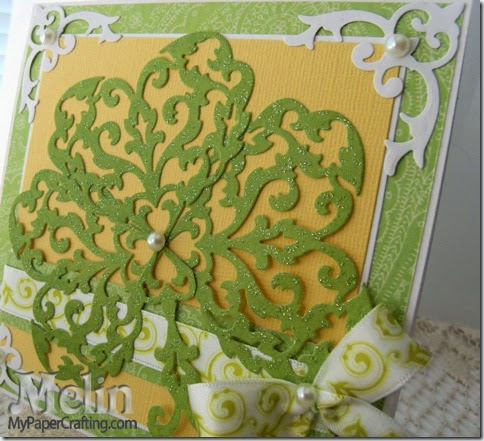
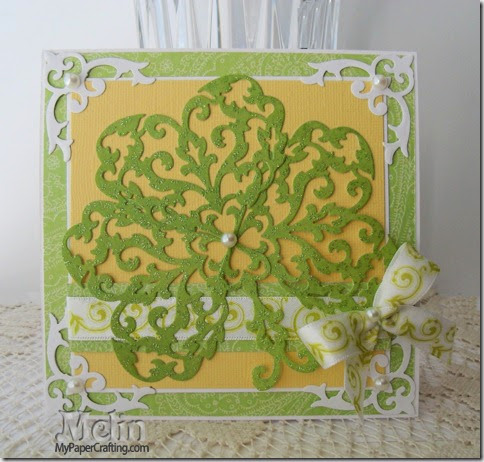
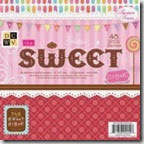
Here’s a look at my finished card. This is another “unplugged” card. My definition of “unplugged” means no electronic die cut machines used. No electricity. The finished size of the card is 5.5. x 5.5. The patterned background paper is from the DCWV Sweet Stack.  made this super cute shamrock featuring a heart shaped die from die versions. I just cut three of them out of the Glittery green paper from the Die Cuts With A View Cotton Bloom Stack and then lined them up and then cut apart a piece for the “stem”

shamrock stem
Here is a shot of the heart and I cut it apart for the stem.

finished clover-480
Here’s a shot of how I put the hearts together to form the shamrock.

side view-480
Here is a closer look at the shamrock on the card.

shamrock cards-480
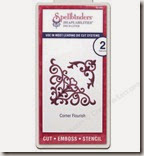
Here is one last look at the card. I finished off the card with some pretty corner flourishes from the Spellbinders D-Lites Corner die and some pretty little pearl embellies from Hobby Lobby The Paper Studio Gemstones 

Products Used To Create This Project
spellbinders d lites corner flourish
Spellbinders D-Lites Corner Flourish

regal heart
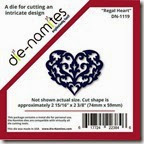
Die-Namites Regal Heart
dcwv Cotton Bloom Stack
DCWV Cotton Bloom Stack
dcwv sweet stack
DCWV Sweet Stack
hb pearls
HB Paper Studio Pearl Gemstones

Additional Supplies Used
White and Yellow cardstock
Misc. Ribbon

Don’t forget to head over to Scrapyland.com and check out all the wonderful dies. You just may be able to get multiple use out of one! As always, thank you for stopping by. Check back tomorrow for another crafty project! Until then,
2013 fall winter melsig-450

Feelin’ Lucky Layout and FREE SVG

Hello crafty friends,
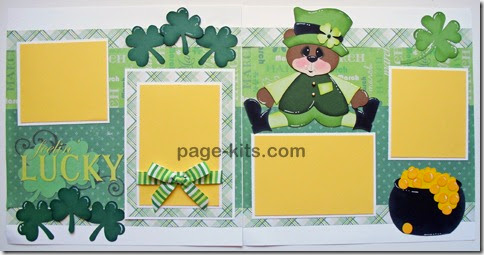
Happy Saint Patrick's Day. I hope you wear a little green and share a little love today! I wanted to share a layout I recently made with a bit o’ Irish love…lol Here it is.
GEDSC DIGITAL CAMERA
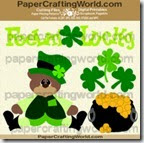
Here's a view of the entire layout. I used the new Feelin' Lucky SVG cut file set from  PCW (PaperCraftingWorld.com). 

GEDSC DIGITAL CAMERA
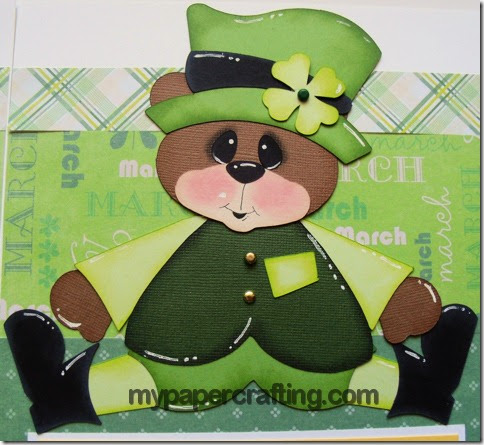
Here is a closer look at the cute Paddy Bear Piecing. I used various inks from the ink sets listed below to add some dimension to him. If you aren't sure how to decorate his face, I have a great tutorial HERE on how to create faces.

I used the following products
pazzle1
Pazzles Inspiration
feelin lucky ppr cf-200
Feelin’ Lucky SVG Cut File Set
recollections all seasons-200
Recollections All Seasons Pad

recollections bold basics-sb3155
Recollections Bold Basics Pad

1514-tombow adhesive
1772-glue dots
Z553-chisel tip glue pen
Z1151-foam tape
whimsy ink pad

Z2501-adventure
Z2502-enchantment
Z2503-basics

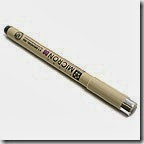
micron black pen 001
Sakura Fine Tip Black Pen
basic 10
Pebbles Dry

chalk marker 140
White Chalk Marker
Additional Products Used
Doodlebug Brads
White, Yellow, Green, Light Green, Dark Green, Brown, Cream and Black Cardstock
Misc. Ribbon

I did make a few kits like this layout. If you are interested you can head over to Page-Kits.com and pick one up. 
Page-Kits.com


It's been a while since I've shared a free SVG. So sorry about that. There has been a lot going on. I will try to be much better about sharing a weekly freebie, so here you go
FREE SVG Cut File 
Available through 3-23-14
CLICK HERE
to download
Please note: Price says .99, but when added to your bag,
there will be no charge during this free period.
Available formats: AI, DXF, EPS, GSD, KNK, MTC, SCAL, STUDIO, SVG and WPC


Well, I think this about covers it for today. Be sure to stop back by tomorrow as I share another fun Terrific Tuesday project! Until then,
Hugs Card "Unplugged"

Good morning crafty friends,
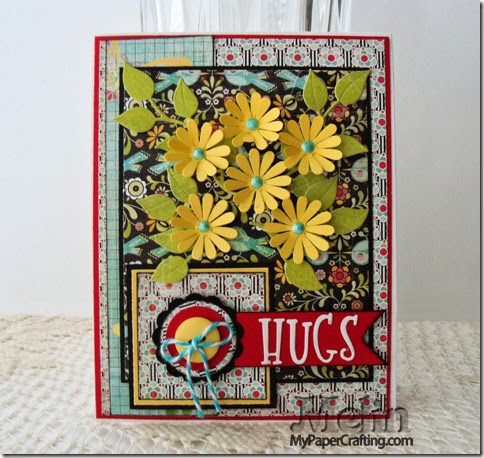
It’s another Terrific Tuesday and that means it’s time for another project for my Scrapyland DT. Today I am sharing another “unplugged” card with. “unplugged” means no electricity used to create this project. All of it was created with manual dies and or punches, etc.  So here is what I came up with today.

hugs card-480
The finished card size is 4.25 x 5.5. The base is from White cardstock. I then used a red cardstock mat. Aside from the red, black and white cardstock all the rest of the paper was from the Basic Grey Urban Prairie 6x6 paper pad.

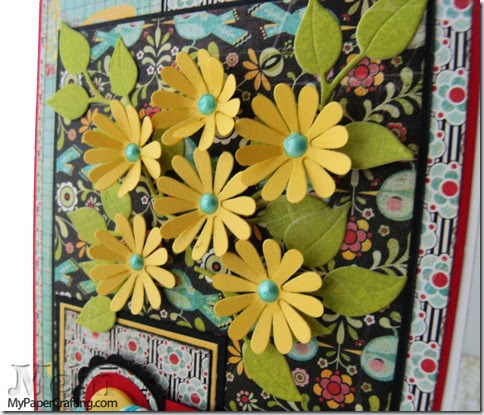
flower die cuts hug card cu-480
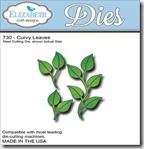
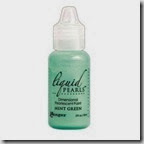
Here is a closer look at the little flowers. I used the Quickutz 2x2 Tiny flower die with my Quickutz Squeeze tool to cut these out of some of the yellow paper in the pad.. The centers are little dots of Mint Green liquid Pearls. The leaves were cut from some of the green paper in the pad with the Elizabeth Crafts Curvy Leaves Die.

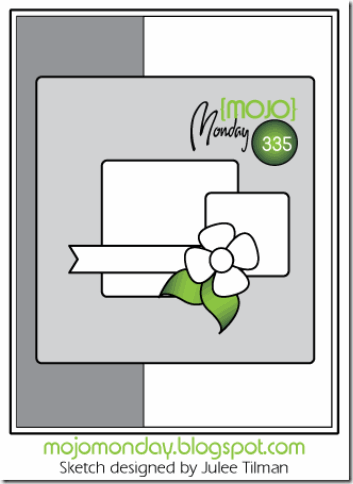
I used last week’s Mojo Monday sketch as my layout inspiration for the card.
zzmojo335

The majority of the products I used can be found at Scrapyland.com

Products Used For This Project
basic grey urban prairie 6x6 paper pad
Basic Gray Urban Prairie 6x6 Paper Pad

katie font pkg
Quickutz Katie Font
ms fine tip glue pen

ac glue runner
circle foam tabs
mint green liquid pearls
Mint Green Liquid Pearls

ek success circle punch one inch
1” and 5/8” Circle Punches
SBC_ek-pspnpcs004_1
EK Success 1 1/4” Scallop Punch

DRAGONFLYBLACK

Dragon Fly Black

Additional Supplies
Red, Black, White Cardstock
Misc. Button

Well, that about covers it for today, don’t forget to visit me at my blog during the week for some more great projects. Be sure to head over to Scrapyland.com and check out all the amazing die selection! With fast shipping you can be creating in no time! Until next Tuesday friends,