14_03

Believe Layout Die Cut Butterfly Tutorial

Hello crafty friends,
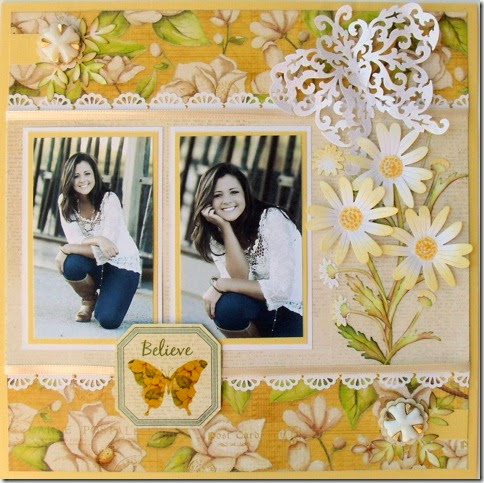
Welcome to another terrific Tuesday project for my Scrapyland.com  DT. Once again, I chose to create a project with some of the fabulous Dies you can find there. This is another “unplugged” project. Meaning, only traditional, manual dies and punches were used….no electricity…lol, Here is my project.
GEDSC DIGITAL CAMERA
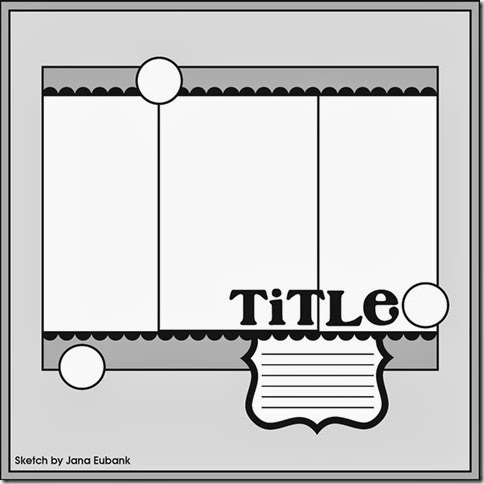
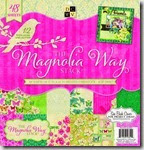
My layout features paper from the DCWV Die Cuts With A View Magnolia Way Stack. What a gorgeous stack!  I also followed the monthly Die Cuts With A View Stackaholics Sketch Challenge. Each month they have a challenge featuring a layout sketch and a card sketch. You can find this month’s challenge: HERE

march sketch

GEDSC DIGITAL CAMERA
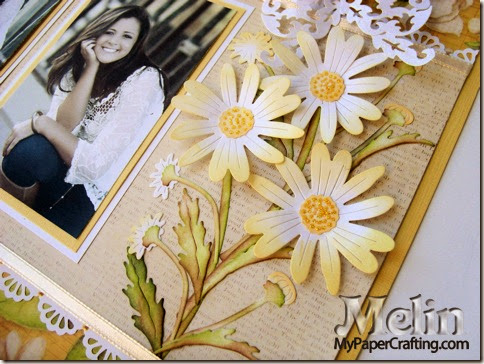
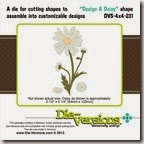
Here are some gorgeous daisies from the Die-Versions Design A Daisy Die. I cut all the various pieces out in white cardstock and then inked them with two shades of green and brown to match the beautiful DCWV paper. I inked the edges of the daisy dies as well as the center dots with some Parchment Ink. I also dotted the centers of the flowers with some Yellow Stickles.

GEDSC DIGITAL CAMERA
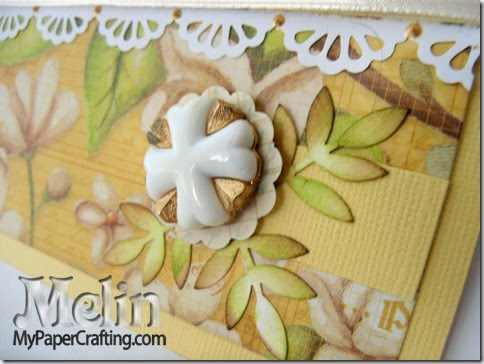
Here is a closer look at one of the vintage buttons. I punched out some MS leaves and inked them like the leaves and stems of the daisies.

GEDSC DIGITAL CAMERA
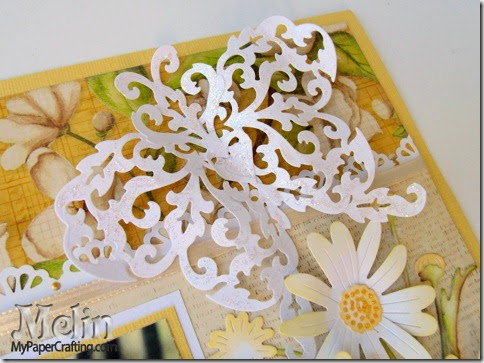
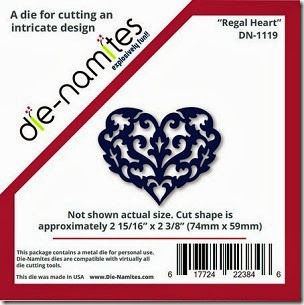
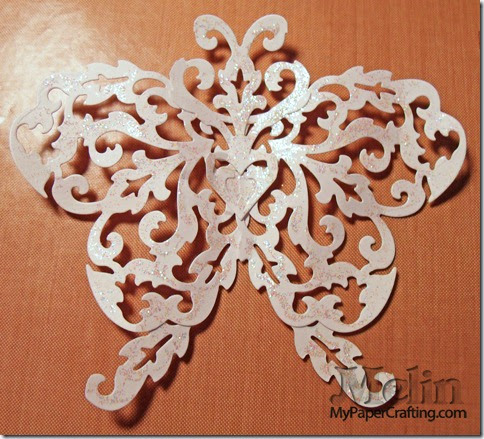
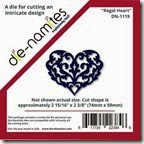
Here is a closer look at my butterfly. Just like my post last week, I once again used my Die-namites Regal Heart die to design this pretty butterfly.

regal heart

Butterfly Die Cut Tutorial

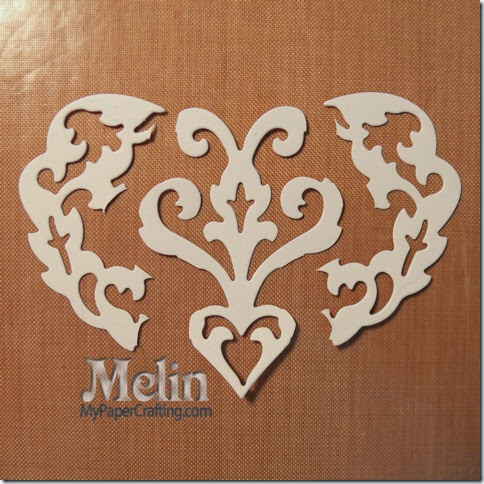
hearts individual-480
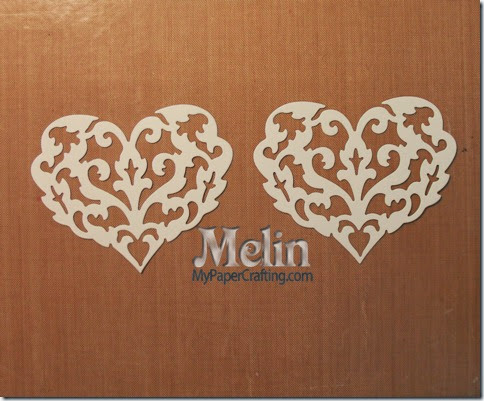
I started by cutting the die out THREE times in white cardstock. Picture only shows two.

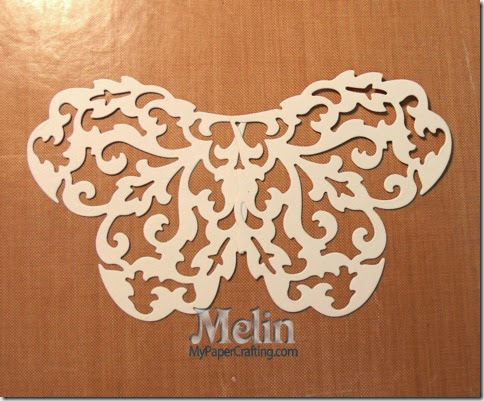
butterfly wings-480
Next, I took two of the die cuts and lined them up and glued them together as shown in the photo above. Set them aside to finish drying.

butterfly antennae-480
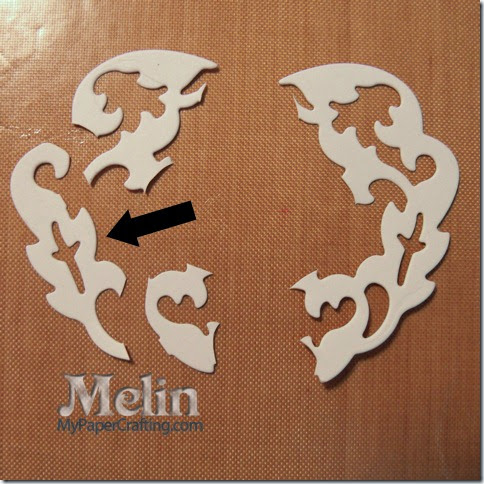
Next, take the third die cut and cut it as shown in the photo above. The center piece will become the top of the butterfly’s head and antennae.

butterfly tail-480
With the two remaining pieces, trim out the portion on each side that the arrow is pointing to.

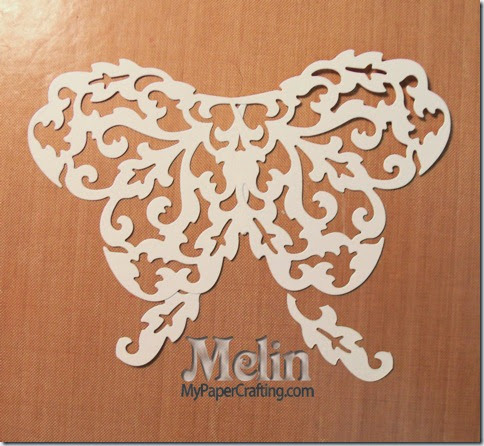
butterfly almost done-480
Next, take those two pieces and adhere them to the bottoms of the “wings” as pictured.


GEDSC DIGITAL CAMERA
Finally, adhere the “head-body” piece to the wings as pictured. I also added a coat of stickles and then “shaped” the wings by giving them a slight bend. This gave the finished piece a bit of movement.

Here are the products used for this project
dcwv magnolia way
regal heart
Die-namites Regal Heart

DVS-4X4-231
Die-Versions Design A Daisy Die
cocoa
moss green
Moss Green Cat’s Eye
parchment
Parchment Cat’s Eye

ek double crochet slim edger border punch
EK Success Double Crochet Border Punch

daffodil
Daffodil Cat’s Eye
citrine
Citrine Cat’s Eye

ms fine tip glue pen
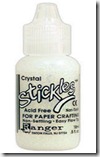
crystal stickles
yellow-stickles
Yellow Stickles
glue dots craft dots

Be sure to join the Scrapyland team this Sunday for an “online crop” hosted by the new team leader Kristina and the rest of the gals. There will be challenges, prizes as more! You can find the Scrapyland FB page: HERE. As always, thank you so much for sharing your crafty time with me. It has been a pleasure being a part of this team. Until the next time,
2013 fall winter melsig-450

Spring Has Sprung SOUS Layout Challenge

spring has sprung girl layout-480

Hello crafty friends,
It's Friday and another great SOUS (Stuck On U Sketches) Die Cut challenge coming your way! This challenge we were tasked with creating a project with "word art" on it. What a great idea and can go in so many directions. This is the layout I came up with.

spring has sprung girl layout-480
Here is a view of the entire layout.  I used some pretty papers from Quick Quotes Mary’s Garden. I used some SVG files from PaperCraftingWorld.com.

spring-sprung-title-480
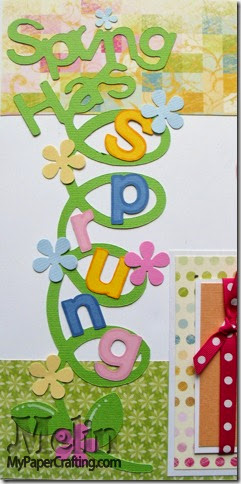
Here’s a closer look at the title Spring Has Sprung.

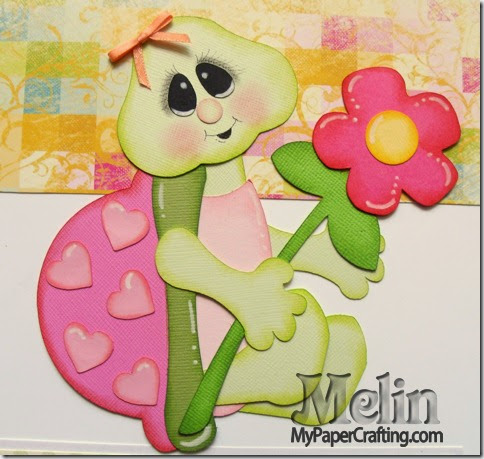
turtle sitting-480
Here’s a closer look at the sitting turtle paper piecing.

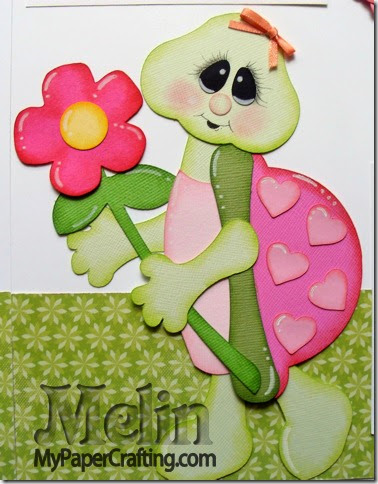
turtle standing-480
Here’s a closer look at the standing turtle paper piecing.

Here Are The Products Used
silhouette cameo logo-195
Silhouette Cameo
marys garden
Quick Quotes Mary’s Garden

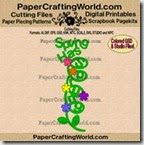
spring sprung title-ppr-cf-200
Spring Has Sprung Title
turtle sitting-200wjl
PCW Pretty Turtles CF
turtle standing-200wjl
PCW Pretty Turtles CF          

whimsy ink pad
Whimsy Ink Pad set 
Z2501-adventure
Z2502-enchantment
1514-tombow adhesive

Z553-chisel tip glue pen
1772-glue dots
Z1151-foam tape
Additional Supplies
White Chalk Marker
Various colored cardstock
Queen and Company Mini Brads
Misc. Ribbon
I did make this layout into a few kits which can be snapped up at page-kits.com beginning Sunday. There will also be a boy version too.

Be sure to head over to SOUS and check out what the rest of the design team created and join the fun too! Also, be sure to come back Sunday as I share another project and a new freebie. Until then,
2013 fall winter melsig-450

Best Buds Pazzles Craft Room Layout

Hello crafty friends,
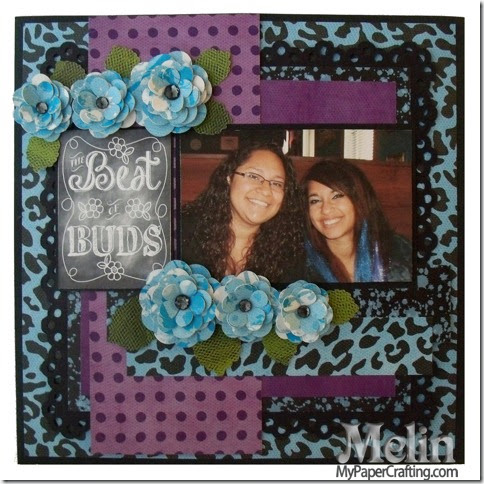
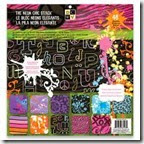
Today I am sharing a super quick and easy layout for my Pazzles DT. I chose the DCWV Neon Chic paper stack for all the patterned papers. The only other paper used is some black cardstock.
best buds layout by melin-480


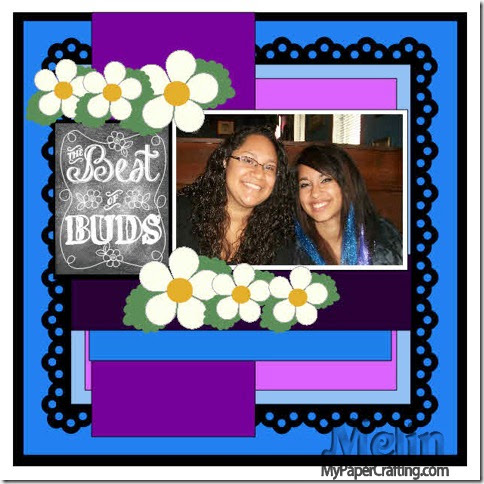
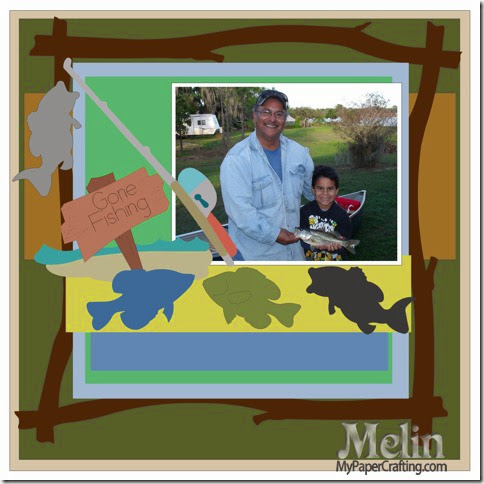
I started by using my software to “layout” my page. This alone is a huge time saver. You can determine what sizes you need your elements to be before you make a single cut. I will even import my picture into the page so that I know exactly what size I want to print the image out once I am done designing. The additional benefit to doing this is, you can “save” this layout in your library and you can “reuse” this base layout again and again! Here's a picture of what the layout looks like in my software.
layout in pi image-480

Here is a totally different layout using the same design from above. I simply added different elements and it’s ready to cut and assemble.
fishing layout idea2-480

Because the paper is very busy and energetic, I needed to keep the layout really, simple. I layered several mats of the different paper in the stack. I cut the doily frame from the craft room in plain black cardstock. I used some foam tape to give that layer just a little lift.

flower closeup-480
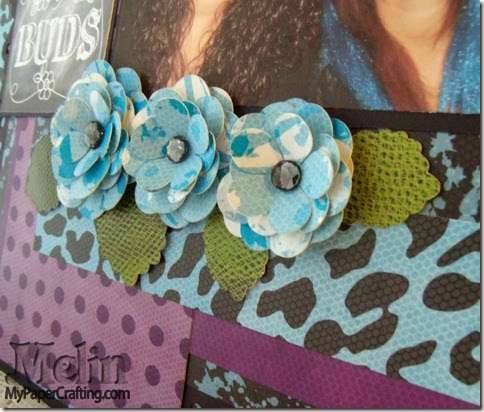
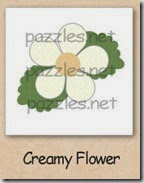
Then I used the creamy flower file and cut several flowers in different sizes from another piece of paper from that same stack. I cut the leaves from that same file in the green and black patterned paper. I simply layered the flowers and turned the petals slightly up to give them a bit of dimension. I added a doodlebug beetle black rhinestone gems to the center of each flower. I used some more foam tape to give the flowers a bit more lift. I adhered the flowers, leaves and photo to the layout.

chalkart-flower-closeup-480
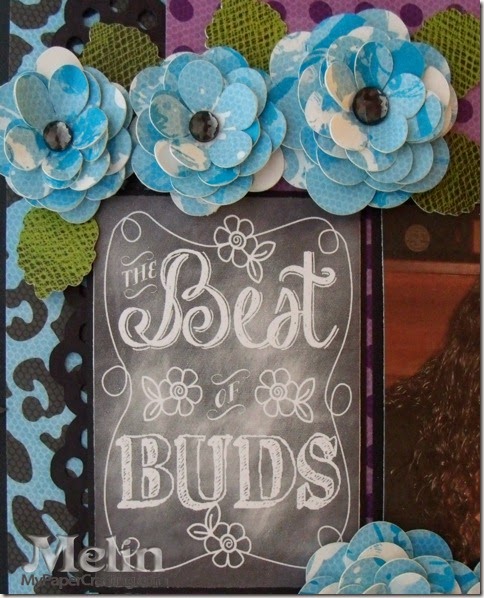
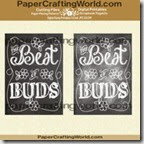
Lastly, I created the best buds chalk art title in my Pazzles software. I simply printed it right out from the software, matted it onto some black cardstock and that’s it! I was all done. No inking, stitching or other embellishing necessary. I encourage you to try your hand at “designing” your complete project in your software. There are so many benefits to doing it this way. Namely as a time and material saver.
Products Used For This Project

pazzle1
Pazzles Inspiration
dcwv neon chick stack
DCWV Neon Chick Stack

doodlebug jewels beetle black
Doodlebug Beetle Black Jewels-Gems
creamy flower 200 doile frame best buds chalk art ppr-ds-200
Best of Buds Chalk Art

Additional Supplies
Bazzil Black Cardstock

Well, I think that about covers it for today. I hope you will take the time to view the possibilities of your software differently. If you don’t have a Pazzles and you are thinking about getting a cutting machine, then please check into the brand new Pazzles Vue! They are currently taking pre-orders and will be shipping soon! You can get the down lo HERE
As always, thank you so much for stopping by. Be sure to come back by tomorrow as I share a new project and a new Friday Freebie! Until then,
2013 fall winter melsig-450