14_01

SOUS Something To Wear Die Cut Challenge

Hello crafty friends,
So glad you could join me today. It’s Friday and that means it’s another new Die Cut Challenge over at SOUS (Stuck On U Sketches Challenge Blog)!!!
Our challenge this week is to create a project with a die cut about something you wear. 
Here is what I came up with.
frosty fashionista-450
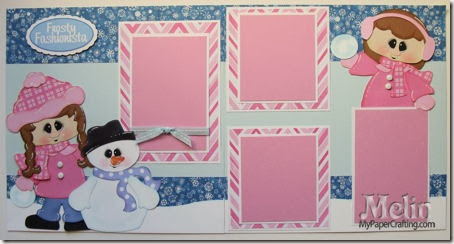
Here is a look at the complete layout.

I used the Frosty Fashionista Fun SVG cut file set from PaperCraftingWorld.com.


girl topper-450
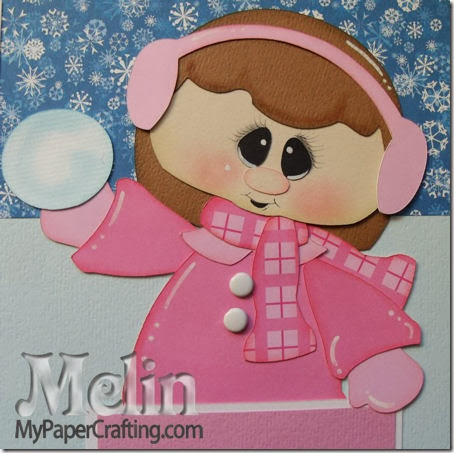
Here is a closer look at the cute little girl topper. She has her ear muffs and scarf on.

qtw snoman girl-450
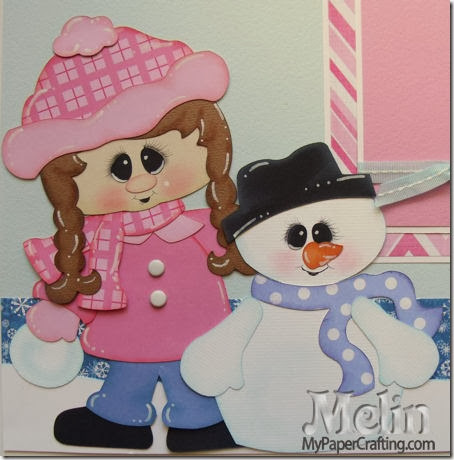
Here is a closer look at the cute little girl with her hat, boots and scarf. Even her little snowman is dressed to “chill”.

title-450
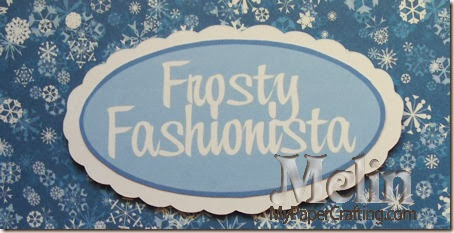
Here is a closer look at the cute title.

I hope this inspires you to catch those wintery memories. Now it’s time to head over to SOUS to see what the rest of the team has created for you! You won’t be disappointed. There is also a really nice prize you could win for participating.CLICK HERE


Be sure to come back by tomorrow as the PCW team will be participating in the Lots of Love Blog Hop! It is a small hop with some freebies along the way!


Sweet Girl Cameo Block Party Layout

Hello crafty friends,
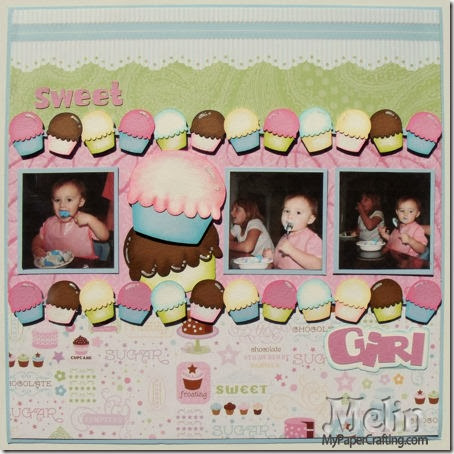
So glad you could stop by. Today is my turn to share a project for the Scrapyland DT. I decided once again to use my Silhouette Cameo and the Block Party Digital Design Portfolio to create this layout.
dcwv sweet stack cameo svg girl lo-450
Here is a view of the entire layout.

I used some of the pretty paper from the Die Cuts With A View DCWV Sweet Stack. This is definitely one of their classic, fabulous go to stacks.  I also used the Block Party Digital Design Portfolio for all the die cuts as well as the matching titles. I used one of their cupcake designs to create the borders and the girl title was already one of the pre-made titles.

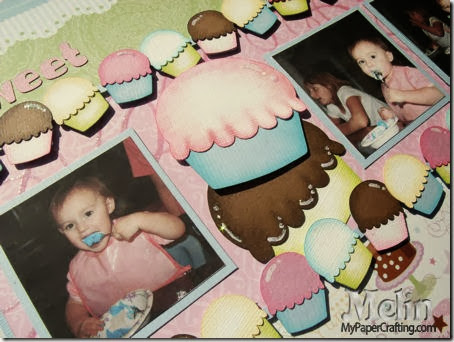
lg cupcake svg 450
A closer look at the big cupcakes.  I used some of my pebbles chalks as well as some pigment inks to shade the cupcakes.

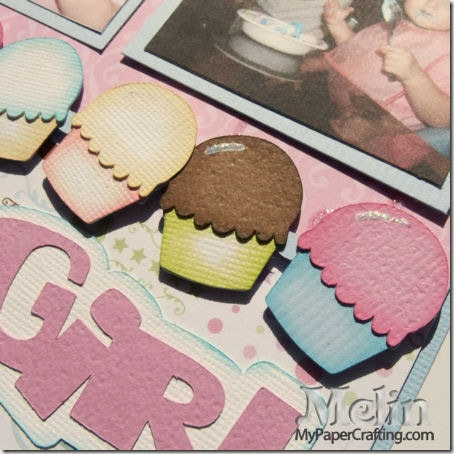
svg cupcake border 450
Here is a closer look at the cupcake border. I simply used the same cupcake shape and welded them together to create the border.

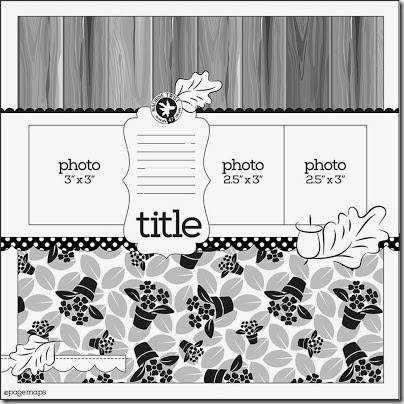
The layout came from the Die Cuts With A View January Stackaholics Challenge
january 14 layout sketch
Here is the Sketch to follow for the challenge. 

Products Used For This Project
Be sure to head over to Scrapyland.com where you can purchase all of these supplies.
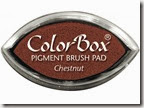
chestnut
Chestnut Ink Pad
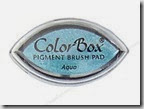
aqua
Aqua Ink Pad
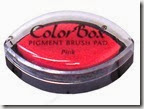
pink
Pink Ink Pad
citrine
Citrine Ink Pad
parchment
Parchment Ink Pad

Additional Supplies
White, blue, pink and brown cardstock.
Diamond Stickles

As always, thank you so much for sharing your crafty time with me. Don’t forget to mark your calendars for this Saturday when I participate in the Lots of Love Blog hop.


Cricut Explore What will it do???

Hello crafty friends, 
I wanted to share about the new Cricut Explore machine that is due to debut this Tuesday.


The link to designpartners.com was HERE

Here is a link to the trademark info on the Design Space

Here is a link to the trademark info on the Air Cut


Well, I guess we will all have to wait and see what this can actually do. Until Tuesday my crafty friends,
-Melin

Hello Kitty Card FREE SVG and DIGI

Hello crafty friends,
Today I am sharing a card I created for this month’s IFTL recipient little Miss Baylee. Please head over there and see how you can take part.

dcwv haute pink stack hello kitty iftl card-450
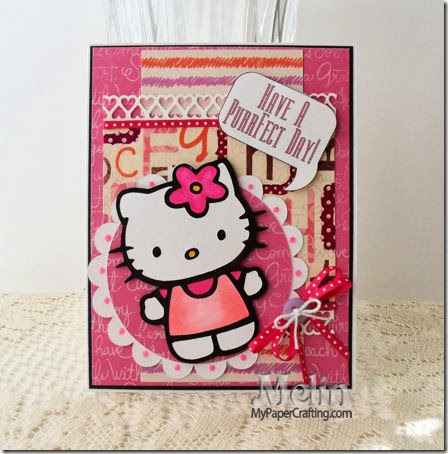
Here is my card. The gorgeous patterned papers are from the DCWV Die Cuts With A View (DCWV) Haute Pink Stack. There are some pages that are foiled and it is a great cardstock weight paper.
I converted a clipart I found online. I don’t usually do that so this was definitely a different way of “paper piecing” for me.

Once I finished converting the clipart, I cut out the pieces on plain white cardstock. Some of the pieces were really quite small so instead of cutting them all out on separate colored pieces of paper, I cut them out on white cardstock and colored in the pieces with my copic markers.
hk plain svg-450
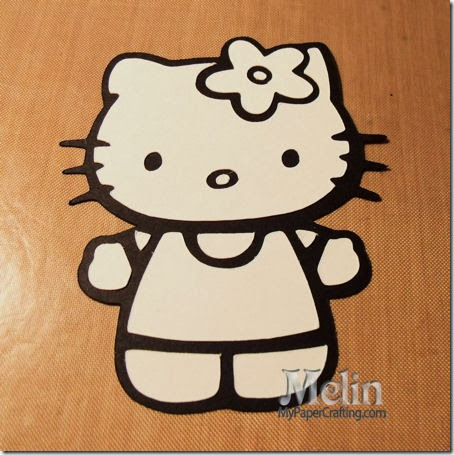
Here’s what she looked like once I pieced all of her together and before I colored her in. I used my copic markers: RV06, RV21 and Y17.

hello kitty svg cu-450
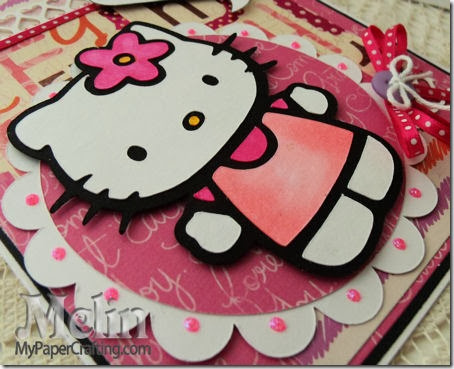
After I colored her in, I used some foam tape to lift her off the scalloped circle and to give the sentiment some lift as well. I used an MS heart border punch for the little heart border and some May Arts hot pink polka dot ribbon on the back mat. I tied a little bow and topped it with a lilac button and some plain white twine.

hello kitty side view-450
I finished off the scalloped circle by adding some Glam Pink stickles.

Products Used For This Project

pazzle1
Pazzles Inspiration
dcwv haute pink
DCWV Haute Pink Paper Stack
fucshia bb-22-centerdot
May Arts Fuchsia Center Dot Ribbon
rv-06
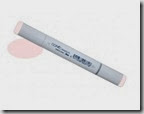
Copic RV06
rv-21
Copic RV21
y-17
Copic Y17
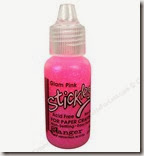
glam pink stickles
Glam Pink Stickles
hello kitty-cf-ppr-200
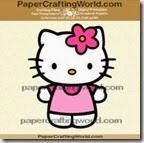
Hello Kitty SVG
word bubbles ppr-ds-200
Word Bubbles DS
Black and White cardstock

So to help motivate you to make a card for sweet Baylee, I gave the Hello Kitty file away free to my newsletter subscribers. So I decided to make it free this week to everyone. Please do consider taking just a little bit of time to create something special for her.  Also, this week, the word bubbles are the free digi so be sure to head over and pick that up as well!
**UPDATE**
Sorry Free links now expired


hello kitty-cf-ppr-200
CLICK HERE 
for the free Hello Kitty SVG


to go get the free word bubbles.

These will both be free until next Thursday, January 23, 2014. So grab them while you can!
As always, thank you so much for sharing your crafty time with me.
2013 fall winter melsig-450

Pazzles Embossed Bells Card

Hello crafty friends,
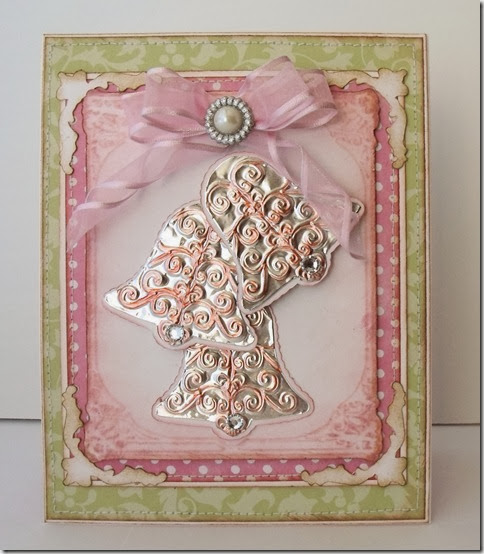
It's my turn to share on the Pazzles Craft Room Blog. Today I have a card I created using the Pazzles Embossing tool! I had some thin metal in my stash and was waiting for the right opportunity to use it. Here is what I came up with.
clip_image001
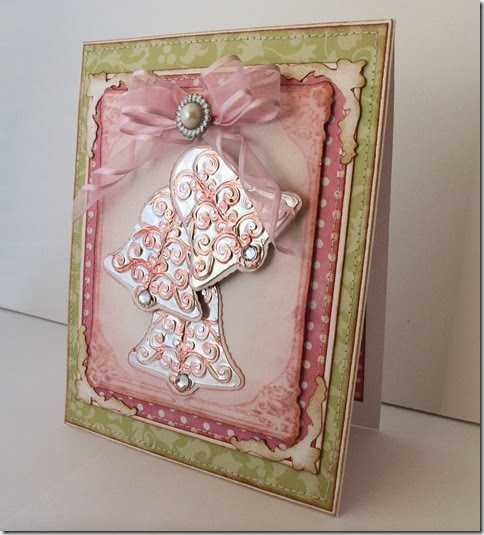
This is a view of my completed card.

victorian frame embossing-450lt
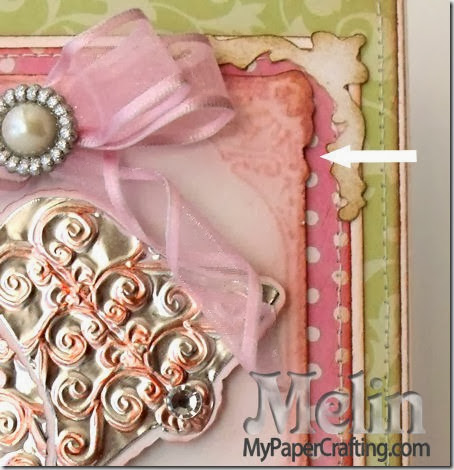
I started by using the embossing tool to emboss the beautiful Victorian frame file from the craft room library onto some white cardstock. I lightly inked the edges of the cardstock with some Cotton Candy Ink. I wanted the embossing to really show up. The arrow in this picture points to the embossed design.

Next, I trimmed up my mats and patterned paper. The pretty patterned paper is from the DCWV Floral Faire Stack. This paper is a lighter weight paper and layered nicely onto corresponding cardstock mats. Because of the light weight of the paper, I was able to machine stitch the paper and cardstock mat  beneath together.  I inked the edges with some Saddle Ink to give them a shabby, vintage look.
Then it was on to using the embossing tool on the metal.

clip_image002
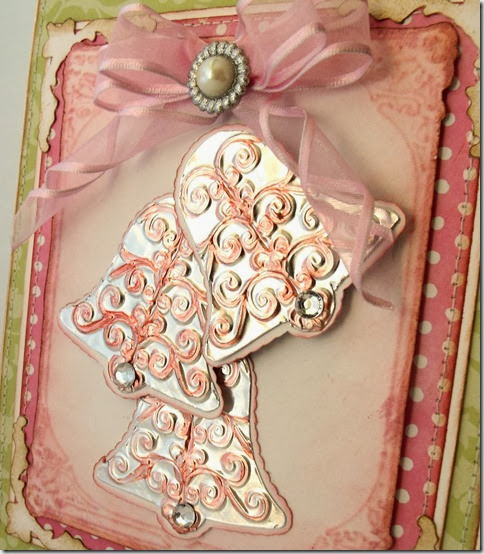
I used the Xmas bell file and the Fleur-Flourish file to create the bell. I welded the fleur-flourish file together three times and then trimmed the edges of the file accordingly so that it would fit into the bell file. I then created an outline of the bell file and made the edges scalloped. The Software makes this a snap! Once I did all that, I was ready to emboss! After I embossed the decorations on the bell, I switched out the embossing tool and cut them out. I wanted the decorative swirls to really show up so I used my Copic Marker R27 to color along the swirls. As it is an alcohol based ink, it dried up quickly and gives it a “washed” finish. I completed the bells by inking the edges of the scalloped backgrounds and adding a little gem to the bottom of each bell. I layered it all together and finished it off with a bow, gem and some beautiful photo corners using the fancy corners file.
clip_image003
This card would make a perfect holiday card, but it could also double as a wedding card. My son has a couple of friends who will be getting married this summer, so I will be sending him on with this card and make another for the other couple.
Okay, this is going to sound kind of like an infomercial, but I really wanted to share how amazing it is to have a machine that can do a lot more than just cut paper. Comparing it to some of the other cutters out there would be a mistake as it can do so much more than just cut paper. In many respects, it is like comparing an orange and a grapefruit. Both in the citrus family, but yet very different. It is so much fun to explore all the wonderful things our cutters can do. If you don’t have this tool in your crafty arsenal, then it is time to treat yourself! Imagine all the lovely things you can “emboss”!
Supplies used for this card
pazzles-cutter-200
Pazzles Inspiration
pazzles embossing tool-200
Pazzles Embossing Tool
Adobe Photoshop PDF
DCWV Floral Fair Stack

dcwv christmas and winter stack
DCWV Christmas and Winter Stack
fleur-flourish-200
Fleur-Flourish File
victorian frame-200
Victorian Frame File
xmas bells-200
Xmas Bells
fancy corners-200
Fancy Corners File

z2193-cotton candy
Cotton Candy Ink Pad
Z2171-saddle-150
Saddle Ink Pad
pearl spare parts gems
Pearl Spare Parts Gems
pink satin edge ribbon
Pink Satin Edge Ribbon

FREE SVG Alert
3d butterfly-200
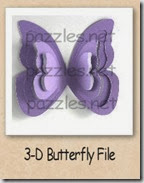
Don’t forget to pop over to the Pazzles Craft Room and grab this cute free butterfly file! Just click Library and then Free Files to find it.
I don’t know how long it will be available, but you will want to grab it while you can!

As always, thank you for sharing your crafty time with me. Be sure to come back tomorrow for another fun project. Until then,
2013 fall winter melsig-450