13_10

Sunflower Tri-Fold Card

Hello crafty friends,
Today’s post is of a quick card I made the other day. It was for a challenge in one of the Facebook groups I belong to. We were to create a tri-fold card.
So here is what I came up with.

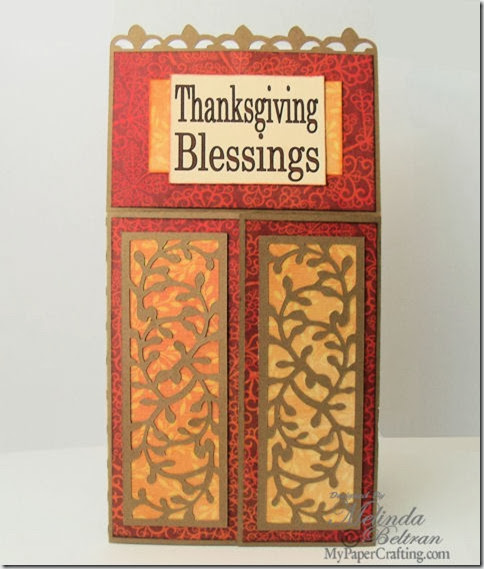
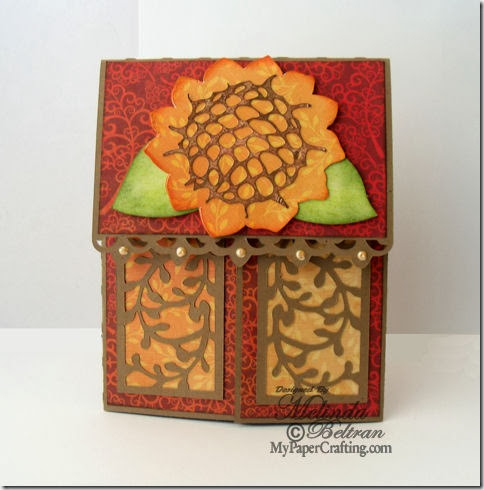
sunflower card by melin-480
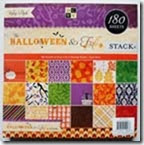
Here’s a look at my finished card. I used the tri-fold card cf from PCW. The pretty patterned papers are from the DCWV Halloween and Fall Stack.

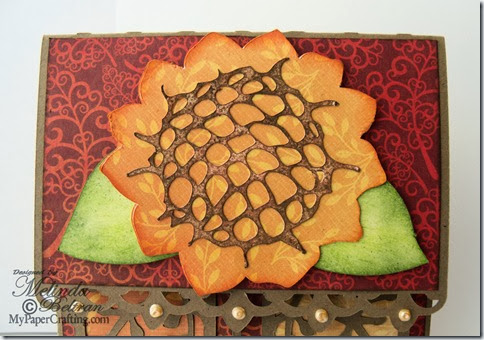
flower close up-480
Here is a closer look at the big pretty sunflower. I actually cut the brown top piece out of plain white cards stock and then inked it with my Saddle Ink Pad using a dabbing technique to achieve the “textured look. I used my Autumn Terracotta Ink Pad to ink the edges of the flower as well as the New England Ivy Ink Pad for the leaves from the Enchantment Ink Pad set. I also used some Bisque Liquid Pearls  to add some pearl accents to the front of the top flap of the card.

sunflower card flap open-480
Here is a view with the top flap open. Perfect for my thanksgiving sentiment. This view also shows the pretty leafy panels that are a part of the cut file set. I simply cut them out of kraft paper and then added a layer of that pretty yellow-orange patterned paper underneath.

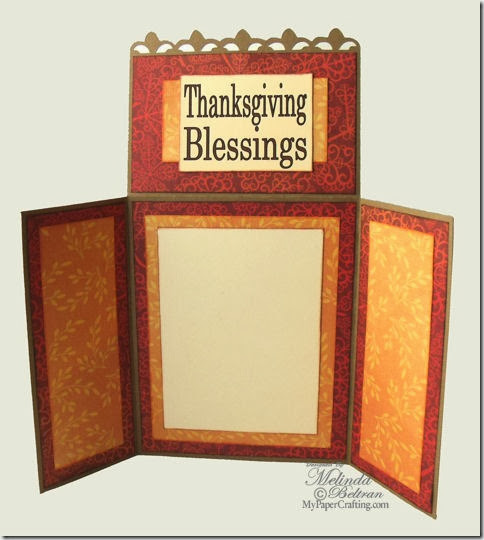
tri-fold completely open-480
Here is a view of the entire card open. I left the inside middle blank as I will be sending this card on to IFTL for their card drive this month. They are trying to get 200 cards to be able to give one to each resident at a senior care facility. So PLEASE head over there now and get the details. Take a few moments of your crafty time to create a few cards and pop them in the mail. Madison and Cindy will be so grateful and I know they will be a blessing to the recipients.

Products Used To Complete This Project
pazzle1
Pazzles Inspiration
GEDSC DIGITAL CAMERA
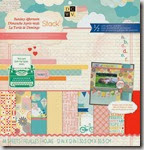
DCWV Halloween and Fall Stack
Z2502-enchantment
bisque
Bisque Liquid Pearls

Thank you once again for sharing your crafty time with me.
2013 fall winter melsig-450

Unplugged Spellbinders Box N’ Card Set

Hello crafty friends,
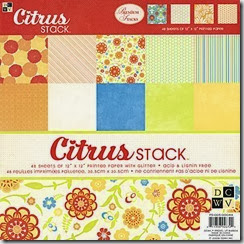
Today I am sharing a box n’ card set I created with Spellbinders Dies and some Quickutz dies. I call these projects “Unplugged” as I did not use any of my “electronic” die cutting machines. For the pretty patterned paper, I used the DCWV Citrus Stack. Here’s a look at my completed set.


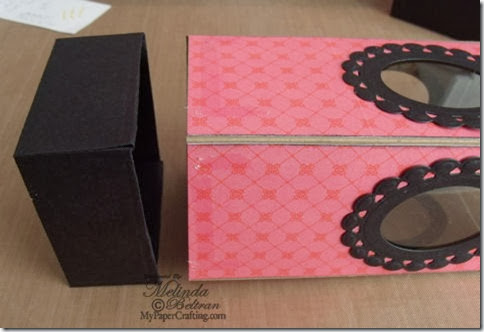
Here is a closer look at my completed box. I used the spellbinders Square Petal Top Box for the base and the top. I then created the box middle by scoring some paper and then using my Spellbinders Beaded Ovals dies along with some Spellbinders classic Ovals Dies to cut out the windows.

die cut box flower cu 480_thumb[4]
Here is a closer look at one of the flowers. I used a couple of retired Quickutz dies. I inked them with warm green cat’s eye chalk ink and cranberry cat’s eye pigment ink. I also added some Gold Lame Smooch Ink to the large flower petals. Unfortunately, the picture doesn’t show that too well.

score lines for box-480
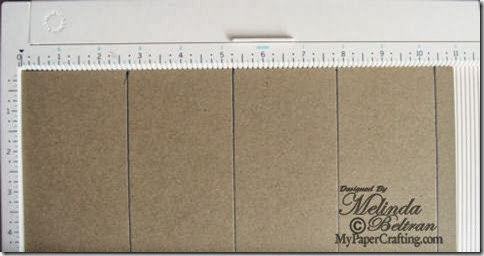
To create the box body, you will need a piece of paper that is 8.25 x 11. Really you just need to trim 1/8” off the 8.5” side to fit into the grand calibur.
Place your paper on your scoring tool 11” lengthwise. 
You will score your paper at  2 5/8 “, 5 1/4”, 7 7/8” and 10.5”


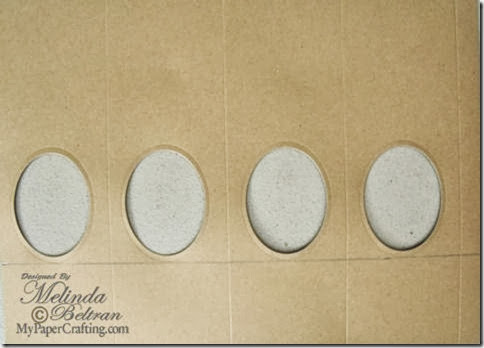
After scoring your paper. You will need to draw a line across the bottom at 2 1/8”. You can use a pencil as this mark is simply a guide where to line up your die for the window.

oval cuts from panels 480
Run your paper through the machine four times. Each time be sure to line your die up along the line as well as in the center of each panel.

patterned panel oval 480
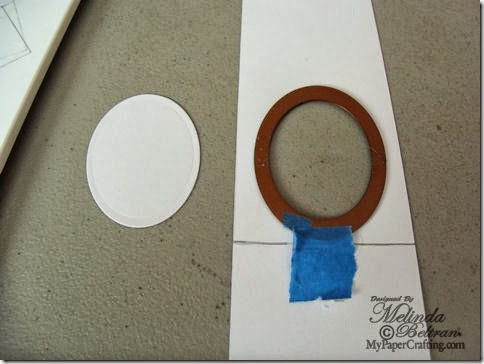
Cut your patterned paper into four strips of 2.5 x 8.25. Next mark a line 2 1/8” from one edge. Once again, center your oval die and run it through your machine. Do this for all four panels.

panel oval w ppr 480
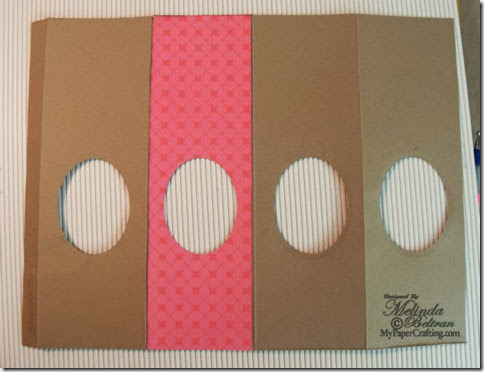
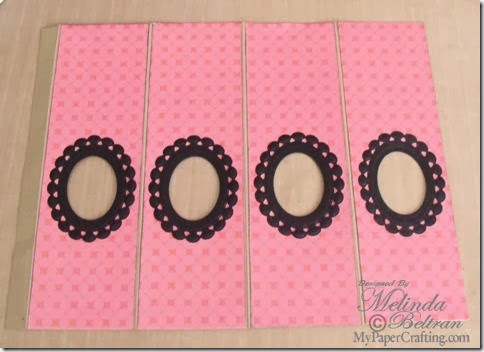
Next, I inked the edge of each panel and added each papered panel to the front of each side.

papered panels done 480
Next, I added my black beaded oval dies covers.

adding transparency 480
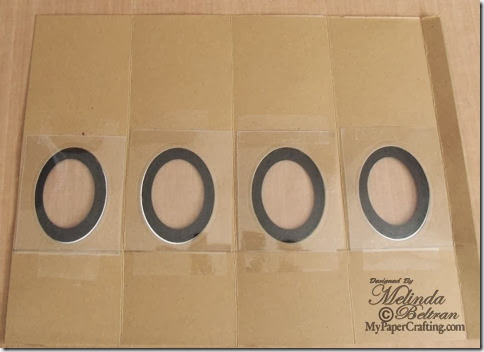
Next, I added some transparency to the backs of each panel. This will keep whatever treats I put in the box safely in.

apply bottom 480
Next I put some adhesive on the inside edges of the box as well as along the bottom of the panels and secured the bottom.


After lightly inking the edges of the petals, I glued the flowers together and rotated each layer slightly. Here’s a shot of the three flower base petals. This shot shows the Gold lame smooch ink on the petals.


Next I added the smaller flowers and once the adhesive was dry, I curled the petals.


Here’s a look at just the card. It is a standard A2 size. Again, the patterned paper is from the DCWV Citrus Stack. I once again used the Spellbinders Beaded Ovals dies to create the frames. I added some Bisque Liquid pearls to create the little pearl drops and then in the centers of the flowers, I added some pearls accents.


Here’s another view to show the dimension of the flowers.

square box
dcwv citrus stack
Here is just a quick look at the dies I used (Not including the Grand Square petal top box die).
Products Used for this project
Bisque Liquid Pearls
Black, Kraft, Pink and Rose Cardstock
Misc. Flat Back Pearls
Misc. Ribbon
Be sure to visit the Scrapyland Store and check out all of the wonderful new die releases! There are many items on sale too!
Thank you so much for sharing your crafty time with me!
2013 fall winter melsig-450

Treat Boxes and Freebie

Happy Saturday crafty friends,
Hope you’re weekend has been a good one so far. Today I am sharing a couple of really cute treat boxes I made with files from PaperCraftingWorld.com. First up:  


Candy Corn Treat Box
candy corn box-480
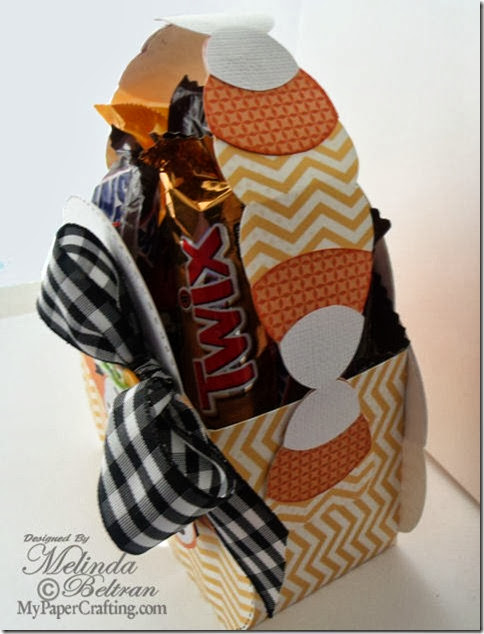
Here is my Candy Corn Treat Box. I used some wonderful patterned papers from the DCWV Sunday Afternoon (Chevron) and Baby Girl (Orange Squares) Stacks. Along with some American Crafts White Textured cardstock. I used my Sakura black fine tip pen to do the faux stitching around the outer edge.


candy corn box handle-480
Here is a side view of the handle. It is designed to look like smaller versions of the candy corn attached together. I thought that was such a cute idea as opposed to just a regular handle.

ccorn box top handle-480
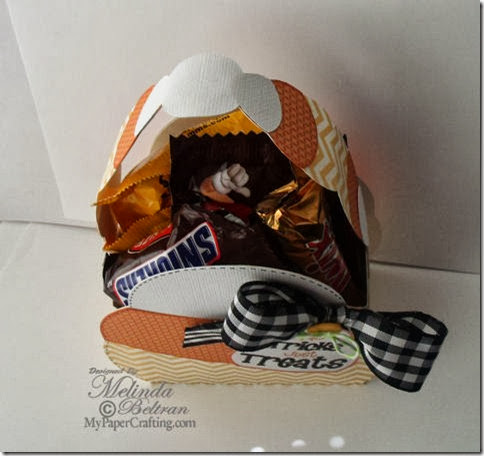
Here is a top shot showing the handle. When layering the pieces of the handle together, you want to use a good strong adhesive to allow for the curve of the papers.


10-18-13-sneak-peek-480web
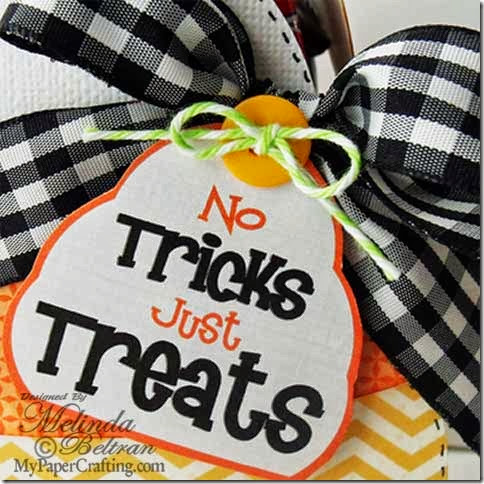
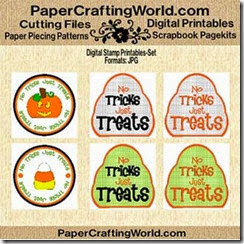
Here is a close up of one of the free printable tags from the Tag set offered by PCW. You can head over to the PCW  design team blog and pick up the link to get yours. Don’t delay as they are only available for a week and then a new freebie is available. A new freebie goes up every Friday.


Pumpkin Box
pumpkin box layered-480b
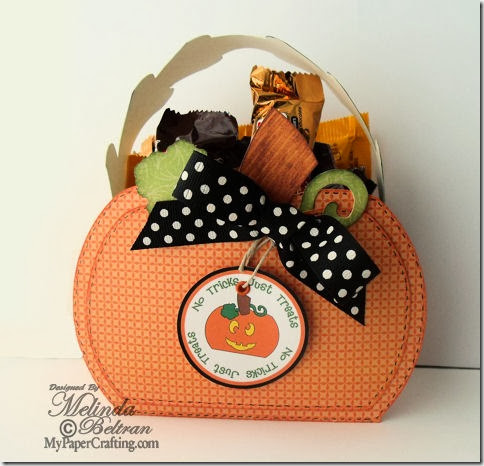
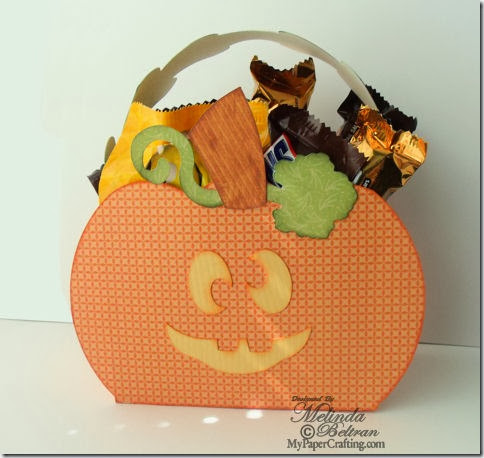
Here is my second treat box. A cute little Pumpkin shaped box. I used some more of the fabulous orange patterned paper from the DCWV Baby Girl Stack and for the green leaf and handle, I used a pretty green patterned paper from the DCWV Cotton Bloom Stack. On this side I used one of the nested layers and inked the edges with my Sunset Ink pad from CTMH Adventure Mini Ink Pad Set. I also used another one of the printable tags from the freebie set. I added an orange eyelet and threaded some burlap cord from May Arts through. I inked the stem with some of my Saddle Ink Pad and then edged the leaf and vine piece with my New England Ivy Ink Pad. I used my black fine tip pen to make some faux stitching around the edges of both pumpkin layers. I finished off this side with a pretty black with white polka dot ribbon bow.

pumpkin box face side-480
Here is a view of the other side of the pumpkin box. The cut file includes nesting layers of the pumpkin shape as well as cuts for this cute face. Once again I inked the stem and vine as well as the face. For the face, I used my Sunset Ink Pad from the Adventure Mini Ink Pad Set from CTMH

pumpkin box side-480
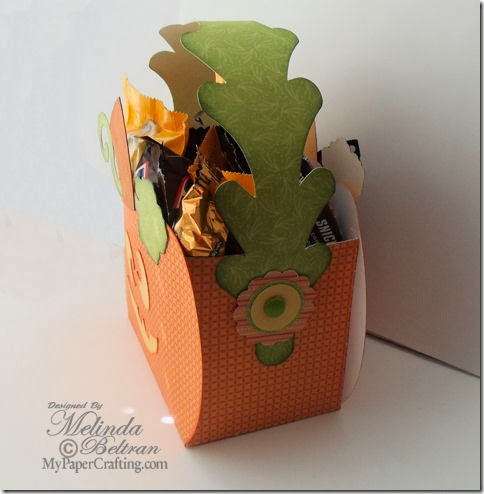
Here is a side shot of the handle. I inked the edge of it with my New England Ivy Ink Pad and then added a green matching brad with some layered circle and scallop punch cut outs.

Both boxes come out fairly good sized. the boxes measure approximately 2 1/4 (2 1/5)  x 4 x 3. Several small candies fit nicely in each one.

no tricks tags set ppr-ds-325


Supplies Used for these boxes
pazzle1
Pazzles Inspiration
candy corn box ppr-cf-200
Candy Corn Box
Cut File


pumpkin box ppr-cf-200
Pumpkin Box
Cut File
dcwv baby girl stack
DCWV Baby Girl Stack
dcwv Cotton Bloom Stack
DCWV Cotton Bloom Stack
dcwv sunday afternoon stack
DCWV Sunday Afternoon Stack

Z2501-adventure
CTMH Adventure Mini Ink Pad Set

Z2503-basics
CTMH Basics Mini Ink Pad Set
mayarts-SM-10-burlap cord
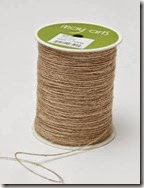
May Arts Burlap String


micron black pen 001
Sakura Black Fine Tip Pen

Additional Supplies Used
Candy Corn Box
White Cardstock, Misc. Polka Dot Ribbon, Twin and Misc. Button
Pumpkin Box
Yellow cardstock, Doodlebug Eyelet and Doodlebug Brad
7/8, 1”  Circle Punches and 1 1/4 Scallop punch.

**ENABLER ALERT**
Buy one box, get the other FREE…With PCW50 code, 
simply add both to your cart and get 50% off your purchase. 
That is like buying one box and getting the other free!

Thank you so much for sharing your crafty time with me.
2013 fall winter melsig-450