13_08

Citrus Stack Card

Good morning crafty friends,
Today I am sharing a project I created for today’s Die Cuttin’ Divas Challenge blog. They offer a new challenge each Tuesday.

Today’s challenge is a color challenge: Orange and White
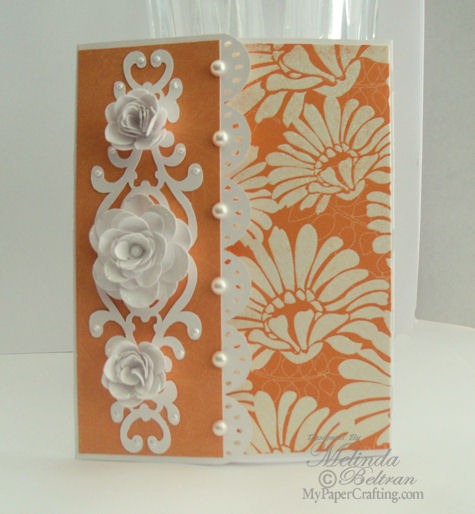
 citrus-stack-card-475
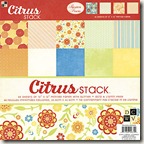
Here’s my card. I used the Card Deco 8113 Cut File from PCW. It is a sneak peek and will be available this Saturday.  I used the DCWV Citrus Stack for the paper. It is pre-glittered and very pretty. I got the 6x6 stack. That is something different for me as I only get the 12x12 stacks. I am a scrapbooker at heart. BUT, I couldn't pass it up as it was on clearance at my local Michaels and they didn't have it in 12x12...so there you have it. My first ever 6x6 stack. Money is really tight these days so anything on clearance is a fabulous find :-)

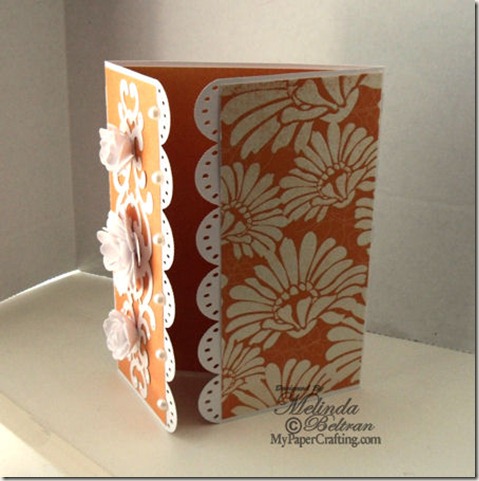
citrus stack card open-400
Here is a view of the card slightly opened. Both edges of the cut file have the pretty scalloped edging.

citrus stack rose2-475
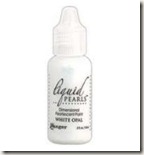
Here is a closer view of the pretty roses and the gorgeous decorative element. I added some White Opal Liquid Pearls and some flat back pearls and done. It was a really easy card to complete...and easy is good!!!!


I Used The Following Products
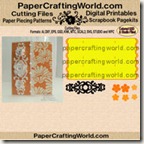
card deco 8113-ppr-cf-200
PCW Card Deco 8113-cf
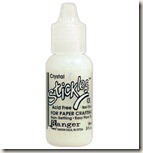
crystal-stickles12
white-opal-pearl9

PaperCraftingWorld.com is this week's sponsor over at Die Cuttin' Divas, so be sure to join in the challenge and you could win!

Thank you for sharing your crafty time with me, be sure to stop back by tomorrow for another crafty creation!

Shabby Roses Card


Good morning crafty friends,
Hope your weekend was a fabulous one and you were able to get some crafting done! I have a card I want to share with you today. It was inspired by a photo challenge at the Shabby Tea Room blog.
DT Call - 8th Term
Here’s the picture. I have personally always loved the shabby tea room and that “style”, but I spend a lot of time creating fun and cutesy type projects. I really am trying my hand more at all that “shabby goodness” out there Smile

Anyway, here is the card I created that was inspired by the photo.
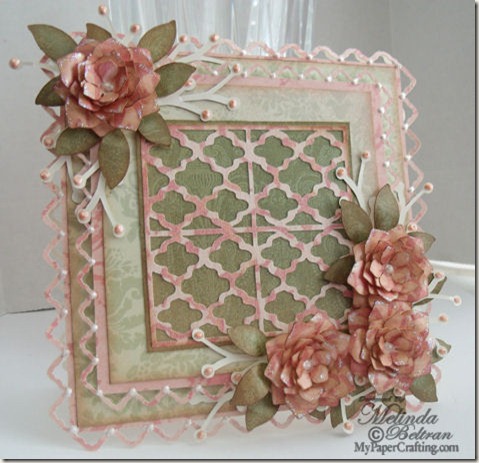
shabby tea room card-475
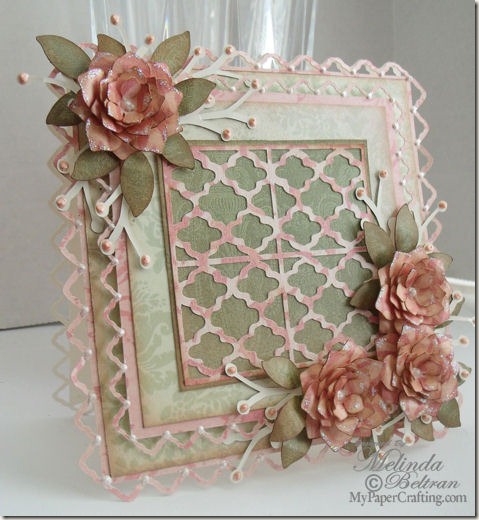
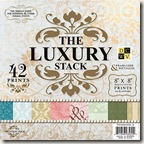
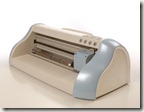
Here’s a look at my card. I used the Card Square Frame-624 cut file from PCW as well as the Frame Segments file (coming soon). All of the paper is from DCWV The Luxury Stack! The DCWV Luxury stack paper has a really pretty, pearlized sheen to it. It also cut like butter on my Pazzles Inspiration.

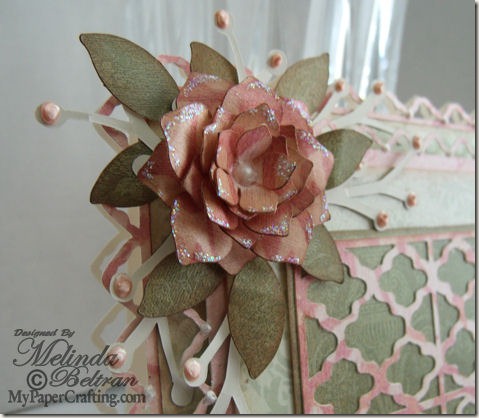
rose closeup-475
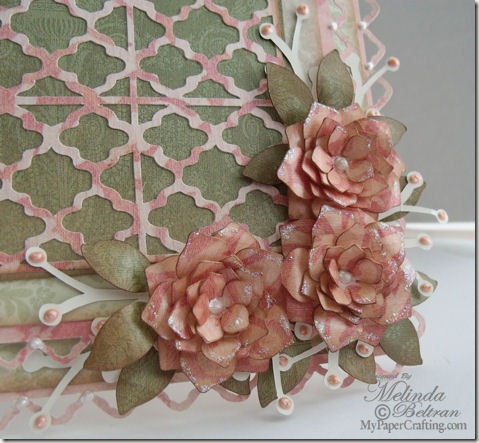
Here is a close up of one of the roses I created. I simply cut the petals out of the DCWV paper and then inked the edges with my Chestnut Roan Cat's Eye Chalk Ink. I then staggered the layers and shaped the petals. I then used some of my White Opal Liquid Pearls for the center. I also hit the edges of the petals with my Crystal Stickles. Just to give it some soft and subtle bling.

rose cluster closeup-475
Here is a close up of the 3 roses cluster on the bottom. You can see here that I used the Petal Pink Liquid Pearls for the centers of the "sprigs"  These are the same paper. I just flipped it and used the back side of the paper. It is actually a very light cream or vintage white and not a bright white back, so I thought it was perfect.


shabby tea room card2-475
Here is another look at the card. You can see that the back of the card is framed like the front. It is very delicate looking. I finished off the card by adding some White Liquid pearls around the card to mimic tiny pearls. I have not added a sentiment to the center of this card yet as I am not sure if it will be for a birthday, anniversary or just because. So I will wait to add that in.


I Used The Following Products

card square frame-624-cf-ppr-325
white opal pearl
crystal stickles
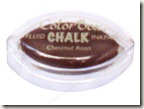
chestnut roan
Chestnut Roan
Cat’s Eye Chalk Ink

Well that about covers it for today. Thank you for sharing your crafty time with me.  Be sure to come back tomorrow.  I have another crafty work of heART to inspire you with!
melin-sigj

Birthday Card Inspiration


Good morning crafty friends,
Thank you for taking some of your crafty time to stop on by today! Designers Madison and Melin have a few birthday inspiration cards to share with you!

madison--s2013
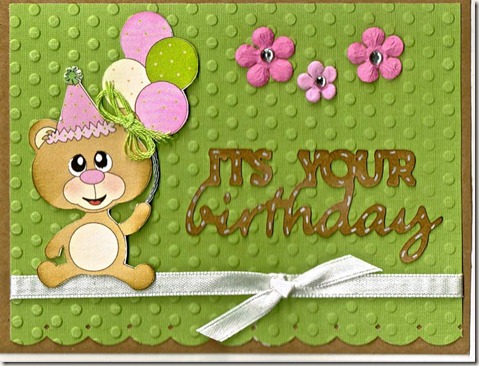
Madison created this card for this month’s IFTL recipients. 
Please consider taking the time to join in this month!
CLICK HERE for all the details!
madison-8-10-13
Cartridge Used: Birthday Bash
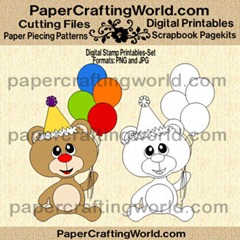
PCW File: This month’s IFTL FREE Birthday Bear Digi
You can get the details on Madison’s Blog.

iftl birthday bear-ds-325
Don't forget to head over and grab your free IFTL digi 
and create a card for this wonderful cause!
FREE during the month of August!


melin-s2013
birthday clown card-475
I created this card using papers from the DCWV Celebration Stack. The little cupcakes were even cut out of one of the pieces of paper! They made the perfect embellie!

Products Used
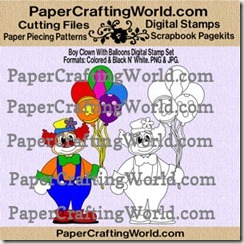
boy clown w balloonsds-325
PCW File: Clown w Balloons Digi *SNEAK PEEK* Available this Saturday
Purple, Red and White Cardstock
Twine from The Twinery
Stickles
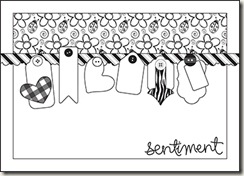
I also followed along the sketch for this month’s
EK Success Border Punch
Cupcakes Fussy cut from a piece of the DCWV Celebration Stack paper.

  DCWV Stackaholic Template Challenge
august card template
DCWV Stackaholic August Template challenge. Courtesy of Page Maps.


bear girl w cake card-475
Products Used
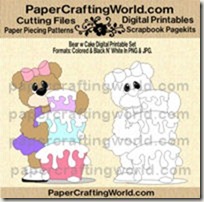
bear w cake girl ds-200
Purple, Red and White Cardstock
Misc. Yellow Ribbon
Stickles
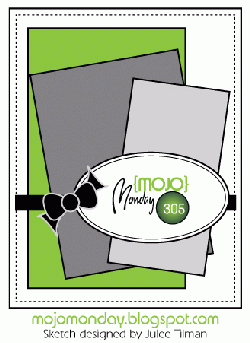
I also followed along the sketch for this week’s 
Mojo Monday Blog Sketch 305 Challenge
zMojo305Sketch

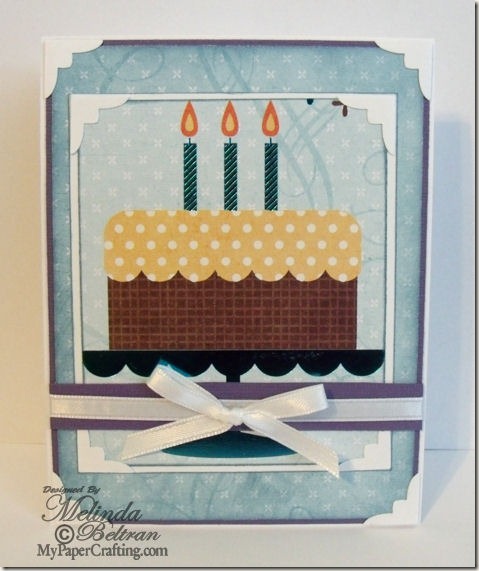
dcwv cake card-475
Products Used
Purple and White Cardstock
Prussian Blue Chalk Ink
EK Success Photo Corner Punch
Misc. White Ribbon
NOTE: That gorgeous cake is from one of the pieces of paper in the DCWV Celebration Stack. I just cut it out and used it as the focal point of this card.

Thank you so much for stopping by and sharing your crafty time with us! Be sure to come back tomorrow as designer Sandy shares some fabulous creations!

Cricut Artiste Hippo Die Cut Coloring How-To

Good morning crafty friends,
Today I am sharing another Cricutlicious Cricut Artiste Paper Piecing creation with you. It also includes a quick little “how to” on using Close To My Heart  Water Color Pencils and Blending Pen to decorate your die cuts.
cricut artiste hippo piecing-475
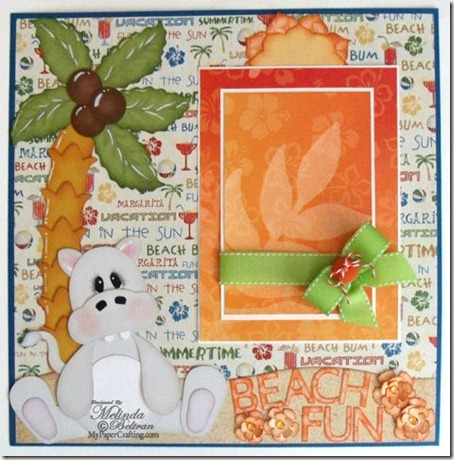
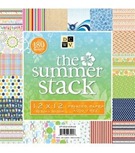
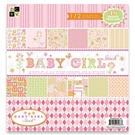
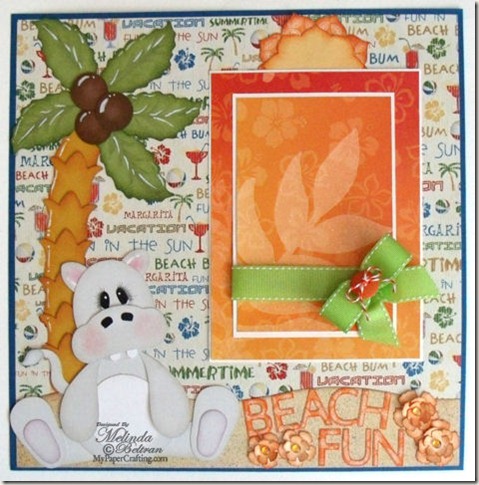
First: Here’s my Finished layout. It includes patterned papers from the DCWV Summer Stack and The Glitter Summer Stack as well as the Baby Girl Stack.  All images and die cuts were created from the Cricut Artiste cartridge. If you haven’t purchased your set yet, you can gladly do so through my link: HERE. So let’s get started with the quick “how to”
adding colored pencil to die cut-475
First, I inked the edges of my die cut “palm tree fronds” with New England Ivy Ink from CTMH Enchantment Mini Ink Pad Set.
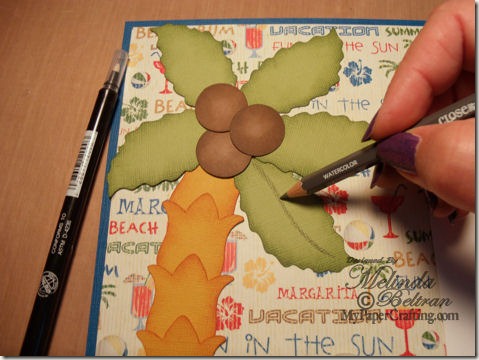
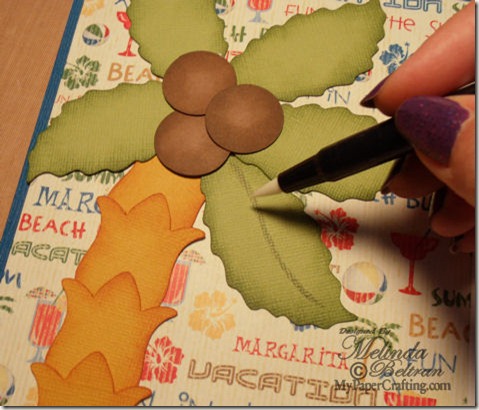
I took my Olive colored pencil from my CTMH Water Color Pencil set and drew a line down the center of my die cut.

cricut die cut blender pen stepa
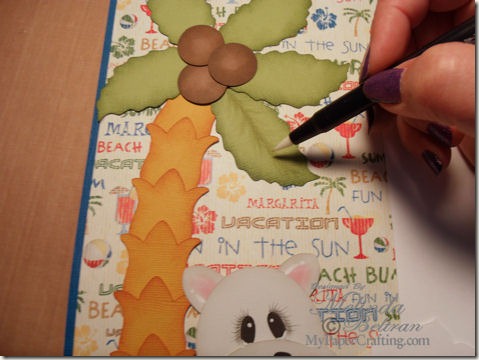
Next I took my blending pen and “colored over” the pencil line. Getting the pencil line “wet”
blender pen cricut die cut-475
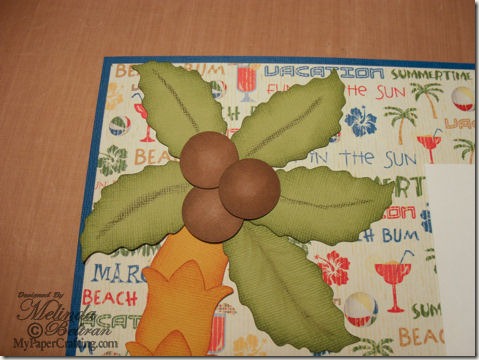
When the pencil medium started “mixing” with the blending solution, I was able to begin to “pull” the color out and that is how I created the “veins”

colored pencil cricut die cuts 475b
In this shot you can see the finished one…lower right. I decided it was kind of light so I made the next ones a bit darker. Once the original one dried, I was able to “repeat” the process to get it even darker.

ctmh inks-products-for scrapbooking-475
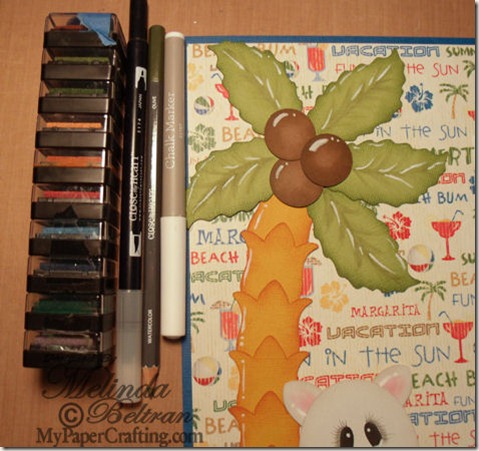
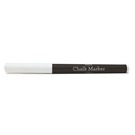
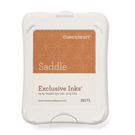
Here is a closer look at the finished “fronds” I used my white Chalk Marker to create the white marks. The New England Ivy Ink came from my mini ink pad set. These sets are perfect for decorating your die cuts in addition to a little stamp use. The “sponge” on these is softer making inking the edges of your die cuts more effective. I used my Saddle Ink Pad for inking the coconuts and the Autumn Terracotta Mini Ink Pad From The Enchantment Mini Ink Assortment.

cricut artiste beach title 475
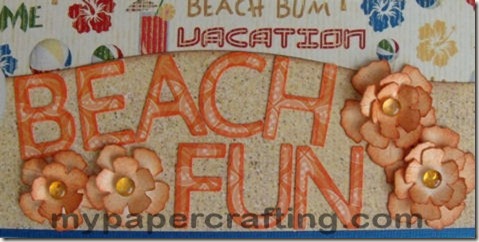
Closer look at the title letters. I used my Copic Marker to outline the letters. They were cut from the DCWV Baby Girl Stack. The flowers were cut from plain white cardstock and then inked with the Autumn Terracotta Ink from the above ink set.

photo mat 475
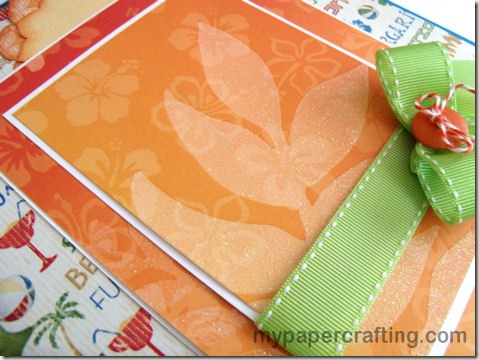
Here’s a closer look at the pretty paper. I was trying to show that it was pre-glittered and has a wonderful gradient. Sorry the picture just doesn’t capture how pretty it is.

cricut artiste hippo 475
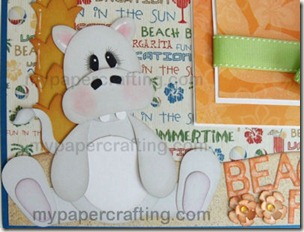
Here’s a closer look at my little Hippo Paper Piecing. I had actually created a little shovel and bucket for him, when I was creating his pattern, but ran out of time to add it in….Maybe next time Smile

cricut artiste hippo piecing-475
Finally, one last look at the entire layout.

Here are the products used to create this layout
Z2502-enchantment
CTMH Enchantment Mini Ink Pad Set
New England Ivy and Autumn Terracotta
Z1702-bakers-twine-paradise
summer glitter stack
DCWV Summer Glitter Stack
dcwv the summer stack
DCWV Summer Stack
basic brights
Pebbles Basic Brights Chalks
micron pen set

Additionally, I used:
Blue, White, Gray, Golden Rod and Green Cardstock
Robin’s Nest Plumeria Dew Drops
Miscellaneous Ribbon and Button.

DON'T FORGET CTMH Has a New Cartridge and Stamp Bundle: Artbooking! This looks like some serious fun! Be sure to get yours so when I start to work on projects with it...you can work along!
PLUS...Order This Set and Get the Stamp Of The Month FREE


Well, I think that about covers it! I hope you will give the water colored pencils and blending pen a try! You can really add some wonderful touches to all your die cuts! Thank you so much for sharing your crafty time with me! Be sure to come back tomorrow for another great project!
melin-sigj