13_07

Ric-Rac Rosette Ribbon Flower Tutorial and Layout

Good morning crafty friends,
Today I have a special layout to share with you. I created this layout for my niece who recently graduated. I wanted to make it extra special.


This layout features some beautiful flowers I created. I call them; RicRac Rosette Ribbon Flowers. I got my hands on some of the velvety ricrac from MAY ARTS Ribbon and started playing.


Here's how I made my layout

I created and cut my lattice heart with my Pazzles Inspiration. Next I used some May Arts Satin Ribbon and did some basic "basic weaving". I glued and trimmed the ribbon to the edges of the back of the heart.


Here's a close up of the butterflies. I inked the edges and added some Liquid Pearls to their centers.


Here is an angled look showing the dimension of all the pretty flowers. 


Here is a closer look at the rosette with a paper lace doily. I added some liquid pearls to different points on the doily for some additional "prettiness".


Here's a closer look at the little rosettes on the satin border "swag".  I added some pretty May Arts fuchsia pink polka dot ribbon for a splash of vibrant color.


Here's a closer look showing the rich pretty pink satin ribbon I used to weave through the scalloped paper circle frame.

How To Create The Ric-Rac Rosette Ribbon Flower.

Here's The How To Video


Video Note: I am still very new to all this video "editing" so please be patient as I work to improve :-)

Photo Step By Step Instructions.
Threading a needle, start on one end by going "up" from the bottom. Make sure you start on a "low" point of the ric-rac. 


Once you pull the thread through, go back down through the very next "low point" on the ric-rac.


Continue going up and down on the "low points" of the ric-rac.


One you pull your ribbon tight, your length of ribbon will now look like this.


Close up the ribbon and adhere to a piece of cardstock. This creates one layer of your flower. To create the second layer repeat above using a "longer" strand of ric-rac.


To create the centers, simply apply adhesive to a strip of the ricrac and then roll the ric-rac onto itself.


Here is what the rosette looks like before I add the center in.


This shows you the height of the finished flower.


This shows you the width of the flower.


Here is one last look at the layout.

I used the following products to complete this project
May Arts Ribbon
White Satin 2"
Pink Satin 1 3/8"
Pink Velvet RicRac
Fuchsia Center Dot
Quick Quotes Patterned Paper
Basic Grey Patterned Paper
Green, Pink and White Cardstock.
Martha Stewart Butterfly Punch
Opal Liquid Pearls
QQ Mocha Mama Chalk Ink
QQ Pink Chalk Ink
Misc Paper Doily

Thank you so much for sharing your crafty time with me.

A couple of Refreshing “Sneak Peeks” By Sandy

Good morning crafty friends,
Designer Sandy is here to day to share a couple of wonderful card creations.
She used digi’s from PCW. These are new digi’s that will be releasing tomorrow.


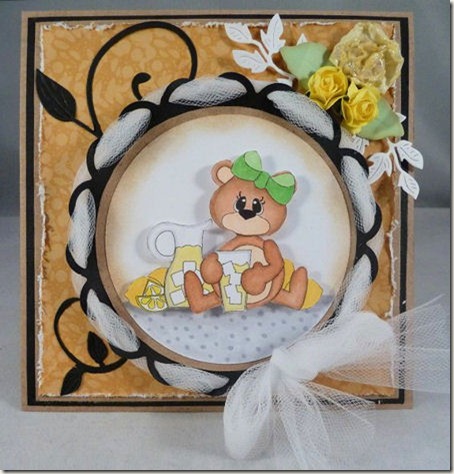
bear w lemonade-girlcard-450
First up: Look at this gorgeous card! She used some wonderful techniques including some wonderful distressing and some creative tulle weaving. 
bear w lemonade girl-ds-200
Digi Stamp Used: Bear w Lemonade Girl DS from PCW (Available Tomorrow)


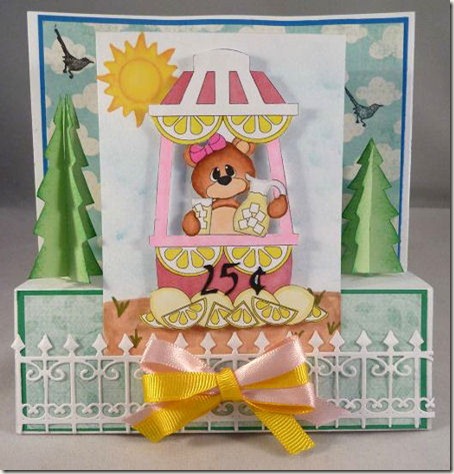
lemonade stand bear card-450
Next Up: Look at this AMAZING CARD! She created this beautiful scene card with this wonderful creative fold! Brimming with tons of techniques. 
bear lemonade stand girl-ds-200
PCW Digi Used: Bear Lemonade Stand Girl (available tomorrow)

Be sure to head over to Sandy’s Blog for all the details and find out how she made these super creative cards!


This week’s FREE Digi'
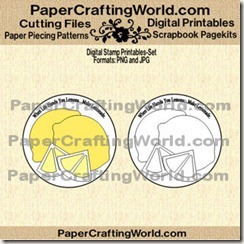
lemons2g-ds-ppr-325
CLICK HERE to download. Please note: The price will say $1.00 but when you add it to the shopping cart and check out, it will be free during this period.

DON'T FORGET TO SIGN UP FOR THE 
PAPERCRAFTINGWORLD.COM NEWSLETTER.
ADDITIONAL SUBSCRIBER ONLY FREEBIES, SPECIAL DISCOUNTS AND MORE

Be sure to stop back by tomorrow for a great layout and tutorial from Melin.

Card For Mariyah By Madison

Good morning crafty friends,
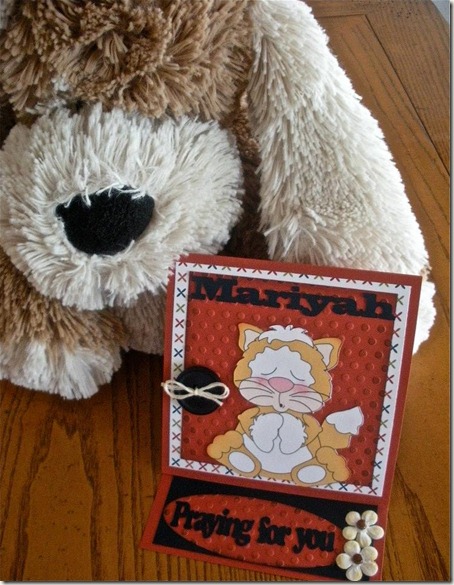
Today designer Madison is sharing another one of her adorable card creations. This card is for this month’s IFTL recipient, a sweet little girl named Mariyah.
If you would like to join us in making a card for Mariyah, be sure to head over to IFTL and do so!
IFTL card by Madison
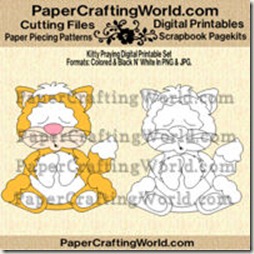
Madison used the Kitty Praying Digi From PCW.
kitty praying ppr-ds-200

IFTL Mariyah
This is sweet little Mariyah.


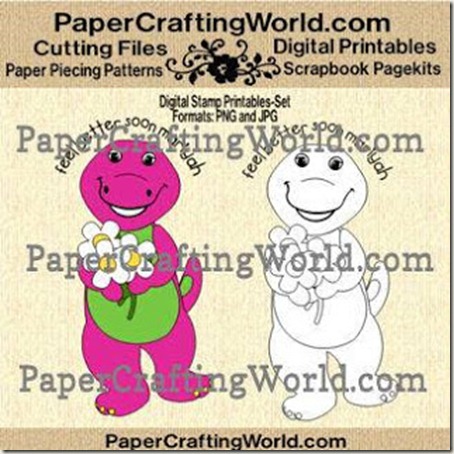
IFTL Digi
Mariyah loves Barney so here is a free digi you can download and use to create a card for this sweet little girl! CLICK HERE to download the digi.

Thank you so much for stopping by today! Be sure to check back in tomorrow as designer Sandy shares some “REFRESHINGLY FABULOUS” Sneak Peek cards!


Lattice Card By Larelyn

Hello Crafty Friends.  It's Larelyn, back to share a  project using another cut file (SVG) from
I hope you're enjoying our Sizzlin Summer posts.
The projects have been so inspiring and Melin's tutorials are wonderful!  I learn new techniques every time she shares one of her creations.

When Melin first shared her own Lattice Card to introduce the new file, I knew I had to try it using my Pazzles. I decided to change the orientation and arrange the flowers a little differently.  That's the great thing about the cut files.  They are delightful as designed, but you also have the ability to resize, reorient, do whatever you wish to make the design your own.

PCW cut file used: Basic Lattice Card

All of the papers are from the DCWV Lemon Flower Stack.  The ribbon is my own hand-died crinkle ribbon and the bow is black Crafter's Floss accented with a black gem.

I hope you'll visit my blog - Handmade From My Heart.

And be sure to return here to tomorrow to see what designer Madison Womack, has to share with you.

Hugs and Happy Crafting,

When Life Hands You Lemons…..

Good morning crafty friends,
I hope your Tuesday is shaping up to be a TERRIFIC ONE! I have a cheery project to share with you today! It includes “Sneak Peaks” of the files that will be released this weekend at PaperCraftingWorld.com!
water bottle treat holder card set
Here is my fun and easy to make set! I created a card to match my Water Bottle Treat Holders.  The Water Bottle Treat Holders come in two sizes. One for a standard sized water bottle and one for a larger water-beverage bottle.

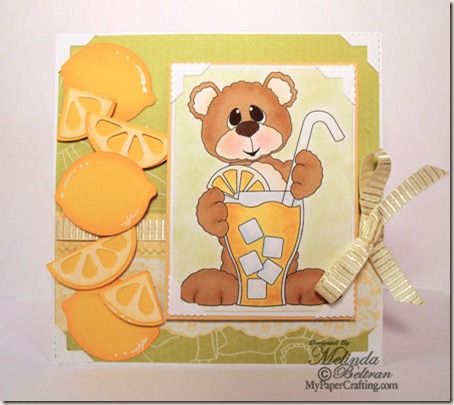
lemonade card svg digi-450
 Here is a closer look at the cute card. I used the lemons and wedges from the Lemonade Boy Stand CF set and the cute Bear With Lemonade Glass Digital Stamp. I used the pre-printed version and then used my dry chalks to add some shading and dimension. For instructions on how to do this, check out my tutorial HERE.

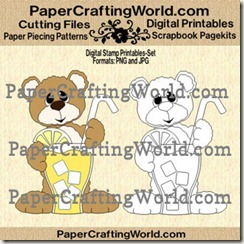
bear w lemonade glass-ppr-ds-325
Bear With Lemonade Glass Digi
RELEASING THIS SATURDAY

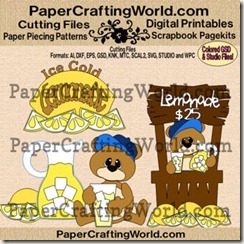
lemonade stand boy setcf-325
Lemonade Stand Boy v. Cut File Set.
RELEASING THIS SATURDAY

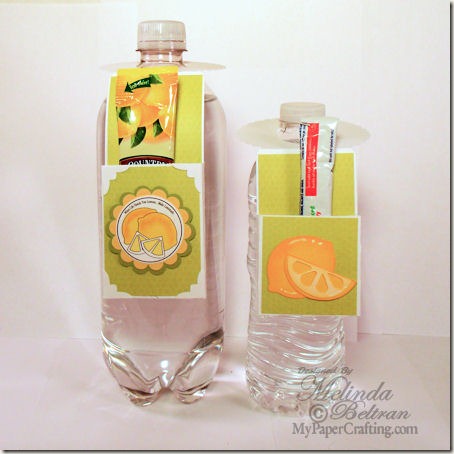
water-bottle-treat-holder-svg-template-450
 Here is a shot of just the two water bottle treat holders. On the larger one, I used the cute little lemon digi. On the smaller one, I used the lemon and wedge again from the Lemonade Boy Stand Cut File Set.

Be sure to sign up for my newsletter. I will be sharing quite a bit of information and even a special code for a SUPER discount on all the new files that will be released this weekend!
PLUS there will be a free subscriber only cut file and digi! You can sign up HERE

Products Used For These Projects
PCW Files Listed Above
DCWV: The Fresh Floral Stack
Yellow, Green, White and Cream Cardstock
CTMH White Chalk Writer
Dry Decorator Chalks
Misc. Cream Ribbon

Thank you so much for sharing your crafty time with me. Come back by tomorrow for a wonderful project from Designer Larelyn!
melin-sigj

Fourth of July Layout

Good morning crafty friends,

Today I am sharing one of the layouts that I recently created
as a kit. Yep, you heard right, I am producing kits again!!!

Be sure to sign up for my Newsletter. We will be sending those
out again Late-Friday, Early Saturday morning
(depending on your time zone..lol).

We will have subscriber only freebies and projects by our
designers as well as announcing the latest kits and premade pages!

Now that your 4th of July festivities have concluded, it is time to
get those photos printed and on to some pages! This kit is the
perfect project! Super fun and colorful but still created to allow
your photos and memories to take center stage!

BORN IN THE USA
born in usa page kit-450
A view of the entire layout.

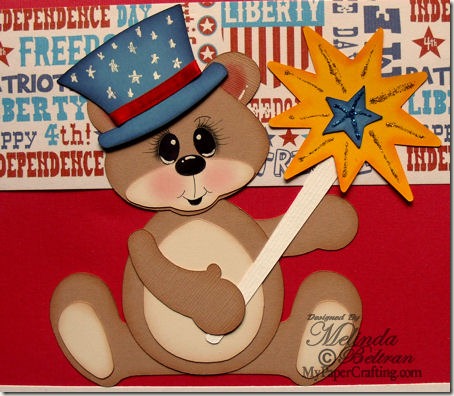
full bear paper piecing cu-450 born in usa
Closer view of the full bodied bear piecing. Holding his/her sparkler.

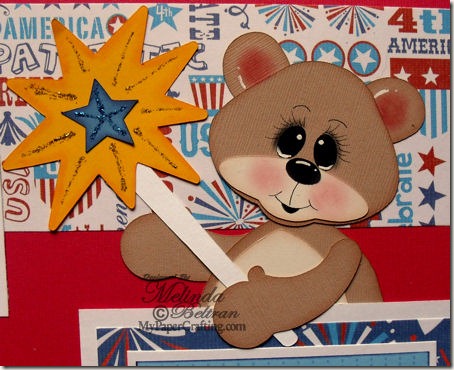
half bear paper piecing-born in usa-450
Closer view of the half bodied bear piecing holding his/her sparkler.

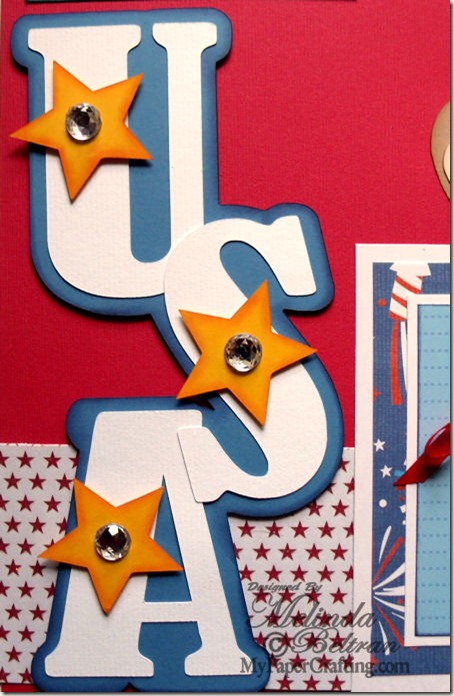
usa cu-450
Here is a closer look at the USA letters. Also, the red star patterned
paper is actually glittery…it just didn’t show in photo.

Again, sign up for my newsletter HERE to receive your
free subscriber only files and more!
By the way, I am entering this layout into the Cut It Up New Nations Challenge HERE

Thank you so much for sharing your crafty time with me. Be sure to come back by tomorrow for another great project from myself and Larelyn!