13_06

Digi Desserts Fridaze

Good Morning DDF Friends,
Thank you for joining us for another Digi Desserts Fridaze.   This is a special post as it is the last one for this Design Team term, so we will be saying good-bye to several of our wonderful digi gals.  Even though the Design Team term is officially finished, stay tuned as some of us will STILL BE HERE, providing you with some great crafty inspiration, ideas, tips and tutorials!
We are looking forward to a Sizzlin’ Summer of Paper Crafting!
We can't wait for you to see what we've planned.
Let's take a look at our final Digi Desserts projects.  I'm sure each designer would love to have you visit her blog and leave a little love!


PCW File Used: Butterfly Shaped Card and 
Angel Looking Down Vintage Graphic


PCW File Used:  Cupcake  Patriotic


Here's Suzanne's facing page to last week's layout


PCW File Used:  Butterfly with Flower


  Details Post Coming Soon

PCW Files Used: Teddy Bear Angel DS (Coming Soon)
and Sympathy Sentiment DS (See Below)


FREE DIGI DOWNLOAD
Here is this week’s free digi. Be sure to grab it while it’s free (this week only)
NOTE: the image will show a price of $1.00 
but when you check out, it will be free during this link up.


 We hope you continue to visit because the Paper Crafting World designers 
will continue to share projects using Melin's fantastic 
Digital Printable Stamps.

And, you'll still be able to grab a free digi image every Friday
-Larelyn and the MPC Digi Gals

Totally Tags n' ATC's Anything Goes


Good morning, Suzanne of Cricut Crafting Grammy. We are back on Thursdays to explore different themes, elements, techniques or embellishments. This week "Anything Goes"   on our tags and ATC's. There is no restriction on what tools are used to create these tags or ATC's. It could be a die cut machine, punches, stamps, etc. The sky is the limit. However if the Design Team uses Digis or SVG's they will be from Paper Crafting World. 

So let's see what all the designers have in store for you today. 
I hope you are like me and look forward to this post each week.  
Remember to click on the links to see more info about each project.


Patriotic Tag 


PCW File Used: Bear I Heart USA Digi  ATC size


Used a  Prima doll stamp and scraps  


Details Post Coming Soon
PCW File Used: Tag Lattice V4, Peony v613 Cutting Files (Coming Soon)
and this week's free vintage graphic.


Free Vintage Graphic
CLICK HERE to download
NOTE: the image will show a price of $1.00 
but when you check out, it will be free during this week only.

Be sure to come back tomorrow for another 
Digi Desserts Fridaze Showcase and another FREE Digi!
-Suzanne and the Totally Tags n' ATC Designers

CWC 140

Good morning crafty friends,
Thank you for joining us for another Wonderful Wednesday Crafting With Cartridges showcase. This is a special post as it is the last one for this design team term. We will be saying good-bye to several of our wonderful designers. Be sure to visit with them on their blogs Smile As a side note: even though the Design Team term is officially finished, stay tuned as some will STILL BE HERE, providing you with some great crafty inspiration, ideas, tips and tutorials! We are looking forward to a Sizzlin’ Summer of Paper Crafting!

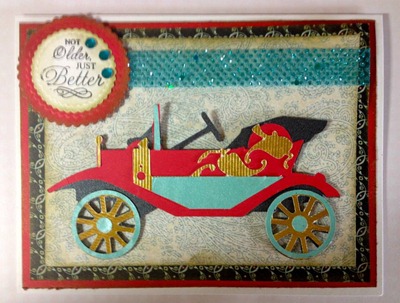
For our last showcase, we decided to do an “anything goes” theme. So our designers were tasked with creating a project using one of their cartridges with any type of theme. Here is what they came up with:


brenda-s2013
Cartridge Used: Base Camp
brenda-base camp-500

charlotte--s2013
Cartridge Used: Wrap It Up
charlotte-wrap it up

janet--s2013
Cartridge Used: Everyday Pop Up Cards
janet-pop up cards


sheena--s2013
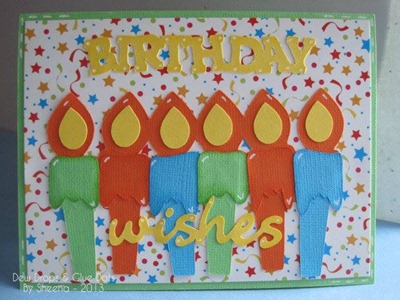
Cartridge Used: Birthday Bash
sheena-birthday bash

suzanne-s2013
Cartridge Used: Flower Shoppe
suzanne-flower shoppe


Cartridge Used: Art Deco


melin-s2013
Details Post Coming Soon
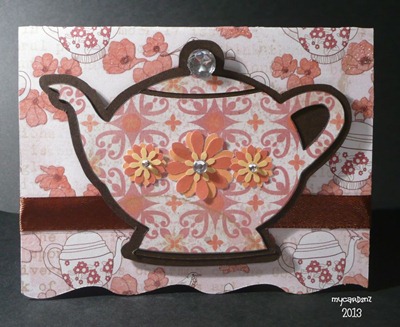
Cartridge Used: Wrap It Up


 Thank you so much for stopping by and sharing your crafty time with us! Please be sure to stop back by tomorrow for our final Totally Tags N’ ATC’s Designer Showcase Post with FREE Vintage Graphic.

Melin and the CWC Designers

Die Cut Chalk N' VersaMarker Tutorial - SVG Freebie

Good afternoon crafty friends,

I apologize for the delay in getting today’s post up. I had to deal with Mr. Bright house….He is my internet and cable provider. He was a friendly fellow, but had to take my internet and cable away for a short bit. I didn’t think it would take as long as it did, but oh well. Everything is fixed…I say that while holding my breath…lol!

Anyway, on to today’s project.

julycard-475-white back
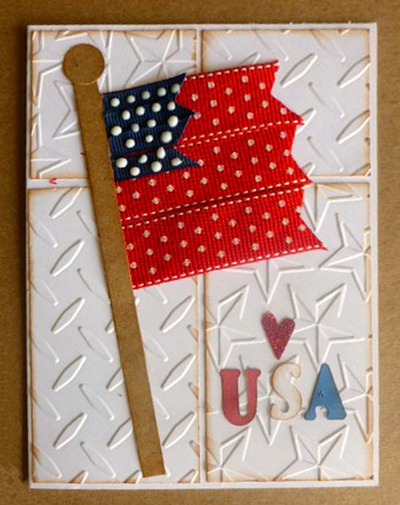
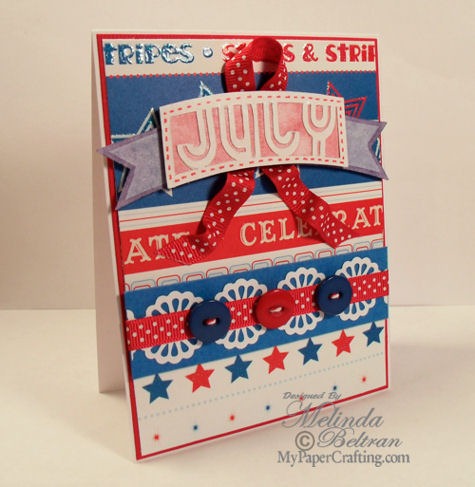
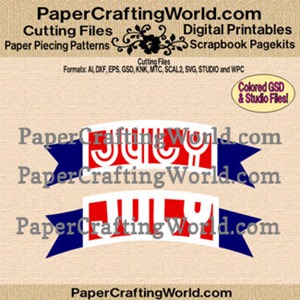
Here is a view of my completed card. I decided to create a fourth of July card with this week’s free svg file from PaperCraftingWorld.com

closeup-sideview-475
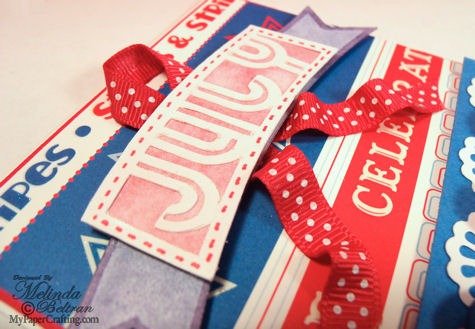
Here is a close up and side view of the completed cut file.

Die Cut Coloring With Chalks and Versa Marker Pen Tutorial
chalk n supplies-475
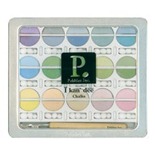
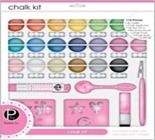
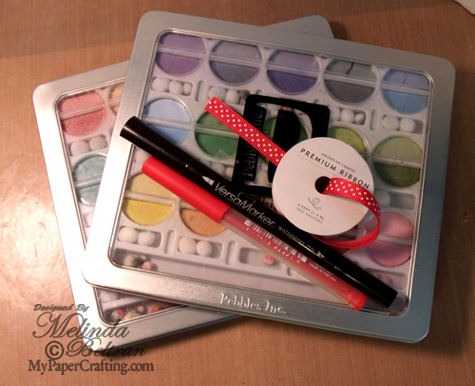
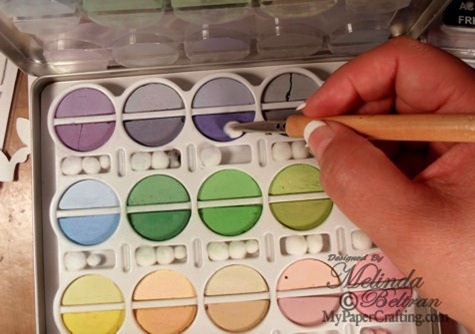
You will need your Chalks, Versamarker and Pen to do the die cut. This is a little different from the other tutorial that features chalk coloring with your "BLENDER PEN".

outline w versamarker-475
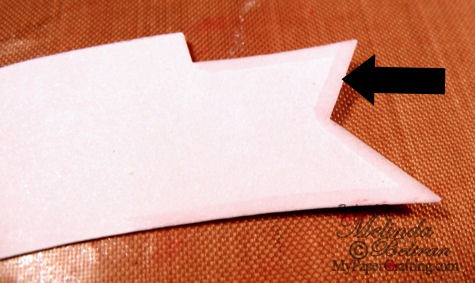
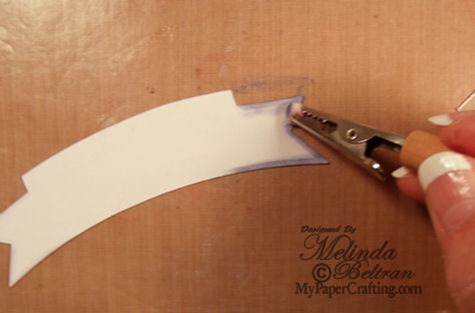
Start with your plain white die cut. Use your Versamarker brush pen to “outline your die cut. It is a bit hard to see, but the color right on the edge is “versamarked”

blue-chalk-475
Use applicator to load your pompom with your desired color.

brushing ourline-475
Taking your chalk, go ahead and brush it onto your die cut. You will see that the versamarked edge will grab the chalk and make the color more intense.
finished blue-475
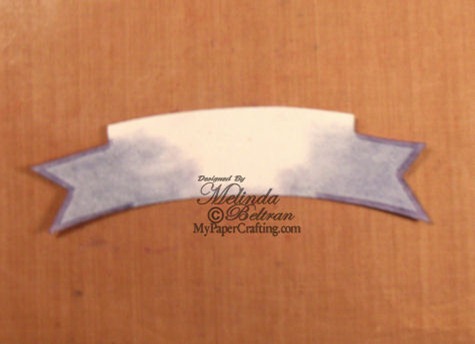
Here is a shot of the die cut once it has been colored in. The edges have a slightly darker appearance. This is a great alternative if you don’t have a pen that matches the color of your die cut and want to add some simple depth to your cut. The main difference between this technique and the one I showed you with the "blender pen" is that the Versa Marker Pen does NOT allow you to soften the lines. There is a definite demarcation from where you "versa mark" versus using the blender.

red chalking-475
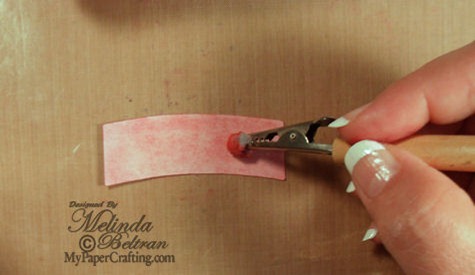
Next piece, I simply brushed some red chalk onto my piece. Again, I like the effect of the “airbrushed” look by starting with a plain white die cut.

Note: you do not need a different blender pen for each color. Simply use a piece of scratch paper to brush your pen onto until it "runs clear" again. While your nib will get "stained" it will run clear and then you can use a different color.


closeup-sideview-475
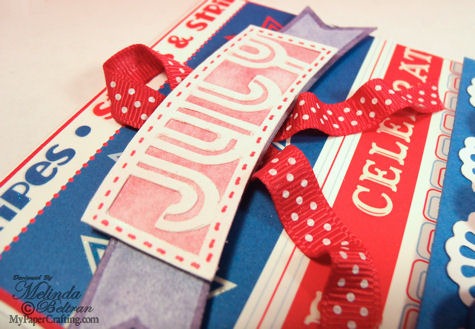
Lastly, I assembled the die cut layers and added some faux stitching with my red pen. I used some foam dots to raise the die cut off the paper. I also used some of the American Crafts Dots Ribbon. The great thing about this ribbon is that it has adhesive on the back and this allowed me to make the “waves” on the ribbon to give the appearance of movement.
freesvg-2013
july titlecf-325
CLICK HERE TO Download
Please Note: The file will say $1. However, if you add it to your shopping bag, it will be free when you check out during this free period.

Products Used to complete this project
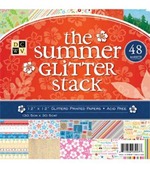
summer glitter stack
DCWV Summer Glitter Specialty Stack
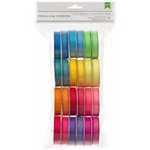
polka dot value ribon pack
American Crafts Red Polka Dot in Value Pack
Additional Products
Red, White and Blue Cardstock
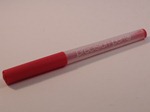
Versa Marker Pen
Twine
Misc. Blue and Red Buttons
EK Success Border Punch

Thank you so much for sharing your crafty time with me. Be sure to come back by tomorrow as the gals share their Cricutlicious projects with you!
melin-sigj