13_03

Terrific Tuesday-SVG Link Up , Showcase-Freebie

Good morning crafty friends,
It’s Tuesday and that means it’s another Terrific Tuesday SVG Link Up and Showcase. The designers have been busy creating some beautiful works of h(art). So let’s get right down to business!
71614_404433919625516_1117361017_n

chriss
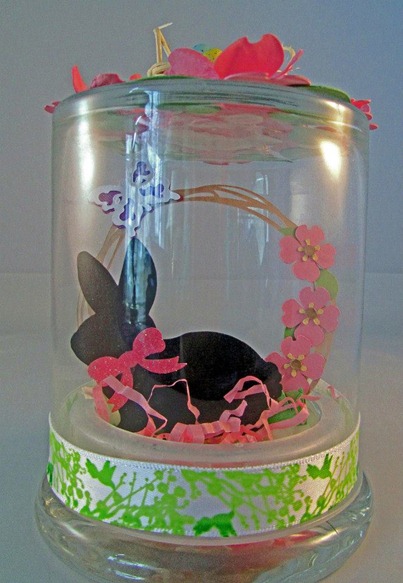
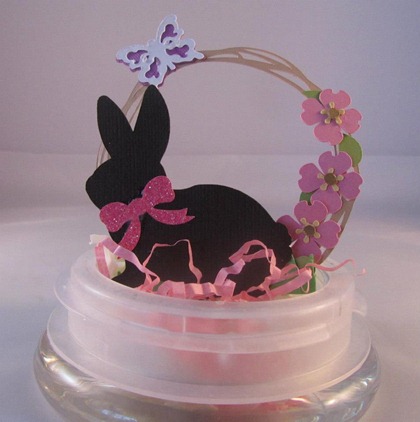
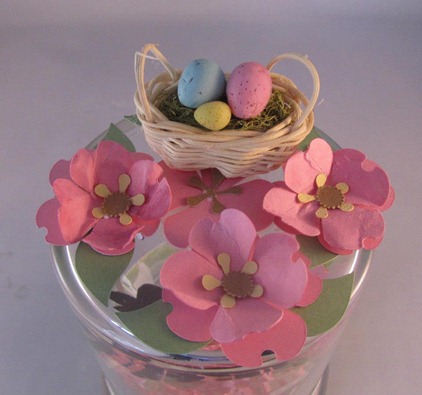
PCW Files Used: Bunny Silhouette and the Dogwood Wreath
576556_10200726757198578_464819482_n
67005_10200726757678590_57866347_n
3628_10200726756718566_1803889648_n
xochitl
575671_10200828949909903_964242279_n

lynden
45211_10200194098749765_1861062177_n


melin
Details Post-Coming Soon
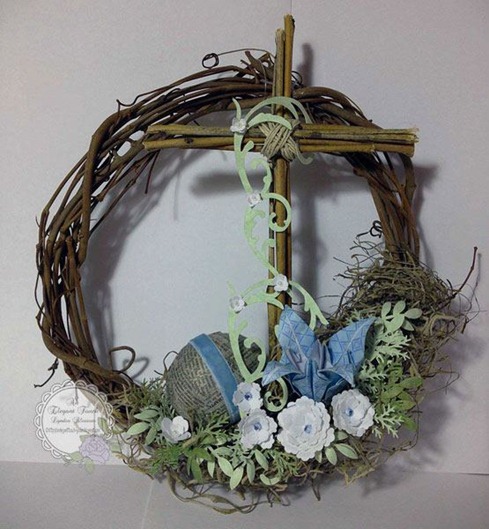
PCW Files Used: Cross V13, Bunny Praying CF


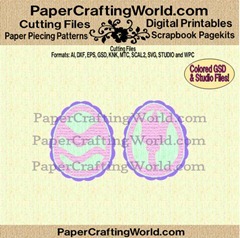
This Week’s Free SVG
easter egs 2g ppr-cf-500
Please note: The Price will say $1, but when you add it to the cart and checkout, there will be no cost during the next week.

Now it’s your chance to link up your SVG creation.
Here are a few guidelines
* Project must be new and for this challenge. Please no back dated posts.

* Project must use any cutting file from PaperCraftingWorld.com. You are welcome to use the free weekly files we offer too!

* Your project must include a digital craft cutting file (like SVG, WPC, GSD type) using any type of electronic cutting machine (Pazzles, Cameo, Silhouette, E-Craft, etc.)

* Add the link to your project post below. Please link your direct post and not just your blog.
* Your post must also include a link back to our link up here, which is always appreciated.

* HAVE FUN!!!!
Thank you for stopping by. Be sure to come back tomorrow as our Wednesday Craft With Cartridges Designers will have another fun challenge for you.
-Melin and the SVG Designers


Cartridge Showcase: Damask Decor


Hello, and welcome to this week's cartridge showcase, Damask Decor. And what a great cartridge it is.  Along with the regular cuts, there are two different layer cuts,  silhouette cuts, tag cuts and a card and envelope cut.  


This card was such a simple one to make.  I used the card cut for the base of the card and then the card overlay cut.  I then added a strip of  brown to the card and topped it with a pink ribbon.  And then to complete the card I added a bow and gems.  How easy wss that!!  


I had this wonderful trim that I had been eager to use and when I saw these papers of the same colors I knew I had a project ready to be made.  I began with a white card base topped with a turquoise damask printed mat.  I then added the green and purple matstopped with the tri-colored trim.  The pretty damask design was added and adorned with some little gems.  The little bird was cut from the Give A Hoot cartridge.  And the sentiment is from a K Andrew stampset.  And then I finished the card with a pretty crinckle ribbon bow.   This card has always been one of my favorites because it is so unusual.   


This little damask shaped card was cut made by welding two shapes together with my Gypsy.  The little heart is a favorite shape of mine and one I have used often.  This card was embellished with an eposy sticker that says Live, Laugh, Love, some little pink gems and three tiny pink roses.


This little teapot card was so easy to make using the card cuts on the cartridge.  A small blue bow was added.  I just love this teapot cut.  

I have also used Damask Decor to make a couple of banners.  


This first banner is has a shabby chic look to it with the pretty pale colors.  It says "Bliss" and hangs from an antique French armoie in a guest bedroom.  It is embellished with pretty roses, silk ribbons and sweet gems.  


I made this Christmas banner to use on a bulletin board in my classroom.  The banner base shapes began with the Damask Decor cartridge.  I really like these shapes to create a banner.  The ginerbread and candy shapes were cut from various Christmas cartridges.  The banner hangs from a sheer red ribbon.


This shaped card was made with the pumpkin from Damask Decor.  I added several eposy fall leaves, a tri-colored crinkle ribbon bow and a sentiment stamp.  

Here is another card made with the pumpkin cut.  It is a shaker card.  And oh what a fun card it is.


I hope to see you visiting again here and by blog, A Little Bit Of Detail.
Charlotte


Here are my Damask Decor Projects.
I made this card for the Craft With Cutters Challenge this past Wednesday.
There is still time to join us HERE


Last March my youngest brother got married. We made these center pieces very economically by decorating some plain white boxes with some cuts from the Damask Decor cartridge. I used some Bazzill Bling for the Teal color paper so there was a very soft shimmer to them (not captured in photo).

Here is another shot of the center pieces featuring the Damask Decor Cuts. The wine bottles were bottles that my sister in law picked up from a local bar. They were kind enough to save her the empties. We just scraped the label off them and created our own. Each table had a different looking bottle (color-style) and that added some charm. The idea was that it was supposed to represent a "message in a bottle" theme. You can't see the top of the bottle but we rolled a "thank you note" and stuffed it into the bottle top. Sorry I don't have anymore pictures, but I was the pseudo wedding coordinator and was running like a chicken with her head cut off and these were the only pics I could secure for today.

And Last, but not least....


what would playing with my cartridges be if I didn't at least try to create a cute animal paper piecing out of it? So here is what I came up with. This super adorable bunny is made with all cuts from this great cartridge. So who says that Damask Decor can't be both elegant and CUTE?!!!  LOL.
I haven't finished the layout this little Critter will be on, but when I do, I will definitely share :-)

Thank you so much for stopping by. Be sure to visit Charlotte and leave her some love for all the delightful Damask Decor projects and inspiration she has shared and don't forget to come back tomorrow and check out what our lovely SVG gals have been up to!!!!
Have a wonderfully crafty day!
-Melin

Digi Desserts Fridaze


It's officially spring and time for another round of digital creations. The design team gals have some fantastic projects for you today. The winner of last week's Link-Up party will be announced at the end of this post along with a link to this week's FREE digi.


Tutorial For Making Paper Rose: HERE
PCW Digi Used: Easter Blessings (This week's freebie-see below)
Papers: DCWV Fresh Floral Stack
CTMH Butterfly Stamps


Brenda's Blog
PCW digi used: Chicky n Egg with Basket


PCW digi used: Roses Two-Double


Here's this week's FREE image:
NOTE: the image will show a price of $1.00
but when you check out, it will be free during this link up.


Winner - Winner - Winner!!!!
Thank you, thank you to our crafty friends who linked up to our Digi Desserts Fridaze Post.
We always enjoy your projects.
We hope you'll make DDF a regular stop on your Friday challenge list!


Our Digi Desserts Fridaze March 15th winner is
Lisa D. 
Congratulations, please contact Larelyn at
to choose and receive the single digital image of your choice from PCW.
Be sure to grab your top dessert button and strut your stuff on your blog. You can grab the button above, or get the code HERE

~Don't Forget~

We are looking for GUEST DESIGNERS
****To be selected as a guest designer, your Link-up project
MUST USE a DIGITAL IMAGE from Paper Crafting World.****
Not only will you be invited to join us, you'll also receive a free image from PCW to use for your Guest Designer project.


Now it's your turn to play along.
Create something using a digital image and link to this post.
If you use an image from PCW, you will receive 2 chances to win.
It's easy to participate in our Link Up. There's a tab on the home page that will bring you directly to this DDF page whenever you're ready to share your project. Link Up your digital design for a chance to win a free single image from

Here are a few guidelines:
*Must use a digital stamp image (receive 2 entries if you use a PCW image)
*Only one non-PCW entry per person - your second entry (if you choose to enter more than once) must use an image from Paper Crafting World.
*Must be a NEW project for this Link Up; no backdated posts, please.
*Must have a link back to this post on your blog.
*Must link your project through Inlinkz and not just your blog.
Larelyn and the MPC digi gals

Watch Me Grow Layout details

Hello crafty friends,
Here is the details post for the Watch Me Grow Layout I created for this week’s Cartridge Showcase: HERE

Watch Me Grow Layout
sugar-spice-cartridge-layout-project[2]
Here is a view of the entire layout.  The Grow letters were stamps but the square scalloped cuts were from the cartridge. The Watch Me… is from a Close To My Heart Stamp set too.


sugar-spice-cartridge-border-layout-[2]
Close up of the right page border. All of the cuts were from the Sugar and Spice cartridge. The flowers were decorated with Close To My Heart Stamps. I did change the eyes for some of the animals as I am not a fan of the “cricut” eyes. ALTHOUGH all the “CUTS” for the eyes are on this cartridge. I just substituted some and made some bigger than the size prescribed.
sugar-spice-cartridge-border-layout-[5]

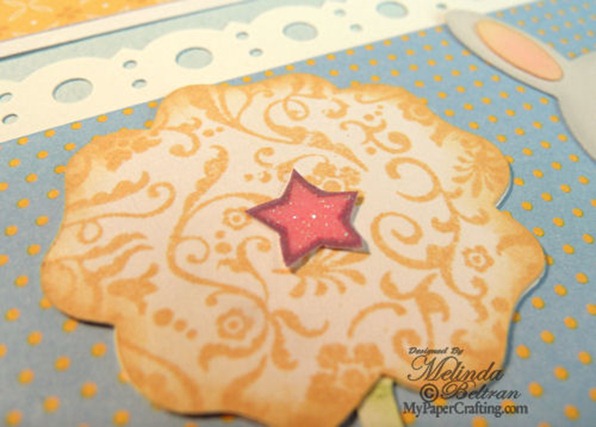
flower w star cu-500
The centers of the flowers were actually cut out of the Nana’s Kids paper that I used. The stars already have glitter on them so I thought….waste not want not. The flowers all started out as plain white die cuts. I stamped them with my Close To My Heart Stamps.

Products Used:
Urban Alphabet Stamp Set (Grow letters)
In The Background Stamp Set (Flowers)
Lucy Workshop On The Go Stamp Set ((Retired) Watch Me in Title))
Brown Bag Ink Pad (Discontinued Color)

Other Products
Cricut Sugar & Spice Cartridge
Recollections Patterned Paper
Nana’s Kids (Multi-Colored Glittered Paper)
Martha Stewart Border Punch
Black Fine Tip Pen'
White Gel Pen
Dry Decorator Chalks (Pebbles Inc.)
I think this layout turned out really cute. The pictures just don't do it justice. I am once again entering this layout into the Heart 2 Heart March madness Spring and Go Green Challenges. Spring as the flowers and a new baby theme represent spring to me. The Go green is for "re-using" my retired stamps and discontinued ink pad as well as "upcycling" the stars from the paper. Thank you once again for sharing your crafty time with me :-)
-Melin

Love Layout Details Post


Hello crafty friends,
Here is the details post for the Love layout I created on Monday’s Cartridge Showcase: HERE

LOVE LAYOUT
sugar-spice-cricut-close-to-my-heart
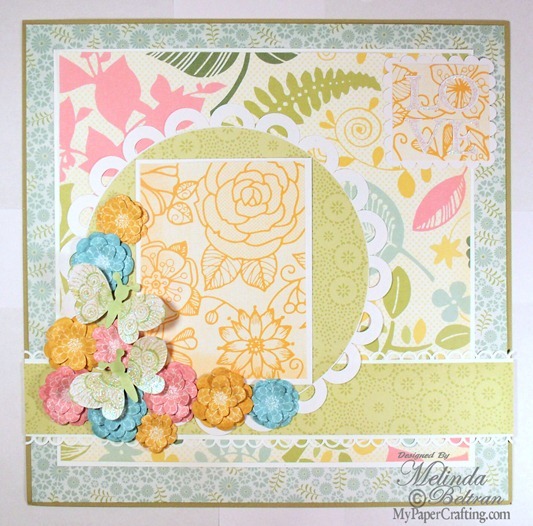
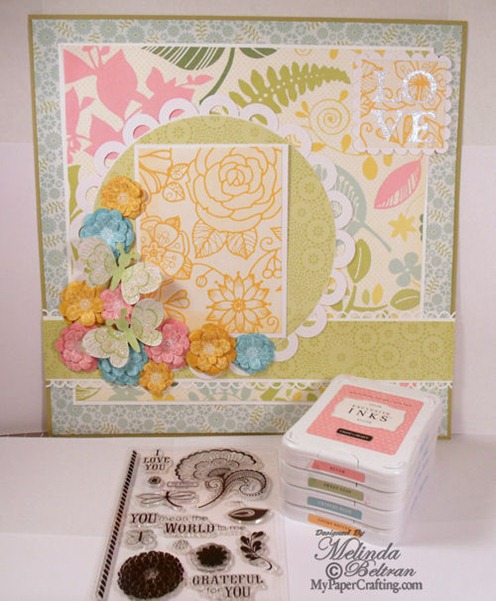
This is a view of the entire layout.

sugar-spice-cricut-layout-flowers-bu[1]
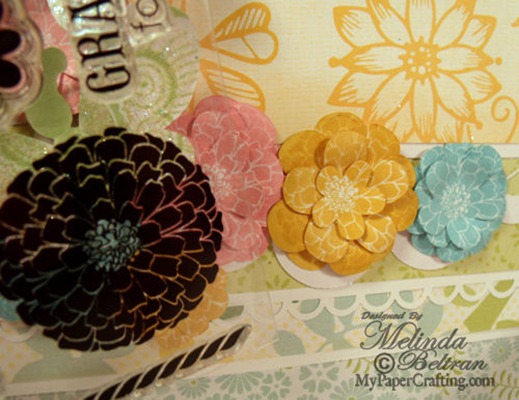
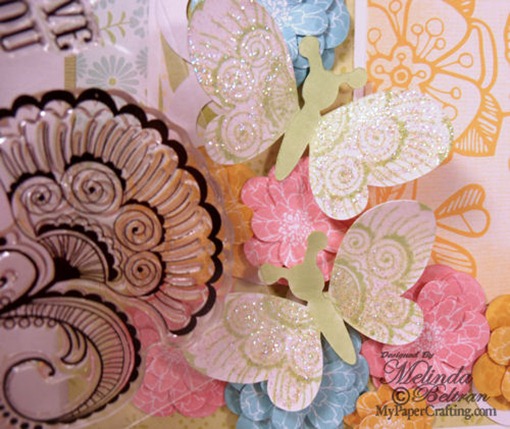
Here is a close up of the cute cluster of flowers and butterflies. All of the flowers and butterflies were created with the Sugar & Spice Cartridge.  The Scalloped circle frame as well as the love and square scallop were also created with cuts from this cartridge.

ctmh flower stamped 500
This shot shows the stamp I used to stamp the flowers. All the flowers started out as plain white. Even though the flower isn’t the same style as the die cut, just trying to center it and stamping it came out really nice. I was able to create the flowers in the different colors by simply using the different inks. I love how they are all coordinating colors so “matching” is a cinch!

wings stamped close up
This shot show the stamp I used for the butterfly wings. I then covered them with the Stardust Glitter gel. As you can see they are not perfectly mirrored wings but I think they still look great. I used the Sweet Leaf to stamp the wings as well as to sponge some on the center of the bodies. The butterflies started out as plain white die cuts as well Smile

closet to my heart layout project idea stamps inks 500
Here is a list of the products I used to create this project:
 Close To My Heart Products
Pemberly Workshop On The Go Stamp Set (Retired)

Other Products Used

Sugar & Spice Cricut Cartridge 
Saguaro Bazzill Cardstock (Olive-Green Cardstock)

DCWV Fresh Floral Stack for all the Patterned Paper
EK Success Border Punch

I think this layout is so springy and such a wonderfully cheerful page. I am entering this into the Heart 2 Heart March Madness Challenge as it fits in with their Spring and Go Green challenges. The Go green is for using my retired stamps and the Spring is for well… the entire layout sings spring. Be sure to check out the other projects I made for the cartridge showcase HERE.

Thank you once again for sharing your crafty time with me!
-Melin