12_07

CWC #95: Buttons & Brads


Happy Wednesday and welcome to Cooking With Cricut!  Our challenge this week was to use buttons and/or brads on our projects.  Our Design Team's projects are . . . well . . . cute as a button!  
Don't forget to click over and visit our Designer's blogs -- let them know how much you enjoy their little works of heart!

Cricut cartridges used:  Celebrate with Flourishes, Jasmine
A Child's Year, Create-A-Critter and Summer Vacation


Hattie used Cricut's Plantin SchoolBook cartridge for her second layout.


Cricut cartridges used:  Life's A Beach and Pack Your Bags


Cricut cartridges used:  George & Basic Shapes and Mini Monograms


Cricut cartridge used:  Paisley


Cricut cartridge used:  Plantin SchoolBook
PaperCraftingWorld.com cutting file used:  Bear Blowing Bubbles Girl


Cricut cartridge used:  April Showers


Cricut cartridge used:  Kate's ABCs


Cricut cartridge used:  Cake Basics


Cricut cartridges used:  Sweet Treats and Art Philosophy


Cricut cartridges used:  Nate's ABCs and Martha Stewart All Occasions


Cricut cartridge used:  Storybook


Cricut cartridge used:  Wild Card


Cricut cartridges used:  9 Months and Imagine Nursery Tails


Cricut cartridges used:  Mickey Font and Mickey & Friends


Now, it's your turn!  Link up your button and/or brad project before midnight next Tuesday for your chance to be our next Top Chef!  Here are the guidelines:
  • Must follow the challenge topic.
  • Must be a NEW project for this challenge, please no back dated posts.
  • Must have a link back to this post on your blog. 
  • Must link your project through Inlinkz and not just your blog. 
  • Must use your Cricut in some capacity.
  • Must have fun!
  • You may gladly combine challenges . . . we love to pile it on TOO!
Thank you once again for stopping by and making us a part of your crafty time! We appreciate each of you so much!  Don't forget to stop by tomorrow and check out what Chef     Natt has whipped up featuring the Cricut Songbirds cartridge for our Thursday Showcase! 

~ CWC Design Team


PCW Die Cut or Stamp Challenge


Good morning crafty friends!  Welcome to another Terrific Tuesday PCW Die Cut and or Stamp Challenge. We hope you are enjoying your summer and can find a little time to craft in between holidays, vacations, summer breaks, etc.  To help get your mojo going, Designer Candice our hostess with the mostess this week, has given us a great summertime challenge -- Let's Go to the Beach!

So be sure to use something "beachy" in your projects. Here is what the wonderful PCW designers came up with.


PCW Files used:  Bear with Sand Bucket Digi Stamp and 


PCW File used:  Lighthouse (released soon!)
DIRECT POST LINK


DIRECT POST LINK


PCW File used:  Sandcastle Digi Stamp
DIRECT POST LINK


Sun Digi Stamp (released soon!) and Life's A Beach Digi Stamp (released soon!)
DIRECT POST LINK


and Sun from the Apple Tree Set Cutting File.
DIRECT POST LINK


Now it’s your turn to share your wonderful beach themed projects with us! Here are a few guidelines to help you with our challenge:

  • Project must be new and for this challenge. Please no back dated posts.
  • Project must follow the theme – challenge as described above.
  • You may use one of the free files in your project. Or one you may already have from  PaperCraftingWorld.com. This isn’t mandatory, but we would love to see what you do with them!
  • Your project must include either a stamp: rubber, clear OR digital and OR a digital craft cutting file or a die cut from a hand machine die cutter (Spellbinders, Big Shot, Sizzix, Lifestyle Crafts, etc.) Pretty much anything besides a Cricut. Punches would be fine too!
  • OUR CHALLENGES ARE NOW WEEKLY! More challenges, more fun!
  • Add the link to your project post below. Please link your direct post and not just your blog. 
  • HAVE FUN!!!!

Be sure to come back tomorrow for our new Cricut Challenge and more!


P.S.  Melin had technical difficulties with her computer this morning and jury duty on top of that; so please check back later for the free file.  Thanks!  ~ Jen


Cricut Showcase: Wild Card

Hello everyone and welcome to another Cricut Cartridge Showcase.  Today Michelle, from Michelle's Crafty Creations is bringing us a fabulous showcase from the Cricut  cartridge WILD CARD.  You will love these projects and surely want to visit Michelle's blog to see just how talented she is.


Hey all my crafty peeps out there!!  It's Michelle from Michelle's Crafty Creations!

I hope you all enjoyed your weekend!  We did!  :)

Today I am bringing you just a few projects from Wild Card Cricut cartridge.  Can I just start off by saying I was a little intimidated to use this.  I had read SO many message boards and comments about how people really didn't like it and their cuts never matched etc. etc.  Let me just say......I LOVE this cartridge!! OH. MY. WORD.  I have many projects in the making (on my Gypsy of course) ready to roll out.  What a fun cart!


For my projects today I designed all of them on my Gypsy.  I didn't use EVERY feature, but I tried to bring you a couple of different takes on them.

The first project is the "Tweety card" (sounds cute huh?) IT IS!!  I used the card, envelope, liner, and icon.

LOVE this paper! 
Here you see the patterned paper used as the card liner and the bird is the icon feature.

The envelope with the envelope liner outlining the "tweety"
(You can use the blackout feature and it won't cut the bird)

Here is the liner with the envelope

Card and envelope 
Card measures 5.45x2.67


This next project is a gift box.  I HIGHLY recommend using a two sided paper.  It makes it more pleasing than just a white interior! There are two gift boxes, I used the 2nd one (press shift).  I used the frame and liner feature for this.  I also used the "A" from this cart to monogram the frame feature.  I designed this on my Gypsy so I could copy the frame and weld the "A" to it.

I used two sided paper (from MS-I think) to form the box.  I flipped the "A" on my Gypsy so it would use the opposite side of the paper. LOVE how it came out!!

I adhered acetate (ok..who really owns that stuff??  I used plastic from one of my cricut carts and cut some out to fit the frame..LOL) I then added the liner (which is the highlight around the opening of the box) and then glued the frame which is the monogram and strip onto the "acetate"

I glued 2 sides of the gift box to leave open only one side.  It has a pre-cut notch to open easily.
(Gift box cut at 11.20 x 5.69) I plan on filling it with monogramed thank you cards

Now for my FAVORITE!!  Yup...you guessed it, the owl card!!! AHHHHH...he is SOOO cute!
For this card and envelope I used the card, envelope, icon, and liner feature.
I LOVE this paper set.  It is old and from MS (same as the giftbox) but it is SO versatile!)
LOVE this envelope...seriously...this is too pretty!!
The tree trunk, tree top, and grass is the icon feature. I used two sided paper and just flipped the tree trunk on my gypsy so it would cut accordingly.

Here is the liner of the envelope

The owl card was also cut using two sided paper.  I inked the owl eye-liner (hehe) and adhered it with foam dots for dimension.  

I "ruffled" the feathers of the owl for pop and inked the edges of them and the rest of the card using Ranger Distress Ink Tea Dye.

Owl card cut at 8.30 x 4.41

This has been SUCH a fun cart to work with.  If you have it and haven't tried it...then what are you waiting for??!!  You can use the frames, icons, alphabets and all the other great features they have for any project you might make from scrapbook pages, gift boxes, cards, and even home decor.  Be on the look out for more projects featuring this cart!  

Hugs and Happy Crafting!

Thank you Michelle for all the great ideas and the amazing projects.  Remember, you can visit Michelle at her blog HERE.  When you do, please leave her some love.  Thank for joining us for another showcase.  We hope you will come back and visit often.

2 Cards, New Files, Sale!

Good morning crafty friends,
Today I wanted to share a couple of cards I made and also some information on our upcoming blog hop, new files at PCW, etc. So let’s get started.
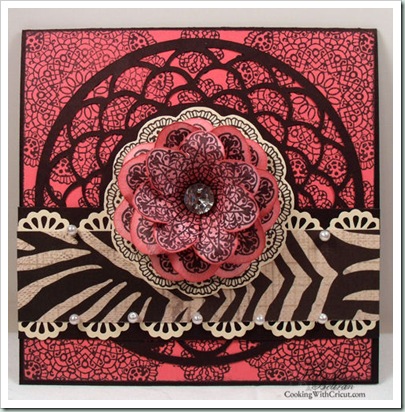
First: I created these two cards using some CTMH products.

The finished card size is 5.5 x 5.5
CTMH Product:
 Black Cardstock
Simple Memories Stamp Set
Bling Assortment
Doily Scalloped Circle Cutting File Set from PCW.
Designer Paper (Zebra Stripe) and Hot Pink Cardstock from the Roxie Designer Paper Pack
Cream Cardstock
EK Success Scallop Border Punch
Pearl Accents

roxie card-500
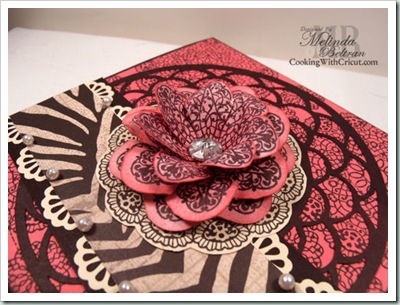
rose close up-500
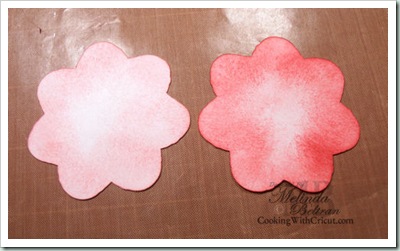
inked flower outlines-500
Inked the flower cut outs with my Blush Stamp Pad and then with my Hollyhock Stamp Pad on the outer edges.
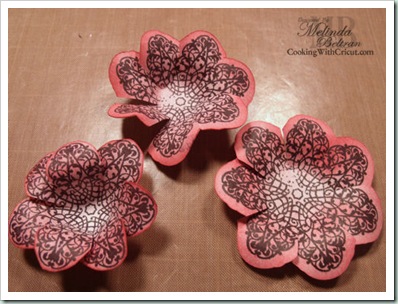
flowers curled-500
I then used my Black Stamp Pad and one of the designs from the Stamp Set and stamped the image.
stamped paper-500
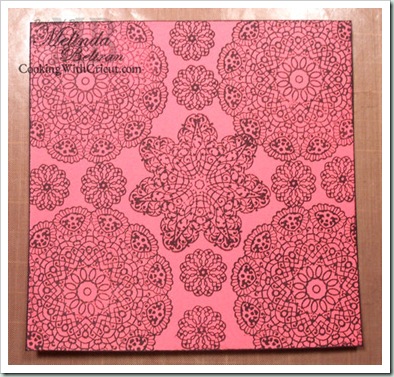
I used some of the hot pink cardstock and then stamped some images on it with my Black Stamp Pad and created my own “designer paper”. As you can see, I am still quite a novice with stamping and learning about “positioning” etc. But I figured it was good enough as the crooked parts were going to get covered up...lol.


Here is my second cardstock
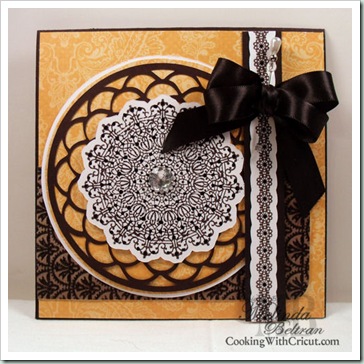
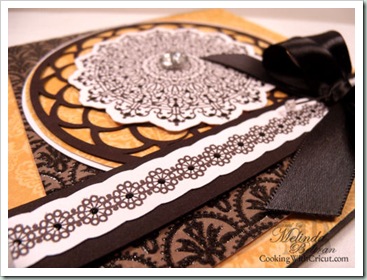
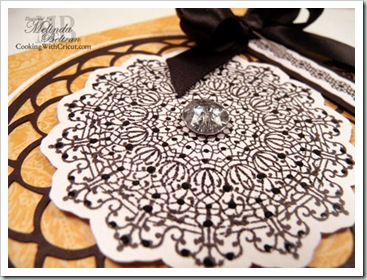
card yellow-500yellow card glaze closeup500medallion close up w glaze500

The finished card size is 5.5 x 5.5
CTMH Product:
Black Cardstock
White Cardstock
Simple Memories Stamp Set
Bling Assortment
Doily Scalloped Circle Cutting File Set from PCW.
Some Designer Paper from the Lemmon Blossoms DCWV Stack (Yellow and Black Papers)
Black Glaze Pen


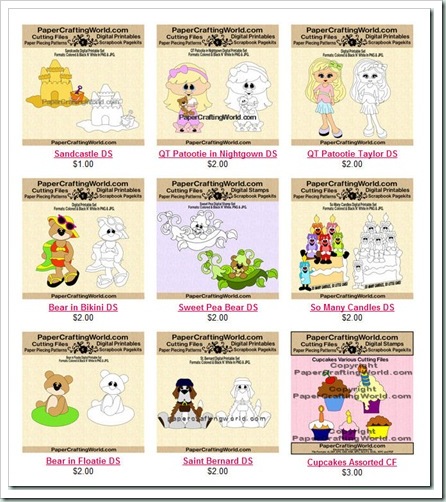
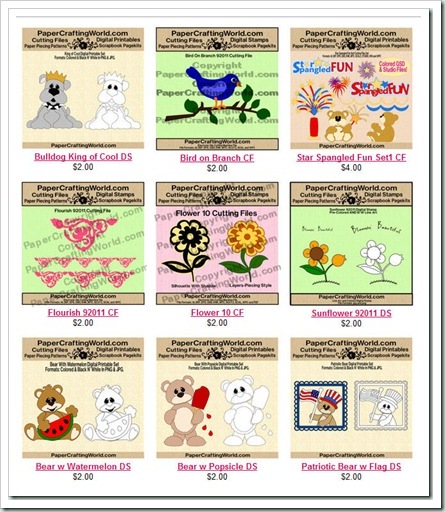
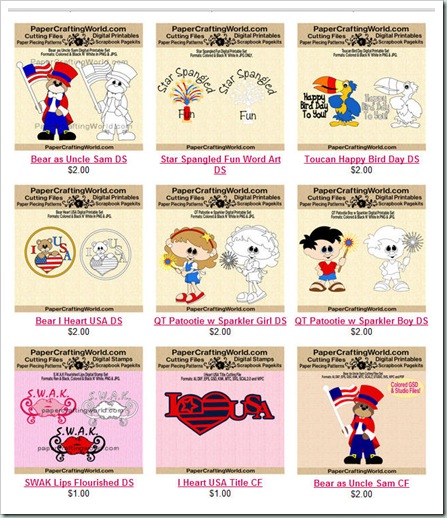
Now, how about some great new files available at PaperCraftingWorld.com. There are over 30 new files added to PCW in the last 10 days, so be sure to head over and check them all out! In conjunction with our 30 how about 30% off your purchase!!!! See details below!
screen-shot1_thumb2
screen-shot2_thumb5screen-shot3_thumb2
screen shot4

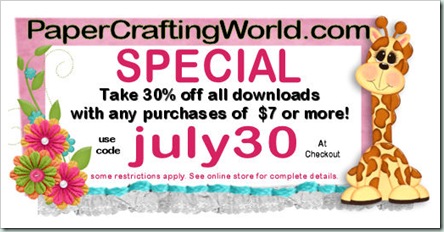
So to help your creativity how about a sale on these wonderful files!!!! 30% off all purchases of $7.00 or more through July 30th
2012-july30 promo-500

Use code july30 at check out! SHOP NOW

Lastly,
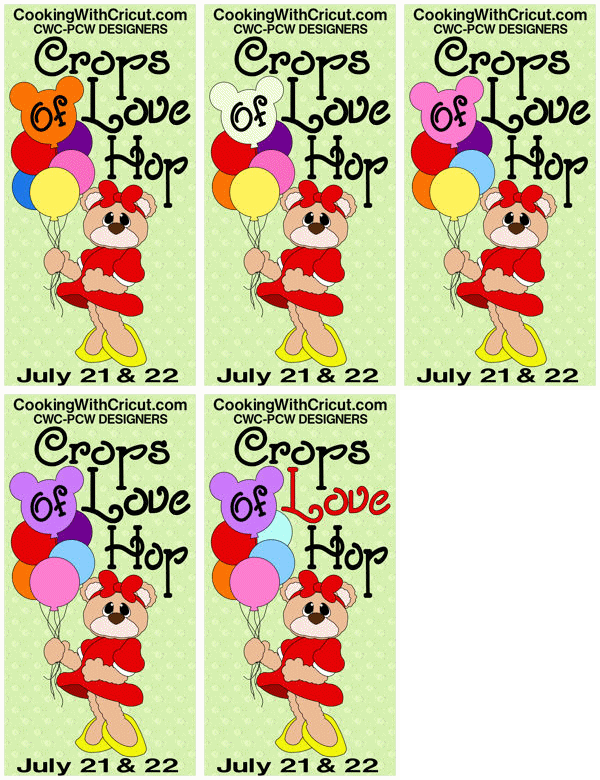
Make plans to join us next Saturday and Sunday for our Design Team’s Monthly Blog Hop. This month we are making layouts for the Crops of Love Organization! You won’t want to miss it!
colblinkie
Have a wonderfully crafty day!
-Melin