12_01

QQ & Spellbinders Sneak Peek #3

Good morning crafty friends,
It's Melinda here and today I am sharing my two projects showcasing the new Quick Quotes One Fine Day paper and embellishment line. It will be debuting along with the other new lines we have showcased at CHA.

Along with the fabulous new Quick Quotes lines, we are also showcasing the Spellbinders Grand Calibur and dies.


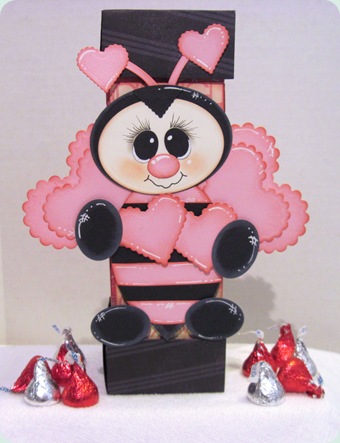
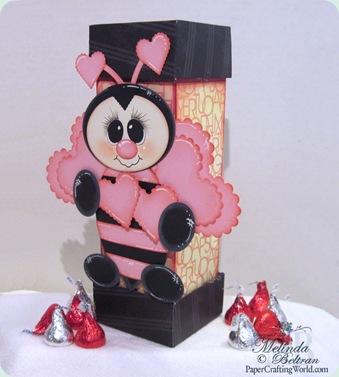
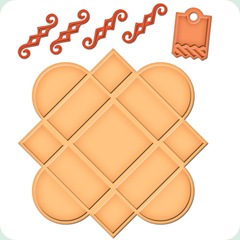
Here is my first project. I created this box and love bug using several spellbinders dies. The bottom and top are from the square petal top box Spellbinders die set. I used paper from the French Quarter Quick Quotes paper line. I saw the original idea from one of the Spellbinders Design Team members.
IMG_2262

IMG_2241
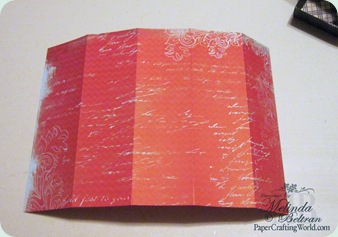
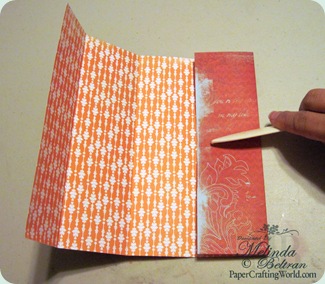
I used another piece of paper from the Sumer Samba paper line from Quick Quotes. You cut the piece of paper to 8.5 inches and then scored it at 2.5 inches.
IMG_2242

IMG_2245
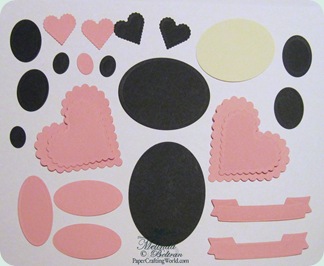
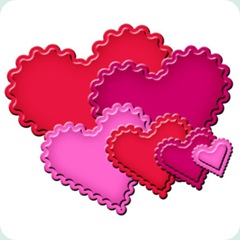
Here are the additional Spellbinders dies that I used to create the little love bug. I really wanted to create something “different” with my dies.
IMG_2249
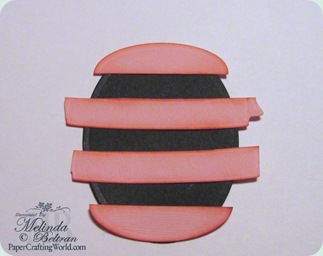
For the body, I trimmed one of the larger pink ovals and then trimmed the two ribbons down. I adhered them to the black body and then trimmed and inked them with some Maraschino Cherry Chalk Ink.
IMG_2252
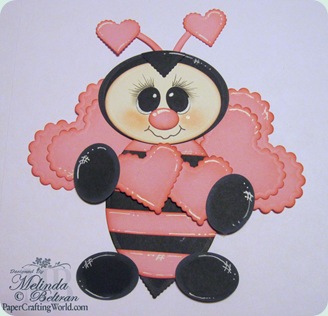
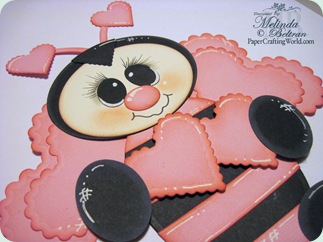
I assembled the rest of the love bug and my Pebbles, Inc. Dry Decorator chalks and white gel pen to add some finishing touches. If you would like to create a face like this, you can check out my faces tutorial: HERE
IMG_2254
Here is a side view showing the paper panels from the One Fine Day Paper Line.
IMG_2261

I used the following products

SPELLBINDERS PRODUCTS
LF-012
S4-110
S4-112
S4-137
S4-324

Quick Quotes Products
French Quarter Paper for the base and top
Summer Samba Paper
Maraschino Cherry and Amaretto Chalk Ink.
Other Products
Pebbles, Inc. Dry Decorator chalk
White gel pen, black fine tip pen
Trimmer and scorer
Various adhesives.


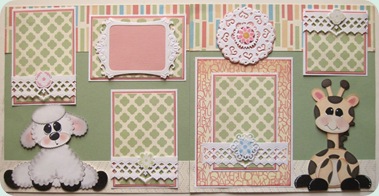
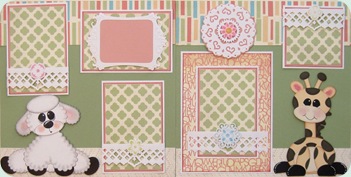
Here is my second project. I created this layout using nothing but Spellbinders dies and more of the beautiful One Fine Day paper.
IMG_2263
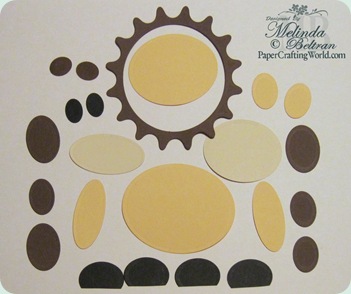
Here are the dies I used to create the little Giraffe. Once again I really wanted to think outside the box with the dies.
IMG_2236
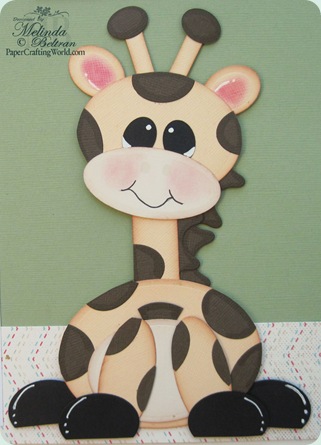
Here is the finished Giraffe. I just trimmed the brown ovals at varying widths and heights to create his "spots"
IMG_2274

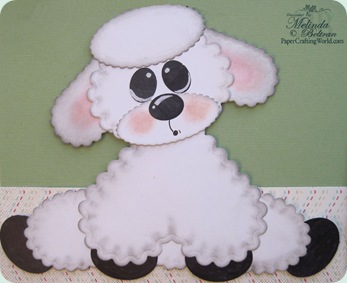
Here is the completed Lamb. Unfortunately I didn’t take a photo of the pieces separately. But I can tell you that I used my Scalloped Ovals, Scalloped Heart and Classic Ovals Dies to create this little cutie!!!
IMG_2278
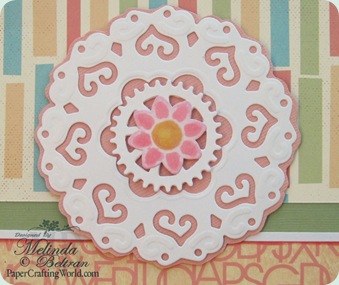
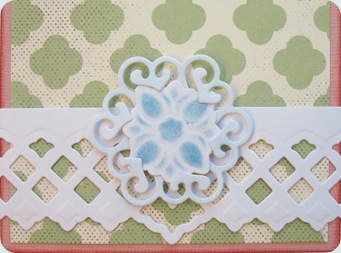
Here is a pretty medallion die I used and layered it with a die from the Sprocket set and one of the cute little medallions from the square petal top box die.
IMG_2269
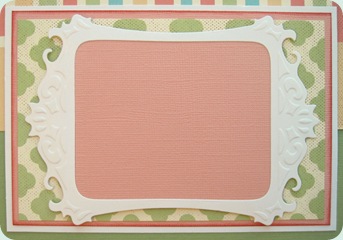
Here is a close up of the frame.
IMG_2275
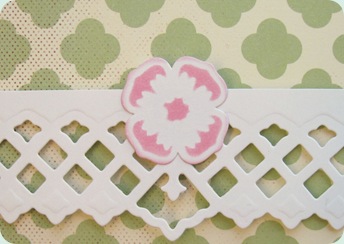
Close up of one of the borders and another medallion.
IMG_2276
Close up of another one of the medallions.
IMG_2277
Here is one last view of the entire layout.
IMG_2273

Spellbinders Products
S5-048
S4-218

S4-137
S4-324

S4-203
Classic Frameabilities
91ddbd65b342ab39c8978e93637544d0__67256_zoom
LF-010

Quick Quotes Products
One Fine Day Paper

Other Products
Pebbles, Inc. Dry Decorator chalk
White gel pen, black fine tip pen
Trimmer and scorer
Various adhesives

I hope you enjoy these projects and are inspired to pull out your Spellbinders and your beautiful Quick Quotes products and start creating! As always, thank you for allowing me to share.

BLOG CANDY ALERT
If you head over to the Quick Quotes blog today and leave a comment on my post, Quick Quotes will be selecting one random entrant to receive the Summer Samba set...one of the new sets they are debuting at CHA!!! CLICK HERE to go and leave your comment!




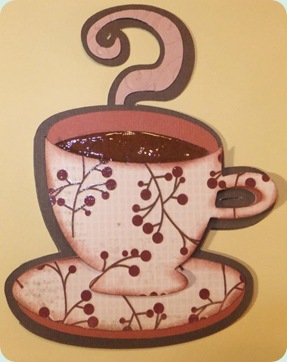
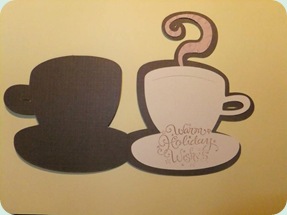
Winners Announced


Welcome to Cooking with Cricut
Today we would like to announce the winner of Challenge
#68- Photo Inspiration.  The winner of the Top Chef prize was chosen by Random Organizer.

The winner is...Lisa- A Mermaid's Crafts
Congratulations Lisa:)

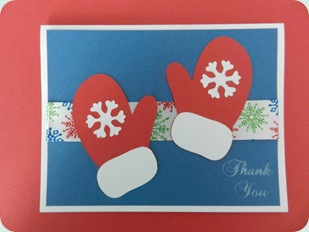
Lisa designed and created this beautiful shape thank you card using the Elegant Edges Cricut cartridge.  You can "pick up" your top chef button on the left column and proudly display it on your blog.  As the winner Lisa will receive her choice of digi stamp or cutting file from Papercraftingworld.com

Lisa, please contact Madison at FunkyCards @Charter .net (no spaces) within two weeks to claim your prize.

The Top Three Chefs were chosen by the Cooking With Cricut Design Team. You can "pick up" your top chef button on the left column and proudly display it on your blog. 

Amy- Redheaded Crafter

Tonya- Itty Bitty Ladybugs

Scrappy Happy Mommy (SHM)- SHM

Winter Warmth: For this week's challenge, we are asking you to think of all the ways to keep warm during these cold days.  From mittens and scarves to hot cocoa and more, let's see what you can create this week:)  Once again you have until next Tuesday at midnight to post your projects.  One winner chosen at random will receive his or her choice of digi stamp or cutting file from Papercraftingworld.com.

Have a wonderful day!


~Madison - Prize Coordinator

Cartridge Showcase: Princess Party


Welcome to CookingWithCricut.com and today's Cartridge Showcase! 

This is Chef Jen and I am "hijacking" the blog today to share with you some  projects that I created using the Cricut Events Princess Party cartridge.  This cartridge will allow you to create a party fit for your little princess. From castles to crowns to frog princes, the Princess Party cartridge has designs perfect for invitations, decorations, and party favors. 


One of our nieces just celebrated her first birthday and her parents decided they wanted a princess party and asked if I would help out -- knowing full well that I can't resist a good party or one of our sweet nieces.   Melin was kind enough to loan me her brand-new cartridge -- Cricut Events Princess Party!  And boy, have I given it a work out!

The first thing I created with this cartridge was the party invitation.


This cute gate-fold invitation has many layers, but is so worth the effort!  The glitter adds a nice princess-y sparkle.

Up next was a birthday banner and this cartridge has a great pennant shape.  I cut two different sizes and then added text from the George & Basic Shapes cartridge.  The crowns are also from the Princess Party cartridge.


This cartridge also has a cupcake wrapper and a cute little crown that can be used as a topper.


All of the birthday girls and boys receive onesies or shirts from their Aunt Jen (the girls also receive tutus)!  I used the tiara and the word "Princess" from this cart and made Kylie a sweet little onesie using the freezer paper technique.


Here is a picture of the birthday girl modeling her outfit.  Isn't she a cutie-pie!


I also used the crown from this cartridge to decorate some clothespins for a photo "time line."


I made other decorations for the party using the Disney Dreams Come True and Happily Ever After cartridges.  The princesses are about 11" tall.  Kylie's parents are going to frame them after the party and use them to decorate her room.


The Cake Guru at our house made the cutest "Smash Cake!" It has the crown cut from the Princess Party cartridge using the Cricut Cake machine.  The little placard at the bottom was cut out of paper using letters from Cake Basics, Cindy Loo and Calligraphy Collection cartridges.


The final piece of this perfectly pink princess party was the cake.  We used several elements from the Cake Basics (turret and castle toppers) and Tags, Bags, Boxes & More (doors and windows from the rounded top tag cut!) cartridges.  This is the second time we have used our Cricut Cake and I am still amazed at how easy it is to use.  The key is getting your fondant rolled to the correct thickness and then letting it sit for awhile to dry out and stiffen.  The little flags were cut using the Princess Party  pennants -- I welded two together so I could fold them in half around my"flag pole."


Another very successful birthday party for one sweet little girl!  And yes, we spoil our nieces and nephews . . . that's our job!!  I hope you have enjoyed today's showcase!  If you'd like more details, please stop by my blog (check out the party hat and "glass" slipper decorations made using this cartridge, too).

~ Chef Jen

P.S.  Thanks again, Melin, for loaning me your cartridge!  

Challenge #69: Winter Warmies


Good morning craft friends,

Welcome to another Wonderful Wednesday challenge. Our challenge themes have been selected by our designers. This week’s hostesses are...
HeatherPLinda Therrien

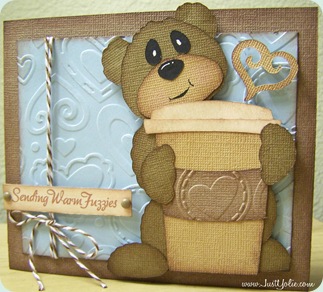
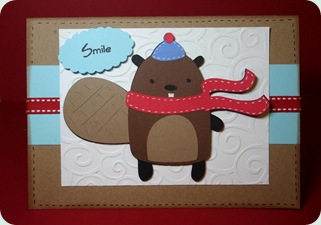
They decided our challenge this week should be all about the way we keep warm during these cold days. From mittens and scarves to Hot Cocoa and more! Let’s see what the designers came up with.

Adrian 350
Adrian used the Cheerful Seasons and Elegant Edges cartridges. Visit Adrian for more details.
adrian elegant edges cheerful seasons

charlotte 350
Charlotte used: Beyond Birthdays, Martha Stewart Seasonal Cake and Winter Woodlands. Visit Charlotte for more details.
charlotte msseasonal cake winter woodland beyond bir


court 350
Court used the Holiday Cakes cartridge. Visit Court for more details.
court holiday cakes


dalis
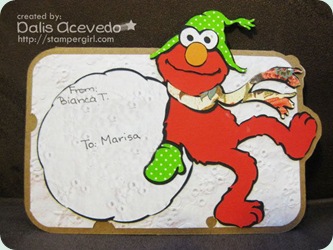
Dalis created two projects. For the first, she used the Sesame Street Seasons cartridge.
sesame street seasons dalis
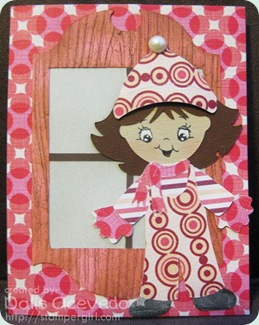
For her second one, she used the Everyday Paper Dolls and Calligraphy cartridges. Visit Dalis for all the details.
dalis edpd and calligraphy


elizabeth 350
Elizabeth used her Art Philosophy cartridge. Visit Elizabeth  for more details.
elizabeth art philosophy


jill 350
Jill used her Celebrations cartridge. Visit Jill for more details.
jill celebrations


madison 350
Madison used her Gypsy and Gypsy Wanderings. Visit Madison for more details.
madison gypsy wanderings


Heather 350
Heather used her Don Juan cartridge. Visit Heather for more details.
heather don juan


celeste 350
Celeste used her Wall Décor and More and Ashlyn’s Alphabet cartridges. Visit Celeste for more details.
celeste wall decor and ashlyns alphabet


mindy 350
Mindy used her Imagine and Snow Angel cartridge. Visit Mindy for more details.
mindy imagine snow angelmindy snow angel pg2


yolie 350
Yolie used her Cake Basics cartridge and a couple of files from PCW. Visit Yolie for more details.
yolie cake basics


linda
Linda used her Winter Frolic cartridge. Visit Linda for more details.
linda winter frolic


michelle
Michelle used her Winter Frolic and cartridge. Visit Michelle for more details.
michelle winter frolic
michelle winter frolic2


And now its your turn!  Here are the guidelines . . .
Must follow the challenge topic.
Must be a NEW project for this challenge, please no back dated posts.
Must have a link back to this post on your blog.
Must link your project through Inlinkz and not just your blog.
Must use your Cricut in some capacity.
Must have fun.
You may gladly combine challenges...we love to pile it on TOO!