14_02

Sunshine Bendi Card

Hello crafty friends,
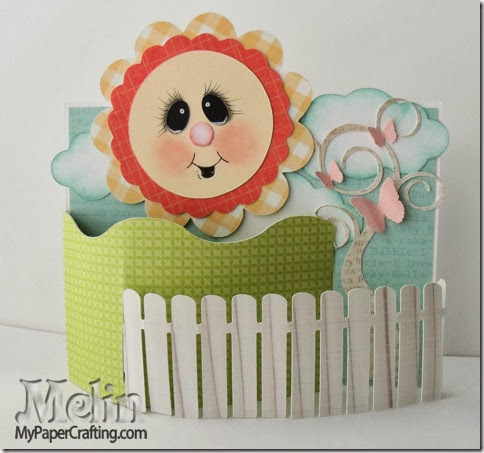
So glad you dropped by today. Boy this has been a last crazy week and a half. I have been struggling with lots of computer issues. I am glad to say that I have at least regained use of my blog writing software and that I can now concentrate on some other issues and then get past those too Smile  Today I wanted to share a card I made for the Pazzles DT. The challenge on the Pazzles craft room this month is to create a Bendi Fold card. Here’s my take on this super fun card.

bendi card pazzles svg-480
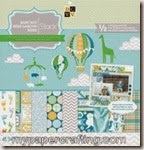
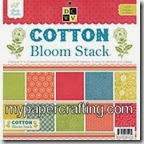
Here is a look at my finished card. It was created with papers from the DCWV Baby Boy Stack and the DCWV Cotton Bloom Stack as well as some cardstock. I started by using the Pazzles small Bendi Fold Card Base. I took one of the “arms” and substituted it for the dog and fence file. I also made the top of the other “arm” layer wavy.
sun die cut bendi card svg pazzles 480
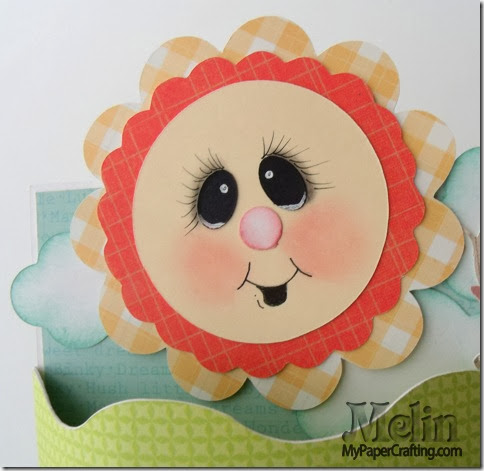
Here is a closer look at the pretty little sun. I was speaking with my Sister in law a while back and they recently moved out of state and she said to me…send some sunshine our way….so that is why I went with this theme. So “T” this is for you Smile The sun is made from patterned papers in the DCWV Cotton Bloom Stack.  I just made the eyes and the now in the file bigger and drew my mouth on with a fine tip pen.
flourish tree butterfly bendi card pazzles 480
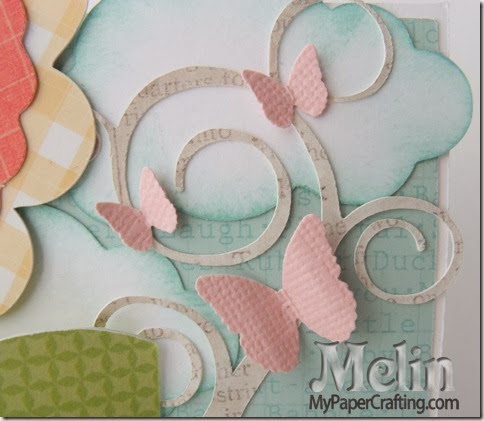
I then used the tree file from the craft room and cut it out of some dcwv paper in the baby boy stack. I added a few tiny butterflies from my MS punch that was quickly and easily accessible. I cut out some clouds from the rainbow and clouds craft room file and inked the edges with some crystal blue ink from the Whimsy Ink Pad Set.


dcwv diaper paper fence bendi card pazzles svg 480
Here is a closer look at the fence. I created it by using the dog and fence craft room file instead of the base cut that came in the small base bendi file.

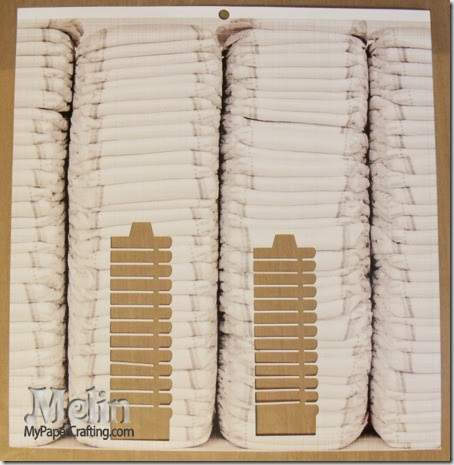
I wanted to use some of that popular “wood” looking patterned paper, but I didn’t have any that suited the cut well so I used some diaper paper from the DCWV baby boy stack….YEP that’s right….DIAPER PAPER. That is what gave it that great “wood” painted with lines kind of look.
dcwv diaper baby stack paper svg cut 450
Here’s a shot showing you the cuts from the diaper paper. Of course I will save the rest for another project, but I hope this will inspire you to look at your paper differently.
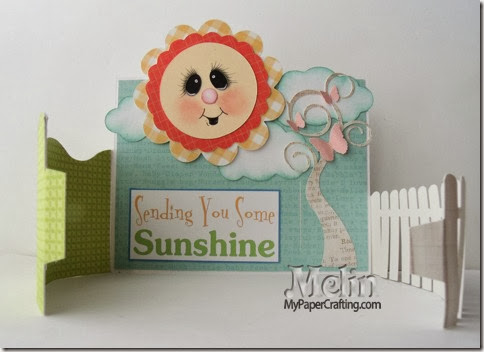
bendi card by melin open-480
Here is a view of the card opened. There was a great open spot that I was able to put my sentiment on. I could have really gone wild decorating this card. But I purposely wanted to keep it really clean and simple.


sending sunshine sentiment-480
Here is a closer look at my sentiment. One of the wonderful things about the Pazzles Inspiration software is that it allows you to print right from the program. This is a great design tool-feature in that you know exactly what size to make your sentiments, etc.

Products Used For This Project
pazzle1
Pazzles Inspiration
dcwv baby boy stack-v13-200
DCWV Baby Boy Stack
dcwv Cotton Bloom Stack-200

whimsy ink pad
Whimsy Ink Pad Set
Z1767-chalk marker
basic 10

micron black pen 001
Micron Fine Tip Pen
1514-tombow adhesive
Tombow Adhesive
Z553-chisel tip glue pen
Fine Tip Glue Pen

Z1151-foam tape
Foam Tape
18283036hr
MS Butterfly Punch

Additional Products Used
White, Pink and Cream Cardstock

I hope you will give the “bendi fold” cards a try. There is still plenty of time to enter the challenge over at the craft roomDon’t forget to pop back by tomorrow as I share some more fun, crafty inspiration Smile Until then,
2013 fall winter melsig-450

Cat In The Hat Layout SOUS Die Cut Challenge

Hello crafty friends,
So glad you stopped by. This should have posted at midnight, but I have been having technical issues with my computer the last couple of days! Big headache, but I think I am finally out of the woods on this one anyway... So here is my post a bit early. 

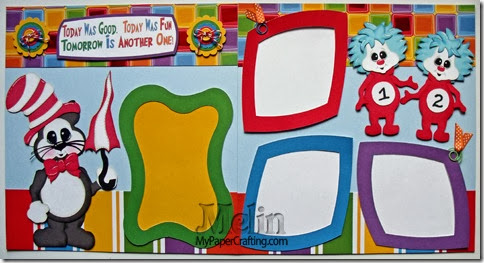
Today (Friday) is a new die cut challenge at SOUS challenges. Today the die cut team was tasked with using an umbrella in our projects. So I had some super bright and colorful paper that I wanted to do something fun with. I thought of the Cat in the Hat SVG set from PCW and thought it would make a perfect pairing with that colorful paper. Here is what I came up with.
GEDSC DIGITAL CAMERA
Here is a look at my completed layout. The picture really doesn't do it justice. The colors are very primary and very vibrant.

cat in hat svg close up 480
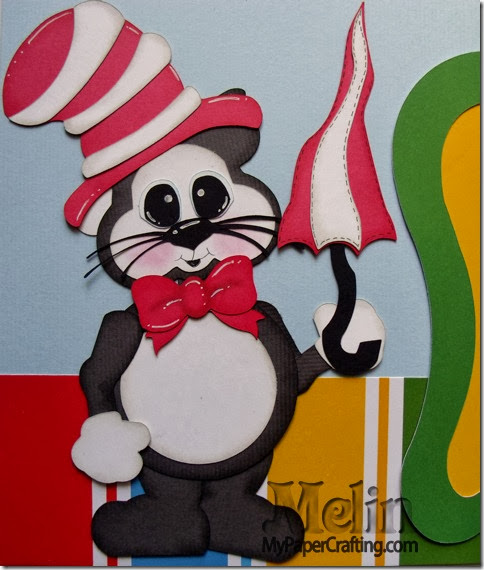
Here is a closer look at Mr. cat. He was a lot of fun to piece together. He is holding his “wonky” umbrella and ready for some playtime!


thing1 and thing2 cat in hat svg 480
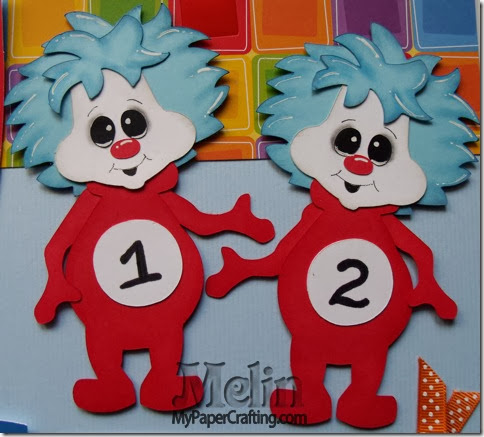
Of course what is a Cat in the Hat page without the crazy little thing 1 and thing 2 characters!

embellishment closeup 480
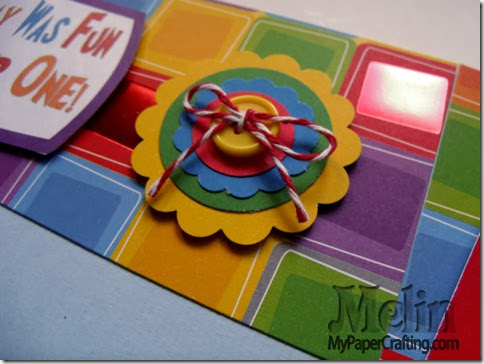
Here is a look at the layered embellishments. I used several layers of circle and scallop punches and then topped it with a button and some twine.


Products Used For This Project
silhouette cameo logo-195
Cameo Silhouette
cat w hat set papered-cf-200
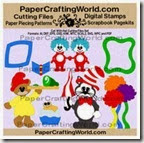
PCW Cat With Hat SVG Set
color kaleidoscope
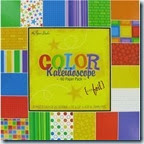
Color Kaleidoscope  Paper Pad
enchantment ink-140
Enchantment Ink Pad Set
whimsy ink pad
Whimsy Ink Pad Set
Z2501-adventure
Adventure Ink Pad Set
Z2503-basics
Basics Ink Pad Set 
1514-tombow adhesive
Tombow Adhesives
Z1151-foam tape
Foam Tape
Z1767-chalk marker
Chalk Marker
Z1392-scallop punch
Scallop Punch
basic 10
Pebbles Dry Decorator Chalks
Z1751-bakers-twine-harvest

Additional Products Used
Blue, Light Blue, Black, Red, White, Yellow, Purple, Green and Gray Cardstock.

I did happen to make a few kits of this layout. If you’re interested, you can check them out at page-kits.com beginning Saturday. Now be sure to head back over to SOUS and check out what the rest of the die cut design team created! Don’t forget to come back by tomorrow as I share another fun project! Until then,
2013 fall winter melsig-450

Love Struck Layout - Cricut

Hello crafty friends,
Today I am sharing another layout I had created with a valentine’s –love theme.

Here is a view of the entire layout. I actually used my cricut for several of the elements. I had made a version of this layout a LLOOOONG time ago for a class I taught and as I was going through my “valentine” stuff, I found my extras bag of goodies and decided to freshen it up. The majority of it was created with cuts from my various cricut cartridges.


The Love Letters were from the Mini Monograms Cartridges.
The Struck Letters were from the Base Camp Cartridge.


The Wings, Hearts arrow and sash from the Paper Doll Dress Up Cartridge
The Scallop Circles were from the Art Philosophy Cartridge.
The bear was from the George and Basic Shapes Cartridge. With the exception of the arms. Those were hand drawn at the time. The background paper was from the Bo Bunny Oh La La Cupid Collection. The Black and White Polka Dot Paper was from Pebbles, Inc. Basics Stack from Hobby Lobby.

I used the following inks:

This bear was made right around the time I created my first Cricut piecing. If you would like to see some of the other ones I have made, you can visit my gallery HERE.  I am working on making recipes for all of these, but it always seems to get pushed back. I am sorry about that, but will work to get it done soon.

Products Used To Complete This Project
clip_image001
Expression
clip_image002
George and Basic Shapes
clip_image003
Mini Monograms
clip_image004
Base Camp
clip_image005
Art Philosophy Cartridge
clip_image006
Pebbles Dry Decorator Chalk
clip_image007
Enchantment Ink Pad Set
clip_image008
Whimsy Ink Pad Set
clip_image009
Adventure Ink Pad Set
clip_image010
Basics Ink Pad Set
clip_image011
Tombow Adhesive
clip_image012
Foam Tape
clip_image013
White Chalk Marker

Additional Products Used
Red, Black, White, Brown, Tan and Pink Bazzill Cardstock
Misc. Black and White Polka Dot Ribbon

Well, I think that about covers it for today. Don’t forget to visit Saturday’s post for the links to the freebies and be sure to come back tomorrow as I share another fun and hopefully inspiring project! Until then,


Happy Belated Valentine's Day Card and Some Freebies

Hello crafty friends,
Happy Sabbath Day. Well, I had this post ready for yesterday, but....due to some computer and software issues, I wasn't able to get it to post...yeah...not a fun technology day yesterday....so here is my post a day late.....

For those that celebrate Valentine’s Day, I hope you have a wonderful day filled with great expressions of love by family and friends. May you see the beauty in all that is around whether it be sunshine or 10 feet of snow. May God’s goodness and love towards each of us be seen and felt. Today I have a card I am sharing that you can pretty well duplicate for FREE. Here it is.


Here is a look at my complete card. The base is a 5.5 x 5.5 square out of kraft cardstock.
I cut a dark gray mat and then the argyle patterned paper is from the DCWV Primrose Stack….gorgeous stack of papers. Then the label shape is from the FREE 2014 labels cut file from Pazzles. Link for the freebie is below. I took off the 2014 numbers and then added a few layers using the outline tool. For the last layer I simply used the scalloped tool and it made scallops in a snap! The other two mats were cut out of pink cardstock and then out of some floral patterned paper again from the DCWV Primrose Stack.
The other label the cupcake digi sits on is also a free label in that same file set. Once again I removed the 2014 numbers and then cut it out of some vintage newsprint paper from the same DCWV Primrose stack.

Here is a side shot showing the close up. I inked the edges of the pink and floral mat with some Cotton Candy ink from my Adventure Ink Pad Set. I then used some Saddle ink from the basics ink pad set around the newspaper print label and then also went back over it with some whisper from the basics ink pad . I wanted to knock back the warm tone that just the saddle ink created. I then used my Copic Sketch markers to color in the cupcake image. I used:RV11, V000 for the cupcake top BG10 and Woo for the bottom. I did ink the edge of the cupcake image with my whisper ink pad.


Here is one more angled shot. I added foam dots to the scalloped layer and to the newsprint label layer. I wanted to give the card a little lift and give it some dimension. Don’t you just love that argyle print paper. It has a coated, glittered finish which just makes it perfect. I love that the glitter doesn’t shed either! Links to the freebie files are below.


The free files


This is the Pazzles Craft Room Free File. 
You can head over there and grab it. Be sure to tell them I sent you AND sign up for the free newsletter about the amazing new machine they have designed….the Pazzles Vue….Man oh man, I am hoping and praying I can get my hands on one of these!


Here is the second free file
to go download this from PaperCraftingWorld.com. It will be free through 2-20-14.
Please note: the shopping cart will reflect a price of .99 but will be free at check out during this period.


Products Used To Complete This Project
pazzle1_thumb_thumb
pazzles inspiration
dcwv-primrose-stack-200_thumb_thumb
DCWV Primrose Stack
have-a-sweet-day-cupcake-ppr-ds2g-20[2]_thumb
Have A Sweet Day Cupcake Digi Stamp
2014-labels-2004[2]
2014 Labels Pazzles Craft Room Cut File
Z2501-adventure_thumb_thumb
Adventure Ink Pad Set
Z2503-basics_thumb1_thumb
Basics Ink Pad Set

Additional Products
Kraft, Black, White and Pink Cardstock
Misc. Ribbon From Michaels
Copic Markers: RV11, V000BG10 and Woo 


I think that about covers it for today. Be sure to stop back by tomorrow for another fun project. Until then,