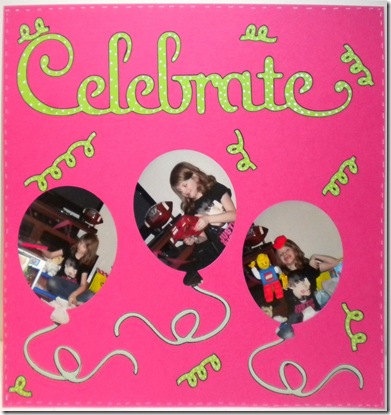
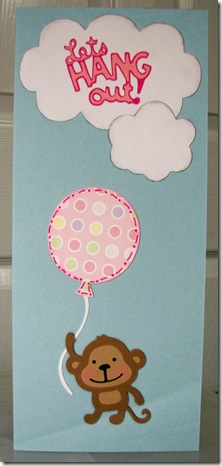
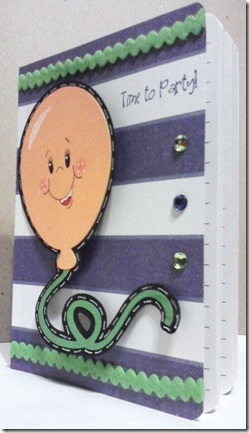
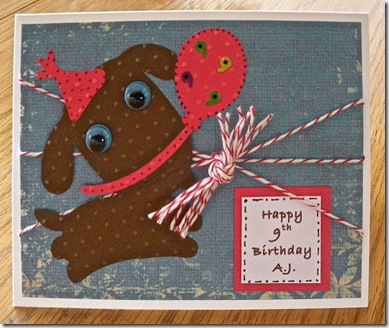
Hello to all of my crafty friends out there! I hope that you are all doing well and being creative! You are in for a very sweet treat here today! Michelle has hooked you up today with lots and lots of projects featuring the Sweet Treats cartridge!
Here is Michelle:
Hello everyone! I am Michelle and today I will be showcasing the Sweet Treats cartridge. Boy, is there a lot to do with this cart. It is not just for birthdays. You can make the cuts fun, whimsy, elegant, or whatever your party needs!
Today, my projects are more centered around my niece's Sweet 16 party she will be having when her dad gets home from deployment. In the mean time, I have been having a lot of fun with all of the different cuts. This cart has 6 Creative Feature keys: Layer, Shadow/Blackout, Tags, Cards, Cupcake holders, and Party Favors. They have a theme for each cut, but you can mix and match as I did. Let your creativity flow!
Not only is it just suitable for any birthday, you can create fun shaped cards, an assortment of different kinds of party favors, cupcake holders, flourishes, phrases, and numbers. I tried to use a variety of them in my showcase so you can see some examples. The cuts are fun, but you can always dress them to be more elegant depending on your specific party/function. Can you believe I only used paper from DCWV The Garden Party?! I was amazed!
This is the centerpiece with the different projects next to it. Everything was cut using Sweet Treats except the word "sweet" (ironic huh?!)
Close up of the flowers. The cart has a lot to choose from. They all have four layers, I used only three. I didn't use the "highlight" one. I layered them and inked the edges of the cream colored ones. I popped up the third layer to make the words stand out and give the flower dimension.
The Happy birthday was the phrase I used with the cartridge. The phrases have layers too. I used the layered feature for it and blinged it with a skittle.This is a soup can I altered. I emptied the contents, washed it, and stuffed it with goodies just for the birthday girl. I then added to bottom back to it.
This is the cupcake holder! Isn't it cute?? It has a special feature, too, for decorating it up some. I decided to use my Martha Stewart lace punch and do a decorative border. I inked the edges with Ranger Distress Ink: Tea Dye. SO easy to make!
With the flower I originally chose as my "theme", the cupcake holder above, and this party favor go along with the particular flower. (p.53 in the book) I did not use the accessory to this as well. I thought the paper was pretty enough! I just added ribbon to the pre-cut holes! :)
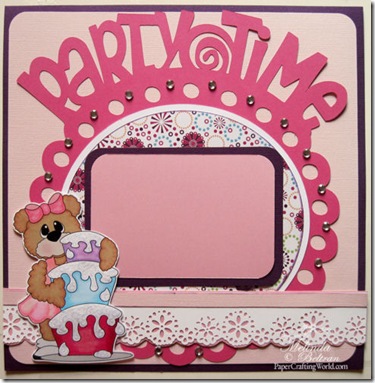
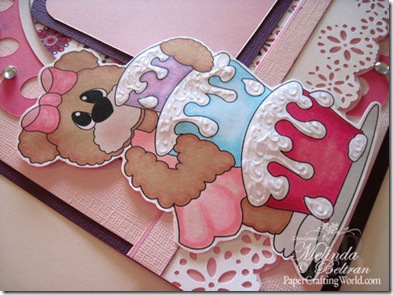
Here is an Album I made using Mostly Sweat Treats. ("Sweet" was from the cartridge Create A Critter)
Mr original post can be found HERE
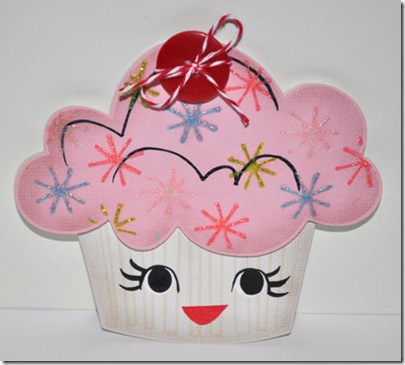
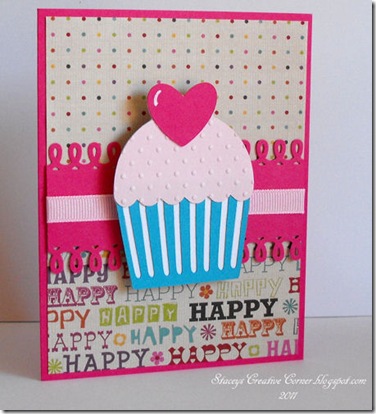
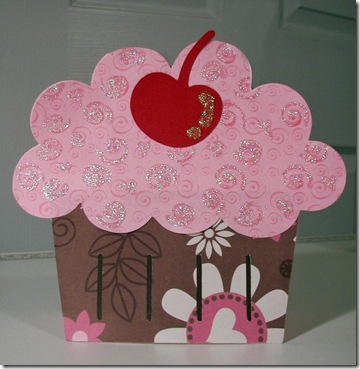
Here is a card I made with the cupcake on p. 28.
Original post can be found HERE
Thanks for stopping by and checking out these creations!
Hugs and Happy Crafting!!
~Michelle
Didn't she do fantablous job! Please go and leave her a comment on her blog!
Thanks for stopping by and I hope you enjoyed Michelle's projects as much as I did!
Craft On,
~The CWC Design Team


