Showing posts with label DCWV Dear Jane. Show all posts

14_06

DCWV June Stackaholic Challenge Layout

Happy Sunday crafty friends,
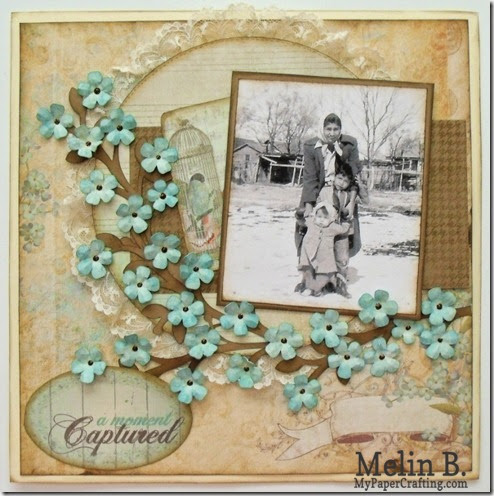
I hope you are enjoying your weekend and getting some fun crafting in! Today I wanted to share the layout I made for the DCWV monthly Stackaholic challenge. This is what I came up with.
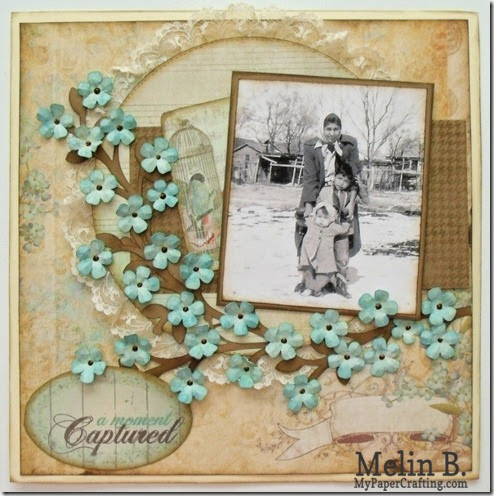
grandma-amoment-captured-490
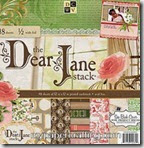
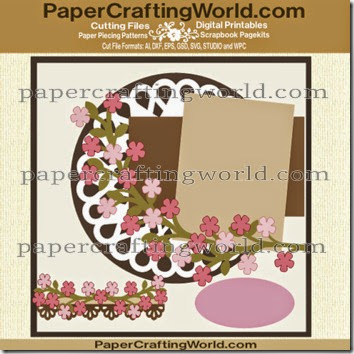
I created this layout using some wonderful vintagey looking papers from the Dear Jane Stack. The cuts are from PaperCraftingWorld.com Layout 614 set. I started with a layer of Cream colored Bazzil cardstock. I inked the edges of all the layers with with my Chocolate ink from the Basics Ink Pad set from Close To My Heart. I then used a piece of paper from the stack for the main background. I then used a different paper from the stack for the flowers and circle. The image with the bird and birdcage as well as the title were also from the same stack.

layout614 ppr cf-350
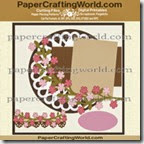
 PaperCraftingWorld.com  Layout 614 Set

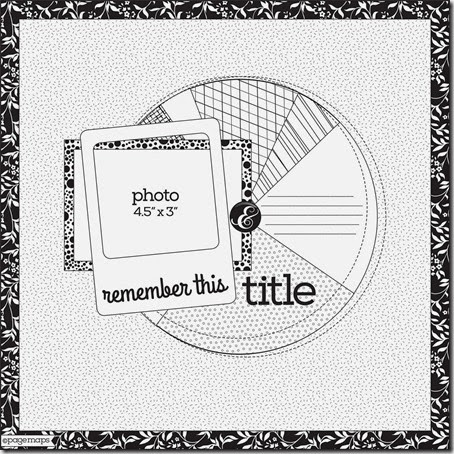
june-2014 layout sketch
Here is a pic of the layout sketch we had to work with.


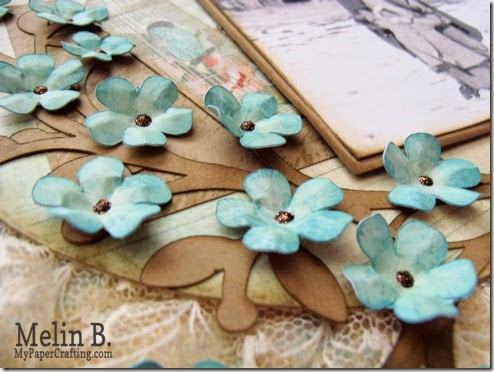
flowers-cu-490
Here’s a closer look at the flowers. The blue patterned paper was from the Dear Jane Stack. I cut the flowers out using my Pazzles Inspiration cutter.  Once cut, I inked the edges with some Crystal Blue ink from the Whimsy Ink pad set. I then distressed the petals (see below), added them to the layout and added some Cinnamon Stickles to the centers.

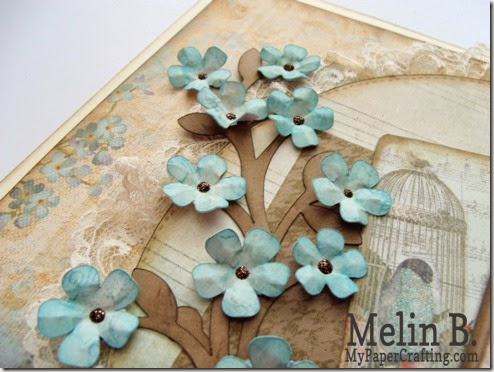
flowers2cu-490
Here’s another view of the flowers. I inked the edges of the vine with some Chocolate ink from the Basics Ink Pad set.

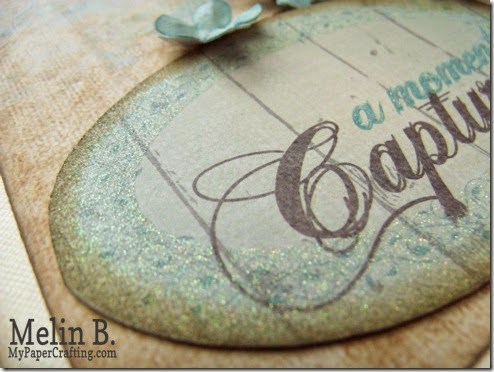
glitter-edged-title-490
Here’s a closer look at the title. You can see that it comes pre-printed and has a nice glittered edges. I simply added some more Chocolate ink to distress the edges.

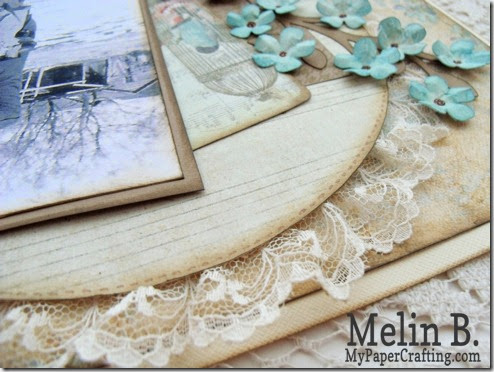
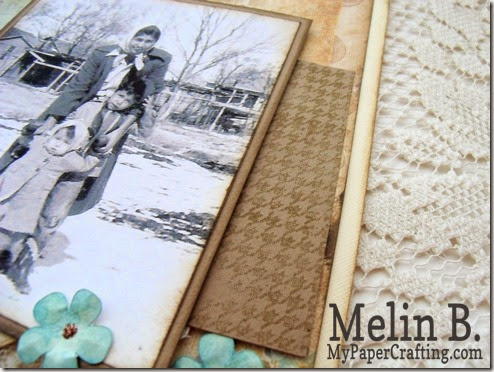
lace closeup-490
Here’s a closer look showing the edge with the lace. I used some foam tape underneath and then faux stitched around the edge with a sharpie fine tip marker.

stamped mat-490
For the mat in the background, I used a piece of kraft cardstock and then stamped it with one of the stamps from the Distressed backgrounds set. I used my  Dessert Sand ink Pad as it gave it a more tone on tone look and not a stark contrast.

grandma-amoment-captured-490
Here is one last look at the layout. It is a photo of my Grandmother with my Uncle Dan and my mother (she was the toddler)…circa 1949.


Products Used For This Project.
pazzles-cutter-200

dcwv dear jane stack-200
DCWV Dear Jane Stack
layout614 ppr cf-200
desert sand-200

whimsy ink pad
Z2503-basics
tape runner-200
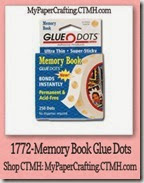
memory book glue dots-200

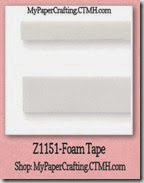
foam tape-200
ranger cinnamon stickles
Cinnamon Stickles
cream_lace
Cream Lace Trim
kraft cardstock-200

Well, that about covers it for today crafty friends. Be sure to come back by tomorrow as I share another fun and hopefully inspiring project. Thank you once again for choosing to stop by and spend a little of your precious crafty time with me. Until then….

2013 fall winter melsig-450

14_05

Center Fold Circle Cut Card

Happy Thursday crafty friends,
I hope you are having a wonderful day so far. Before I get to my project, here is today’s Psalm 119 passage for those that are following along with me.


ק Qoph
145 I cry out with my whole heart; 
Hear me, O Lord! 
I will keep Your statutes. 
146 I cry out to You; 
Save me, and I will keep Your testimonies. 
147 I rise before the dawning of the morning, 
And cry for help; 
I hope in Your word. 
148 My eyes are awake through the night watches, 
That I may meditate on Your word. 
149 Hear my voice according to Your lovingkindness; 
O Lord, revive me according to Your justice. 
150 They draw near who follow after wickedness; 
They are far from Your law. 
151 You are near, O Lord, 
And all Your commandments are truth. 
152 Concerning Your testimonies, 
I have known of old that You have founded them forever.
Psalm 119:145-152
I hope the thought of an ever present Lord will bring you comfort and continued hope for all that you and or a loved one you know may be facing. Now for today’s project.

GEDSC DIGITAL CAMERA
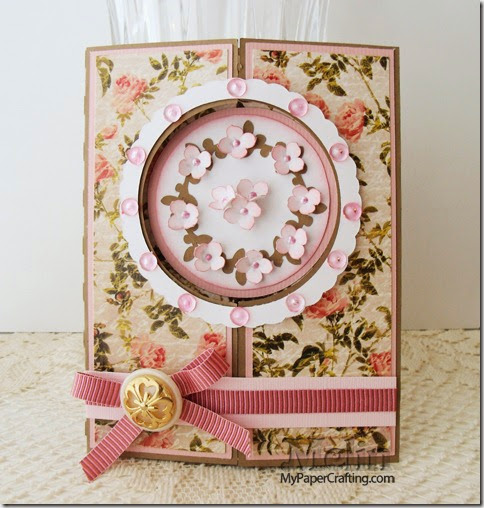
Here is my completed card, closed. I created this pretty card with a file from PaperCraftingWorld.com. It opens in the center.

card circle cut out ppr-350

I began with a Kraft cardstock base. I then cut the outer panels in a pink cardstock and then cut the inner panels in some beautiful paper from the DCWV Dear Jane Stack.


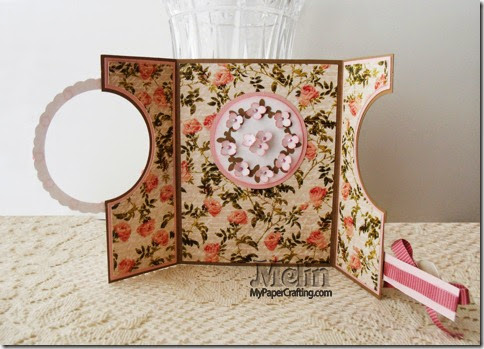
center fold open card open-480
Here is an inside-opened view of the  card. I once again cut the outer panels in pink cardstock and then cut the inner panels with some more of that gorgeous paper. When creating the border strip for the front, I wanted to wrap it in ribbon so I had to make sure that the ribbon wrapped around both ends so that when the card was opened, it was finished on both sides.  The weight of my button helped to keep it closed, but you could put a small bit of Velcro or us a repositionable glue dot to help hold it together when closed. I left it without a sentiment at the moment as I am not sure whether it will be a birthday card or a card for a wedding my son will be attending later this summer.

wreath closeup-480
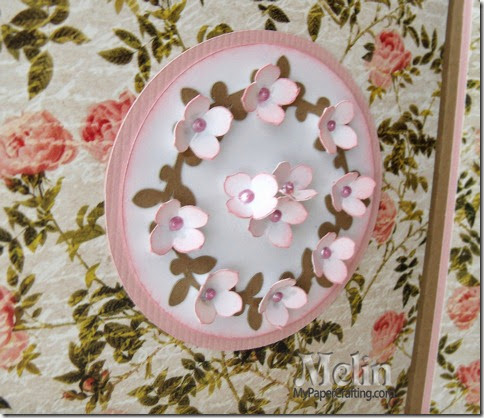
This is a closer look at the pretty decorative wreath. I cut the wreath base out of kraft cardstock. I cut the tiny flowers out of white cardstock and then gently inked the edges of the petals with my Cotton Candy Ink pad. I adhered the flowers to the wreath and then used a piece of foam tape in the center to keep the cluster of three in place. I added some Petal Pink Liquid Pearls to the center of the flowers. I did also ink the edge of the white circle base and layered all of that onto a pink cardstock base.

colored gems closeup-480
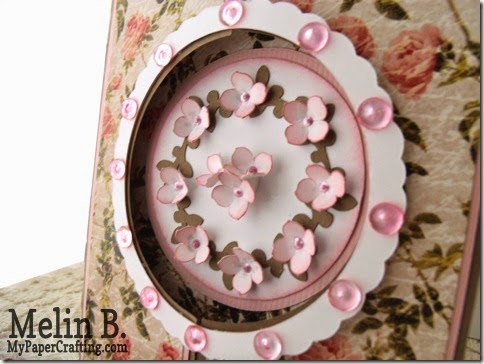
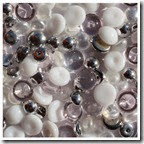
This is a closer look at the outside of the card closed. I cut the scalloped circle frame in white cardstock. I added some pretty dew drops from Robin’s Nest. TIP:  However, they were a plain white dew drop and I wanted them to match the card a little better, so I colored them with my Copic Sketch Marker. I didn’t write down the color I used, but I think it was my R23.  It ended up matching the color of the pink perfectly. Coloring them in was a cinch. They dried very quickly and I applied a couple of coats.

Products Used For This Project

pazzles-cutter-200
Pazzles Inspiration

card circle cut out ppr-200
Center Fold Circle Card CF
dcwv dear jane stack-200
tape runner-200
memory book glue dots-200
foam tape-200

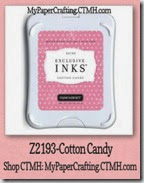
cotton candy ink-200

cotton candy
Robin’s Nest Cotton Candy Dew Drops
kraft cardstock-200
white cardstock-200

Petal Pink
Liquid Pearls

Additional Supplies
Pink Cardstock
Misc. Ribbon
Misc. Vintage Button
Well, I think this about covers it for today, Don’t forget about the fantastic offer CTMH is offering this month in honor of (inter)National Scrapbook Month

MAY PROMO long-480b
Get a great paper pack for only $5 with a $50 qualifying purchase and also get the super cute Stamp of The Month Set for only $5 with the same qualifying $50 purchase! I will be showcasing some wonderful projects using these two items next week, so be sure to come back. In the meantime, don’t forget to stop back by tomorrow for another fun, crafty project! As always, thank you so much for stopping by and sharing your crafty time with me. Until then,
2013 fall winter melsig-450