Showing posts with label DCWV Citrus Stack. Show all posts

14_01

Bloom And Grow Scrapbook Page Kit Layout

Hello crafty friends, 
Today I am sharing a layout I created for my Scrapyland DT. It is no secret that many in the United States have been going through an Arctic Blast. While I was tempted to do a layout showcasing the cold, I really wanted to do something colorful and cheerful.

BLOOM AND GROW lo-480
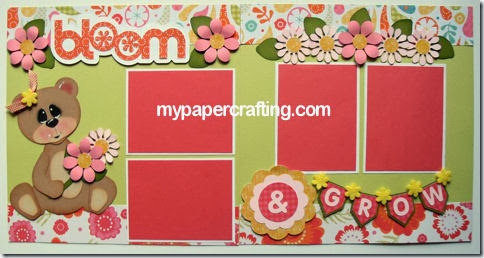
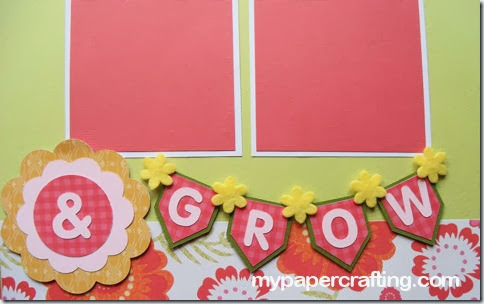
Here is a view of my layout. I used patterned paper from the Die Cuts With A View Citrus Stack. All of the cuts with the exception of the bear came from the Wildflower Digital Design Portfolio CD for your Silhouette Cameo.

bear bloom and glow cu-480
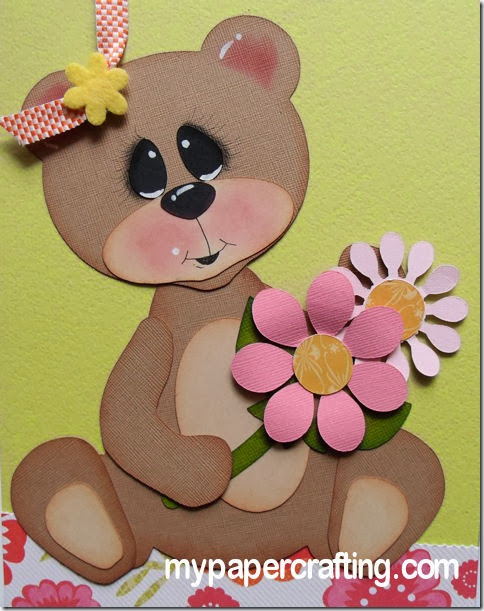
Here is a closer look at the little bear. Last week I shared how I created this bear from my silhouette cameo using ovals as well as the edit points tool and a shape from the Block Party Design Portfolio CD. You can check that post out HERE.

BLOOM TITLE-480
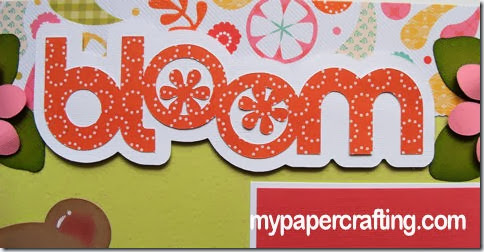
Here is a closer look at the bloom title. Just one of the many pre-made titles on the CD.

FLOWERS CU-480
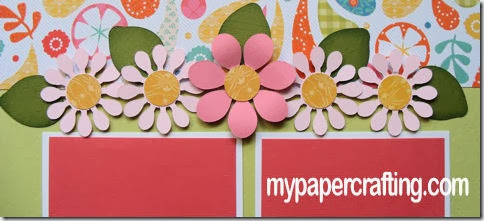
Here is a closer look at some of the pretty flowers. Again all of the shapes are from the Wildflower CD.

grow cu-480
Lastly, here is a closer look at the “Grow” title. I created the banners by simply using a square  shape in my Cameo software and then pulling out one of the sides in half.

I used the following products to complete this project
silhouette-cameo_thumb
Silhouette Cameo

Wildflower Design Portfolio
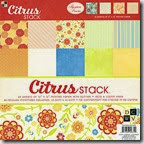
dcwv citrus stack
DCWV Citrus Stack
basic-10_thumb
Pebbles Basic Chalks
pastel10_thumb
Pebbles Pastel Chalks
pearlescent-earth-tones_thumb
Pebbles Earth Tone Chalks
enchantment-ink-140_thumb1
Enchantment Ink Pad Set

whimsy-ink-pad_thumb
Whimsy Ink Pad Set
Z2501-adventure_thumb
Adventure Ink Pad Set
Z2503-basics_thumb1
Basic Ink Pad Set
1514-tombow-adhesive_thumb
Tombow Adhesive Runner
Z1151-foam-tape_thumb
Foam Adhesive Tape
Z1767-chalk-marker_thumb
Chalk Marker
1772-glue-dots_thumb
Memory Glue Dots
Z553-chisel-tip-glue-pen_thumb
Chisel Tip Glue Pen


 Well, I hope you are inspired to start working on those celebration memories. I did make these this layout into a page kit that can be purchased at page-kits.com. I only made a limited quantity of each, so be sure to get them while you can.
CLICK HERE

Also, head over to scrapyland.com and check out all the wonderful products they have including some other digital design portfolio CDs for your silhouette cutting.


As always, thank you for sharing your crafty time with me! Until next time...

13_11

DCWV Citrus Stack-Spellbinders Die Cut Frame Layout

Hello crafty friends,
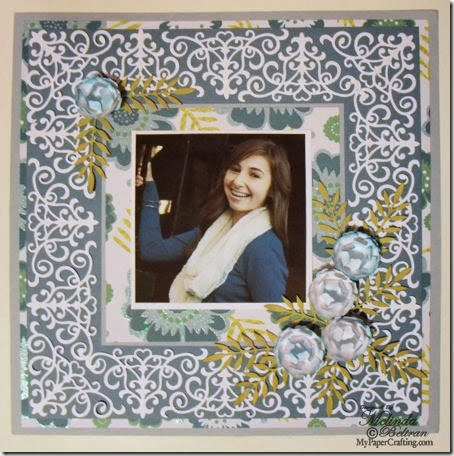
Today I am sharing a simple but pretty layout I created using some fabulous dies from Scrapyland.com. Here is my layout. I used some beautiful DCWV Citrus Stack paper and some cardstock.

dcwv citrus stack-spellbinders lo-450

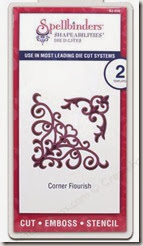
The pretty “frame” was created by using the Spellbinders D-Lites Corner Flourish. I cut it out 16 times and then layered them on some slate blue cardstock to create the “frame”.

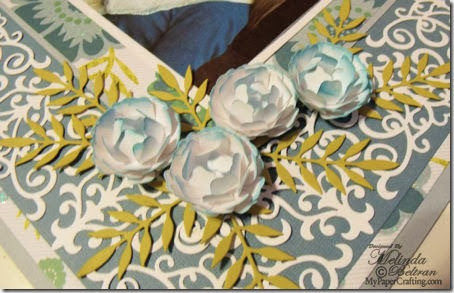
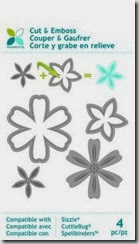
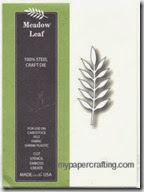
I then cut out 25 white flowers from the Momenta Flower Die set and then layered them to create the flowers. Finally I cut out the Poppy Stamps Meadow Leaf die 10 times and added the lovely leafy sprigs to the layout. I didn’t want to add too much more as I wanted the layout to look very clean and understated. That way my pretty niece Taylor would shine.

momenta flower poppy stamps leaf cu-450

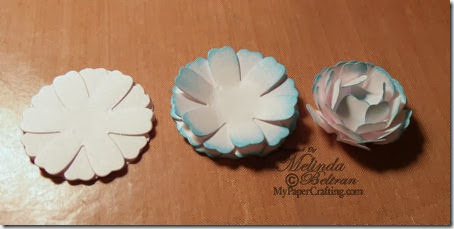
Here’s How I made the flowers
flower set2-450
I started by layering a set of 5 flowers onto each other. I staggered the layers so the petals would “alternate”. 

Next, I inked the edges of the crisp white with my Aqua Cat’s Eye Ink Pad
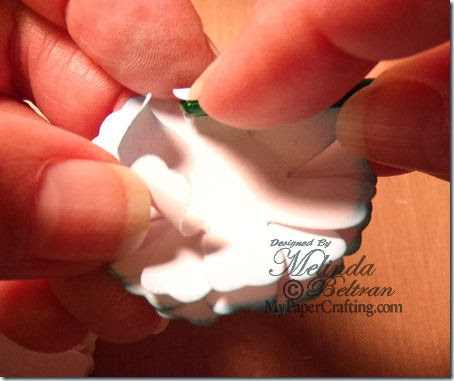
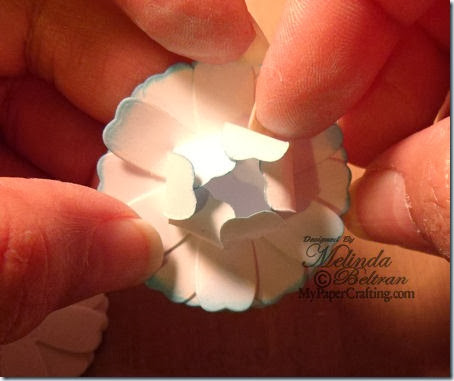
Then I began to curl the petals. I used a crochet needle I had on hand, but anything you have that has a thinner barrel would work well. I curled the petals Inward and layered them onto each other. The center petals got curled more deeply to give the flower some shape.

curl flowers2

flower curled3-450
Once I curled all the petals upward. I inked the edges again so the ink would be on both sides of the petal.

flower set-450

I Used the Following Products To Create This Project.
All Of These Items Can Be Purchased At Scrapyland.com
spellbinders d lites corner flourish
Spellbinders D-Lites Corner Flourish Die Set
momenta flowers
Momenta Mixed Flowers Die Set
meadow leaf poppy stamps die
Poppy Stamps-Meadow Leaf Die
dcwv citrus stack
DCWV Citrus Stack
aqua
Cat’s Eye Aqua Pigment Ink Pad.
Thank you so much for sharing your crafty time with me. Be sure to head over to Scrapyland.com and check out all of the amazing dies! Such a selection! Don’t forget to think outside the “card” when using your dies. They can go a long way and have many uses!

DCWV Citrus Stack-Doodlecharms Cricut Crow Piecings Layout

Hello Crafty Friends,
Today I am sharing a layout I created with the Doodlecharms cartridge and some great DCWV Citrus Stack Paper.
cream of the crop cricut lo-450_thumb[1]
Here is a look at my entire two page layout. All the cuts were from the Doodlecharms Cartridge. This includes the super cute little crow paper piecings I created. The letters are from the Art Philosophy cartridge. All of the pretty, patterned paper is from the DCWV Citrus Stack. I love that these paper would work for many different types of layouts and projects.


crow holding cornstalk-450_thumb[1]
Here is a closer look at the cute little crow sitting on top of a photo mat holding his cornstalk. Next to him is a basket full of harvest goodies. All of these were cut with the Doodlecharms Cartridge and my Expression. No Gypsy, Design Studio or Craft Room. I used some Pebbles Basic Chalks for the white around the crow’s pieces as well as some Frost White Pigment Ink. I used Maroon Chalk Ink for the apples, Cocoa for the basket, Orange for the Pumpkins. Warm Green for the leaves and stalks. Butterscotch for the corn, beaks, feet and hay bale. I also used my Copic E59 marker to color the apple and pumpkin stems. I decided to do that as opposed to cutting out all of the stems separately in brown paper…Waste not, want not Smile


crow topper-450_thumb[2]
Here is a closer look at the cute little crow topper.


crow on hay-480h_thumb[1]
Here’s a closer look at the cute little crow sitting on a bale of hay. He is holding a stalk of corn and surrounded by pumpkins, apples and more cornstalks.
Products Used To Create This Project (all can be found at Scrapyland.com ).
doodlecharms[3]
Doodlecharms Cartridge
dcwv citrus stack[5]
DCWV Citrus Stack
basic 10[4]
Pebbles Basic Chalks
cocoa[4] frost white[8] orange pigment ink[8]
Cocoa Pigment Ink Frost White Pigment Ink Orange Pigment Ink
butterscotch
Butterscotch Chalk Ink
maroon[8]
Maroon Chalk Ink
warm green[8]
Warm Green Chalk Ink
Additional Supplies

Orange, Yellow, Cream, Red, Green, Black, Kraft and White Cardstock
American Crafts Ribbon and Mini Brads

Be sure to head over to Scrapyland.com and check out all the many wonderful products they have at great prices.
Thank you for sharing your crafty time with me!

13_10

Unplugged Spellbinders Box N’ Card Set

Hello crafty friends,
Today I am sharing a box n’ card set I created with Spellbinders Dies and some Quickutz dies. I call these projects “Unplugged” as I did not use any of my “electronic” die cutting machines. For the pretty patterned paper, I used the DCWV Citrus Stack. Here’s a look at my completed set.


Here is a closer look at my completed box. I used the spellbinders Square Petal Top Box for the base and the top. I then created the box middle by scoring some paper and then using my Spellbinders Beaded Ovals dies along with some Spellbinders classic Ovals Dies to cut out the windows.

die cut box flower cu 480_thumb[4]
Here is a closer look at one of the flowers. I used a couple of retired Quickutz dies. I inked them with warm green cat’s eye chalk ink and cranberry cat’s eye pigment ink. I also added some Gold Lame Smooch Ink to the large flower petals. Unfortunately, the picture doesn’t show that too well.

score lines for box-480
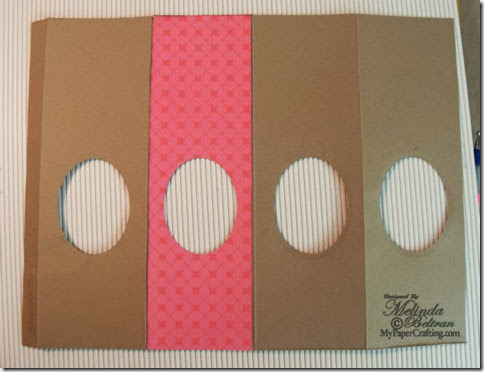
To create the box body, you will need a piece of paper that is 8.25 x 11. Really you just need to trim 1/8” off the 8.5” side to fit into the grand calibur.
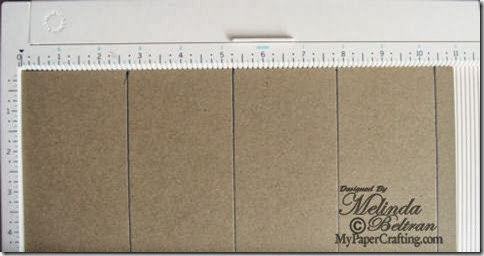
Place your paper on your scoring tool 11” lengthwise. 
You will score your paper at  2 5/8 “, 5 1/4”, 7 7/8” and 10.5”


After scoring your paper. You will need to draw a line across the bottom at 2 1/8”. You can use a pencil as this mark is simply a guide where to line up your die for the window.

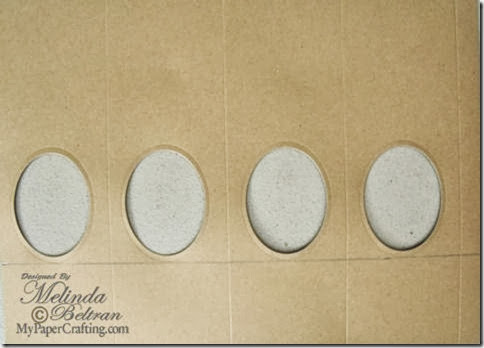
oval cuts from panels 480
Run your paper through the machine four times. Each time be sure to line your die up along the line as well as in the center of each panel.

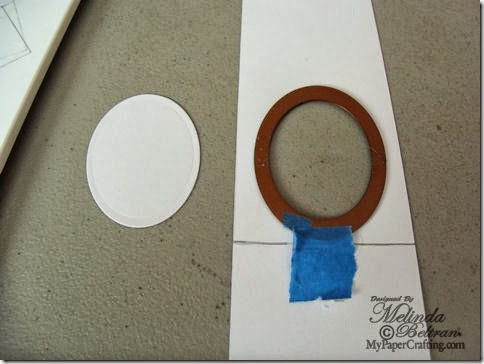
patterned panel oval 480
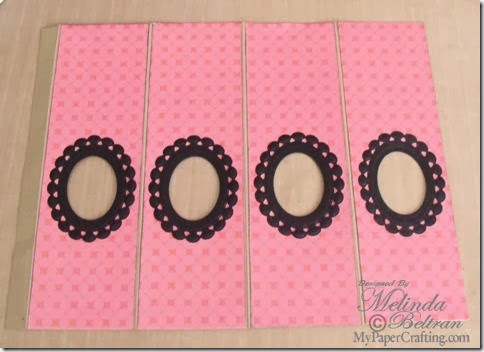
Cut your patterned paper into four strips of 2.5 x 8.25. Next mark a line 2 1/8” from one edge. Once again, center your oval die and run it through your machine. Do this for all four panels.

panel oval w ppr 480
Next, I inked the edge of each panel and added each papered panel to the front of each side.

papered panels done 480
Next, I added my black beaded oval dies covers.

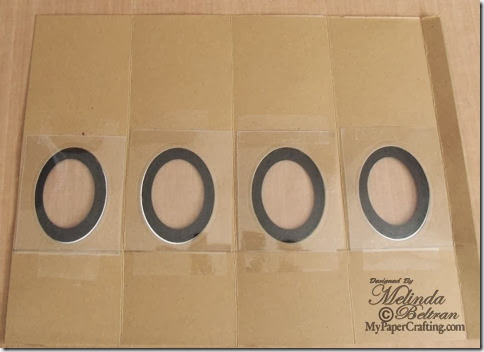
adding transparency 480
Next, I added some transparency to the backs of each panel. This will keep whatever treats I put in the box safely in.

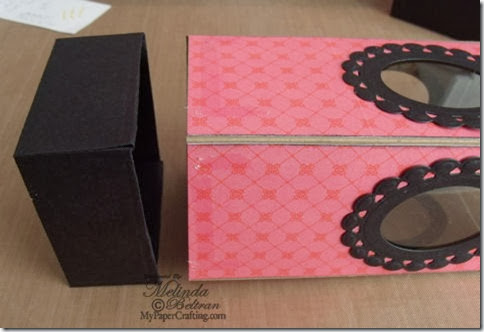
apply bottom 480
Next I put some adhesive on the inside edges of the box as well as along the bottom of the panels and secured the bottom.


After lightly inking the edges of the petals, I glued the flowers together and rotated each layer slightly. Here’s a shot of the three flower base petals. This shot shows the Gold lame smooch ink on the petals.


Next I added the smaller flowers and once the adhesive was dry, I curled the petals.


Here’s a look at just the card. It is a standard A2 size. Again, the patterned paper is from the DCWV Citrus Stack. I once again used the Spellbinders Beaded Ovals dies to create the frames. I added some Bisque Liquid pearls to create the little pearl drops and then in the centers of the flowers, I added some pearls accents.


Here’s another view to show the dimension of the flowers.

square box
dcwv citrus stack
Here is just a quick look at the dies I used (Not including the Grand Square petal top box die).
Products Used for this project
Bisque Liquid Pearls
Black, Kraft, Pink and Rose Cardstock
Misc. Flat Back Pearls
Misc. Ribbon
Be sure to visit the Scrapyland Store and check out all of the wonderful new die releases! There are many items on sale too!
Thank you so much for sharing your crafty time with me!
2013 fall winter melsig-450