14_12

Vintage Ornaments

ornaments label 650sq
Hello crafty friends,
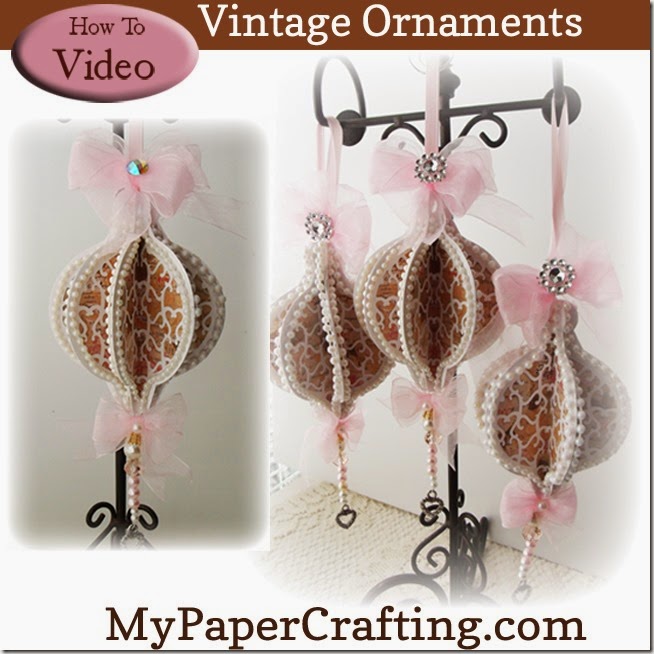
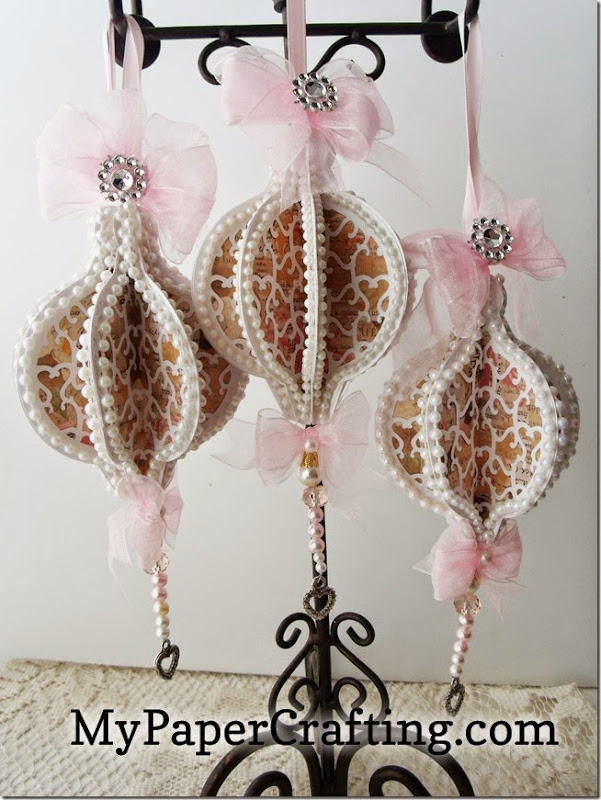
Melinda here today sharing my ornament project with you. These ornaments were super easy to make and very pretty.

GEDSC DIGITAL CAMERA
To start with I chose the Filigree ornament file from the craft room.  They were a lot of fun to make. I made a video showing how I made them. You can check it out on YouTube.
You Tube Video Direct Link: http://youtu.be/WdozrlZ7ljs
GEDSC DIGITAL CAMERA
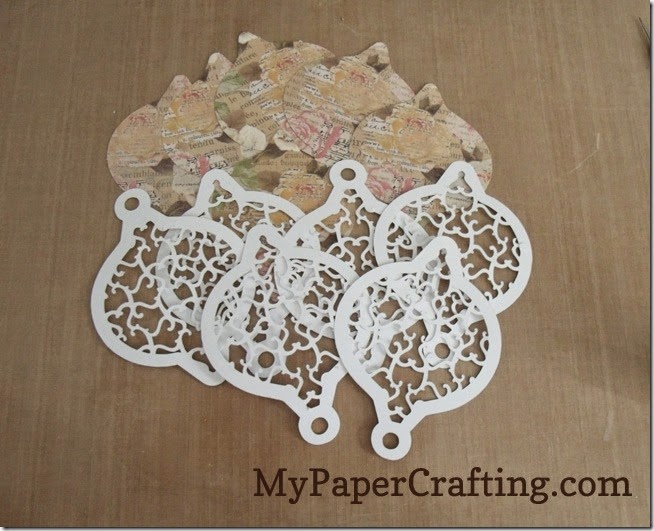
Cut all your pieces out
GEDSC DIGITAL CAMERA
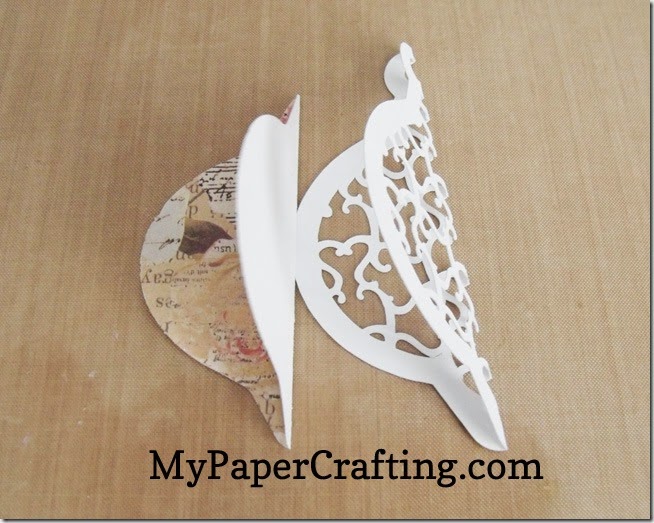
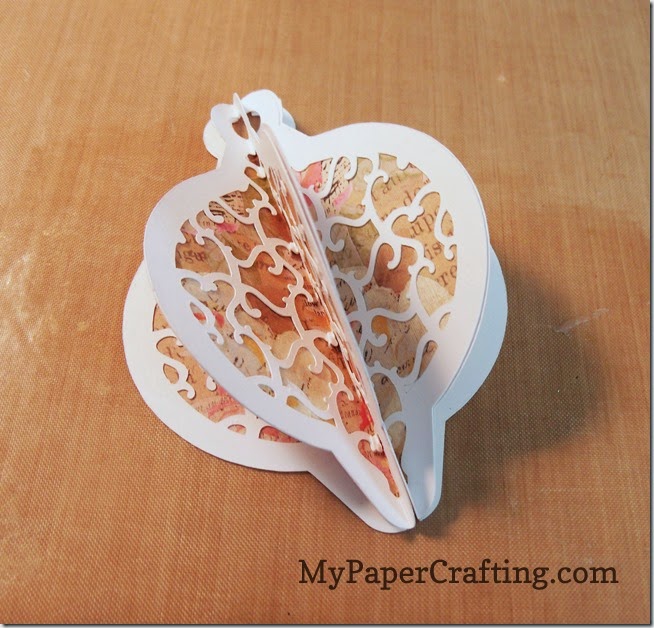
I proceeded to cut out 8 of these ornament files in white. I then created the solid "liner" piece by ungrouping the ornaments internal structure. I cut eight of these pieces out using some pretty paper from the Paper Studio Stack. Once I had all of my pieces cut out, I went ahead folded each piece in half. I did use my score board so that I could get a really good, clean score. You need to be careful with the filigree ornament when folding as there are a lot of little open pieces. Once all my pieces were folded, I glued one liner to one of the filigree pieces. This will create a total of eight flaps.
GEDSC DIGITAL CAMERA
I then glued one half of one flap to the next half of the next flap. I continued to do this until I was left with only the very first open flap and the very last open flap.
GEDSC DIGITAL CAMERA
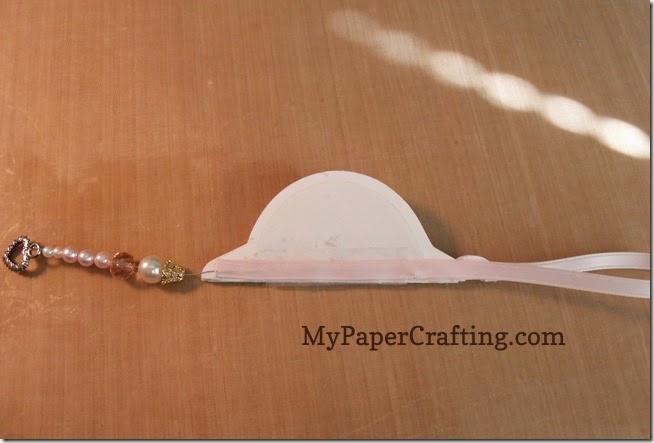
Before gluing these last two flaps together, I added a pink ribbon loop to the top to hang the ornament. For the bottom, I used some floral wire and strung some beads. I glued the strung beads to the bottom inside flap and the ribbon to the top inside flap. Once these were in place, I could go ahead and glue the remaining two flaps shut completing the circumference of the ornament. I thought eight flaps made for a nice amount, you can always experiment and create your ornament with more or less flaps depending on the look you are going for.
GEDSC DIGITAL CAMERA
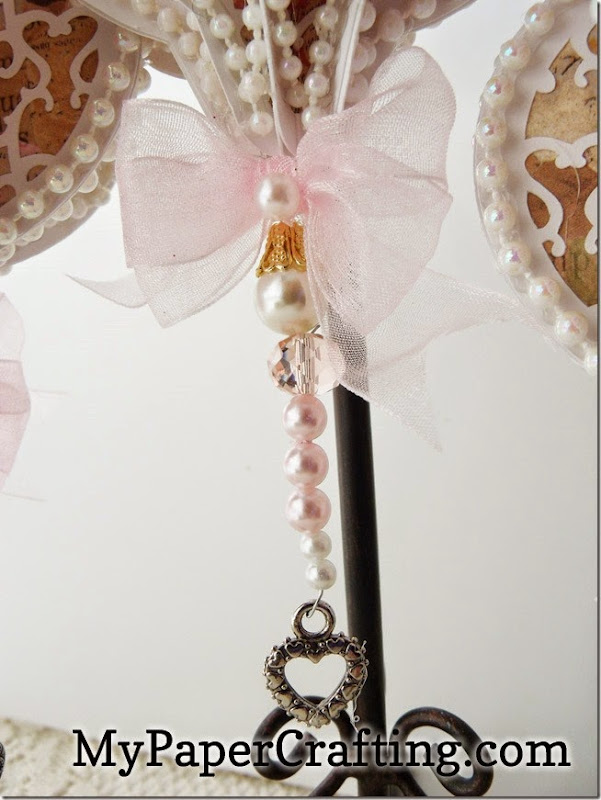
Here’s a closer look at the string of pearl beads I used. They were just some random beads I had in my stash.
GEDSC DIGITAL CAMERA
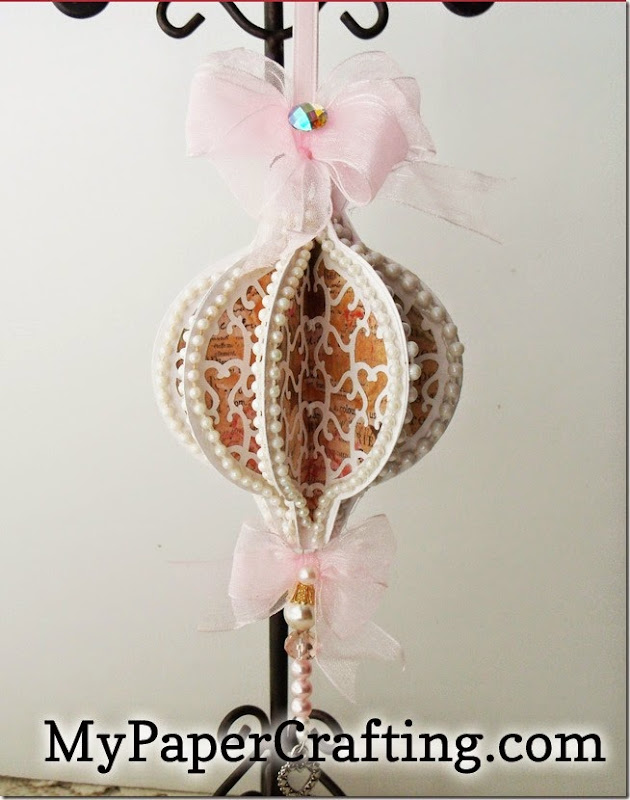
Add ribbon bows to the tops and bottoms of the ornaments and add pearls along the sides of each opening.
Products Used 
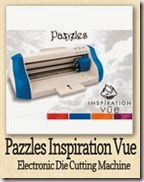
pazzles vue-200
Pazzles Inspiration Vue
kellerkurtz and company-200
Paper Studio-Hobby Lobby Kellerkurtz and Company Paper Stack
filigree ornament-200j
Pazzles Craft Room   Filigree Ornament File
UK17
May Arts Pink Sheer Ribbon
hb pearls
Hobby Lobby Paper Studio Spare Parts Pearls
silver faux bling strips
Silver Faux Bling Strips
pearl trim
Hobby Lobby Pearl Trim
white cardstock-200
White Cardstock
Additional Supplies
Hot Glue Gun
Various Beads
30 Gauge Floral Wire
Heart shaped charms
Well I think this about covers it for today. Be sure to check out the video and subscribe to my YouTube Channel HERE. As always, thank you so much for sharing your crafty time with me. Until the next time,

Hark The Herald Angels Sing

Happy Monday crafty friends,
I hope you had a great weekend. Please be sure to visit my post from Saturday. Our Pazzles design team had a blog hop and you can still enter to win a $30 gift certificate from Pazzles. So now on to my card for today.
GEDSC DIGITAL CAMERA
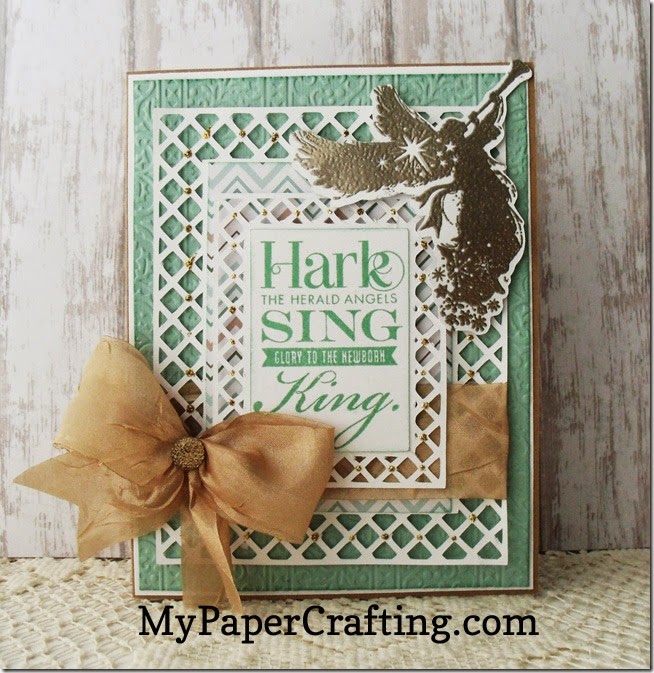
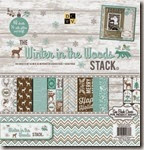
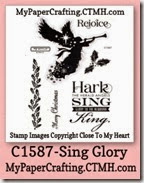
Here’s a view of my completed card. The finished size measures 5 x 6.5. The base is a kraft cardstock base. I then cut a white mat 1/8th smaller and then a teal mat 1/4” smaller than the base. I used my cuttlebug holly and berries embossing mat to emboss the teal mat. I also inked the edges of the mat with my Juniper Ink Pad. The patterned chevron paper is from the DCWV Winter in the Woods Stack. The sentiment and angel are from the CTMH Hostess rewards stamp set Sing Glory. Please feel free to email me if you would like to setup an online party to earn this gorgeous stamp set!

I created a video showing how I put this pretty card together. So grab a cup of cheer and join me on YouTube to check it out. Be sure to subscribe to my YouTube channel as well!


Hark the Herald Angels Sing Card on You Tube
  
GEDSC DIGITAL CAMERA
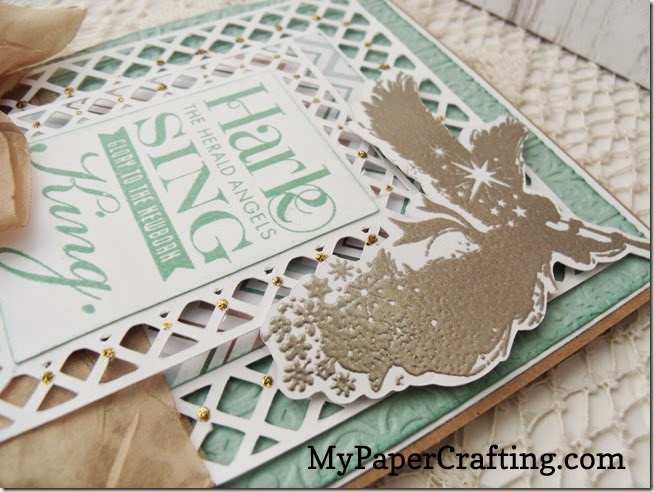
Here’s a closer look at the beautiful angel. I created an SVG cut to go around the stamped image. I then stamped the angel using my versamarker ink pad and then some embossing powder to heat emboss the angel image.
GEDSC DIGITAL CAMERA
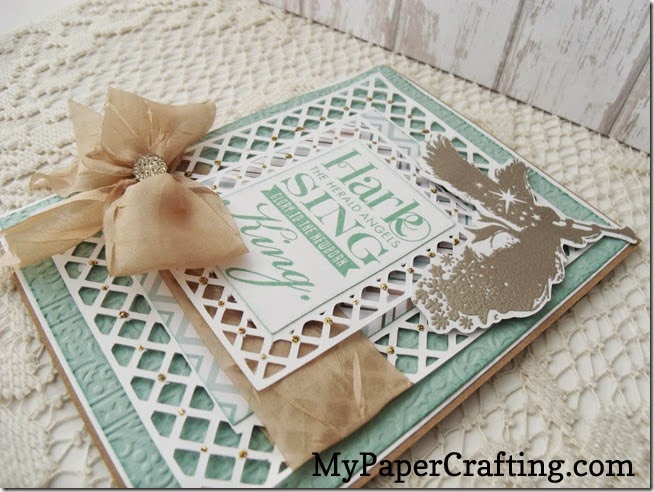
Here’s an angled view to show the lift of the layers from the foam tape.
GEDSC DIGITAL CAMERA
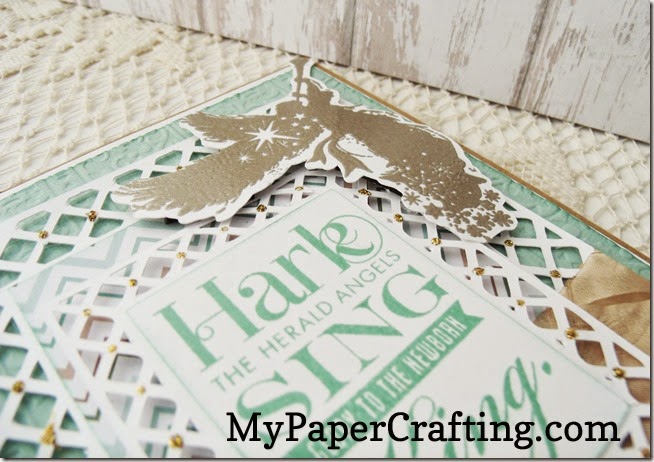
Another view of the pretty stamped sentiment.
GEDSC DIGITAL CAMERA
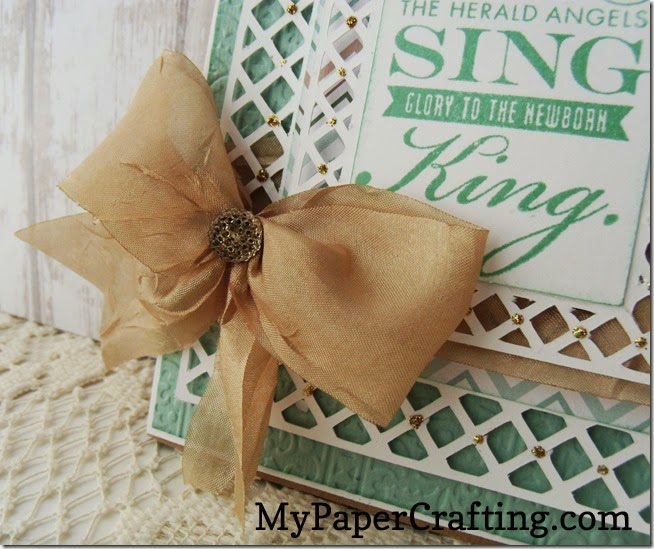
Here’s a closer look at the pretty bow. I made it out of ribbon from May Arts. The center is a gem from the CTMH assorted gems package. In this shot you can also see where I used my Champagne Stickles to add some little dots to the lattice panels.
Products Used For This Project
pazzles vue-200
Pazzles Inspiration Vue
dcwv winter-in-the-woods
DCWV Winter In The Woods Stack
sing glory-200
Sing Glory Stamp Set
juniper-200
Juniper Ink Pad
gold gems-200
Bling Gems Gold

princess gold embossing
Embossing Powder
craft heater
Craft Heater
versamark ink pad
Versamark Ink Pad
card hark lattice card-ppr cfj-200
Card Lattice Hark SVG Cut File Set
holly ribbons emb-folder
Cuttlebug Holly & Ribbons Folder
champagne stickles
Champagne Stickles
foam tape-200
Foam Tape

UK02-champagne crinkle
May Arts Champagne Crinkle Ribbon
kraft cardstock-200
Kraft Cardstock
white cardstock-200
White Cardstock
Don't forget about the great promotions CTMH is having this month
And don't forget to check out all the crafty goodness in the new Seasonal Expressions Catalog!!!
Well, I think that about covers it for today. As always, thank you so much for stopping by and sharing your crafty time with me. I appreciate it so much. Please be sure to sign up for my newsletter as well as subscribe to my You Tube Channel. I will be sharing more videos and of course some great freebies for my subscribers! Until the next time,