Showing posts with label DCWV White Ginger. Show all posts

16_01

Frosty Fun Birthday Card w Pazzles Craft Room Exclusive Files

Hello crafty friends,
Today is my day to share over at the Pazzles craft room. So to start my new year off, I decided to share a  card I had to make for my niece. Often I create birthday cards that aren't necessarily specific to the season in which they happen, but this card is going to my niece who was born in the first week of January. Plus she lives in Michigan so, I thought a cute little snowgirl card would fit the bill.

GEDSC DIGITAL CAMERA
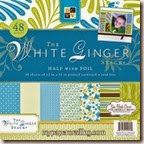
Here is a look at my finished card opened. It is an easel card and the closed size is approximately 5.5 x 5.5 (not including the protruding balloons). The base paper is from the DCWV Little Miss Stack. The Snow girl’s coat and hat are cut from the DCWV White Ginger Stack. The rest of the pieces were all cut in plain white cardstock. I then used my shin han markers to color in the pieces. I did also use the Whimsy Ink Set to lightly ink around the outline of the snow girl as well as the balloon strings. I used my Pebbles chalk inks to add some rosy cheeks to my snow girl’s face. I used my white chalk marker for the glints in her eyes. I used the following markers:
Leaf Green Marker: Balloon and present


GEDSC DIGITAL CAMERA
Here’s a closer look at the sentiment. I cut all the pieces in plain white cardstock.  I colored the letters and the present ribbon in with my Peony Purple Shin Han marker. I also used my leaf green shin han marker for the present. I edged the outline with  my Crystal Blue Ink pad. For the dot of the “I”, I used a cute little puffy sticker from the “Stuck On You” Puffies sticker set.

GEDSC DIGITAL CAMERA
Here’s a closer look at my stamped tag. I used my Thistle Ink Pad and a stamp set to stamp the sentiment. I finished it off with some of my Thistle Thick Twine and a little pearl gem. I did also use some foam tape to give it a little lift.

GEDSC DIGITAL CAMERA
Here’s a look at the finished card closed. My card features some of the fun new EXCLUSIVE cuts I created for the Pazzles craft room this month! Here are just four of the newest ones.

pcw frosty fun birthday title-450 pcw snowman with balloons-450
pcw layered rose-450 pcw heart scalloped shaped card-450

Supplies Used
PCW Pazzles Craft Room Exclusive Files: Snowgirl w Balloons and Frosty Fun Birthday Title

Be sure to head over to Pazzles and check out the rest of the designer’s great projects. You will just love what they have been dreaming up. PLUS don’t forget you can join the craft room and can download files including the exclusive ones I create for them.

Plus, if you create a project using any file I have created you can join the monthly anything goes challenge the PCW design team is having! To check it out and join the challenge: CLICK HERE
Until the next time,

Discover Creative Freedom 300x250
Don't Forget To Sign Up For My Newsletter To Receive
The Subscriber Only FREEBIES and other exclusive info!


14_07

Pazzles and Spellbinders Digital Die Beach Baby Layout

Good morning crafty friends,
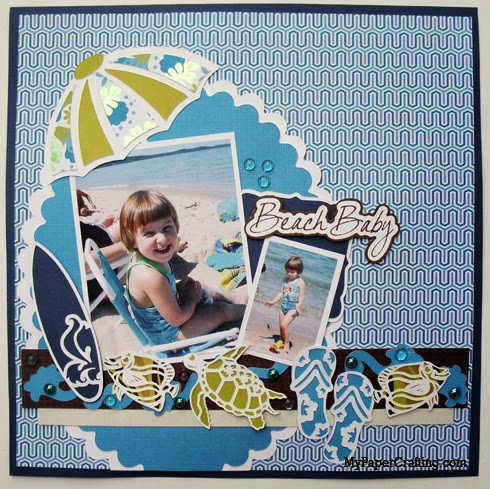
Today I am sharing on the Pazzles Craft Room a project I created with some of the wonderful Spellbinders Digital Dies, exclusive to the Pazzles Craft Room. Here is what I came up with.

GEDSC DIGITAL CAMERA

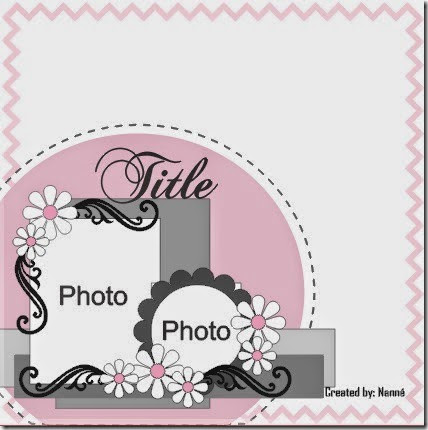
All of the nice patterned papers are from the DCWV White Ginger stack. I also followed the sketch from Stuck On U Sketches challenge. The large scalloped oval mat is also a Spellbinders Digital Die.

Sketch June20-14


surf board-490
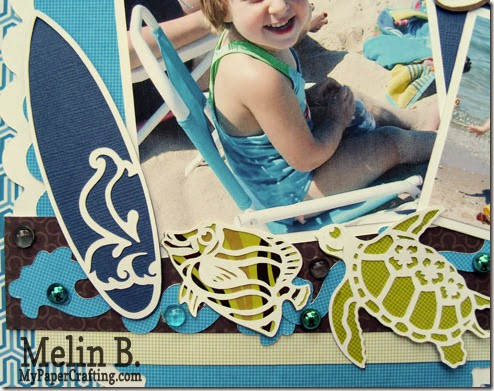
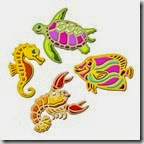
Here is a closer look at the cute die cuts I used. The surfboard is from the Surf’s Up Die Cut Collection. The fish and the turtle are from the From The Sea Collection. All of these collections can be found on the Pazzles Craft Room site.


turtle fish flops-490
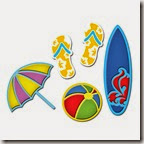
The flip flops are from the Surf’s Up collection. You can see under the fish turtle and flip flops, there are some flourishes. Those are from the Floral Accents collection. I also added some fun Robin’s Nest Dew drops to give a little extra visual interest.

umbrella-490
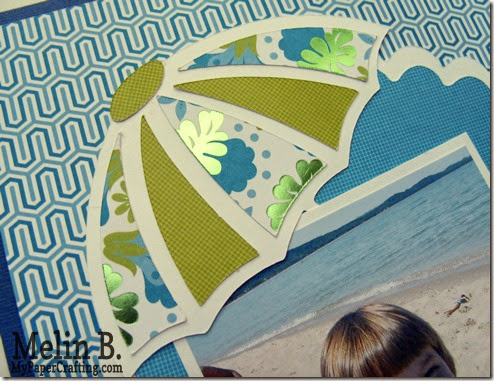
The Umbrella is from the Surf’s Up collection. Again the patterned papers are from the DCWV White Ginger Stack.

title closeup-490
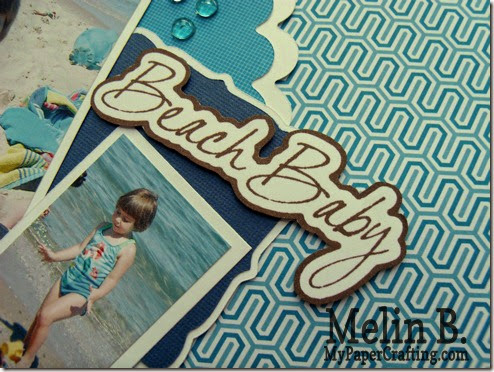
Lastly, I created the title in my Pazzles software and then print and then cut it out. The decorative label behind the title and smaller picture is the Labels 15 collection.

Products Used For This Project


pazzles-cutter-200 dcwv white ginger stack-200

Labels 15-S4-291
Labels 15
S4-139 Petite Scalloped Oval Large.cdr
Petite Scallop Ovals
Floral-Accents-S4-199
Floral Accents Collection
From-The-Sea-S4-273
From The Sea Collection

Surfs Up S4-272
Surf’s Up Collection
white cardstock-200 tape runner-200

foam tape-200 beaches
Robin’s Nest 
Beaches Tear Drops
cowboy dew drops
Robin’s Nest 
Cowboy Dewdrops


Now head over to the Pazzles Craft Room and check out the rest of the wonderful projects and inspiration!

Also, check out the Stuck On U Sketches Challenge.  They also have a bi-weekly die cut challenge as well as a project life challenge you can join too!
Well that about covers it for today. As always, I thank you so much for stopping by and sharing some of your crafty time with me. I appreciate your comments and support so very much. Be sure to come back again as I will be sharing another fun and hopefully inspiring project! Until then,
2013 fall winter melsig-450

14_02

One Cool Kid SVG Layout

Happy Monday crafty friends,
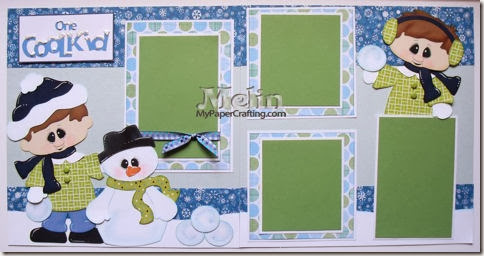
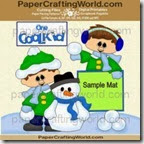
I wanted to share a layout I recently made with the One Cool Kid SVG cut file set from PaperCraftingWorld.com.

one cool kid layout-480
Here is a look at my completed layout.


qt boy topper-450

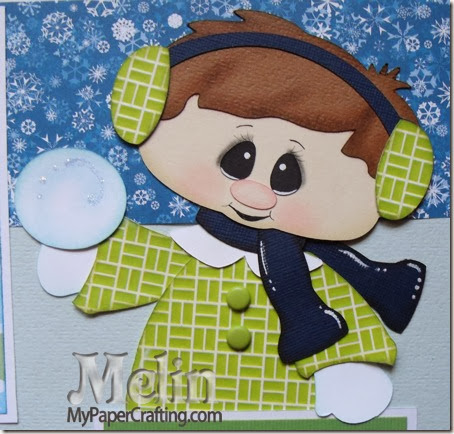
Here is a closer look at the little boy mat topper. I used some DCWV Letterpress Stack paper for his ear muffs and his coat. I used some Charcoal ink from the Basics Ink Pad Set his scarf. I used some Sky ink from the Whimsy Ink Pad Set for the blue of the snowball. I used my dry decorator chalks from pebbles inc for his facial features and for his hair. I Used my Chalk Marker for the whites on his eyes as well as the details on his scarf. Lastly I used a fine tip black pen for his mouth, eye lashes and eyebrows.


qt boy-snowman-450
Here is a closer look at the little boy with his snow friend. I used some paper from the DCWV Letterpress Stack for the little boy’s coat. I used a piece of paper from the DCWV White Ginger Stack for the snowman’s scarf. Again, I used the sky ink for the snowman and snowball pieces as well as the snow borders in the background. I did also use some dry decorator chalk for the extra details on the snowman’s body and face.

title closeup-450
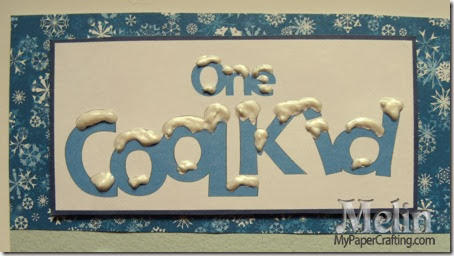
Title Close up. I used some dimensional paint for the snow on the letters. I did make this layout into a kit that you can pick up at page-kits.com.

Products Used To Complete This Project

dcwv letterpress stack
DCWV Letterpress Stack
dcwv white ginger stack
DCWV White Ginger Stack
one cool kid lo-ppr-cf-200
One Cool Kid SVG Set

whimsy ink pad
Whimsy Ink Pad set
Z2503-basics
Basics Ink Pad Set
basic 10
 Dry Decorator Chalks
Z1767-chalk marker
White Chalk Marker

Additional Supplies
Blue, Black, White, Navy and Green Cardstock
Doodlebug Brads
Misc. Ribbon
Recollections Patterned Paper
HOTP Patterned Paper

 Don’t forget, there is still time to join the SOUS die cut challenge this week. Which is something to wear! Head over and check it out HERE Be sure to stop back by tomorrow as I share another fun project for my Scrapyland DT. Until then,
2013 fall winter melsig-450

14_01

Easy Thank You Card From Pazzles Craft Room

Hello crafty friends,
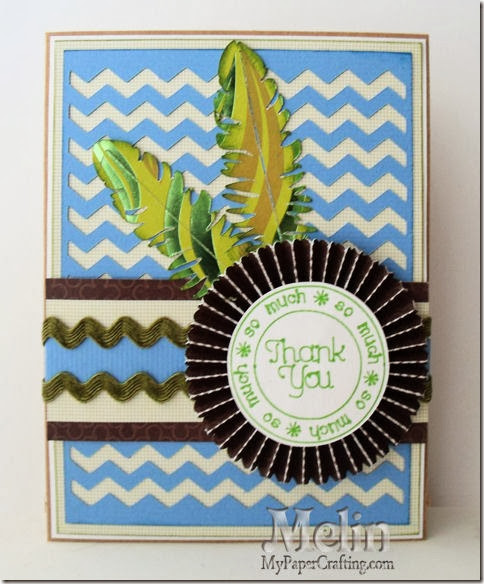
Today it is my turn to share for the Pazzles Design Team. I am sharing a super quick and easy Thank You card featuring files from the Pazzles craft room.  I wanted to create a card that could possibly would work for a "masculine" recipient. Here is what I came up with.

Easy Thank you card by melin2-480

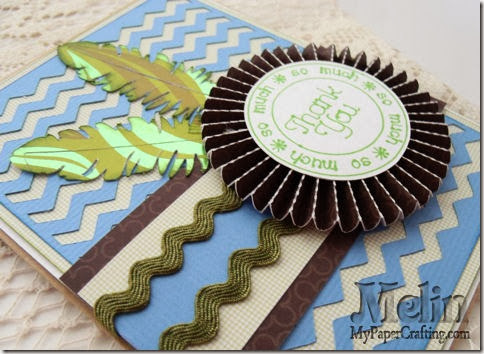
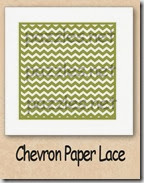
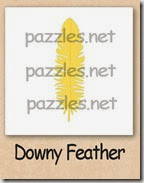
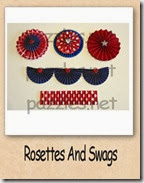
My finished card size is 5x6.5. My base was from regular kraft cardstock.  It came together very quickly. I started by cutting a white mat an 1/8” down and then another mat from the DCWV White Ginger Paper Stack an 1/8 smaller. I then used the Chevron Paper Lace file from the library and sized it to 4.5 x 6. I cut it from regular blue cardstock. I then used the downy feather file and cut two of them from another piece of patterned paper from the same White Ginger stack. For my final cut, I used one of the rosette files and cut out two rosette strips at 1.5 by 10.5 inches. The patterned paper was once again from the same stack.  I then used my pen tool and a green fine tip sharpie to draw the thank you sentiment and then cut that out. I cut some brown patterned paper and then a thin strip of the blue paper edged by the olive ric rac ribbon. I lightly edged the chevron paper lace with some blue ink. This card came together very easily with the help of a few great files from the craft room, my pen tool and a fun paper stack!

thanks card closeup-480


Products Used for this project
pazzle1
Pazzles Inspiration
dcwv white ginger stack
DCWV White Ginger
pen tool-200
Pazzles Pen Tool
chevron-paper-lace
Chevron Paper Lace
downy-featherlabel
Downy Feather
rosettes-swags
Rosettes And Swags

Z2501-adventure
CTMH Adventure Ink Pad Set
thank you label
Thank You File

Additional Products Used
Bazzill Kraft, Blue and White Cardstock
Kiwi Green Fine Point Sharpie Marker
May Arts Olive Ric Rac Ribbon

Thank you so much for stopping by and sharing your crafty time with me. Be sure to come back tomorrow for my Stuck On U Die Cut Challenge Project and FREE SVG cut file! Until then,
2013 fall winter melsig-450