Showing posts with label DCWV Sweet Stack. Show all posts

22_05

Soda Fountain Die Cut Card With Cottage Cutz

Hello hello hello crafty friends!
Thank you for stopping in and sharing a little of your crafty time with me on this TERRIFIC TUES...DIE! Today I am sharing a project featuring dies from the SUPER SWEET New Sweet Treats Release by Cottage Cutz! Talk about sweet! This set is over the top adorable!  Here is what I created. This adorable Double Fountain Sundae card. 

14_03

Shamrock Die Cut Card

Hello crafty friends,
Hope you’re having a great day. It’s another Terrific Tuesday and that means it’s time for another project featuring some wonderful goodness from Scrapyland.com So here is what I am sharing with you today.

shamrock cards-480
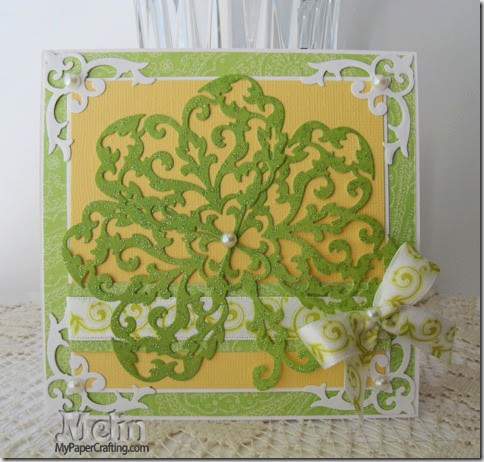
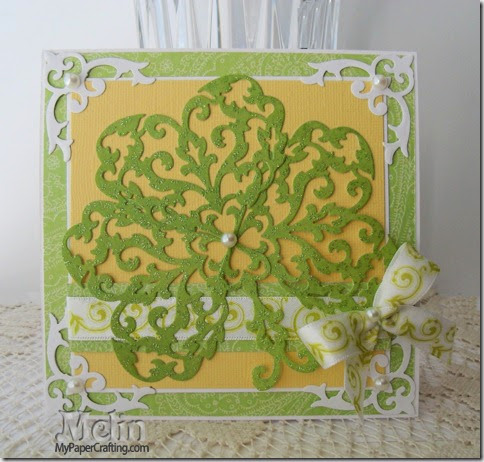
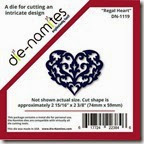
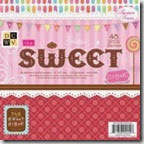
Here’s a look at my finished card. This is another “unplugged” card. My definition of “unplugged” means no electronic die cut machines used. No electricity. The finished size of the card is 5.5. x 5.5. The patterned background paper is from the DCWV Sweet Stack.  made this super cute shamrock featuring a heart shaped die from die versions. I just cut three of them out of the Glittery green paper from the Die Cuts With A View Cotton Bloom Stack and then lined them up and then cut apart a piece for the “stem”

shamrock stem
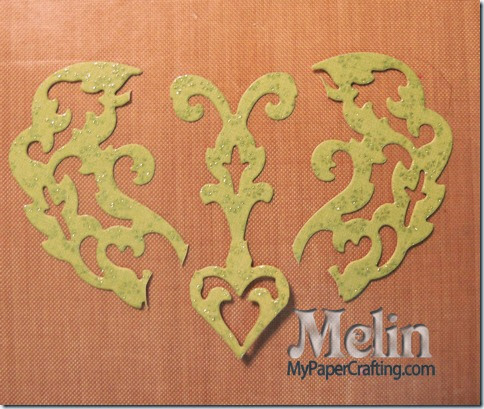
Here is a shot of the heart and I cut it apart for the stem.

finished clover-480
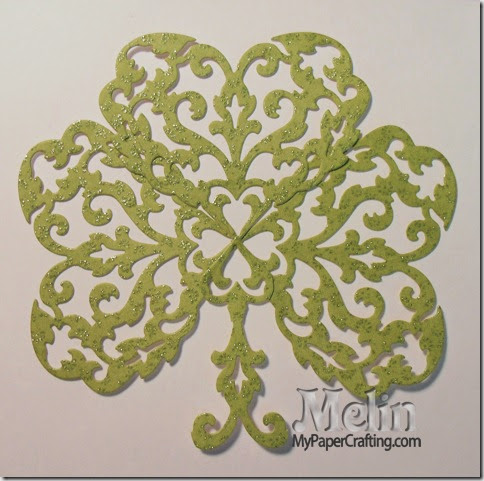
Here’s a shot of how I put the hearts together to form the shamrock.

side view-480
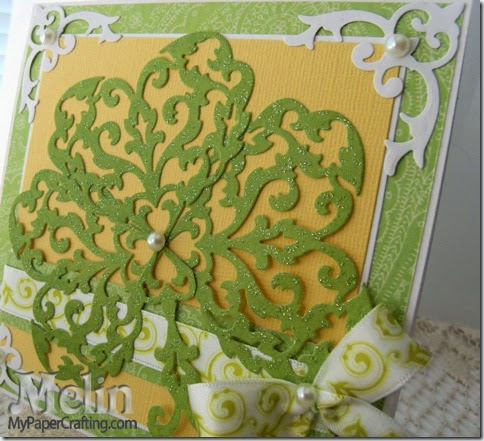
Here is a closer look at the shamrock on the card.

shamrock cards-480
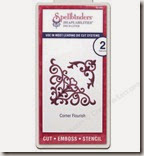
Here is one last look at the card. I finished off the card with some pretty corner flourishes from the Spellbinders D-Lites Corner die and some pretty little pearl embellies from Hobby Lobby The Paper Studio Gemstones 

Products Used To Create This Project
spellbinders d lites corner flourish
Spellbinders D-Lites Corner Flourish

regal heart
Die-Namites Regal Heart
dcwv Cotton Bloom Stack
DCWV Cotton Bloom Stack
dcwv sweet stack
DCWV Sweet Stack
hb pearls
HB Paper Studio Pearl Gemstones

Additional Supplies Used
White and Yellow cardstock
Misc. Ribbon

Don’t forget to head over to Scrapyland.com and check out all the wonderful dies. You just may be able to get multiple use out of one! As always, thank you for stopping by. Check back tomorrow for another crafty project! Until then,
2013 fall winter melsig-450

14_01

Sweet Girl Cameo Block Party Layout

Hello crafty friends,
So glad you could stop by. Today is my turn to share a project for the Scrapyland DT. I decided once again to use my Silhouette Cameo and the Block Party Digital Design Portfolio to create this layout.
dcwv sweet stack cameo svg girl lo-450
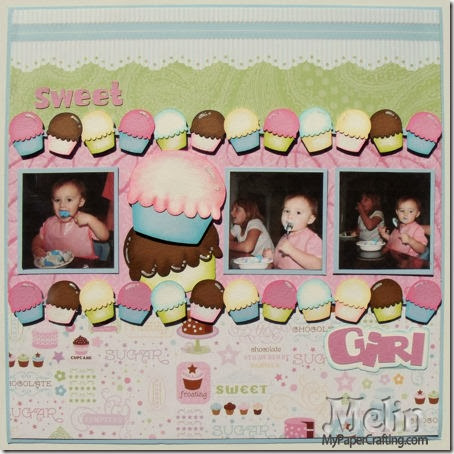
Here is a view of the entire layout.

I used some of the pretty paper from the Die Cuts With A View DCWV Sweet Stack. This is definitely one of their classic, fabulous go to stacks.  I also used the Block Party Digital Design Portfolio for all the die cuts as well as the matching titles. I used one of their cupcake designs to create the borders and the girl title was already one of the pre-made titles.

lg cupcake svg 450
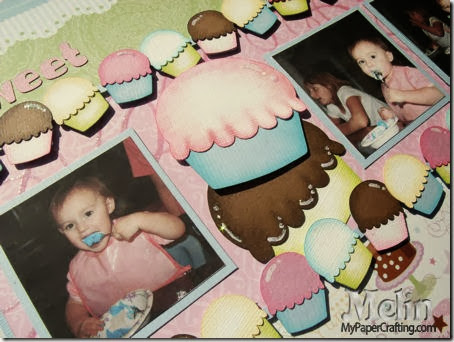
A closer look at the big cupcakes.  I used some of my pebbles chalks as well as some pigment inks to shade the cupcakes.

svg cupcake border 450
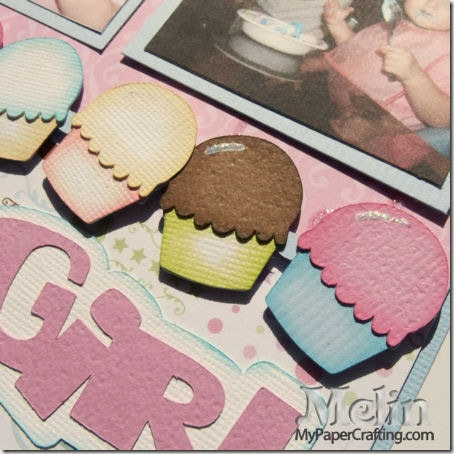
Here is a closer look at the cupcake border. I simply used the same cupcake shape and welded them together to create the border.

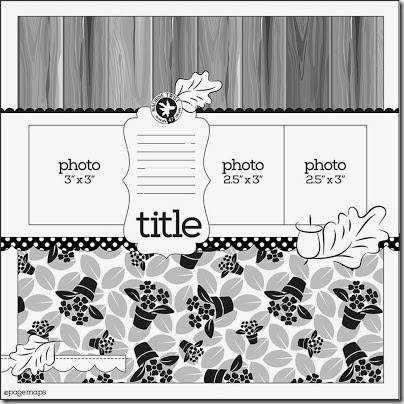
The layout came from the Die Cuts With A View January Stackaholics Challenge
january 14 layout sketch
Here is the Sketch to follow for the challenge. 

Products Used For This Project
Be sure to head over to Scrapyland.com where you can purchase all of these supplies.
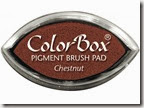
chestnut
Chestnut Ink Pad
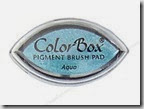
aqua
Aqua Ink Pad
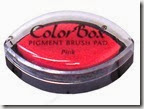
pink
Pink Ink Pad
citrine
Citrine Ink Pad
parchment
Parchment Ink Pad

Additional Supplies
White, blue, pink and brown cardstock.
Diamond Stickles

As always, thank you so much for sharing your crafty time with me. Don’t forget to mark your calendars for this Saturday when I participate in the Lots of Love Blog hop.


Block Party Digital Design Scrapbook Birthday Layouts

Hello crafty friends,
Hope you are enjoying some crafty time during this new year holiday. With Christmas and 2013 officially behind us, it is now time to start thinking about all the pictures you need to get into pages and other celebrations. So for my Scrapyland Design Team project this week, I chose to make a couple of layouts for the birthday celebrations. Here they are:

make a wish boy mpc-450
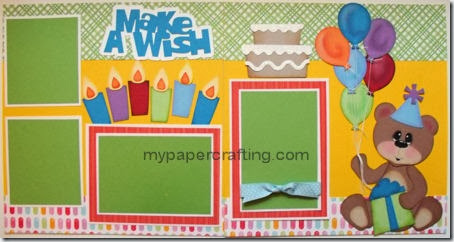
Here is my little boy version. I used some Bazzill cardstock as well as some patterned paper from a couple of DCWV Stacks including the Sweet Stack paper pad.

make a wish-girl mpc-450
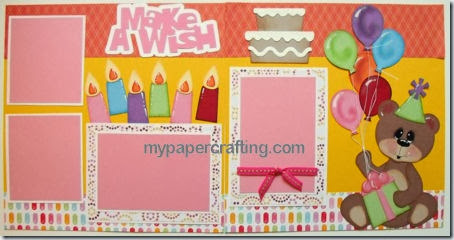
Here is the little girl version. Again, I used some Bazzill cardstock as well as some more patterned paper from DCWV Sweet Stack paper.

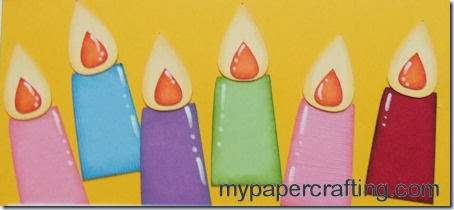
candles-450
Candles from the Block Party CD Portfolio.

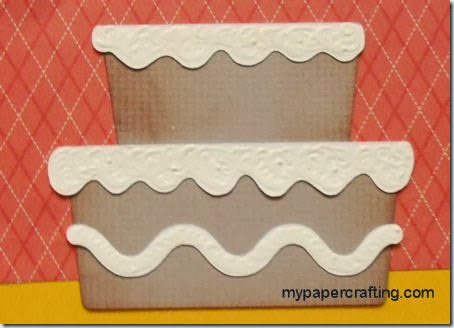
cake closeup-450
Here is the cute cake also from the Block Party CD. I used some dimensional paint to add a little frosting look for the cake.

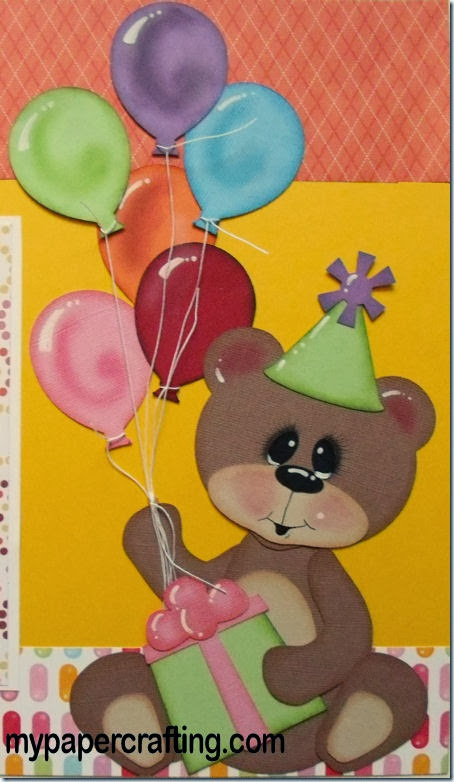
bear-girl-450
Here is a closer look at the cute little bear piecing. I inked the edges of all the die cuts with various inks. I used some decorative chalk to add the additional dimensional touches.
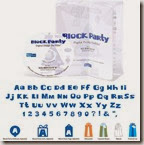
As I mentioned previously, to complete these pages, I used the Block Party Digital Design CD from Scrapyland.com. This CD is CHOCK FULL of hundreds of great cut files, Print n’ Cut files AND line art files (for coloring in). When you purchase and install this CD it automatically installs into your Studio Software library! It is made for the Silhouette so it comes in their proprietary file format and NOT in the open source SVG format that is widely used for various cutters. So even if you have your Silhouette, Silhouette SD or Cameo, you will be able to install this into the free Silhouette software and get crafting!!! You do NOT need to have the upgraded software to use this cd….that is a plus as I only have the regular design studio software for my cameo.

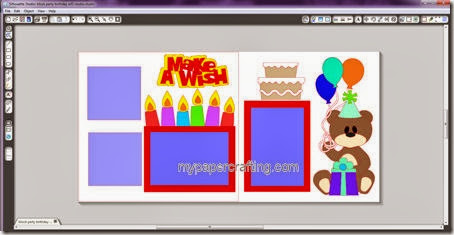
block party layout in studio-450
I started by laying out my page within the software. This allowed me to resize all of the die cuts so I knew exactly what size I would be cutting them in.
All of the images on my page are from the block party cd with the exception of the bear. For the bear I actually used a combination of a few files from the black party cd (i.e. a balloon for his body) and then I used the oval tool in the software to create the rest of the pieces. I found that it was really easy to create the pieces by starting with an oval and then while in “nodes view” I was able to push and pull the lines to form the different shapes (i.e. the chin).
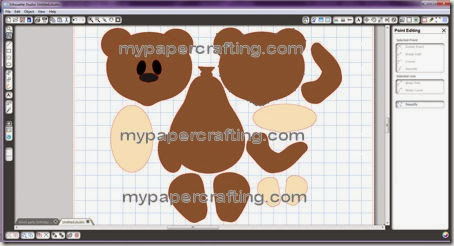
block party bear pieces-450
Here is a screen shot to show you how easy it was. For instance his head is a combination of three ovals welded together. Once welded, I simply clicked the “edit points button” on my tool bar and created the shape of his chin. His nose and his snout are simply the same oval with chin (minus the ear bumps) resized. That is one of the amazing things about having a machine with the software. You can manipulate your images very easily to accommodate what you want. For his body, it is simply an upside down balloon image from the cd with an oval welded to it for his body.

I used the following products to complete this project

silhouette-cameo
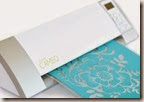
Silhouette Cameo

silhouette block party design portfolio
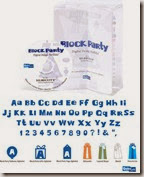
Silhouette Block Party Design Portfolio
dcwv sweet stack
DCWV Sweet Stack
basic 10
Pebbles Basic Chalks
pastel10
Pebbles Pastel Chalks
pearlescent earth tones
Pebbles Earth Tone Chalks
enchantment ink-140
Enchantment Ink Pad Set

whimsy ink pad
Whimsy Ink Pad Set
Z2501-adventure
Adventure Ink Pad Set
Z2503-basics
Basic Ink Pad Set
1514-tombow adhesive
Tombow Adhesive Runner
Z1151-foam tape
Foam Adhesive Tape
Z1767-chalk marker
Chalk Marker
1772-glue dots
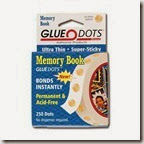
Memory Glue Dots
Z553-chisel tip glue pen
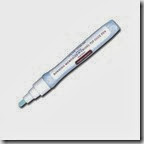
Chisel Tip Glue Pen
glue dots craft dots
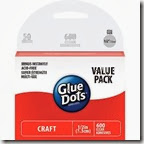
Craft Glue Dots
ms fine tip glue pen
MS Fine Tip Glue Pen
Picture 087
3D Foam Dots
ac glue dot runner
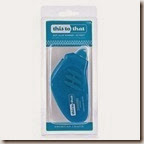
American Crafts Glue Runner
aqua
Cat’s Eye Aqua Ink
cocoa
Cat’s Eye Cocoa Ink
orange pigment ink
Cat’s Eye Orange Ink
moss green
Cat’s Eye Moss Green Ink
ruby
Cat’s Eye Ruby Ink
sky blue
Cat’s Eye Sky Blue Ink

Well, I hope you are inspired to start working on those celebration memories. I did make these two layouts into page kits that can be purchased at page-kits.com. I only made a limited quantity of each, so be sure to get them while you can.  

Also, head over to scrapyland.com and check out all the wonderful products they have including some other digital design portfolio CDs for your silhouette cutting.
2013 fall winter melsig-450