Showing posts with label DCWV Neon Chic. Show all posts

14_10

DCWV October Stackaholic Challenge Layout

Happy Thursday crafty friends,
Hope your day is going well! I wanted to share the layout I created for the October DCWV Stackaholic template challenge.

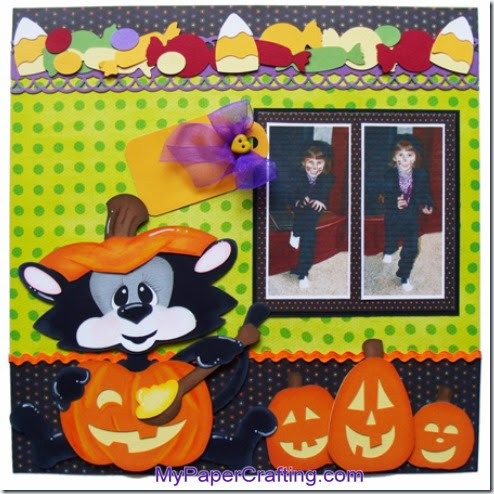
Here’s a look at my completed layout. I used the DCWV Neon Chic Stack for the green background paper. The DCWV Fall & Halloween Value Stack for the black multi-dot paper for the border. The Fall & Halloween Basics Stack for the black and orange heart paper for the picture mat. As this was for this month’s Stackaholic Template challenge, I followed along with the challenge. 
halloween layout sketch
Here is the template we were give to springboard from.

kittyb-490
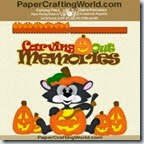
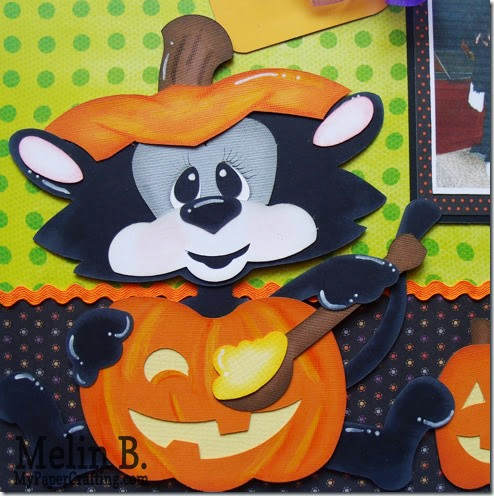
Here’s a closer look at the cute little Kitty paper piecing from the PaperCraftingWorld.com  Carving Out Memories Cut file set. I did make a video on how I put him together. You can check it out HERE
pumpkinsb-490
Here’s a closer look at my trio of pumpkins. I did ink the edges of them slightly with my Autumn Terracotta mini ink pad from the Adventure Ink Pad set. You can also see in this shot a closer look at the cute little border of ric rac I added. I love to add ribbon and textile to my layouts where I can. Gives them a nice dimension.
candy borderb-490
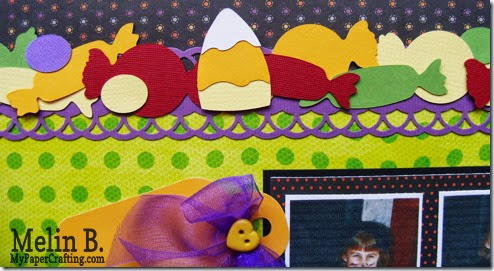
This is a closer look at the candy border. I started with a strip of purple paper and then punched the edges with my Martha Stewart Punch. I then cut out several pieces of candy in different colors and then layered them on top of the border It was hard for me not to want to ink and chalk all these pieces, but I wanted to keep them simple and I didn’t have as much time. So I thought they would be good just the way they are.
tag closeupb-490
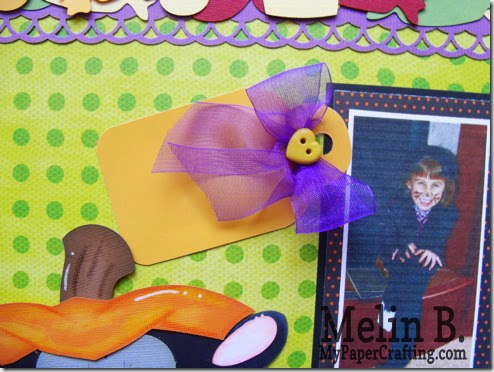
This is a closer look at the cute little journaling tag. I added a bow of sheer purple ribbon and a cute little button. This a perfect spot for some journaling. The tag came from the DCWV Fall & Halloween tag set. When I went looking for the Eek a Boo stack almost a couple of weeks ago. Although it says halloween, the nice bright colors of assorted tags would work perfectly for so many other occasions…including birthdays. So I figured, I couldn’t go wrong with picking them up.
halloween kitty carving out mem-Taylorb-490na
Products Used For This Project
pazzles vue-200
Pazzles Inspiration Vue
dcwv fall and halloween basics stack-200
DCWV Fall & Halloween Basics Stack

dcwv neon chick stack-200
DCWV Neon Chick Stack
dcwv fall and halloween stack
DCWV Fall & Halloween 180 Value Stack

fall and halloween tags-350
DCWV Fall & Halloween Tags
carving out memories kitty ppr cfj-200
may arts qtr inch orange ricrac ribbon
1inch sheer royal purple


basic brights
Pebbles Basics Chalks
1514-tombow adhesive
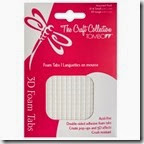
tombow foam tabs
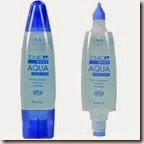
tombow mono liquid glue

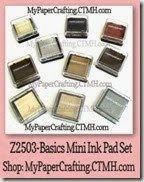
basicpadset-200
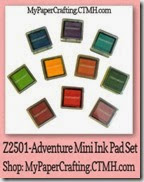
adventure ink pad-200

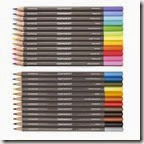
3505-water color pencils
blending pen-200
micron black pen 001
Fine tip black pen
whimsy ink pad-200
Well that about covers it for today. As always, thank you so much for stopping by and sharing your crafty time with me. Be sure to stop back by tomorrow as I share another fun and inspiring project. Until then,

14_06

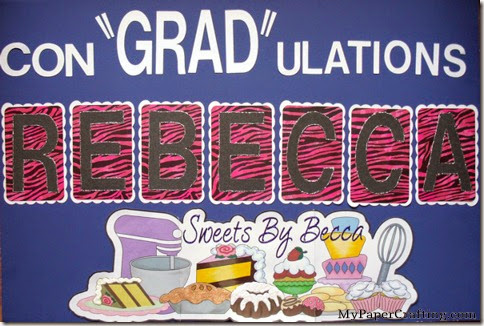
Con “GRAD” ulations Poster

My daughter recently graduated from high school. I couldn’t be more proud of the fine young lady she has grown into. It was a low key celebration as we don’t have too much family in the area, so I made this poster and wanted to share it with everyone.
rebecca's grad poster-480
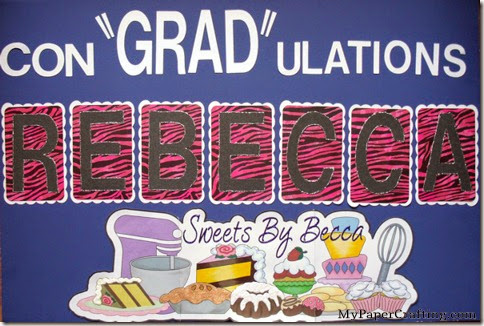
Here’s a look at the entire poster. I used a piece of foam board that was already colored blue. I started with blue as I thought I would do things in blue and silver which her school colors. After consulting her, she didn't want the blue and silver theme so I ended up adding some “color” to it….lol The overall size is 20” x 30” a standard piece of foam board.  One of the nice things about the pazzles software is that you can design according to your finished size. You simply create a new file with the sizes you want. I do this a lot when I am working on a two page layout. I adjust my size to 24 x12 and then go from there. Doing this allowed me to layout the letters and then copy them over to a 12 x 12 size for cutting and I knew exactly how it was going to layout.

cakes cu-480
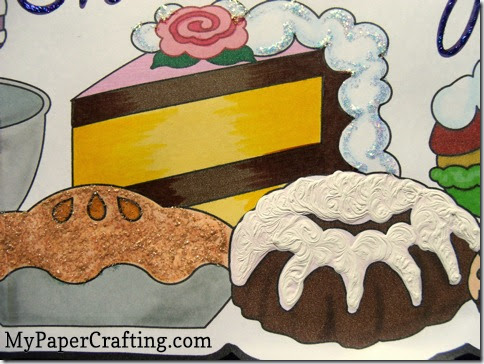
Here is a closer look at some of the yummy goodness I created.  To make this bottom image, I created it all in my Pazzles software. Once I had the final size, I exported it to a jpg. Then I took that jpg image and opened it up in my Microsoft Publisher software. I did this because this software has a feature for “poster printing” It allows you to layout out your larger print and then it will automatically “slice” up your image to print on however many sheets of letter size paper. The great thing about this feature is that it prints a little “overlap” where it knows you will have a seam. This allows you to cut one side of the image to where it printed up to and then you can lay it on top of the “overlap: and create an almost seamless look very easily! This print out too three sheets of letter size paper so it had two seams. In the above photo you see where I added some shading to the cake slice using my copic markers as well as some of my Pebbles dry decorator chalks. I also used some stickles, white dimensional paint and some distress stickles for the cake, Bundt cake and pie tops.

cake slice cu-480
Here’s a closer look at the cake slice. You can see for parts of the cake, I used some of the Bazzil textures that come in the Pazzles software. This printed out nicely giving the cake some texture. I again used some white dimensional paint for the frosting.

by becca cu-480
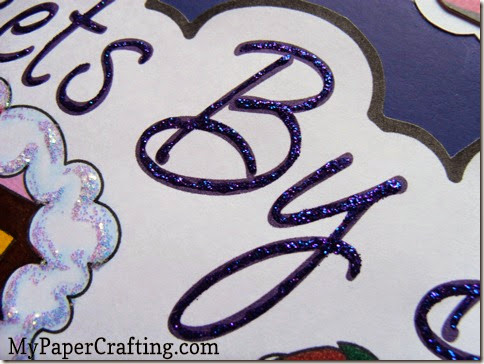
Here is a closer look at the lettering. I used some Stickles midnight blue to go over the lettering to give it just a little extra shine.

cupcakes-480
Here’s a closer look at the cute little cupcakes, cookies cake and whisk. Again, I used my markers, chalks and stickles to add to the printed images.

letters-480
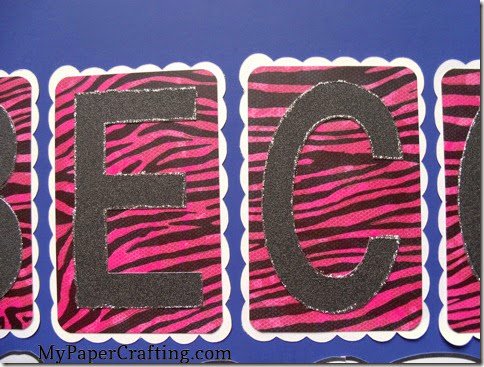
Here is a closer look at the letters. I used some of the DCWV Glitter paper in black for the letters and the animal print paper is from the Neon Chic stack…Love my stacks!!!

rebecca's grad poster-480
Here is one last look at my completed poster. She really liked it and put it in her room Smile

Products Used For This Project

pazzles-cutter-200 dcwv glitzy glitter stack-200
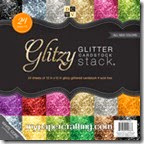
DCWV Glitzy
Glitter Stack

dcwv neon chick stack-200
DCWV Neon Chic Stack
brushed corduroy stickles
Brushed Corduroy Distress Stickles
crystal stickles
Stardust stickles
white dimensional paint

tape runner-200
foam tape-200

basic brights
silver stickles
Silver Stickles
dark blue stickles
Dark Blue Stickles

Additional Supplies

Well that about covers it for today crafty friends! I hope you are inspired to think bigger, faster and easier when it comes to those larger projects! As always, thank you so much for stopping by and sharing your crafty time with me. Be sure to come back tomorrow as I share another fun and hopefully inspiring project!  Until then,
2013 fall winter melsig-450

14_05

Owl Birthday Card With My Pazzles

Happy Hump day crafty peeps! Hope you’re week is going well. For those following along with the Psalm reading for the counting of the Omer, here is today’s passage:

ג Gimel

17 Deal bountifully with Your servant, 

That I may live and keep Your word. 

18 Open my eyes, that I may see 

Wondrous things from Your law. 

19 I am a stranger in the earth; 
Do not hide Your commandments from me. 
20 My soul breaks with longing 
For Your judgments at all times. 
21 You rebuke the proud—the cursed, 
Who stray from Your commandments. 
22 Remove from me reproach and contempt, 
For I have kept Your testimonies. 
23 Princes also sit and speak against me, 
But Your servant meditates on Your statutes. 
24 Your testimonies also are my delight 
And my counselors.
Psalm 119: 17-24


May the Lord open the eyes of our hearts that we may see His goodness and mercy. Blessings to you for reading and meditating on His Word.

Now on to today’s project. My daughter asked me to make a card for her. She had a friend who was celebrating a birthday recently. Her friend loves owls, so this is what I came up with.
owl card side view-480
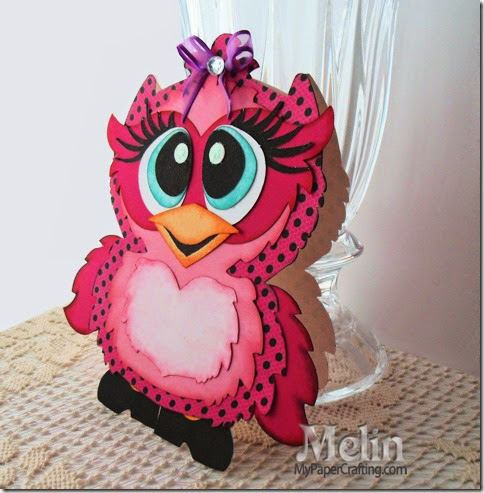
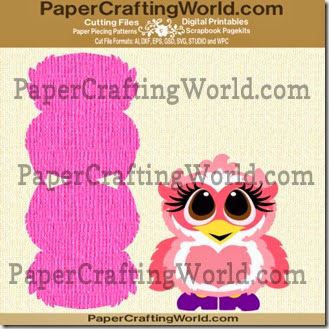
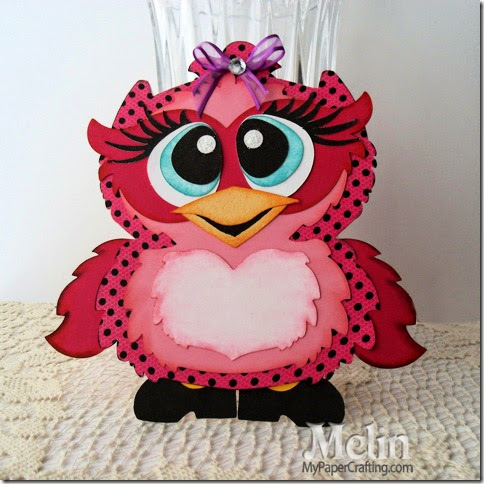
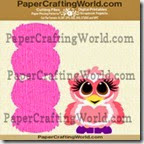
I created this super cute owl in my Pazzles Inspiration software. I turned her into a card by welding the base image together. I used some patterned paper from the Neon Chic Stack from Die Cuts With A View. I also used some black glitter paper from the Glitzy Glitter stack for her shoes, eyes and eyelashes.

owl destiny card ppr cf-325


owl card-480
I inked her blue eyes with Lagoon and beak pieces with Sunset inks from my Adventure Ink Pad set. I also inked her tummy piece with some Blush ink  and her other pieces with some Cranberry Ink pad  and Ruby Ink pads.

owl eyes-480
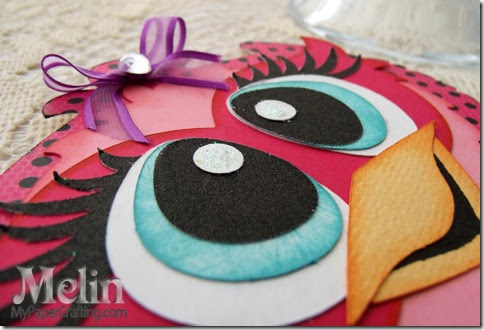
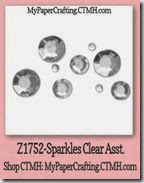
Here’s a closer look, you still can’t see the “glitter” of the black of her eyes and eyelashes too well, but it is a nice paper with a good coating that won’t let the glitter shed. I used some stickles for the white of the eye glints. I topped her off with a pretty little purple bow and a gem from the Clear Sparkles Assortment set.  I think she turned out super cute and my daughter informed me that her friend really liked it. So it was a win-win Smile


Products Used For This Project


pazzles-cutter-200
Pazzles Inspiration
owl destiny card ppr cf-200
Owl Shaped Card 
dcwv glitzy glitter stack-200
DCWV Glitzy Glitter Stack
dcwv neon chick stack-200
DCWV Neon Chick Stack

Z2501-adventure
Adventure Ink Pad Set
blush-200
Blush Ink

ruby-200
Ruby Ink
memory book glue dots-200
Glue Dots
cranberry ink-200
Cranberry Ink 

sparkles clear asst-200
Sparkles Clear Assortment
crystal stickles
Crystal Stickles
tape runner-200
Tape Runner
Additional Products
Magenta, Pink and Light Orange Cardstock
Misc. Ribbon
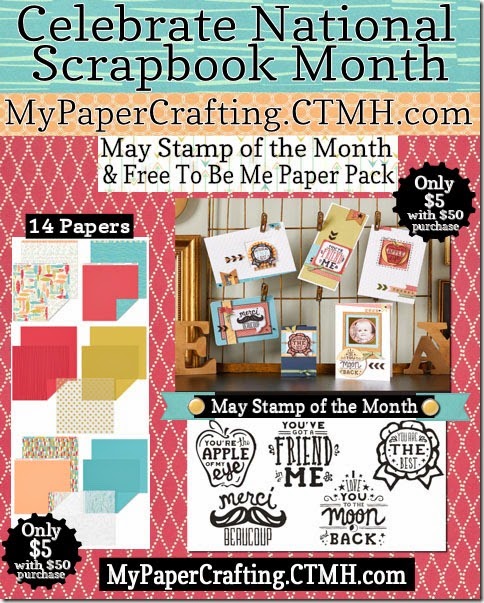
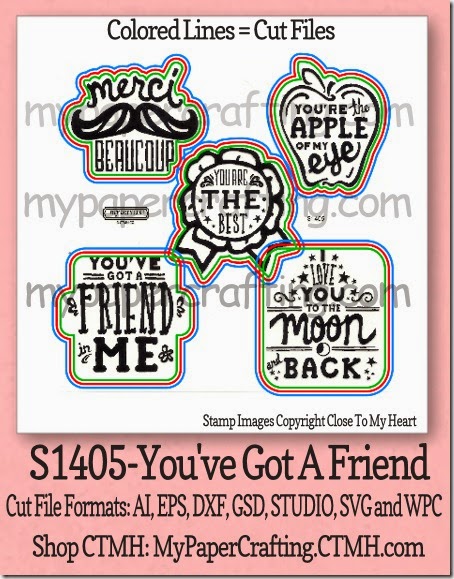
Don’t forget about this month’s special from Close To My Heart.
MAY PROMO long-480b

As an added bonus, 
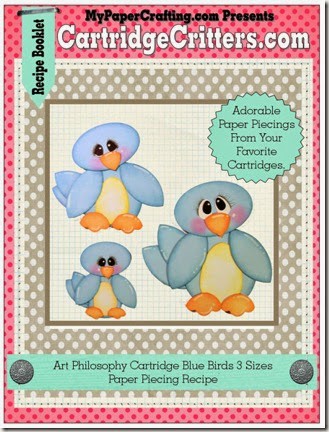
I will be sharing the cute little Blue Bird Paper Paper piecings 
I created with the Art Philosophy Cartridge. If you missed the project I made with them, you can find it HERE   AND

blue birds cover-325

...Giving you the cut file for the Stamp of The Month if you use cut files.
Formats: AI, DXF, EPS, GSD, KNK, SVG, STUDIO and WPC.

CTMH-S1405-you've got a friend-sotm-450

myctmhb-4

Well I think this about covers it for today. As always, I truly appreciate you stopping by and sharing your crafty time with me. I hope you are inspired to get creative.  Be sure to visit tomorrow as I share another fun project and some more crafty inspiration! Until then,
2013 fall winter melsig-450