Showing posts with label DCWV Halloween and Fall. Show all posts

14_11

Let’s Talk Turkey!!!

Happy Monday crafty friends,
Hope you had an enjoyable weekend. With Halloween officially behind us, it is time to “talk Turkey”.  So I decided to start out November with a really quick and easy card.
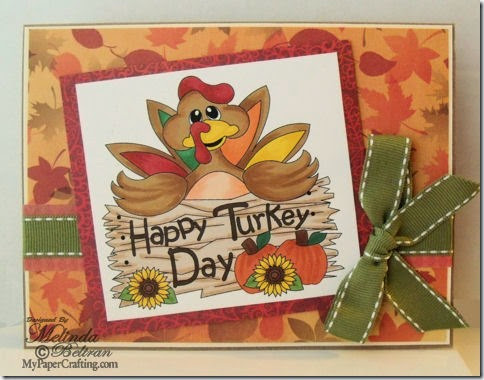
happy turkey day card-480
I used some papers from the DCWV Halloween and Fall Stack. I started with a plain kraft cardstock base. I used the pre-colored version of the digital turkey stamp. Once I printed it out, I added some extra dimension to him by coloring him in with my various copic markers. This made it really fast and easy. I then added a border with some paper and then some olive ribbon and was done!
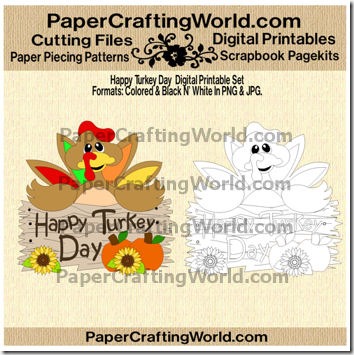
turkey day ppr-350

Here’s another card I created that was also really quick and simple. I used the same layout for this card to make it super simple. I also once again used the pre-colored Cornucopia digi and printed it out. I then added some quick dimension by using a few of my Copics. I used more of the same DCWV Halloween and Fall stack papers and added another border and ribbon. For this one I also used some May Arts hemp cord and a little button. Another fast and easy design.

Two quick and easy cards to kick off my Thanksgiving card needs!

Products Used For These Projects
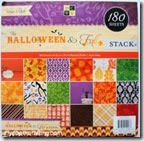
dcwv halloween and fall stack-200
DCWV Halloween and Fall Stack

harvest cornucopiads-200
Harvest Blessings Digi Set
turkey day ppr-200
Happy Turkey Day Digi Set
kraft cardstock-200
basic cardstock pack-200
mayarts-SM-10-burlap cord

tombow adhesive runner
tombow foam tabs
tombow mono liquid glue
Misc. Supplies
Button and Ribbons

bear w pumpkin digi set-200
Be sure to visit my post from Saturday to pick up this week’s FREE digi set! HERE Free through Thursday the 6th! As always, thank you so much for stopping by and sharing your crafty time with me. Be sure to stop back by tomorrow for another fun and inspiring crafty project! Until then,

14_01

Lots of Love Blog Hop

Happy Sabbath crafty friends!
So glad you dropped by! Today is special as the PCW design team is participating in the Lots of Love Blog Hop. It is a small hop filled with lots of love and inspiration. Only 8 stops along the way! Mine is the first blog, so if you’re here you are in the right place! I have two projects to share with you. 
 First up:
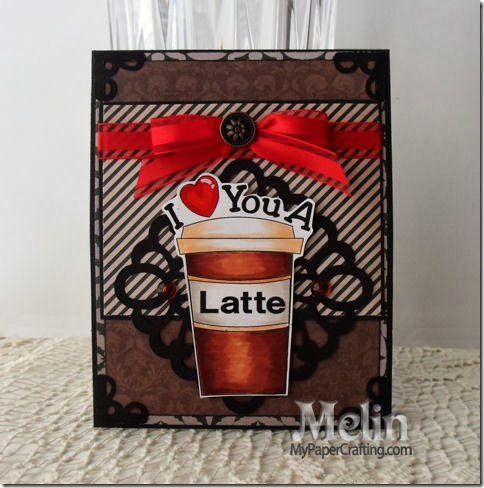
I Love You A Latte Card
i love you a latte card-480
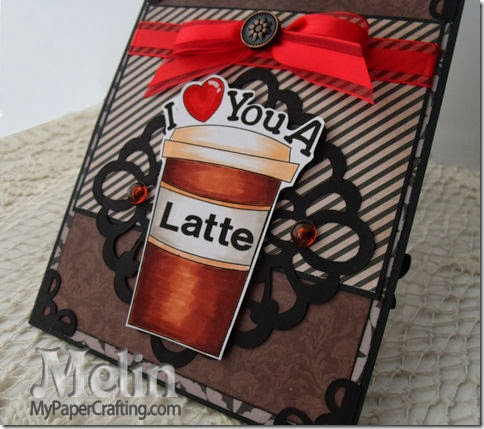
Here’s a look at the front of my card. I used some papers from the DCWV Halloween and Fall Stack. I used the latte cup digi image from PCW and colored it in with my Copics. The photo corners are from the Christmas Blessings cut files set and the decorative element behind the cup is from the Deco Elements 1213 cut file set. 

latte cup copic coloring-480
Here is a closer look at the colored digi. I used my copic markers to color it.
I used: W00, W1, YR000, YR61, E04, R24, E13 and E25

love you a latte card easel-450
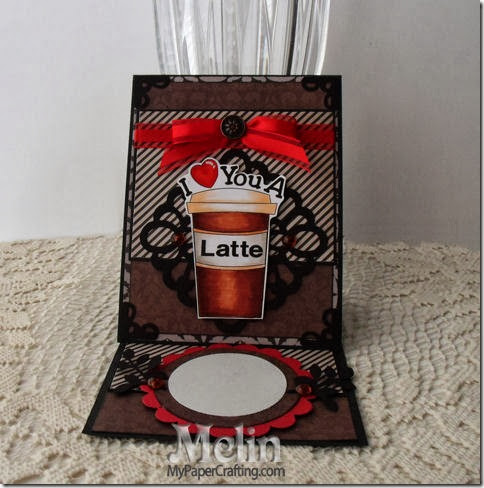
Here is a view of the card opened up. It is a an easel card. I will be writing a personal note in the  circle. The leaves are from the beautiful card cut file set and the scalloped circle is from the basics cut file set.


Now for my second project
Nuts For You Layout

nuts for you scrapbook pagekit layout-450
Here is a view of my entire layout. I used some cute Bo Bunny paper for the background. I cut the squirrels and all of the svg cuts from the Nuts For You SVG  Layout set from PCW

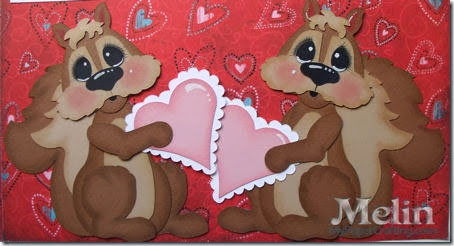
squirrel svg couple hearts-450
Here is a closer look at the two squirrels holding their hearts…ready to give their little hearts away to each other. I used some Chocolate ink from the basics ink pad set 
to ink around the brown pieces of the bodies. I used some Saddle ink from the basic ink pad set to ink around the tan body parts. I used the blush ink from the Whimsy Ink Pad set for the hearts.

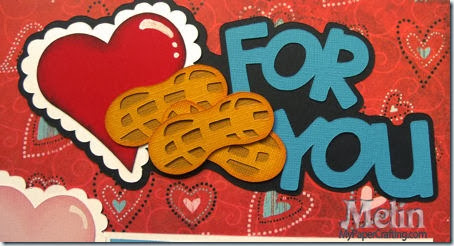
nuts for you svg title-450
I used charcoal ink from the Basics ink pad set for around the red heart. I used the Autumn Terracotta ink from the Enchantment ink pad set to ink around the edges of the peanuts.


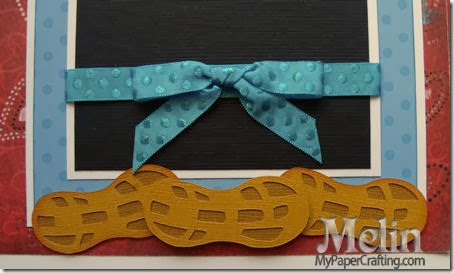
nuts svg closeup-450
Here is a closer look at some of the peanuts at the bottom of the mat. I also used some foam adhesive to give some of the peanuts a little lift.

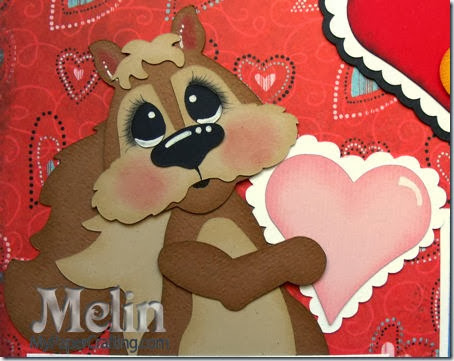
squirrel w heart svg-450
Here is a closer look at the little squirrel topper. I used some dry decorator chalk to give their faces the finishing touches. I used the chalk marker to give their eyes and noses their shine marks as well as the hearts.

Here is the blog hop line up
Melin:  YOU’RE HERE
Jen NEXT 

Now For Some Blog Candy
Be a follower of this blog and leave a comment on this post and or any of the other blog hop posts for a chance to win

2013 pcw20gc-200
We will pick one random winner from all of the comments.

Now a little something for everyone

FREE Cutting File
Scalloped  Heart Set
Sorry, Link Now Expired
Please note: The price will say 1.99 but will be Free when 
you download through 1-30-14
Make sure you go through the hop and you will get a chance to see what I made with this set :-)


Here are the products used for this project
pazzle1
Pazzles Inspiration
nuts for you layout ppr-cf-200
Nuts For You SVG Set
1514-tombow adhesive
Tape Runner
Z553-chisel tip glue pen
Fine Tip Pen
Z1151-foam tape
Foam Adhesive
enchantment ink-140
Whimsy Ink Pad Set
whimsy ink pad
Adventure Ink Pad set
Z2501-adventure
Basics Ink Pad Set
Z2503-basics
Enchantment Ink Pad Set
Z1767
Chalk Marker
basic 10
Decorator Chalks

If you like the layout, I did make just a few of them into kits which you can pick up over at page-kits.com if you’re interested.


Now it’s on to Jen’s Blog.
Be sure to leave a comment on each blog.


Thank you so much for sharing your crafty time with us!
2013 fall winter melsig-450

13_10

Sunflower Tri-Fold Card

Hello crafty friends,
Today’s post is of a quick card I made the other day. It was for a challenge in one of the Facebook groups I belong to. We were to create a tri-fold card.
So here is what I came up with.

sunflower card by melin-480
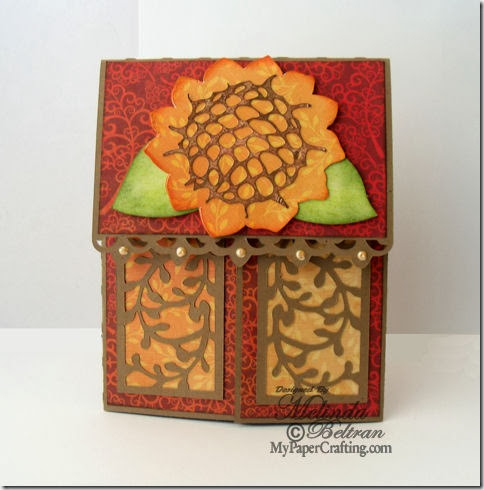
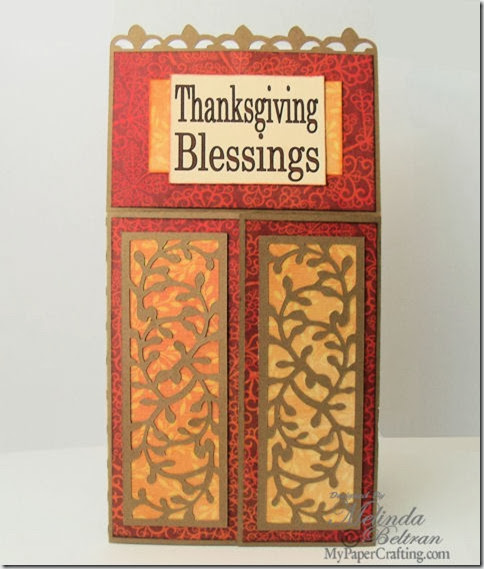
Here’s a look at my finished card. I used the tri-fold card cf from PCW. The pretty patterned papers are from the DCWV Halloween and Fall Stack.

flower close up-480
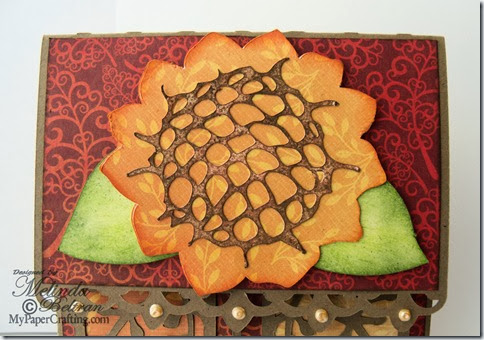
Here is a closer look at the big pretty sunflower. I actually cut the brown top piece out of plain white cards stock and then inked it with my Saddle Ink Pad using a dabbing technique to achieve the “textured look. I used my Autumn Terracotta Ink Pad to ink the edges of the flower as well as the New England Ivy Ink Pad for the leaves from the Enchantment Ink Pad set. I also used some Bisque Liquid Pearls  to add some pearl accents to the front of the top flap of the card.

sunflower card flap open-480
Here is a view with the top flap open. Perfect for my thanksgiving sentiment. This view also shows the pretty leafy panels that are a part of the cut file set. I simply cut them out of kraft paper and then added a layer of that pretty yellow-orange patterned paper underneath.

tri-fold completely open-480
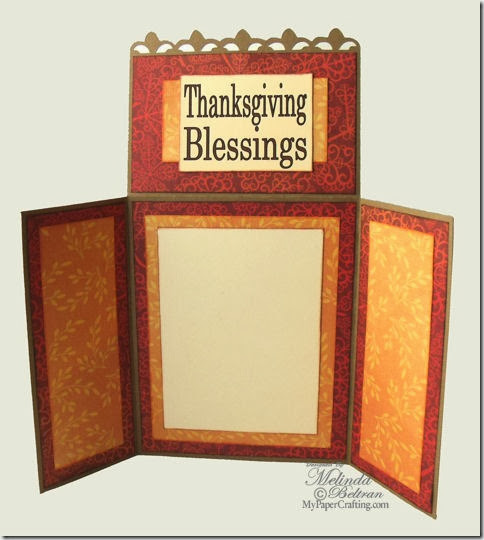
Here is a view of the entire card open. I left the inside middle blank as I will be sending this card on to IFTL for their card drive this month. They are trying to get 200 cards to be able to give one to each resident at a senior care facility. So PLEASE head over there now and get the details. Take a few moments of your crafty time to create a few cards and pop them in the mail. Madison and Cindy will be so grateful and I know they will be a blessing to the recipients.

Products Used To Complete This Project
pazzle1
Pazzles Inspiration
GEDSC DIGITAL CAMERA
DCWV Halloween and Fall Stack
Z2502-enchantment
bisque
Bisque Liquid Pearls

Thank you once again for sharing your crafty time with me.
2013 fall winter melsig-450