Showing posts with label DCWV Floral Fair. Show all posts

14_06

Stinkin’ Cute Card

stinkin cute card by melinw logo-480
Hello crafty friends,
Hope you’re having a wonderful Wednesday!

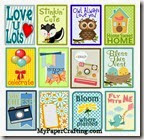
Today I am sharing a cute card I created for my Pazzles Design Team. A while back I had created some cute “pocket cards” for one of my DT projects. You can see the entire post HERE.
pocket scrapping cards by melin-480
While pocket scrapping is a fun way to get some scrapping done However, you can also use these cute little cards for traditional scrapbook pages, as tags for gifts or even as sentiments for a card. So here is what I came up with using one of the pocket scrap cards.


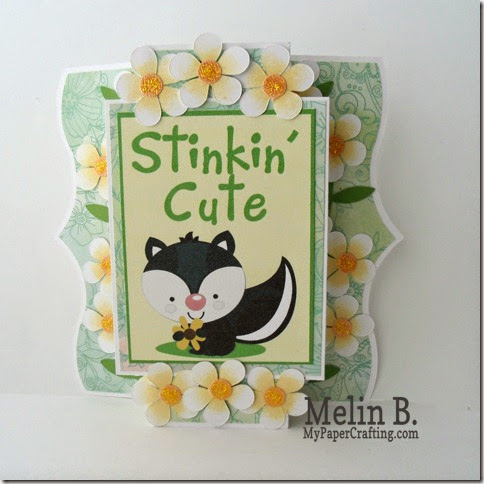
stinkin cute card by melinw logo-480
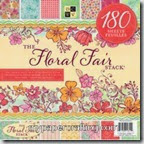
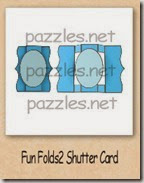
I started by using the Fun Folds 2 shutter card base. I cut that in plain white cardstock. I then cut the “panels in some DCWV Floral Fair patterned paper.

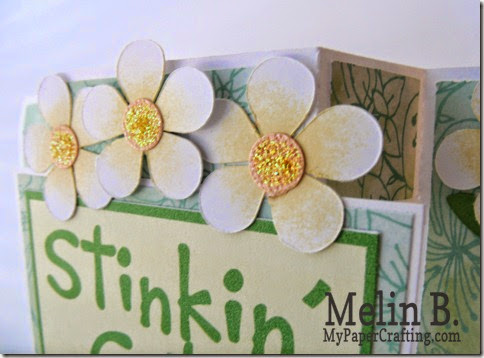
melin flower closeup-480
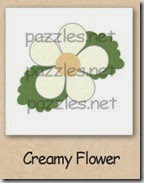
I cut several of the Creamy Flower file in plain white cardstock. I also cut several of the centers in some Bazzil Tangerine Bling. I then used the stem from the Long Stemmed Swirly Flower file for my stems and leaves. I used some Buttercup Ink from Close To My Heart and sponged the ink in the center and worked my way out. I left the tips of the flowers white so they would have some character and depth. I then added the circles to the centers and then added some Yellow Stickles to the centers.

stinkin cute card by melin2-480
Instead of using the Oval frame that came with the Fun Folds Shutter card base, I took that off and then printed and cut the Stinkin’ Cute print n' cut pocket card for the center sentiment. I adhered the panels to each of the sections of the card base and then all the pretty little flowers and stems to the two sides of the cards. I also added some flowers to the top and bottom of the center panel and then I was done! Very quick and easy.

Products Used For This Project
pazzles-cutter-200 dcwv floral fair stack-200
DCWV Floral 
Fair Stack
fun folds2 shutter card-200

creamy flower 200 pocket scrapping cards by melin-480
buttercup ink-200

tape runner-200
memory book glue dots-200

foam tape-200
yellow-stickles
white cardstock-200

If you are a craft room member, then all of these files can be yours! CLICK HERE to check out the craft room. Remember, even if you don’t own a Pazzles, you can still sign up for membership. All of the files come in SVG format too!

Well, this about covers it for today! Be sure to come back as I share another fun, Pazzlelicious project with you! Until then,
2013 fall winter melsig-450

14_05

Quick Mother’s Day Card-Pinterest Inspired

Happy Hump Day crafty friends,
Hope your week is a good one so far. For those following along with the reading in Psalm. Here is today’s passage.
ץ Tsadde

137 Righteous are You, O Lord, 
And upright are Your judgments. 
138 Your testimonies, which You have commanded, 
Are righteous and very faithful. 
139 My zeal has consumed me, 
Because my enemies have forgotten Your words. 
140 Your word is very pure; 
Therefore Your servant loves it. 
141 I am small and despised, 
Yet I do not forget Your precepts. 
142 Your righteousness is an everlasting righteousness, 
And Your law is truth. 
143 Trouble and anguish have overtaken me, 
Yet Your commandments are my delights. 
144 The righteousness of Your testimonies is everlasting; 
Give me understanding, and I shall live.
Psalm 119: 137-144

Indeed His testimonies are everlasting. So as we prepare to celebrate Mother’s Day here in the USA, I am sharing some quick and easy projects with you. Today’s card was a “Pinterest Inspired Card”.

GEDSC DIGITAL CAMERA
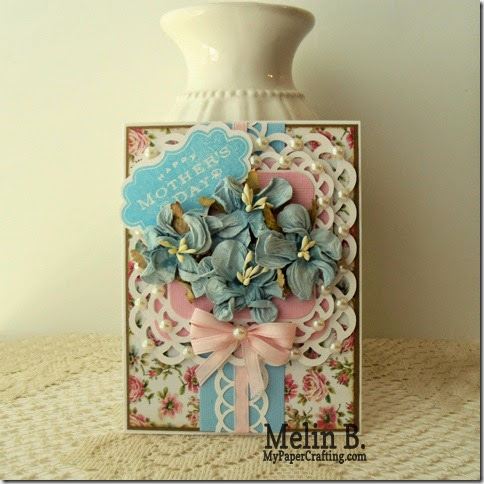
Here is the card I created. It is an A4 (4.25 x 5.5) size card.

3aacdf0f49595a32240db5c1d82727b9
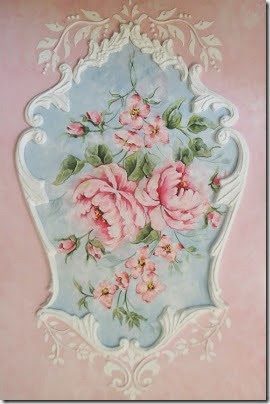
Here’s the photo that inspired me. I have it pinned HERE

side view closeup-480
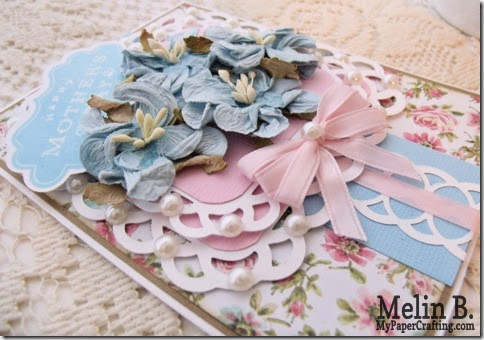
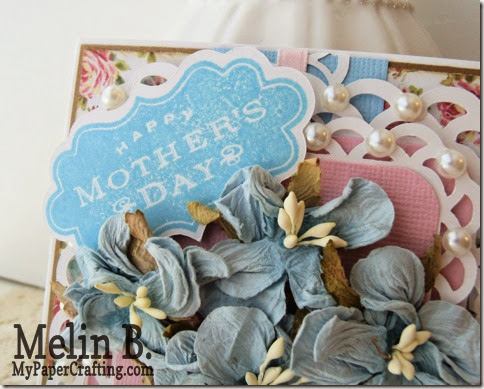
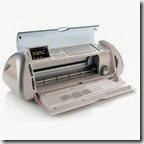
The base of the card is white cardstock. Then I layered it with a kraft cardstock mat. Then I used some pretty patterned paper from the DCWV Floral Fair stack. I then turned to my Cricut Expression and my Artbooking cartridge and cut out the scalloped frames. I cut them out at 4” and 3.5”. I then cut a couple of pink mats and then used my corner rounder punch to round off the corners. I used some foam tape between the layers to give them some lift. I used a strip of blue cardstock down the middle and a Martha Stewart Border punch for the scalloped border down the middle. I then layered that with some pink satin ribbon. I also created a bow with the same ribbon. 

sentiment closeup-480
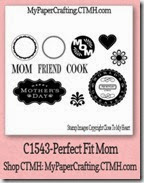
I then turned to my stash of flowers and found these pretty blue Prima flowers that I have had for YEARS!!!! Almost 7 years when I think about it!!!! I added those to the top frame. Next, I stamped the Mother’s Day sentiment with my Sky Ink pad. The sentiment comes form the the Perfect Fit Mother’s Stamp set from CTMH.  Lastly, I added some pearl embellishments around the frames to give it a very “girly” touch.

Products Used For This Project
expression
Cricut Expression
artbooking-200

dcwv floral fair2
perfect fit mom-200

sky-200
kraft cardstock-200
white cardstock-200
tape runner-200
memory book glue dots-200

foam tape-200
GEDC5927
MS Border Punch
hb pearls
Paper Studio Pearl Embellishments
Additional Supplies
Pink and Blue Cardstock (Bazzill discontinued)
Misc. Pink Satin Ribbon

Well, I think this about covers it for today. Be sure to come back tomorrow as I share another project. As always, thank you so much for stopping by and sharing your crafty time with me. Until tomorrow,
2013 fall winter melsig-450

14_01

Pazzles Embossed Bells Card

Hello crafty friends,
It's my turn to share on the Pazzles Craft Room Blog. Today I have a card I created using the Pazzles Embossing tool! I had some thin metal in my stash and was waiting for the right opportunity to use it. Here is what I came up with.
clip_image001
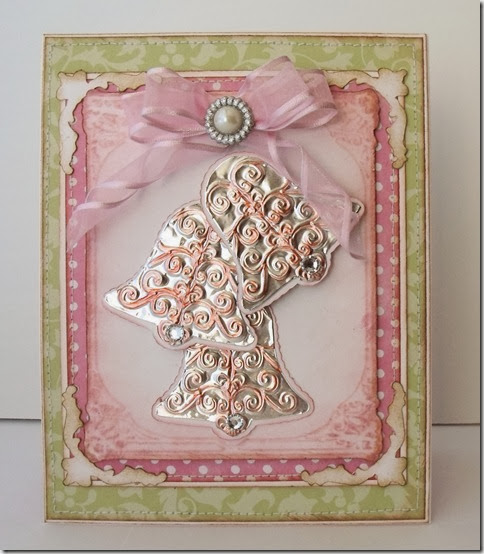
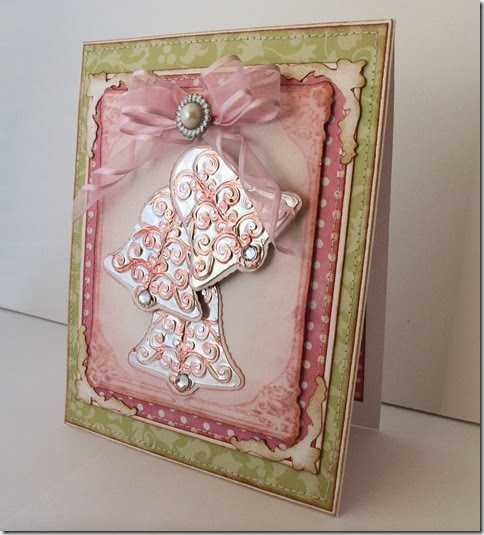
This is a view of my completed card.

victorian frame embossing-450lt
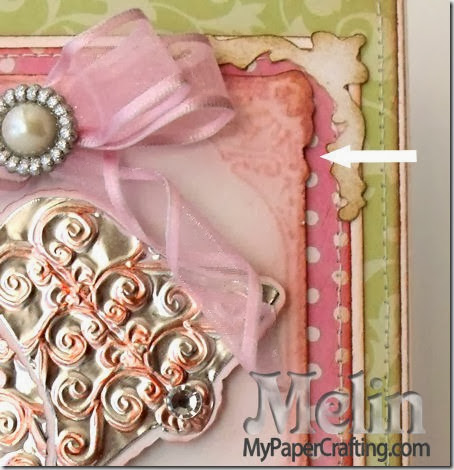
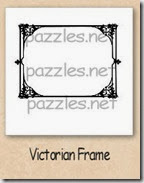
I started by using the embossing tool to emboss the beautiful Victorian frame file from the craft room library onto some white cardstock. I lightly inked the edges of the cardstock with some Cotton Candy Ink. I wanted the embossing to really show up. The arrow in this picture points to the embossed design.

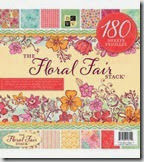
Next, I trimmed up my mats and patterned paper. The pretty patterned paper is from the DCWV Floral Faire Stack. This paper is a lighter weight paper and layered nicely onto corresponding cardstock mats. Because of the light weight of the paper, I was able to machine stitch the paper and cardstock mat  beneath together.  I inked the edges with some Saddle Ink to give them a shabby, vintage look.
Then it was on to using the embossing tool on the metal.

clip_image002
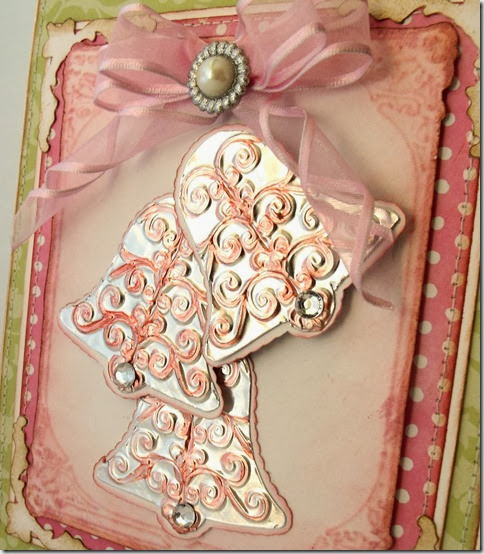
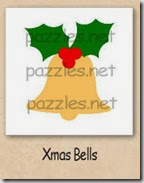
I used the Xmas bell file and the Fleur-Flourish file to create the bell. I welded the fleur-flourish file together three times and then trimmed the edges of the file accordingly so that it would fit into the bell file. I then created an outline of the bell file and made the edges scalloped. The Software makes this a snap! Once I did all that, I was ready to emboss! After I embossed the decorations on the bell, I switched out the embossing tool and cut them out. I wanted the decorative swirls to really show up so I used my Copic Marker R27 to color along the swirls. As it is an alcohol based ink, it dried up quickly and gives it a “washed” finish. I completed the bells by inking the edges of the scalloped backgrounds and adding a little gem to the bottom of each bell. I layered it all together and finished it off with a bow, gem and some beautiful photo corners using the fancy corners file.
clip_image003
This card would make a perfect holiday card, but it could also double as a wedding card. My son has a couple of friends who will be getting married this summer, so I will be sending him on with this card and make another for the other couple.
Okay, this is going to sound kind of like an infomercial, but I really wanted to share how amazing it is to have a machine that can do a lot more than just cut paper. Comparing it to some of the other cutters out there would be a mistake as it can do so much more than just cut paper. In many respects, it is like comparing an orange and a grapefruit. Both in the citrus family, but yet very different. It is so much fun to explore all the wonderful things our cutters can do. If you don’t have this tool in your crafty arsenal, then it is time to treat yourself! Imagine all the lovely things you can “emboss”!
Supplies used for this card
pazzles-cutter-200
Pazzles Inspiration
pazzles embossing tool-200
Pazzles Embossing Tool
Adobe Photoshop PDF
DCWV Floral Fair Stack

dcwv christmas and winter stack
DCWV Christmas and Winter Stack
fleur-flourish-200
Fleur-Flourish File
victorian frame-200
Victorian Frame File
xmas bells-200
Xmas Bells
fancy corners-200
Fancy Corners File

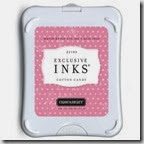
z2193-cotton candy
Cotton Candy Ink Pad
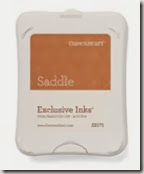
Z2171-saddle-150
Saddle Ink Pad
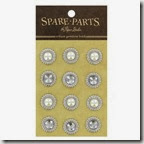
pearl spare parts gems
Pearl Spare Parts Gems
pink satin edge ribbon
Pink Satin Edge Ribbon

FREE SVG Alert
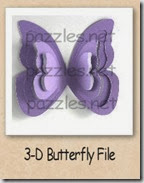
3d butterfly-200
Don’t forget to pop over to the Pazzles Craft Room and grab this cute free butterfly file! Just click Library and then Free Files to find it.
I don’t know how long it will be available, but you will want to grab it while you can!

As always, thank you for sharing your crafty time with me. Be sure to come back tomorrow for another fun project. Until then,
2013 fall winter melsig-450