Showing posts with label DCWV Baby Girl. Show all posts

14_04

Sending Sunshine And Hugs

Hello Crafty friends, I hope your Tuesday is a terrific one so far. First, for those following along with the Psalms reading.
י Yod
73 Your hands have made me and fashioned me;
Give me understanding, that I may learn Your commandments.
74 Those who fear You will be glad when they see me,
Because I have hoped in Your word.
75 I know, O Lord, that Your judgments are right,
And that in faithfulness You have afflicted me.
76 Let, I pray, Your merciful kindness be for my comfort,
According to Your word to Your servant.
77 Let Your tender mercies come to me, that I may live;
For Your law is my delight.
78 Let the proud be ashamed,
For they treated me wrongfully with falsehood;
But I will meditate on Your precepts.
79 Let those who fear You turn to me,
Those who know Your testimonies.
80 Let my heart be blameless regarding Your statutes,
That I may not be ashamed.
Psalms 119:73-80
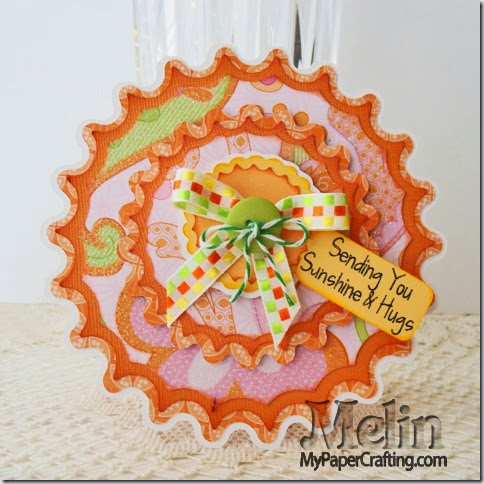
Today I am sharing a super easy and fun card I made for my Pazzles Design Team with you. I used one of the new Spellbinders Digital Die Small Octagon collection to create this card.

GEDSC DIGITAL CAMERA

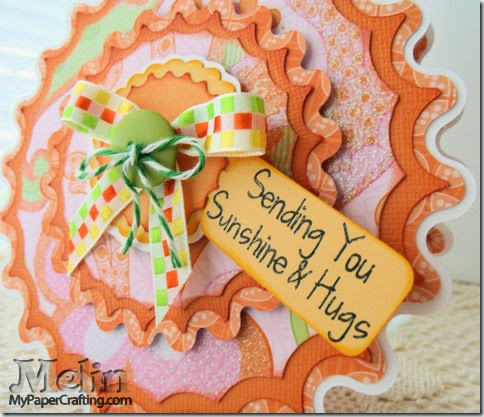
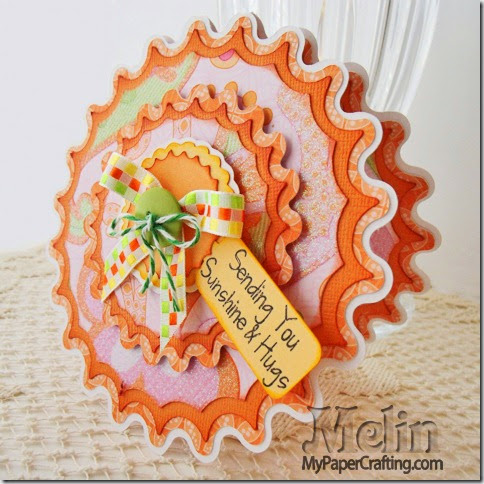
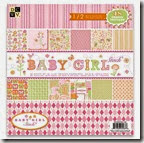
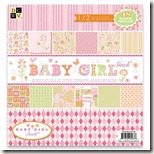
I used some pretty paper from the DCWV Baby Girl Stack. It was so bright and cheery and was just the right color palette for a cheerful and “sunshiny” card. I started by welding the two bases together to create the card base. I cut that layer in plain white cardstock. I then cut the next layer in the patterned paper and then the next layer in some tangerine Bazzill cardstock. I then cut two more layers of patterned papers and then another layer of cardstock. Then I cut several more layers in graduated sizes in various colored cardstocks. The nice thing about these digital dies is that all the layers are already there for you. You simply pull out the layers you don’t need for your project and you are ready to roll. There is no guess work involved. I inked the edges of the various layers with some of my CTMH Inks from the Adventure Ink Pad set.


spellbinders sun card by melin5-480

I then created a little tab with my sentiment by using my pen tool and then cutting it out. While this font wasn’t a single stroke font, it was thin enough and small enough that it worked out with the pen tool. There are lots of fonts out there that would potentially work, so be sure to take a second look at some of your fonts! I finished off the card by adding a bow of ribbon, a button and some twine to the center. Quick, easy and the perfect card to send a little sunshine and cheer someone’s way!

GEDSC DIGITAL CAMERA


Products Used For This Project

pazzles-cutter-200
pen tool-200
white cardstock-200

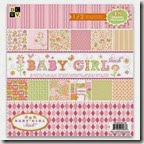
dcwv baby girl stack
SM Scalloped Octagon S4-188
Spellbinders Digital Die From Pazzles

Z2501-adventure
limeade twine
Doodlebug Baker’s Twine
Misc. ribbon and button
Tangerine and Sunflower cardstock

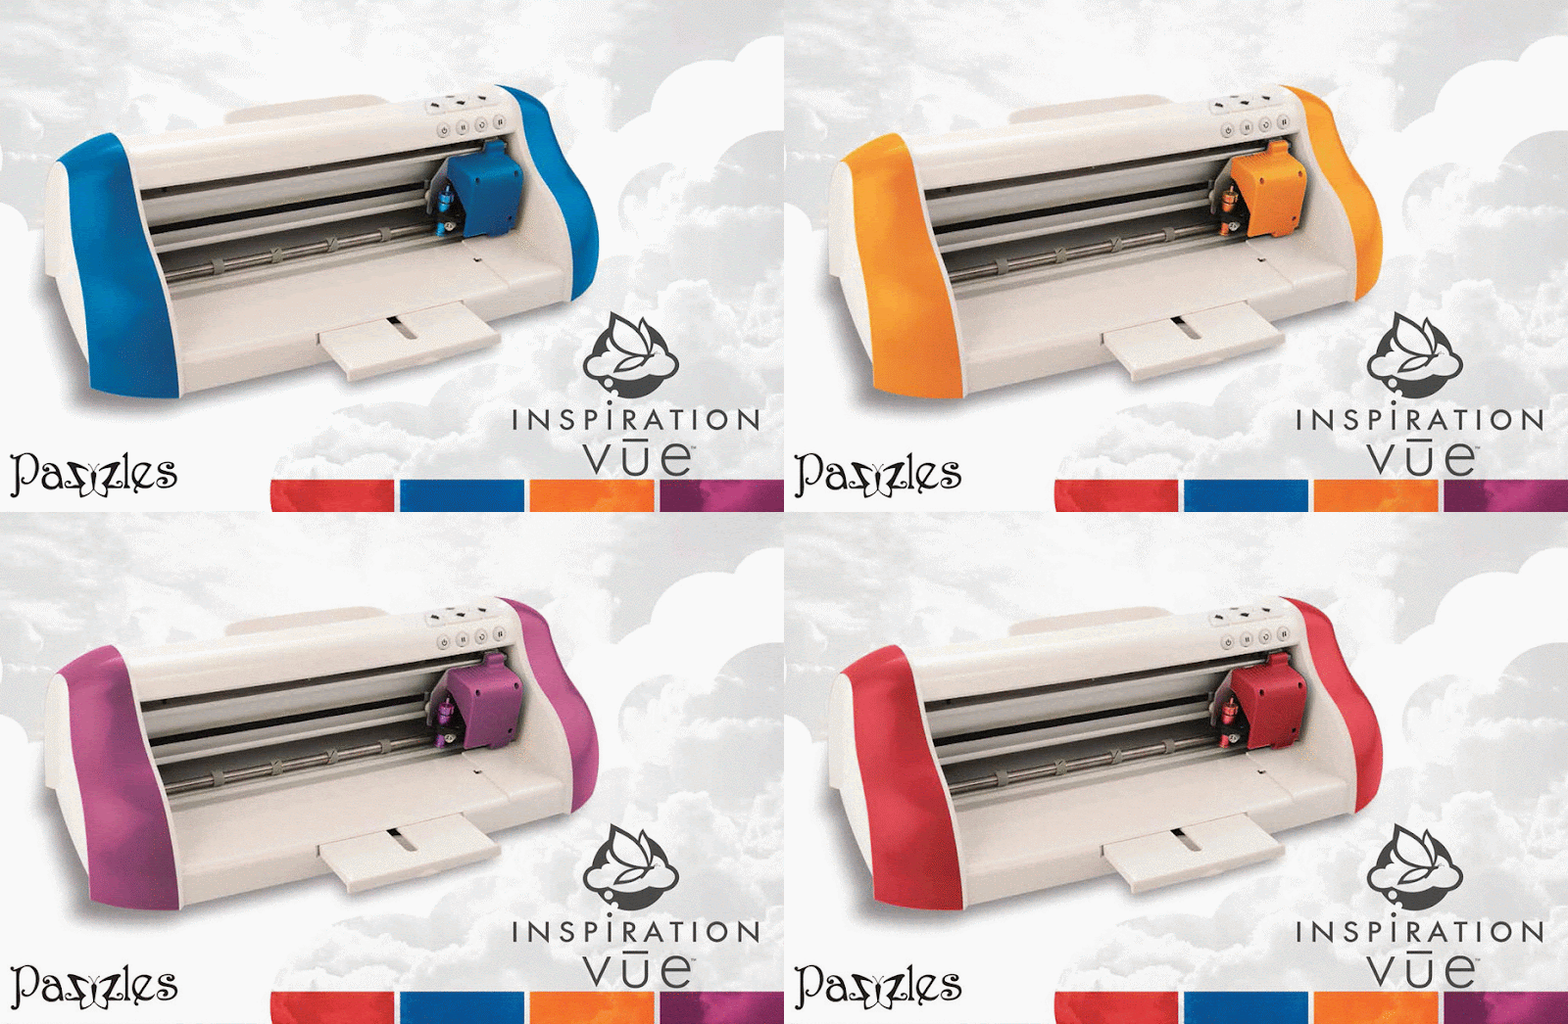
If you are in the market for a new electronic cutter, then be sure to check out Pazzles New Vue!!! You can take advantage of their pre-order special
Vue-With-Clouds_All
CLICK HERE for details!


Don’t forget too, we are coming down to the wire on the great CTMH special!
april-2014-campaign-480

Remember, taking advantage of this opportunity DOES NOT obligate you to anymore sales, once you get your consultant kit and cartridge bundle, you may decide to share with your crafty friends, and you get a great discount on quality products! Feel free to contact me with any questions: melin{@} scrapbookeden {dot} com.

As always, thank you for sharing your crafty time with me. Be sure to come back tomorrow as I share another fun project! Until then,

13_10

Treat Boxes and Freebie

Happy Saturday crafty friends,
Hope you’re weekend has been a good one so far. Today I am sharing a couple of really cute treat boxes I made with files from PaperCraftingWorld.com. First up:  


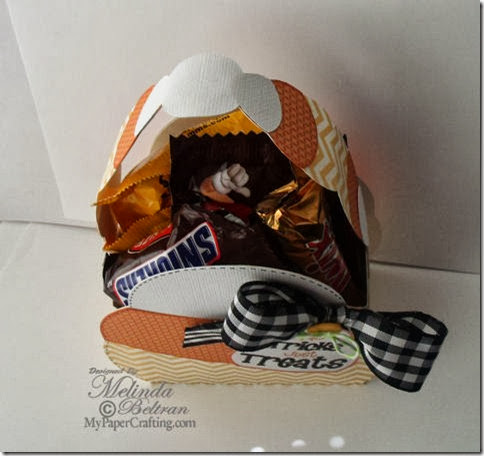
Candy Corn Treat Box
candy corn box-480
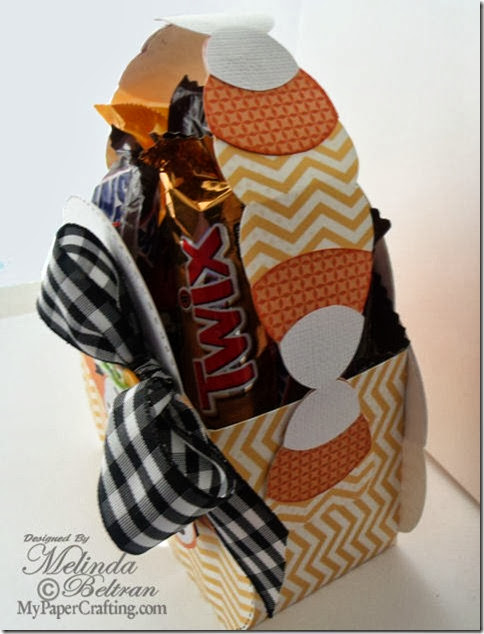
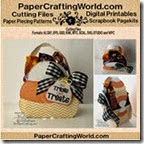
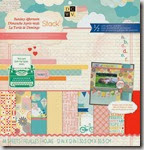
Here is my Candy Corn Treat Box. I used some wonderful patterned papers from the DCWV Sunday Afternoon (Chevron) and Baby Girl (Orange Squares) Stacks. Along with some American Crafts White Textured cardstock. I used my Sakura black fine tip pen to do the faux stitching around the outer edge.


candy corn box handle-480
Here is a side view of the handle. It is designed to look like smaller versions of the candy corn attached together. I thought that was such a cute idea as opposed to just a regular handle.

ccorn box top handle-480
Here is a top shot showing the handle. When layering the pieces of the handle together, you want to use a good strong adhesive to allow for the curve of the papers.


10-18-13-sneak-peek-480web
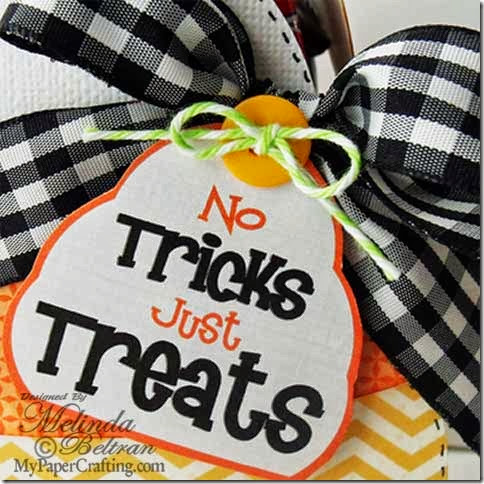
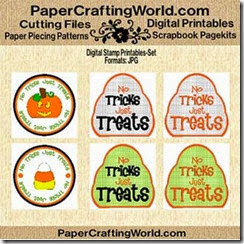
Here is a close up of one of the free printable tags from the Tag set offered by PCW. You can head over to the PCW  design team blog and pick up the link to get yours. Don’t delay as they are only available for a week and then a new freebie is available. A new freebie goes up every Friday.


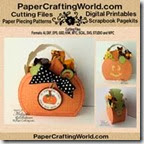
Pumpkin Box
pumpkin box layered-480b
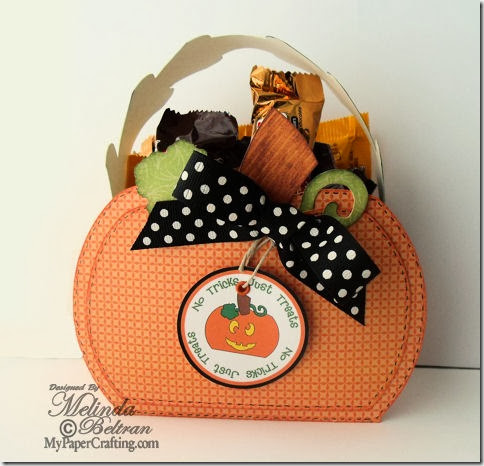
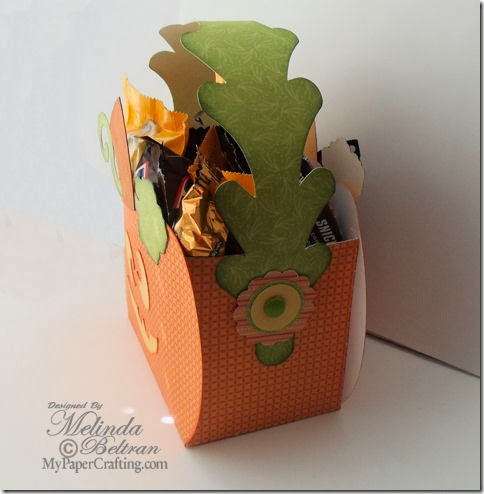
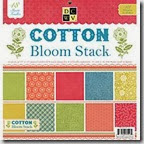
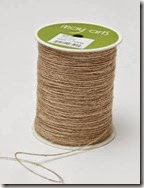
Here is my second treat box. A cute little Pumpkin shaped box. I used some more of the fabulous orange patterned paper from the DCWV Baby Girl Stack and for the green leaf and handle, I used a pretty green patterned paper from the DCWV Cotton Bloom Stack. On this side I used one of the nested layers and inked the edges with my Sunset Ink pad from CTMH Adventure Mini Ink Pad Set. I also used another one of the printable tags from the freebie set. I added an orange eyelet and threaded some burlap cord from May Arts through. I inked the stem with some of my Saddle Ink Pad and then edged the leaf and vine piece with my New England Ivy Ink Pad. I used my black fine tip pen to make some faux stitching around the edges of both pumpkin layers. I finished off this side with a pretty black with white polka dot ribbon bow.

pumpkin box face side-480
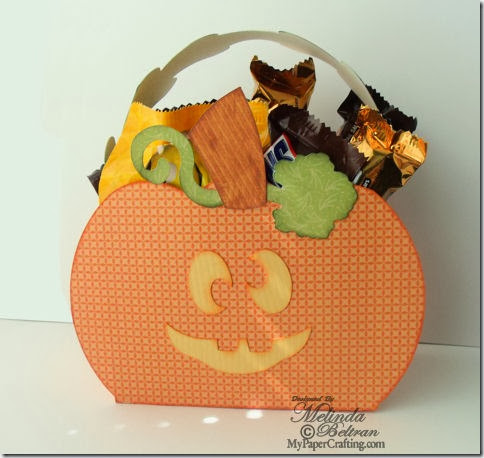
Here is a view of the other side of the pumpkin box. The cut file includes nesting layers of the pumpkin shape as well as cuts for this cute face. Once again I inked the stem and vine as well as the face. For the face, I used my Sunset Ink Pad from the Adventure Mini Ink Pad Set from CTMH

pumpkin box side-480
Here is a side shot of the handle. I inked the edge of it with my New England Ivy Ink Pad and then added a green matching brad with some layered circle and scallop punch cut outs.

Both boxes come out fairly good sized. the boxes measure approximately 2 1/4 (2 1/5)  x 4 x 3. Several small candies fit nicely in each one.

no tricks tags set ppr-ds-325


Supplies Used for these boxes
pazzle1
Pazzles Inspiration
candy corn box ppr-cf-200
Candy Corn Box
Cut File


pumpkin box ppr-cf-200
Pumpkin Box
Cut File
dcwv baby girl stack
DCWV Baby Girl Stack
dcwv Cotton Bloom Stack
DCWV Cotton Bloom Stack
dcwv sunday afternoon stack
DCWV Sunday Afternoon Stack

Z2501-adventure
CTMH Adventure Mini Ink Pad Set

Z2503-basics
CTMH Basics Mini Ink Pad Set
mayarts-SM-10-burlap cord
May Arts Burlap String


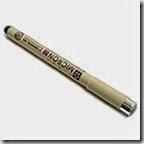
micron black pen 001
Sakura Black Fine Tip Pen

Additional Supplies Used
Candy Corn Box
White Cardstock, Misc. Polka Dot Ribbon, Twin and Misc. Button
Pumpkin Box
Yellow cardstock, Doodlebug Eyelet and Doodlebug Brad
7/8, 1”  Circle Punches and 1 1/4 Scallop punch.

**ENABLER ALERT**
Buy one box, get the other FREE…With PCW50 code, 
simply add both to your cart and get 50% off your purchase. 
That is like buying one box and getting the other free!

Thank you so much for sharing your crafty time with me.

2013 fall winter melsig-450

13_09

DCWV Hello Sweetheart Layout

Good morning crafty friends,
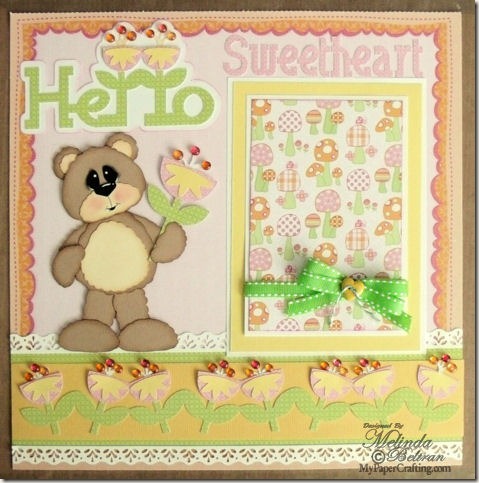
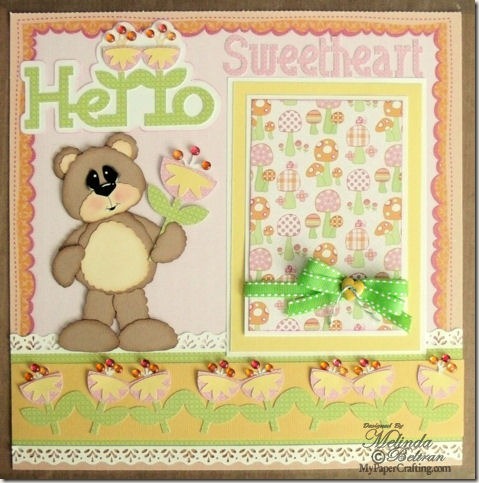
If you live and work in America, you are hopefully enjoying your Labor Day! Summer’s last holiday hoorah! Today I am sharing a cute little layout I created. I used some DCWV Baby Girl Stack 2 Papers as well as some cut files from PaperCraftingWorld.com.

dcwv baby girl stack layout hello sunshine 475
Here is my layout. The sweet little bear is holding the precious little flower. The background piece of paper already had the border and it is glittered too.
dcwv stack baby girl bear 475
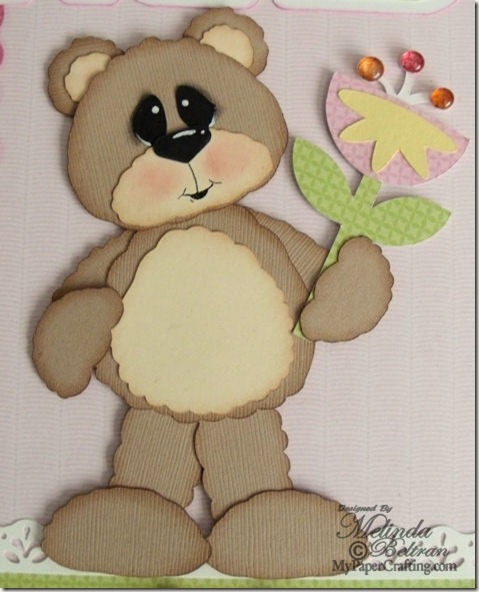
Here is a close up of the little bear paper piecing. If you are new to making bears or need a refresher on how to create these faces, then visit my creating faces tutorial: HERE.

dcwv baby girl stack hello-475
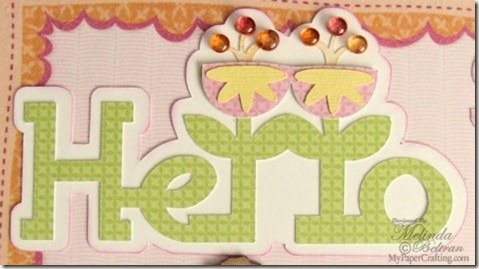
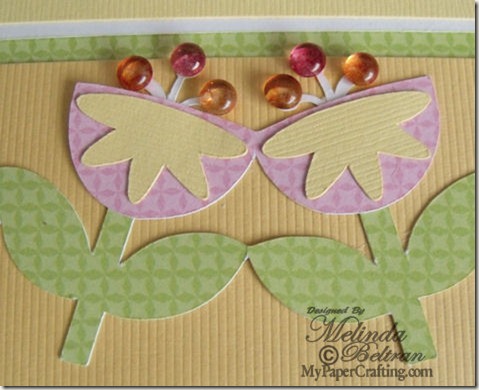
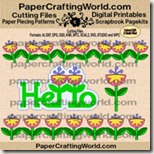
Here is a closer look at the cute hello title. I used some Robin’s Nest Dew Drops for the tops of the flower’s stamens. I cute the title and flowers out of the same DCWV Baby Girl Stack paper with the exception of the yellow and white pieces.

dcwv stack baby girl stack border 475
Here is a shot of the entire border that came with the cut file set. I did use a Martha Stewart border punch for the white borders.

dcwv baby girl stack border flower-475
This is a closer look at the little flowers on the border. Love how easily the borders cut from the DCWV paper! This particular stack has the cardstock weight paper. Not too thin and not too thick.
dcwv baby girl stack layout hello sunshine 475
Here is one last look at the layout. I added in the cute lime green ribbon with the yellow button and a little piece of twine. The Sweetheart letters were also cut from the DCWV paper using my beloved Pazzles Inspiration.

Here is what I used to create this precious little layout

dcwv baby girl stack
DCWV Baby Girl Stack2
botanical scallop edge
MS Botanical Edge Scallop Punch
bear w sundaev13-ppr-cf-200
cftkit3-basics
Craf-T Basics Chalks
micron black pen 001
Sakura 001 Micron Tip Black Pen
pazzles chalk easy tool
z2108-brown bag
CTMH Brown Bag Ink (discontinued)
Additional Supplies
White, Craft, Cream and Yellow Cardstock
Dashes, Dots & Checks Lime Green Ribbon
Misc. Yellow Heart Button
Peapod Green Twine From The Twinery

If you would like to see the rest of my DCWV projects be sure to click the My Galleries tab at the top and then select the DCWV Galleries...There you will find All My DCWV Stack Creations!
Or You Can Simply CLICK HERE

Well, that about covers it for today, be sure to enjoy the rest of your crafty day and as always...thank you so much for sharing your crafty time with me!