14_01

Be My Valentine Card From Blog Hop


Hello crafty friends,
Happy Friday. I wanted to post the card I made for our Lots of Love Blog Hop this past weekend here on my blog. In case any of you didn't get a chance to go over to the PCW team blog and to get it into my galleries. 

Be My Valentine Card
DCWV Black Currant Valentine SVG Heart Love Card

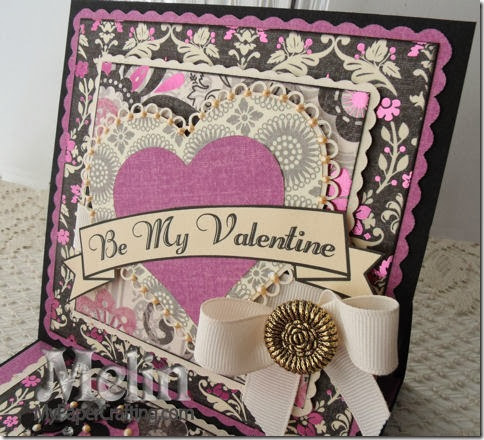
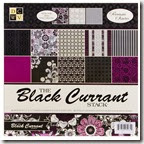
Here is view of the front of the card. I used the scalloped card and heart svg cut file as well as the Be My Valentine Banner digi set. The beautiful paper is from the DCWV Black Currant Stack.


DCWV Black Currant Valentine SVG Heart Love Card
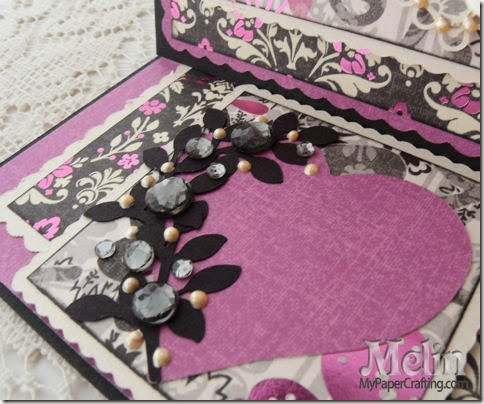
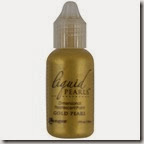
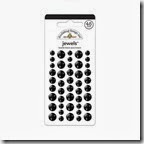
Here’s a closer look at the little heart for the easel card. I will be writing my sentiment on the heart shape. I used some doodlebug Black Beetle gems along with some Gold liquid pearls. The black die cut leaves are from the doily and rose card svg set.


scalloped heart closeup-DCWV Black Currant Valentine SVG Heart Love Card
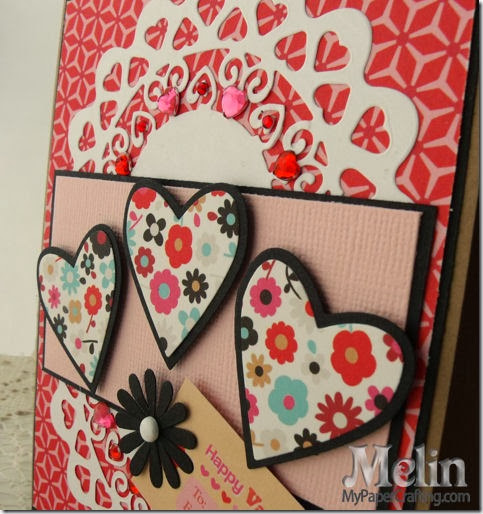
Here is a closer look at the scalloped heart. I inked the edges of the two designer paper mats with my black ink from the basics ink pad set. I cut out the Be My Valentine banner and adhered it to the top of my layered heart die cuts. I finished off the card with a pretty bow of some ivory grosgrain ribbon and a vintage button.
I used the following products

pazzle1
Pazzles Inspiration
dcwv black currant
DCWV Black Currant Paper Stack
scalloped heart card 2g-114-ppr-cf-200
be my valentine banner-ppr-ds-200
doily and rose card set-ppr-cf-200
ivory
Ivory 5/8 Grosgrain Ribbon
gold liquid pearls
Gold Liquid Pearls
Z2503-basics
doodlebug jewels beetle black
Doodlebug Adhesive Jewels – Beetle Black
Additional supplies
Black and cream cardstock
Misc. Antique Button

Head over to the PCW DT blog and check out what Sandy created and pick up this week's free digi from PCW too!
Don't forget to stop back by tomorrow as I share the winners from last weekend's hop and share another (hopefully) inspirational project with you! Until then,

Steampunk Masculine Valentine’s Day Card

Hello friends,
Today I am sharing a masculine Valentine card I made for my Pazzles Craft Room DT.
I used some Gold to go along with this month’s challenge in the craft room which was to use Gold in your Valentine Card. Here is what I came up with:
Steampunk Masculine Valentine SVG Cut File Card Melinda Beltran

I started by cutting out my card base in Kraft cardstock. My finished card size is 5 x 6.5”.  I then cut a black mat and then a Kraft mat. On top of that I used all designer papers from the DCWV (Die Cuts With A View) Industrial Chic Stack.  I cut the majority of the pieces out in plain white cardstock. Then I inked and colored in the pieces with my various inks as well as used a gold marker.  I used the Steampunk Wings folder from the craft room. I mirrored the file and welded the two wings together. I then used the Steampunk heart file. I cut it out of the Industrial Chic paper and used my gold marker on the “chains” I added some brads to the nuts and bolts dies to give them some added dimension. Behind the hearts I used the Gears file and a couple of the gears from the Steampunk Butterfly file. I cut them all out in white and then inked them the different colors. I like the effect of starting with white and adding in the color on your die cuts. I think it gives them dimension. I used my Copic Sketch Marker R27 to color the red accents on the hearts. After layering all the pieces, I stamped a very small and simple sentiment on the bottom right with a couple of retired stamps from CTMH.

Steampunk Masculine Valentine SVG Cut File Card Melinda Beltran


Steampunk Masculine Valentine SVG Cut File Card Melinda Beltran
Here’s a view showing how I started with most of my pieces in plain white cardstock.


Steampunk Masculine Valentine SVG Cut File Card Melinda Beltran

Steampunk Masculine Valentine SVG Cut File Card Melinda Beltran
These shots show how I colored the chain with my CTMH Gold Marker


Steampunk Masculine Valentine SVG Cut File Card Melinda Beltran
This shot shows how I colored the other pieces by using either a pouncing technique or a brushing technique.


Steampunk Masculine Valentine SVG Cut File Card Melinda Beltran
A closer look at the gears and layers.

Steampunk Masculine Valentine SVG Cut File Card Melinda Beltran
One final look at the completed card.


SUPPLIES
CTMH Stamps
White, Kraft and Black Cardstock

As always, thank you so much for sharing your crafty time with me. Be sure to come back tomorrow as I share another project!
2013 fall winter melsig-450

Fancy Pants Love Story Cards

Hello crafty friends,
Melin of MyPaperCrafting.com here with you for another fun project.  Today I used some super cute fancy pants Love story papers and some great dies. Here is what I came up with.
Here is my first card. I started with a kraft cardstock base and then layered some of the Fancy Pants papers. I used the pretty Die Versions Love Doily Whispers Die.


I used the Quickutz 2x2 Flower for the centers. I used white cardstock for the flower centers and then I used my BG000 to color it and then the BG00 for the outer edges. The cute Be my Valentine tag is also in the Fancy Pants paper set. I adhered it with a cute little Queen and Company brad that I have had in my stash for quite some time. I finished it off with a cute little polka dot pink bow.


Here is my second card. I again used the kraft cardstock base and some more of the Fancy Pants Love Story papers.


fancy pants heart card cu-480
I again used the Love Doily Whispers die as well as the Quickutz 2x2 heart die. I also used a tiny Quickutz flower die. I attached it with a tiny Queen and Company brad. I placed some tiny Queen and Company gems on the doily.

Both of the sentiment tags are in the Fancy Pants Love Story set. These cards came together very quick and easy.

Products Used For These Projects
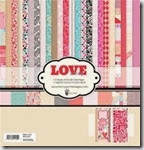
fancy pants love story
Fancy Pants Love Story Paper Set
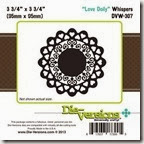
love doily whispers dv
Die Versions Love Doily Whispers Die
qk flower
Quickutz 2x2 Rose Die Cut
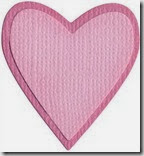
qk-heart
Quickutz 2x2 Heart Die
squeeze
Quickutz Squeeze
2x2 tiny flower
Quickutz 2x2 Flower Die
QCLOVE brads
Queen and Co. Pink Brads
bg000
BG000 Sketch Marker
bg00
BG00 Sketch Marker
Kraft, White, Black and pink cardstock
Queen and Company True Pink Rhinestones.

Be sure to visit Scrapyland.com for all of these products as well as a great selection of dies. As always, thank you so much for sharing your crafty time with me. Be sure to visit the posts from this weekend and check out the blog hop. It was a lot of fun and you can find some free file links. ALSO, be sure to leave a comment and follow the blog for a chance to win some free files!


Lots of Love Blog Hop

Happy Sabbath crafty friends!
So glad you dropped by! Today is special as the PCW design team is participating in the Lots of Love Blog Hop. It is a small hop filled with lots of love and inspiration. Only 8 stops along the way! Mine is the first blog, so if you’re here you are in the right place! I have two projects to share with you. 

 First up:
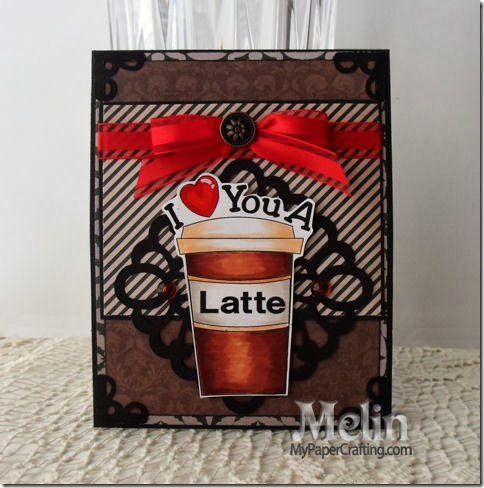
I Love You A Latte Card
i love you a latte card-480
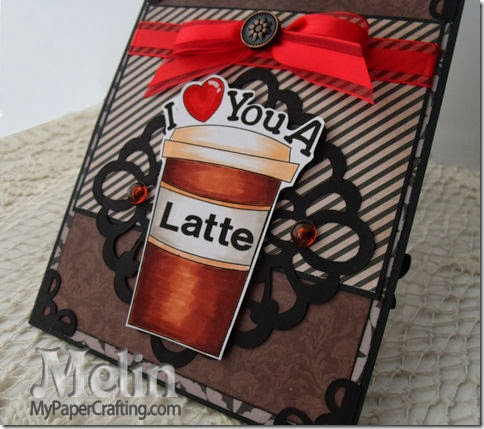
Here’s a look at the front of my card. I used some papers from the DCWV Halloween and Fall Stack. I used the latte cup digi image from PCW and colored it in with my Copics. The photo corners are from the Christmas Blessings cut files set and the decorative element behind the cup is from the Deco Elements 1213 cut file set. 

latte cup copic coloring-480
Here is a closer look at the colored digi. I used my copic markers to color it.
I used: W00, W1, YR000, YR61, E04, R24, E13 and E25

love you a latte card easel-450
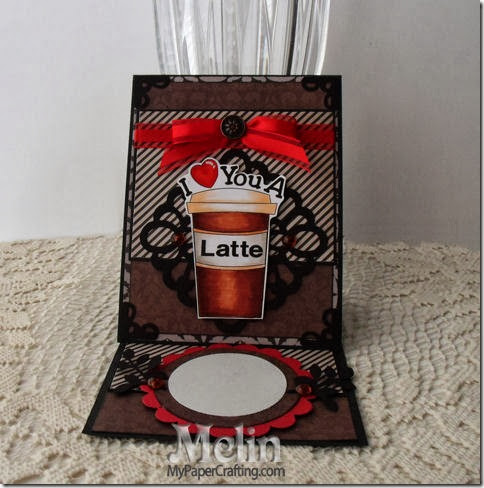
Here is a view of the card opened up. It is a an easel card. I will be writing a personal note in the  circle. The leaves are from the beautiful card cut file set and the scalloped circle is from the basics cut file set.


Now for my second project
Nuts For You Layout

nuts for you scrapbook pagekit layout-450
Here is a view of my entire layout. I used some cute Bo Bunny paper for the background. I cut the squirrels and all of the svg cuts from the Nuts For You SVG  Layout set from PCW

squirrel svg couple hearts-450
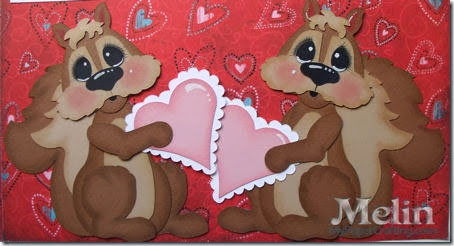
Here is a closer look at the two squirrels holding their hearts…ready to give their little hearts away to each other. I used some Chocolate ink from the basics ink pad set 
to ink around the brown pieces of the bodies. I used some Saddle ink from the basic ink pad set to ink around the tan body parts. I used the blush ink from the Whimsy Ink Pad set for the hearts.

nuts for you svg title-450
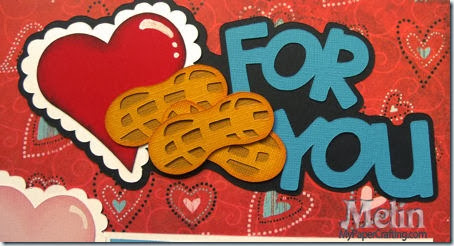
I used charcoal ink from the Basics ink pad set for around the red heart. I used the Autumn Terracotta ink from the Enchantment ink pad set to ink around the edges of the peanuts.


nuts svg closeup-450
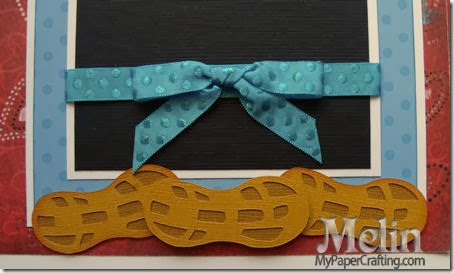
Here is a closer look at some of the peanuts at the bottom of the mat. I also used some foam adhesive to give some of the peanuts a little lift.

squirrel w heart svg-450
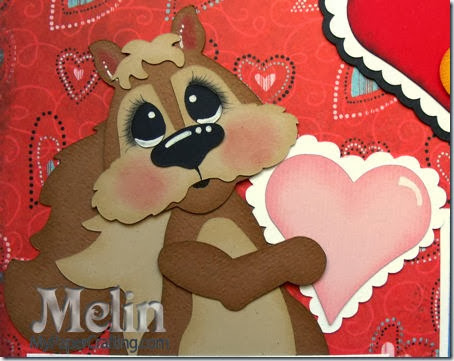
Here is a closer look at the little squirrel topper. I used some dry decorator chalk to give their faces the finishing touches. I used the chalk marker to give their eyes and noses their shine marks as well as the hearts.

Here is the blog hop line up
Melin:  YOU’RE HERE
Jen NEXT 

Now For Some Blog Candy
Be a follower of this blog and leave a comment on this post and or any of the other blog hop posts for a chance to win

2013 pcw20gc-200
We will pick one random winner from all of the comments.

Now a little something for everyone

FREE Cutting File
Scalloped  Heart Set
Sorry, Link Now Expired
Please note: The price will say 1.99 but will be Free when 
you download through 1-30-14
Make sure you go through the hop and you will get a chance to see what I made with this set :-)


Here are the products used for this project
pazzle1
Pazzles Inspiration
nuts for you layout ppr-cf-200
Nuts For You SVG Set
1514-tombow adhesive
Tape Runner
Z553-chisel tip glue pen
Fine Tip Pen
Z1151-foam tape
Foam Adhesive
enchantment ink-140
Whimsy Ink Pad Set
whimsy ink pad
Adventure Ink Pad set
Z2501-adventure
Basics Ink Pad Set
Z2503-basics
Enchantment Ink Pad Set
Z1767
Chalk Marker
basic 10
Decorator Chalks

If you like the layout, I did make just a few of them into kits which you can pick up over at page-kits.com if you’re interested.


Now it’s on to Jen’s Blog.
Be sure to leave a comment on each blog.


Thank you so much for sharing your crafty time with us!
2013 fall winter melsig-450