13_06

Chalking on Pre-Printed Digi Tutorial

Good morning crafty friends,

I am sharing the details on how I made my card for this week’s Digi Desserts Fridaze post.
So let’s get right to it Smile

Here is a view of the front of my card.


Here is the inside of the card.


How To Chalk On Pre-Printed Digi
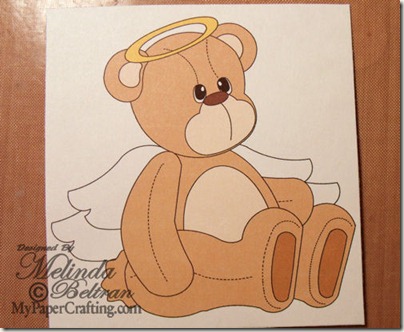
base digi
Start With Your Preprinted Digi. I am using the Bear Angel Teddy Digi from PCW.
I printed it out on Georgia Pacific #110 Cardstock. I used a regular HP Photosmart Inkjet Printer.


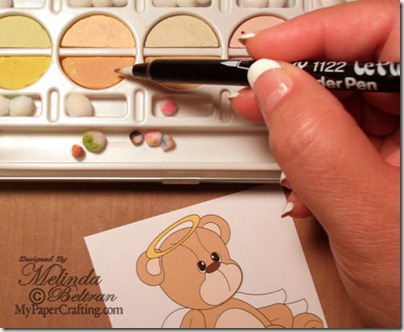
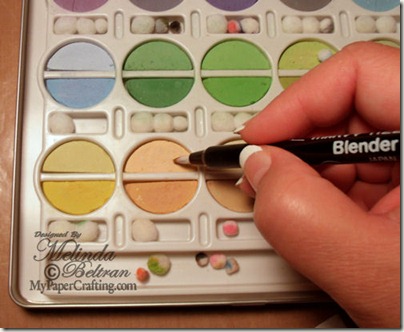
base chalking color
Using your blender pen and pastel chalk palette, load some chalk onto your blender pen.

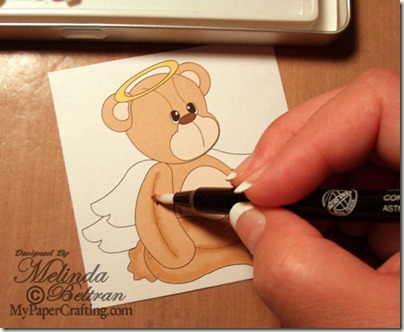
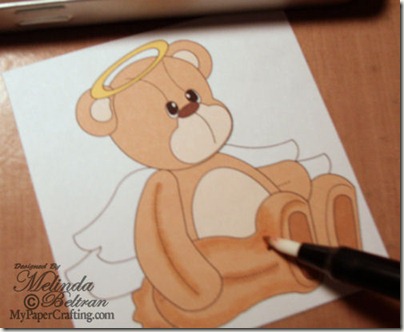
shading outlines
Apply the chalk onto the areas that you desire. I started by using a brown to color the lines and create shadow on the body of the bear.
shading2
Remember the blender pen intensifies the color of the chalk. You will need to continue reloading your pen with your chalk as the color fades.


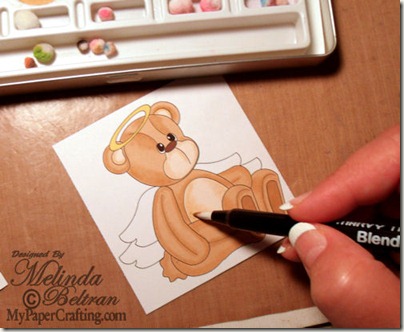
tummy colored chalk
Move on to the next color by simply using a scratch piece of paper and scribbling your blender pen on it runs clear again. Note: your nib will become stained but that won’t affect your coloring as long as you make sure your pen runs clear before going to your next color.

coloring tummy


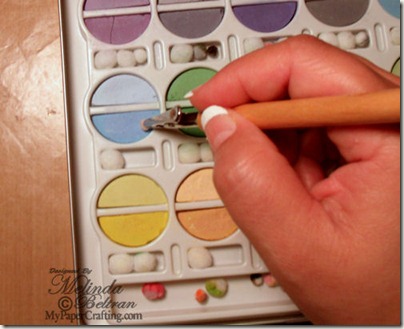
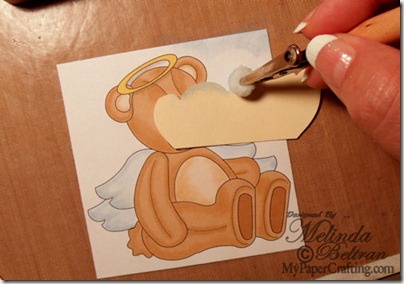
blue chalk for clouds
Now to my pompom and applicator to pick up some blue…

chalking clouds
Using a quickly cut shape, I created a “mask” and just randomly placed it so that I could use my chalks to shade in and create a sky full of “clouds".


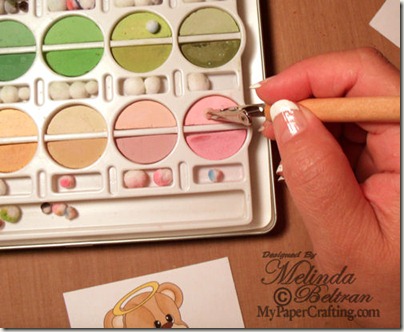
pink chalking-500
Next I will use my pompom and applicator to pick up a little pink. I added that to his cheeks.

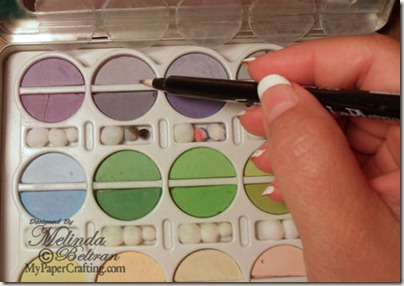
shadow chalk color
Now back to my blender pen with a little of the light gray.

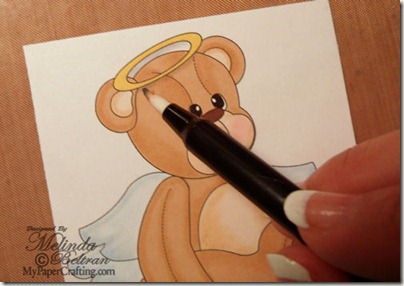
chalking shadow under halo
I am adding that right under the halo for a little bit of shadow.


Here is my digi after I finished Coloring with my chalks. Love the soft shading.
I used my blender pen and blue chalk to add some soft lines to the wings (not shown).


Here is a side view.


One last look at the card front.

I used the following products to complete this project
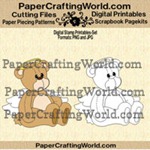
bear angel teddy ds-200 
PCW Bear Angel Teddy Digi
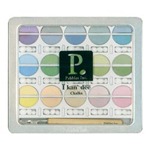
pastels
Pastel Chalks
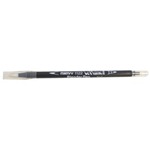
blender pen
Blender Pen
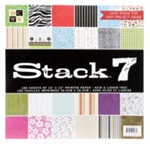
stack 7-200
DCWV Stack 7
(Plaid Paper)
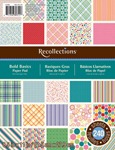
recollections bold basics-sb3155
Recollections
Bold Basics

(Striped Paper)
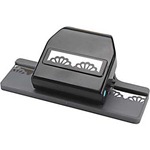
ek double crochet slim edger border punch
EK Success Double Crochet Punch
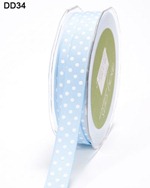
6041-blue-white dot ribbon
May Arts Blue Polka Dot Ribbon
2063-cord-burlap-brown
Cord-Burlap
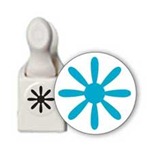
layering daisy punch
Layering Daisy Punch
white opal pearls-155
White Opal Liquid Pearls
       

slim medium wave flourish punch
EK Wave Flourish Punch

 As well as some White, Blue and Kraft Cardstock
and a Misc. Button

Well that about covers it for today. Be sure to come back by tomorrow as I share another detail post and some more special information Smile

Cartridge Showcase: Wrap It Up

Hello and welcome to our cartridge showcase of Wrap It Up.  This cartridge has tabs for layers, phrase, box,card, tag and tag shadow.  There is so much that can be done with this cartridge.


Charlotte's Blog 

The card is made with My Mind's Eye papers.  The white frame was cut an embossed with a Spellbinder die.  The ribbon is from Michaels.  And the little labels are from Studio 112.  The apple is cut from Wrap it up and inked in gold.  


This "football fan" was cut from Wrap It Up.  It was made for a fellow design team member who is a big Florida Gator fan.  

This little card was made as a baby shower invitation.  The little onesie was cut from Wrap It Up.  The papers are from Recollection.  The tan paper was embossed with Divine Swirls embossing folder.


This card was made using the car cut on page 46 of the Wrap It Up Cartridge. I simply cut off the hanging cans and added my own detailing to emulate my son's new car.
Had to include a pic of my birthday boy :-)

Here is my second card. I made this using the wedding bells cut on page 36.
I will have a details post on "how" I made both of these tomorrow.


Well, I think this about covers it. Please head over to Charlotte's blog and leave her a little love!  Come back tomorrow for a details post on a couple of this week's projects as well as my two cards from today. Who doesn't love a "how-to"!

Thank you for sharing your crafty time with us!
-Charlotte and Melin

Digi Desserts Fridaze

Good Morning DDF Friends,
Thank you for joining us for another Digi Desserts Fridaze.   This is a special post as it is the last one for this Design Team term, so we will be saying good-bye to several of our wonderful digi gals.  Even though the Design Team term is officially finished, stay tuned as some of us will STILL BE HERE, providing you with some great crafty inspiration, ideas, tips and tutorials!
We are looking forward to a Sizzlin’ Summer of Paper Crafting!
We can't wait for you to see what we've planned.
Let's take a look at our final Digi Desserts projects.  I'm sure each designer would love to have you visit her blog and leave a little love!


PCW File Used: Butterfly Shaped Card and 
Angel Looking Down Vintage Graphic


PCW File Used:  Cupcake  Patriotic


Here's Suzanne's facing page to last week's layout


PCW File Used:  Butterfly with Flower


  Details Post Coming Soon

PCW Files Used: Teddy Bear Angel DS (Coming Soon)
and Sympathy Sentiment DS (See Below)


FREE DIGI DOWNLOAD
Here is this week’s free digi. Be sure to grab it while it’s free (this week only)
NOTE: the image will show a price of $1.00 
but when you check out, it will be free during this link up.


 We hope you continue to visit because the Paper Crafting World designers 
will continue to share projects using Melin's fantastic 
Digital Printable Stamps.

And, you'll still be able to grab a free digi image every Friday
-Larelyn and the MPC Digi Gals