10_01

Vintage Hanging Box

Hello crafty friends,
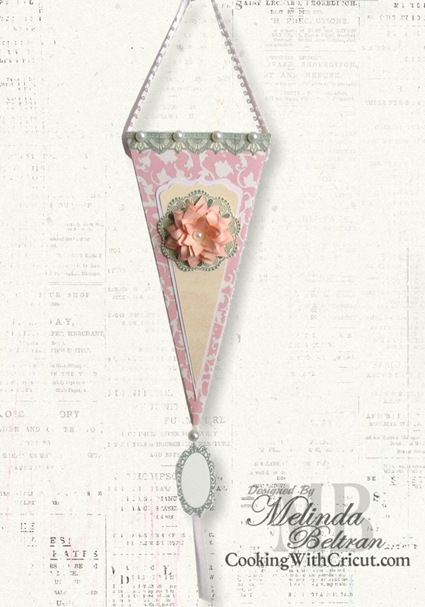
Here is a vintage hanging box I created using the Cricut Artiste Cartridge and some stamp sets.
vintage box bbr-650
I cut the box at 11” using some paper from the Nana’s Nursery Girl DCWV Stack.
vintage box cu650
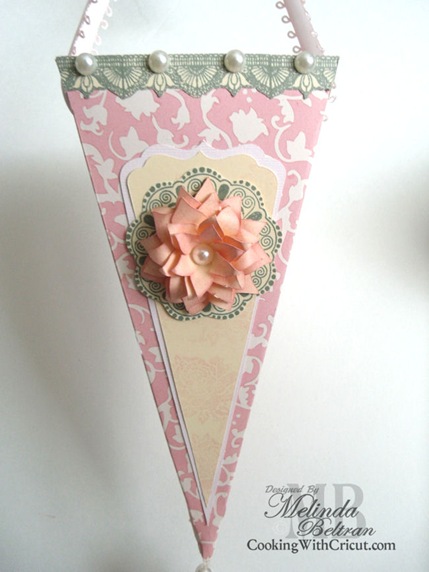
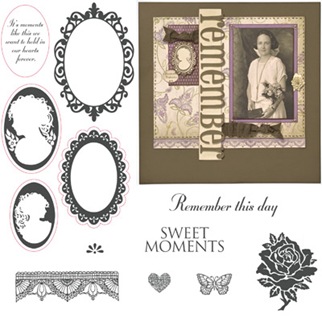
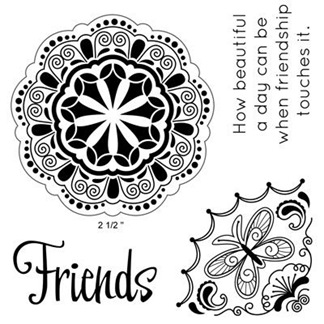
In this close up shot you can see that I stamped some cream paper using the lace border stamp from the Sweet Memories Stamp Set. I used the Slate Ink Pad and then trimmed it out. I adhered it to the top edge of the box. I also used the Scalloped flourish stamp from the Beautiful Friendship Stamp Set. Again, using the Slate Ink Pad and then trimmed it out.
vintage box side650
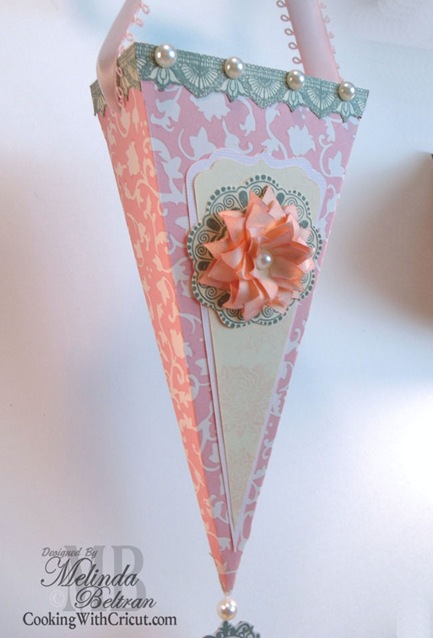
Here is a side view. The box automatically cuts out the holes for the ribbon. You can also see that I trimmed the edges after adhering the strip of stamped lace. The box is on an angle so I had to trim the lace on a bit of an angle so it would lay flush at the corners. I then used some flat back pearls for some accents as well as in the center of the flower.

stamped medallion
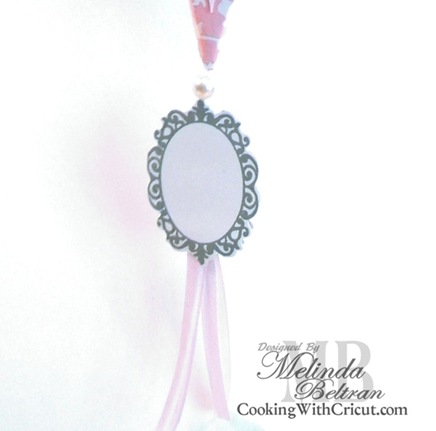
Here is a close up of the stamped medallion I hung it below. I used a frame from the Sweet Memories Set again, using the Slate Ink pad. I did it twice  so it would be double faced when hanging. I purposely left the center blank as I haven’t decided what to do with it. I then used the light pink ribbon and hung it below. I also used a pearl bead as an extra soft touch.

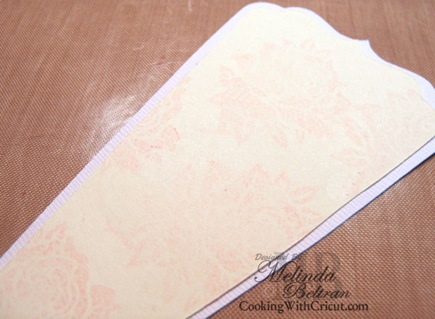
double stamp cu 650
In this shot you can see that I stamped the cream panel with the rose stamp from the Sweet Memories Stamp Set. I did the second generation technique using the Blush Ink pad. It is not a great picture, but it is a nice soft pattern.

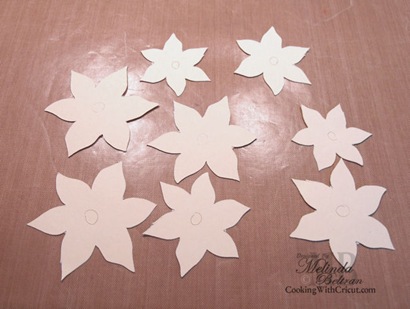
flowers-650
Cut out the same flower accents in 4 sizes.
11. 10, 9, 8

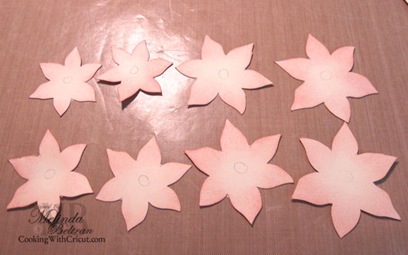
inked edges650
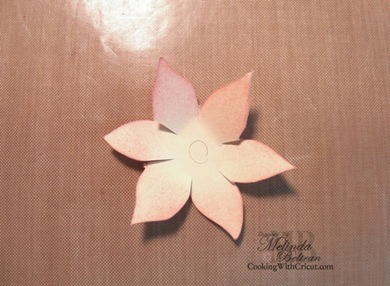
I then used a sponge to ink their edges with Blush ink.
layered650
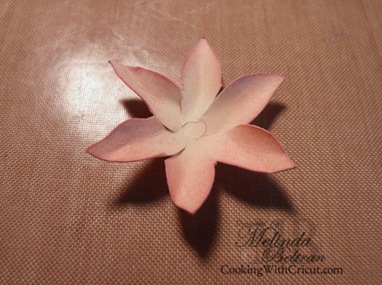
I started by layering the three largest layers. I used a thin barreled dowel to “curl” the three layers.
cut flower650
I then took the next layers and cut “slits” in them so that the petals were more flexible.
curledup650
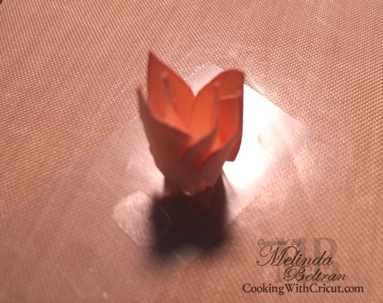
I then used the dowels to “curl” the petals “the other way”  This would allow me to really curl the petals up.
GEDC0426
Here is another shot to show you how easily you can “curl” the petals up.
both650
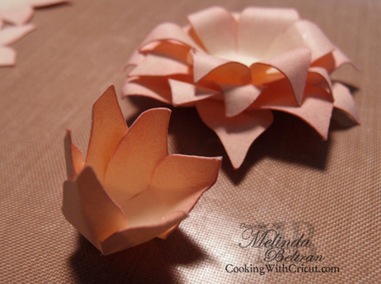
Here is the curled up center (one layer) next to the base.
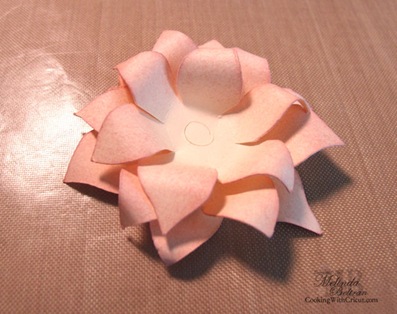
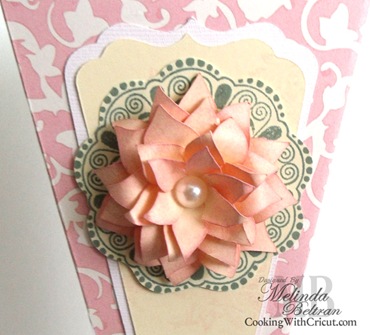
flower closeup
Here is a view of the flower. If you enjoy this and the other projects, please consider purchasing your Artiste Bundle through me. You can get it now through my link HERE.

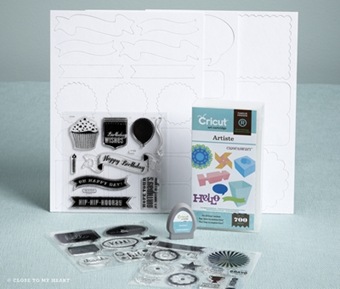
Here is a list of the CTMH Supplies I used for this project.

CricutArtiste

c1467-sweet memories

B1400

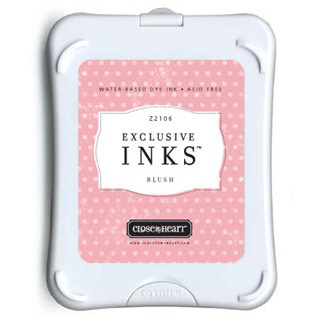
z2106-blush

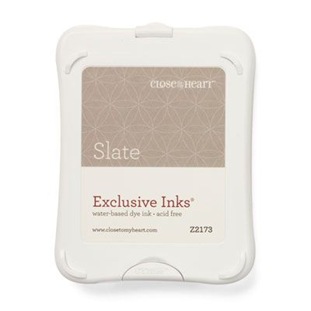
Z2173-slate
DCWV Nana's Nursery Girl Stack


Thank you so much for stopping by!
Happy Crafting,
Melin

Lollipop or Rolled Flower Tutorial


Lollipop or Rolled Flower Tutorial

UPDATE:

The tutorial below is the same technique I used for creating these flowers pictured above.  The exception: I used the 50 States Cricut Cartridge to cut the shape out. I then cut an opening so that the cut would "open up". See photo below. Everything else is the same.

To start, you will cut out the flowers in the desired paper.
If you need a cutting file, you can go to PaperCraftingWorld.com for some :-)
Next I Inked the edges of BOTH sides. I wasn't too careful about how I inked as I wanted the flowers to have a "shabby" appearance.

After inking the edges, I spritzed some Glimmer Mist onto my mat and used a sponge to brush it onto the rose.
100% coverage. If you don't have Glimmer Mist, you can always use plain water.

Here is a shot of brushing the Glimmer Mist On.

Now you will begin to roll the rose. With the paper moist, but not too wet, it will be very easy to bend the paper without tearing it. You can use anything you have that has a round, smooth barrel. I used the barrel of my chalk applicator.
Just begin to wrap it around your object. The smaller the object, the tighter the roll.

Here is a shot of the paper rolled around just once.

Here is a shot of it rolled a few times.
I just tried to keep the "roll or wrap" as parallel and or straight with the rest of the roll.

Here I am at the end. The middle will ultimately be your bottom.


Now I just attached a glue dot to the bottom and will "sit" the rest of the rose on that.

Here is the finished rose. This shot was actually taken BEFORE I glued it down.
When you do this with "moist" paper, it will keep its "roll" or shape real well.


Here are a few variations. Some were the same, I just rolled them "tighter" the little one was the file sized down and the darker pink ones are from a patterned paper that had a white core.

Snow Girl Topper Cutting File


 FREE FROM 
JANUARY 12TH, 2011 - JANUARY 15TH, 2011 midnight, est.

Snow Girl Topper
 Here is this week's newsletter subscriber only FREE cutting file.
Just click the Add to Cart Button Below!
As always, the file is available in: AI, DXF, GSD, EPS, KNK, MTC, SVG and WPC formats.

UPDATE: Free Links Expired: Head over to 
PaperCraftingWorld.com for these and other great files.

Rolled Rose Tutorial-Video


Good morning Crafty friends,
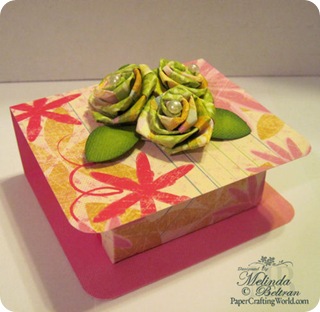
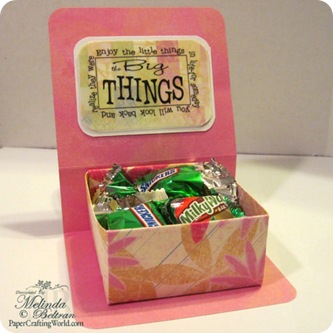
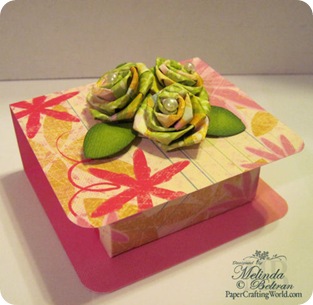
Here is my Trendy Tuesday project for Quick Quotes. This is the treat box and some cute little folded roses I made.
folded paper flowers n box 500inside of treat box 500

For instructions on how to make the flap box: CLICK HERE
To see how I made the roses, check out my video.
PLEASE NOTE:
This is my first own attempt at producing a video on my own...so please have mercy on me :) It is pretty choppy AND I had to edit out chunks because I kept going off screen...rofl!!! But I think you will get the idea! I have another video up there that my niece helped me with and I use ribbon to do the same thing so you can check that out too :)


Here are some step by step pictures
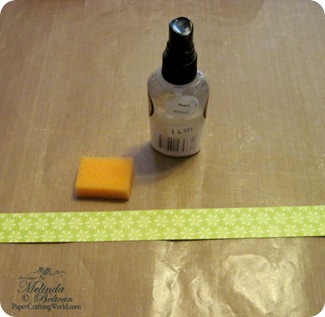
You will need something to moisten your paper. 1 1x12 inch strip of cardstock weight paper. A craft mat and a sponge to apply liquid evenly.


step1
Step 1. You need something to moisten your paper. I used Glimmer Mist but you can use water.


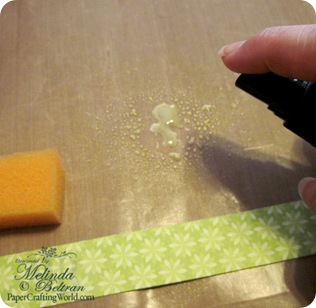
spritzing gmist
Step 2. You can either spritz your “liquid” onto your craft mat or directly onto your paper.
Make sure your paper is at least cardstock weight like the Mary’s Garden QQ paper I used in this example.

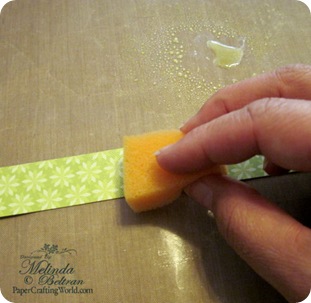
brush on gmist
Step 3. Brush on the liquid to make sure there is even coverage. Also make sure to moisten both sides.

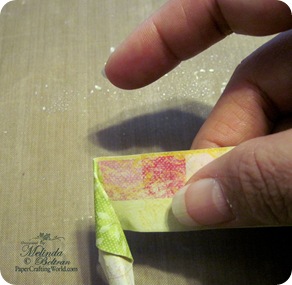
first fold
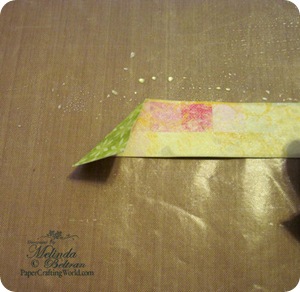
Step4. Begin by folding one corner down as pictures above.

IMG_2213
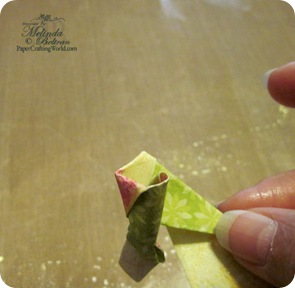
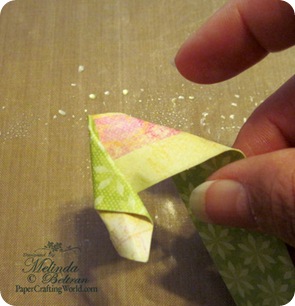
Step 6. Roll the fold you created.
IMG_2212
IMG_2217
Step 7. after you roll you will need to fold the paper backwards and at an angle. See picture above.

IMG_2215
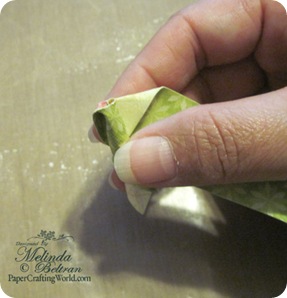
Step 8. After creating your next fold, you will roll your paper again.

IMG_2218
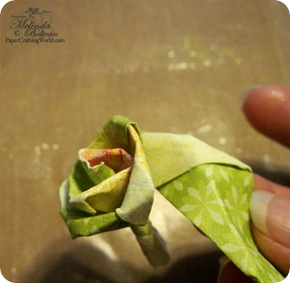
Step 9. Continue with the fold n’ roll sequence until you come to the end of your paper.
IMG_2222
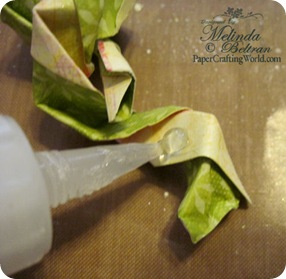
Step 10. Add some good adhesive such as Beacon’s 3-1 glue from QQ to adhere the tail.
That’s it...you’re done and you have a wonderful quick and easy paper rose :)
Here is one last look at the flowers.
folded paper flowers n box 500

Products I used 
Quick Quotes Mary’s Garden Designer Paper 
Green with Envy Powder Puff Chalk Ink 
Quote from Itty Bitty Box Quotes Family and Babies
Beacon’s 3-1 Adhesive from Quick Quotes 
Large Daisy Punch for Leaves 
Green Cardstock from American Crafts 
Dew Drops Cotton Candy Jar for Rose centers 
Pearl Glimmer Mist

Baby Word Album


Cover

Giraffe created and cut with the Pazzles.


Letters cut from the Pazzles.


Moon and clouds created and cut with the Pazzles.